


How To Install An Undermount Sink
If you are curious how to install an undermount sink, you'll love this step by step tutorial. We show you how to install a sink without removing your countertops. Don't forget to watch the video to see the installation in action!
If you love this project, grab your quick start DIY guide & subscribe to our blog!
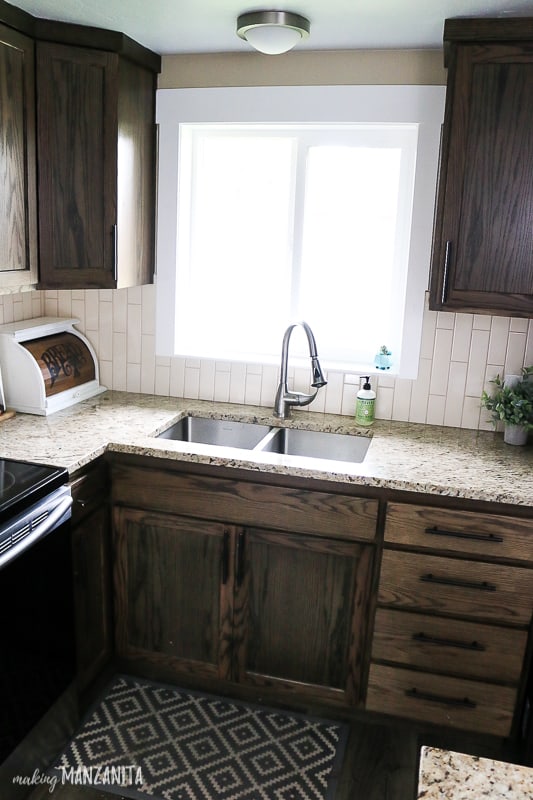
Here’s what the sink and faucet looked like before.
Now, are you ready to see the undermount sink installation process?
Step 1: Remove all plumbing and garbage disposal under your sink. Remove old drain assemblies from old sink Remove any brackets or clamps supporting old sink.
Step 2: Cut silicone or epoxy with a razor blade around edge of sink and push down to remove old sink. Remove old faucet.
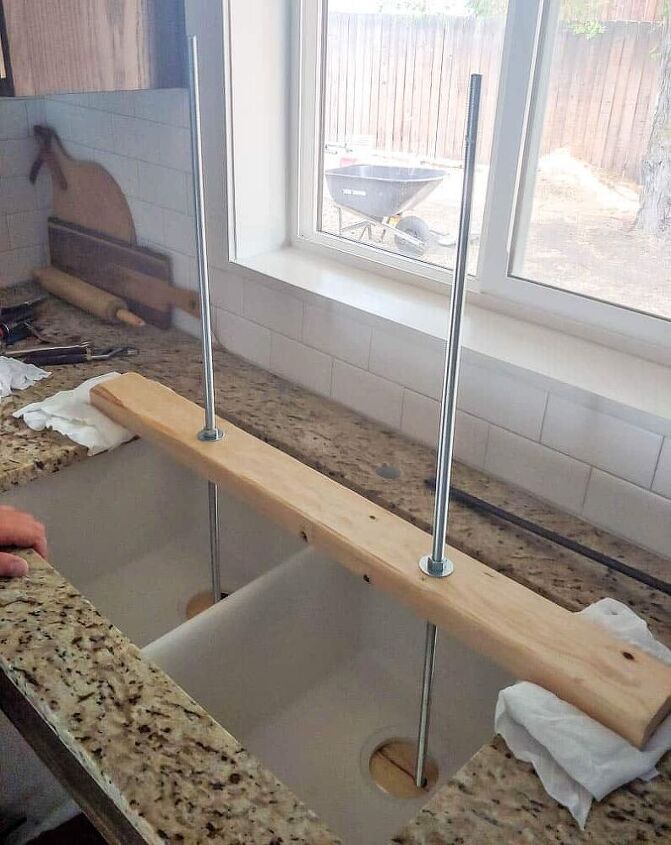
Step 3: Create sink support system to help with installation with 2x4s and steel bars. See video for more details.
Step 4: Using 2x4 sink support system to hold sink, make sure the sink is centered within the hole in your countertop.
Step 5: Mark edges of sink underneath on the countertop.
Remove sink from area.
Step 6: Drill any holes needed for clamps or brackets provided with your sink under the bottomside of the countertop.
Step 7: Raise sink back up into the correct position.
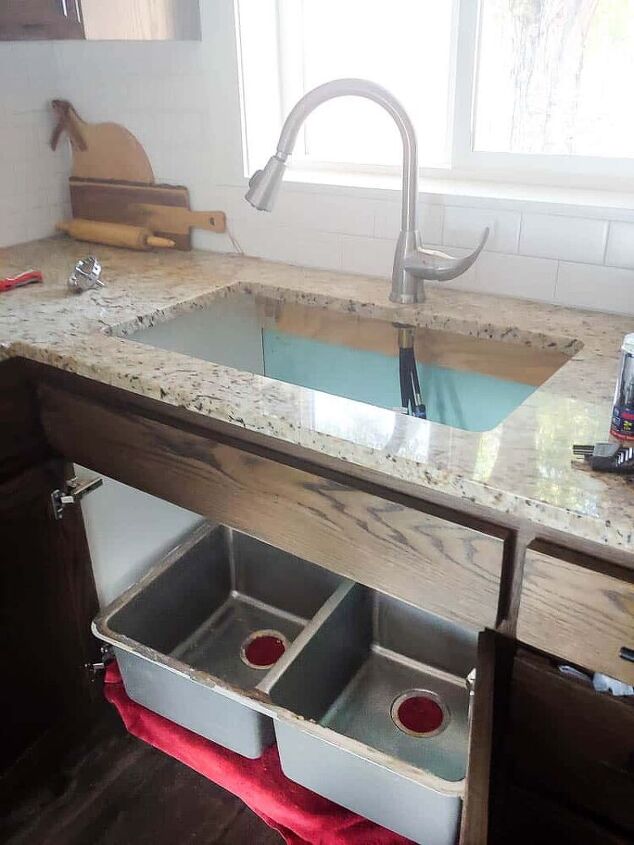
Step 8: Apply 100% silicone to top rim of the sink and raise up sink into place with the sink support system.
Step 9: Wipe any excess silicone.
Step 10: Reattach drain assemblies by applying plumber's putty on the bottom side of rim on the drain assembly and push into place. Step 11: Reattach all drain assembly pieces underneath sink.
Step 12: Install new faucet.
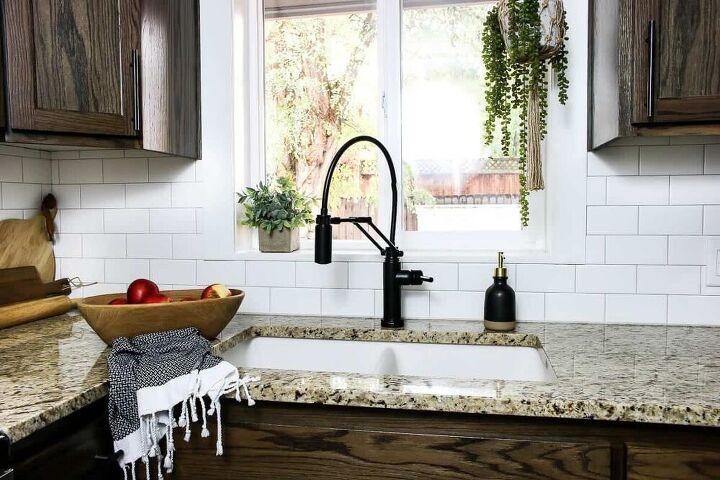
First of all, it’s drop dead gorgeous. Secondly….I can’t get ENOUGH of the touch on / off feature. I knew I would like it, but I didn’t know just how much I would like it.
Resources for this project:
See all materials


Frequently asked questions
Have a question about this project?
Did you reinstall the garbage disposal