


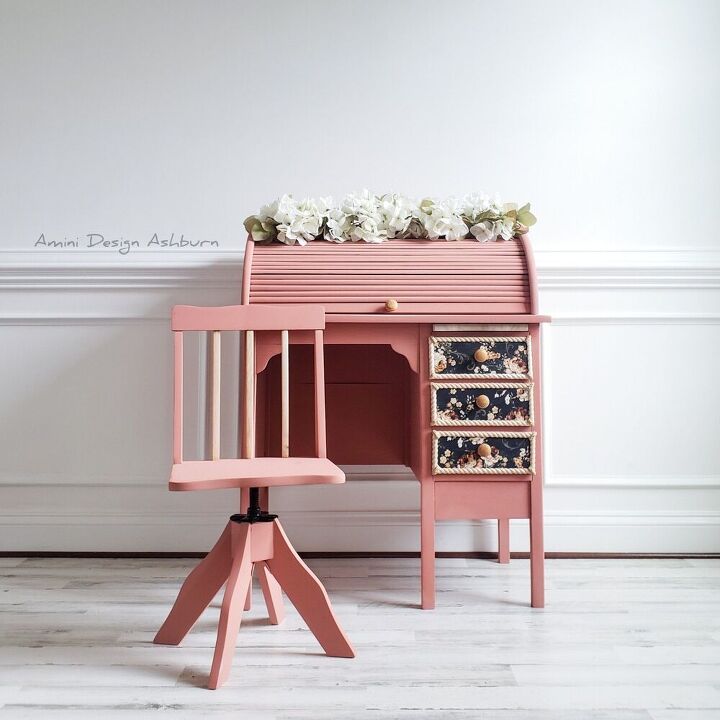
Vintage Children's Desk Makeover

Adorable vintage children's desk madeover from boring and outdated to pretty in pink.
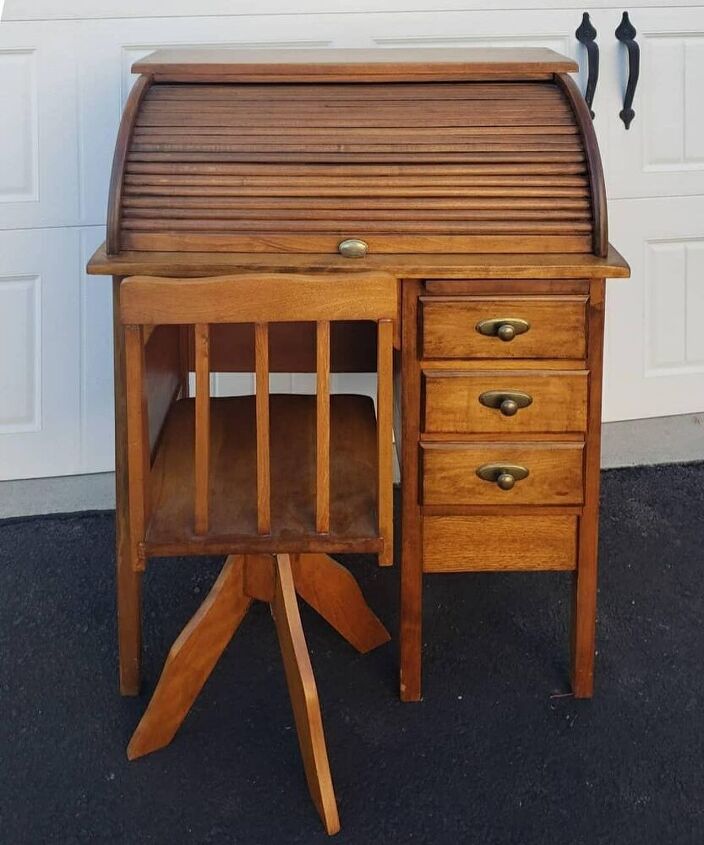
We found this gem scrolling through marketplace looking for a desk for my son's room. We thought this might work, but when we went to pick up realized it was a little bitty piece and my son probably would have a hard time using that chair some decided to buy it anyway and give it a fresh look perfect for a little girl's room. We started by disassembling the desk and chair, knowing it needed to be thoroughly cleaned and sanded since the finish was failing from years of use. After removing all the hardware we used a scotch brite pad with Krud Kutter to clean. After letting it dry completely we sanded it down using our favorite sander, the Surfprep. I've mentioned this sander so many times because it really makes the job so much easier, especially on curves.
We love a fresh clean start! You can see the difference here how much better it is looking already.

I knew I wanted to keep the three chair spindles in the middle natural wood color rather than paint, to give the piece a modern and fresh look.
Here is the Surfprep working its magic on the roll top slats. The curved pad keeps the profile safe and doesn't damage or strip the wood of its shape. After everything was sanded, BIN primer was applied to the parts that were going to be painted. We sprayed two coats of Country Chic Paint in a color called Peachy Keen, lightly sanding in between each coat and removing dust with a tack cloth
To seal, we sprayed two coats of their Tough Coat. After it was dry, we decided to do some decoupage and molding for the drawers.
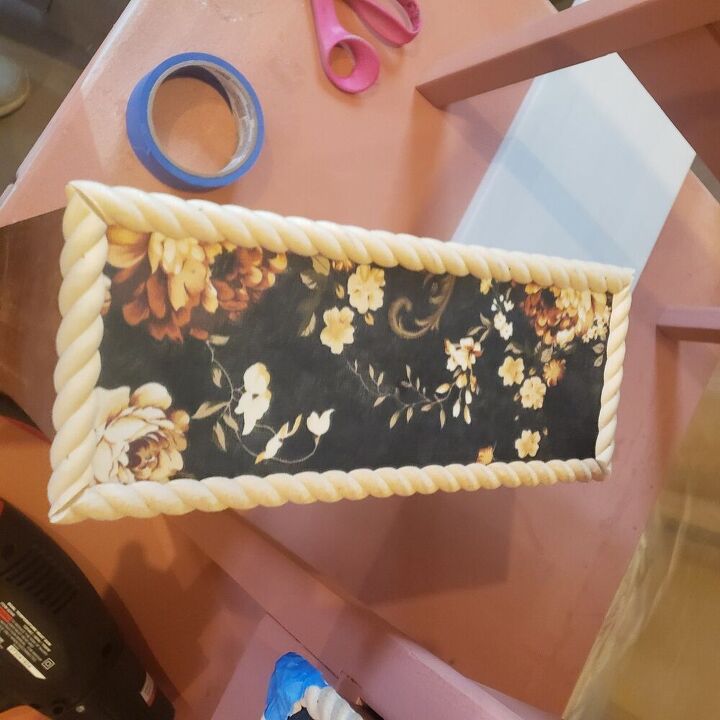
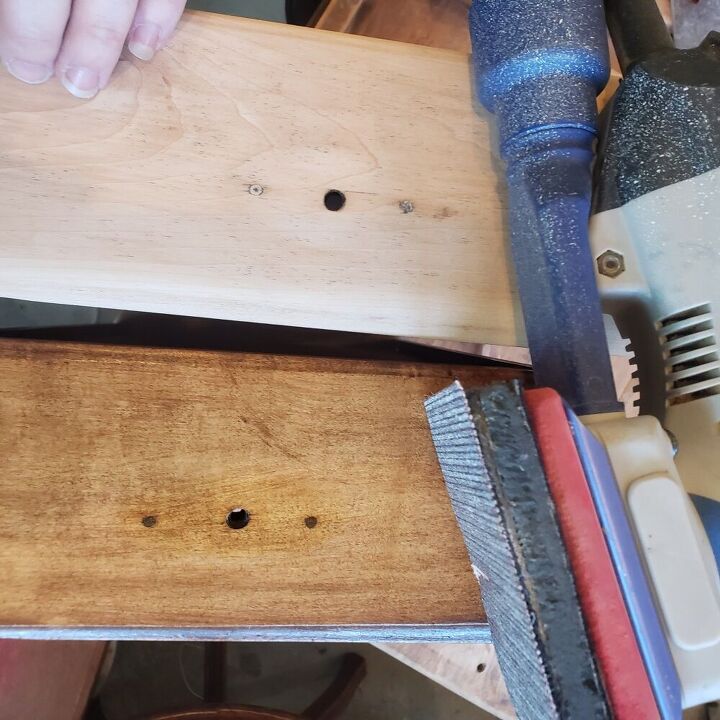
We used mod podge for the floral paper, laying down one coat, placing the paper, letting it dry then placing another two coats over it to seal. We then used some rope molding cut with the miter saw to frame the drawers. Lastly, we used really cool bendable moldings from Woodubend to cover the joints where the moldings meet.
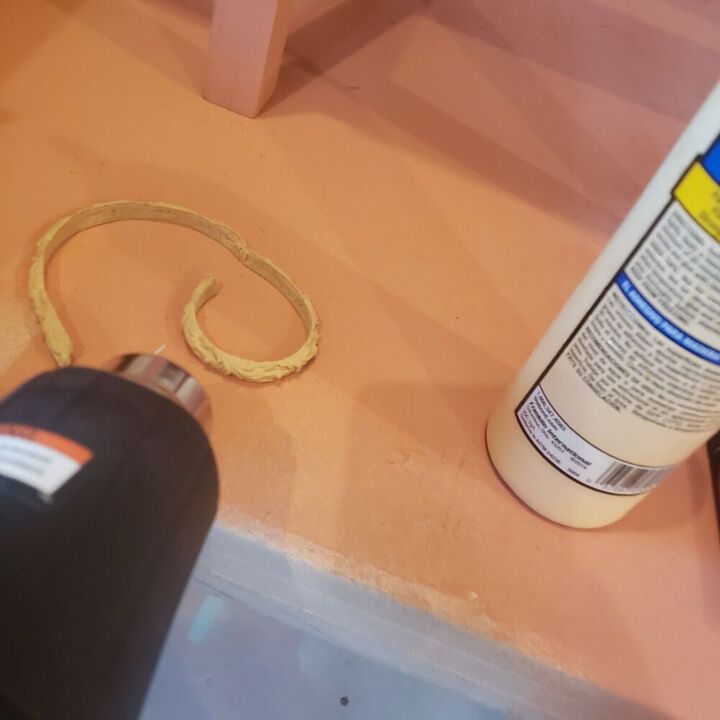
With Woodubend you use an air gun or hairdryer to heat up the molding, then wood glue to attach.
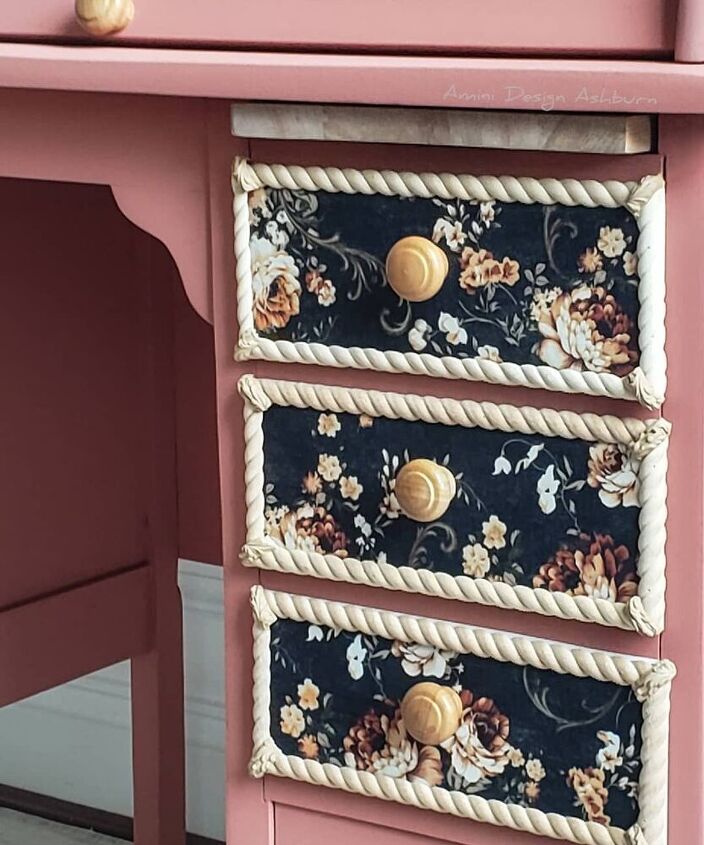
Here is a close up of the completed drawers.
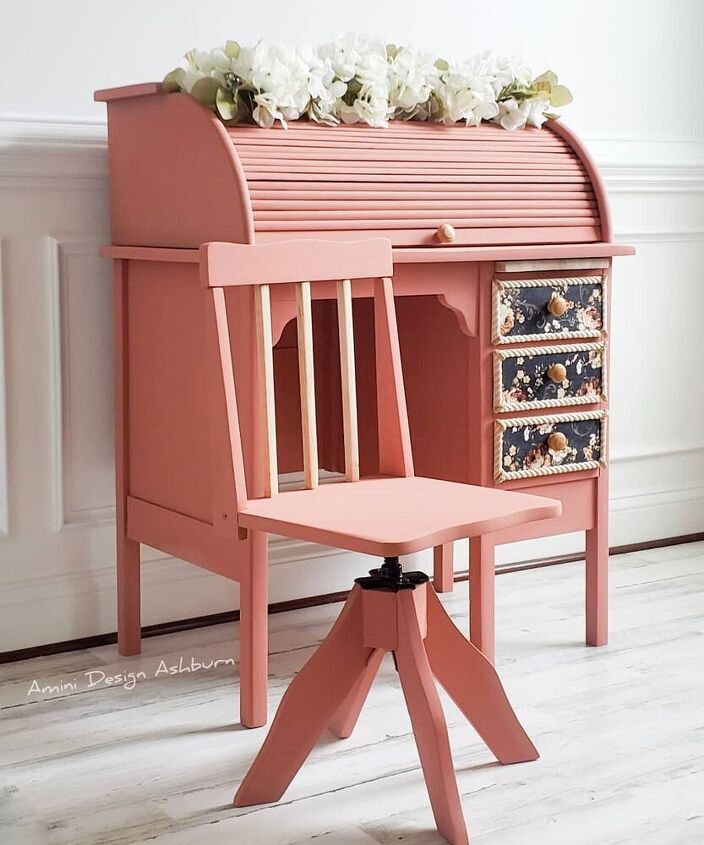
Here it is freshly madeover. We are sure this will make a little girl very happy.
Thanks for following along.
Resources for this project:
See all materials


Comments
Join the conversation
-
Beautiful! I've never used the bendable trim. It adds a nice touch to the corners!
-
I love painted wood. This desk is adorable!


Frequently asked questions
Have a question about this project?
I have this same desk that was mine when I was young. I'm afraid to paint or change it. Won't that take away from it's value?? I'm 71 yrs old, was given this desk when I was adopted at 2 1/2.
I have a couple furniture pieces I’d like to paint just not sure where to start. Any ideas
What did you put in the corners of the rope on the drawers? They are very pretty.