


Home Bar Build - Upcycled

So this next build is something that I put together during those dreaded lockdown weekends to try and pass some time.
I had various pallets left over and I wanted to make use of them, so I came up with the idea of making a home bar to use when sat on the decking. However I also wanted to include a sink to be able to wash hands etc, while using the BBQ so I didn’t need to walk back to the house all the time.
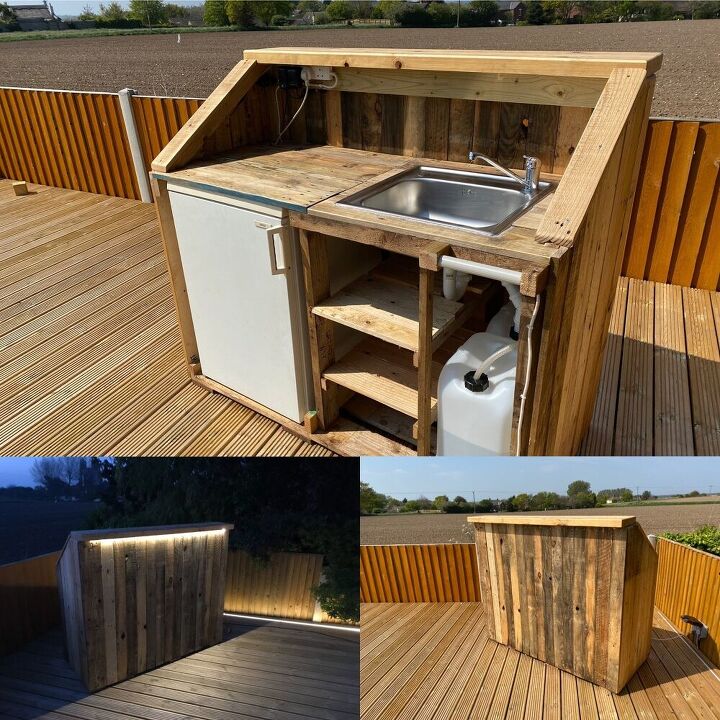
Below is a video of the end results and the steps I took to achieve this. You can also see a full build video here!

I had about 6 pallets to break down which if anyone has tried this before, is never an easy job. I used a mix of pry bars, hammers and screwdrivers to take them apart. Being careful not to split the wood (easier said than done)

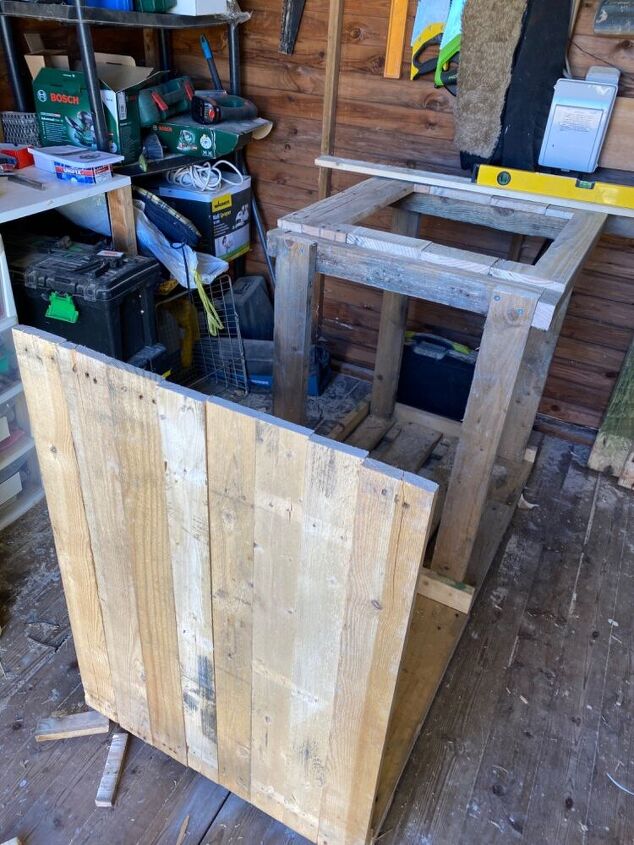
I had a very rough drawing of how I wanted this to look but as ever things changed all the time. I used a pallet for the bottom and placed uprights to the height I wanted the bar. Whilst also working out the gap needed for the fridge.
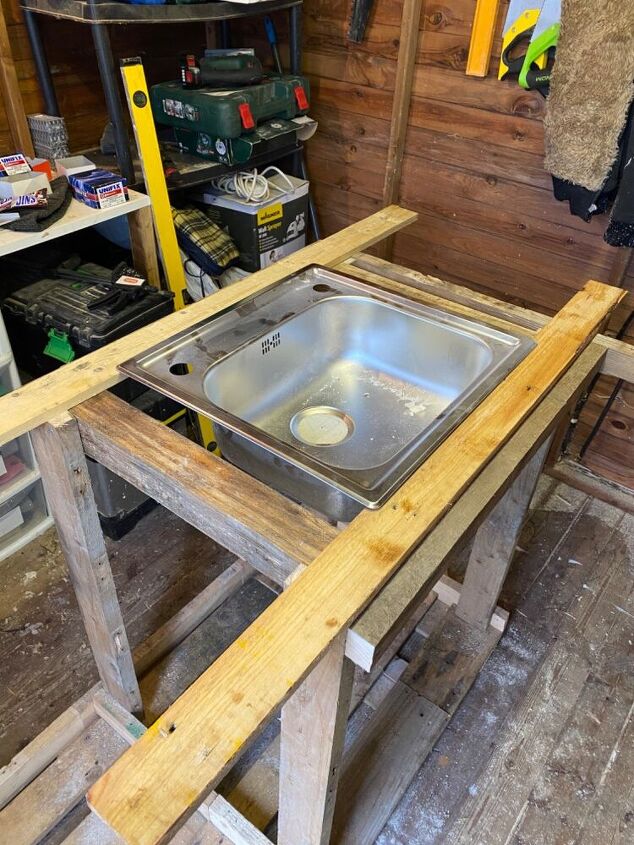
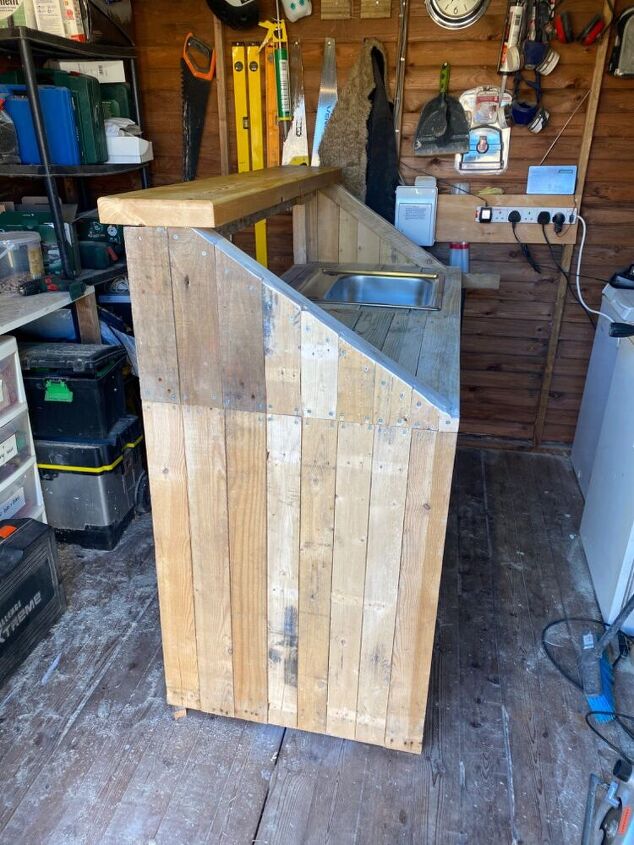
Next was to build a frame to sit this old sink in. Again using only pallet wood to construct it I needed to ensure the sink was square and in the correct place.
I now selected a mixture of pallet wood that were the correct overall length. Each pallet was a different type so I took some time in trail and error to get this right.
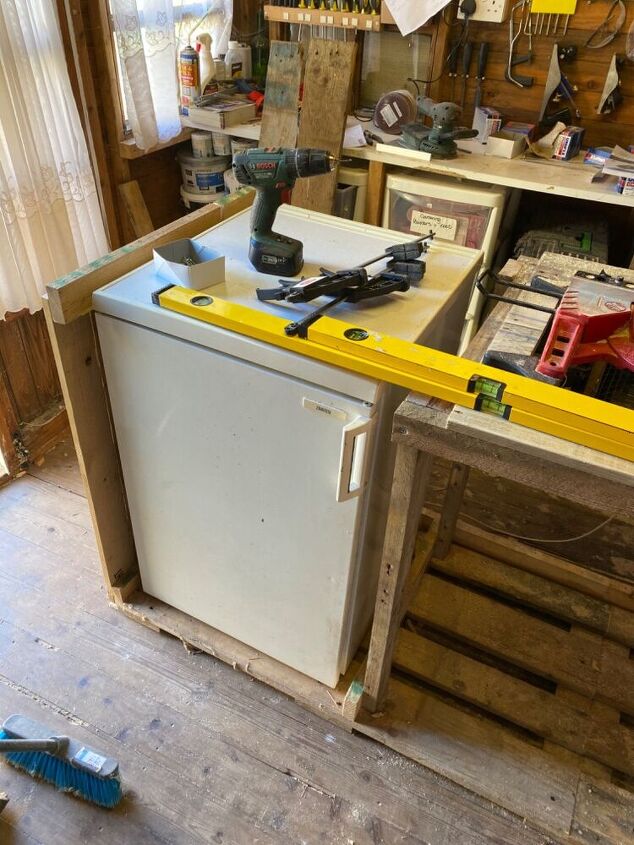
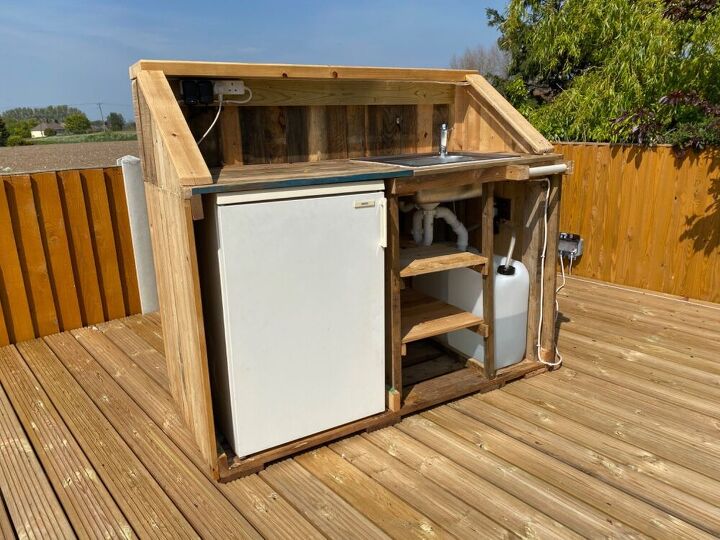
Once one side had been done, I was able to test fit the fridge and luckily my measurements were right!
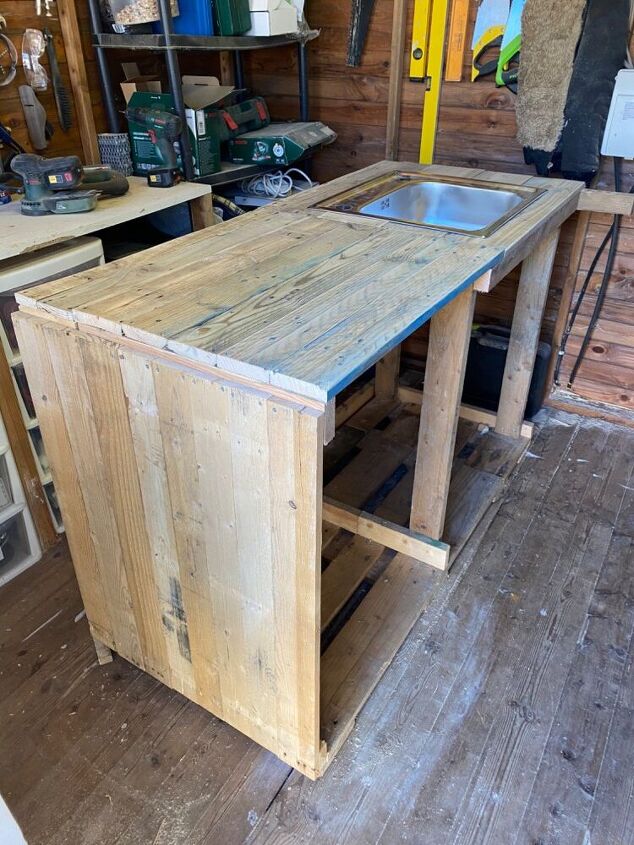
I then placed more slats on the top to be the bar surface and sanded these down nice and smooth.
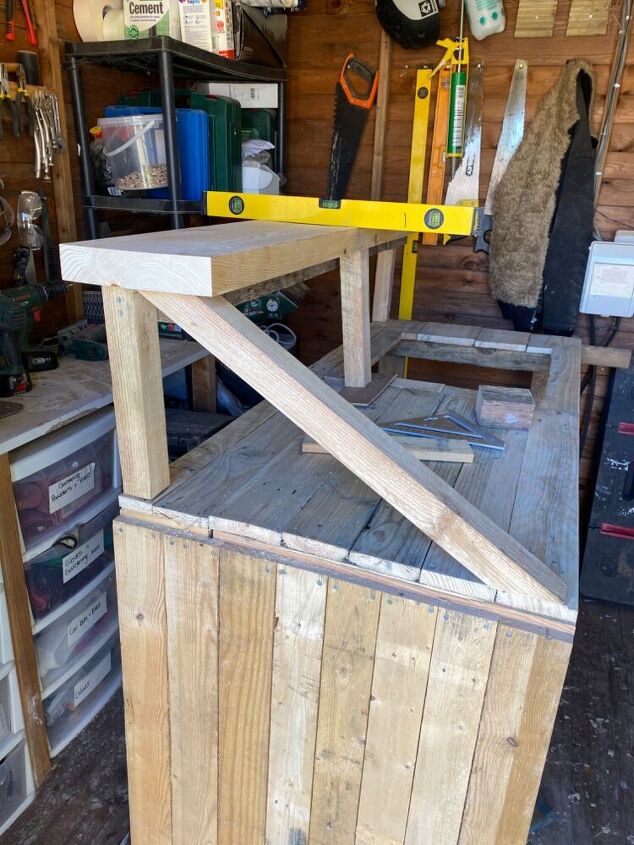
I next wanted to put some height to it to be able to place things on the bar when prepping drinks but to not have them falling off, and also to give it more of a server feeling. For this I used some scraps of wood and a 2x9 for the top creating this triangle framing to give it strength.
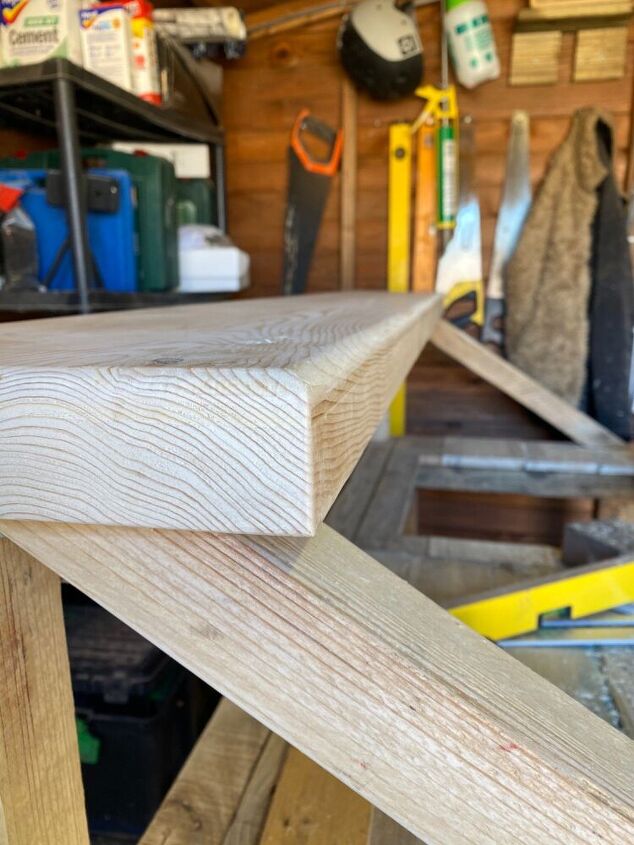
I used a router and a round over bit to give the bar top a nice smooth edge to stop people from cutting themselves on any sharpe edges
Once this was in place I could them finish putting the sides on. For this I wish I had bigger pallets so it could had been one long length to stop having a join. But as is the challenge with upcycle projects I needed to use what I had.
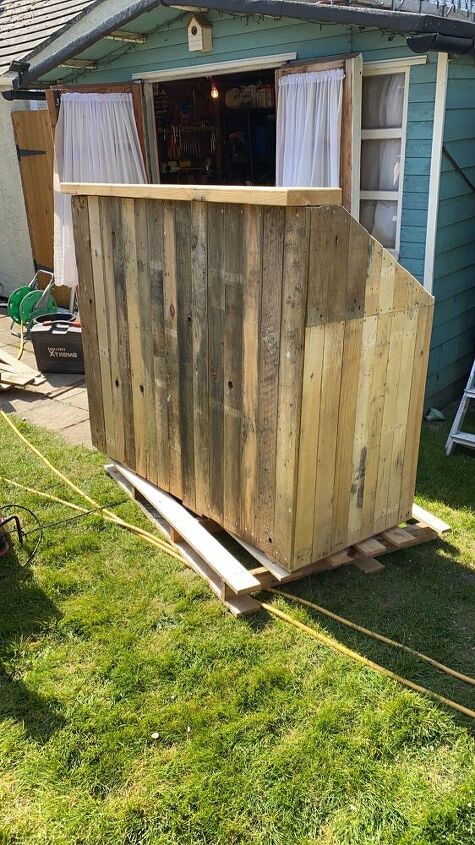
I could now get it out of the shed and outside to help sand it all down. I used a orbital sander for this and it done a great job and getting it smooth to the touch.
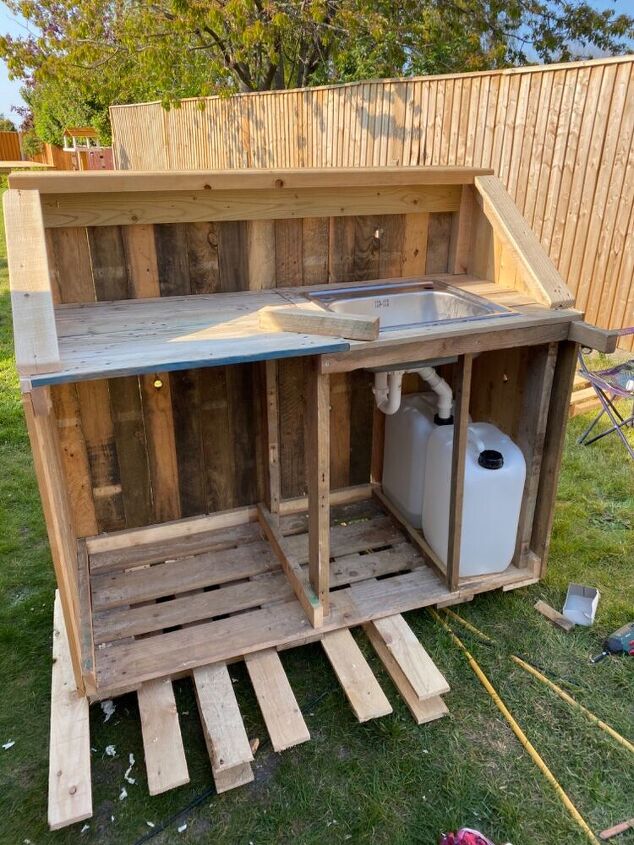
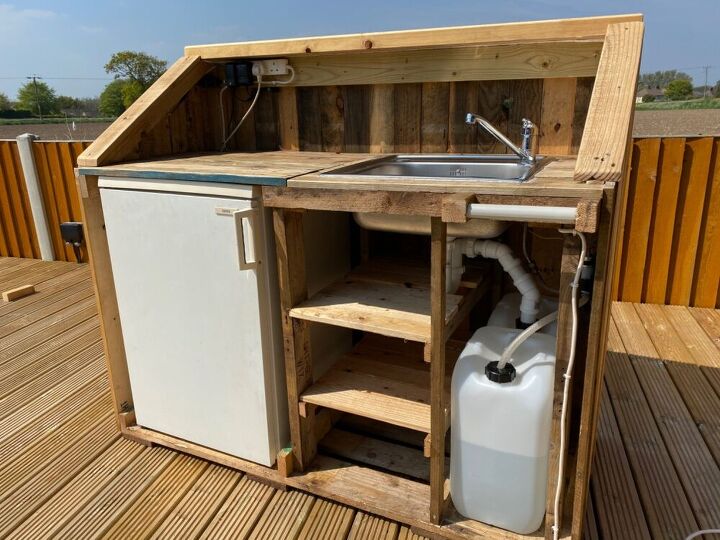
So, as this was going to be at the top of the garden with no water supply I came up with the idea of having to water drums (one clean, one waste) that I could fill up and carry to the bar and this would be my water supply. This worked extremely well and I used some pvc piping that I could move to the side when I needed to empty the drums.

I used up some of the last of the wood putting a couple of shelves in to hold glasses etc just to keep the top of the bar clear
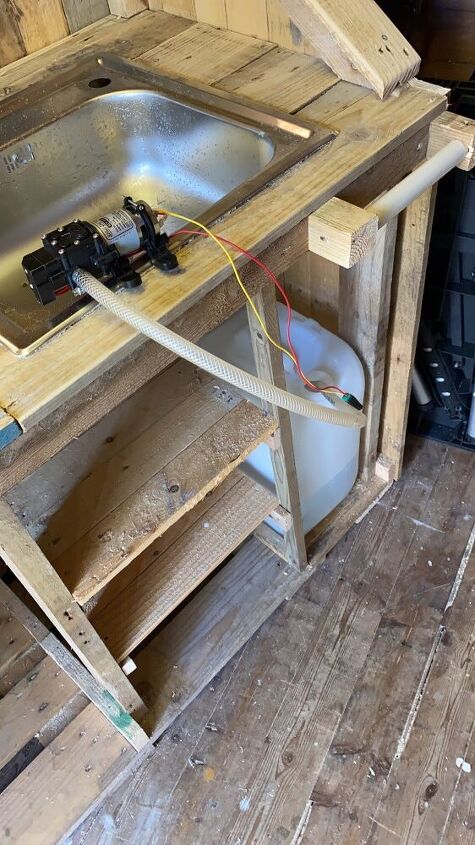
Now I had to test the water pump to ensure it could draw enough water from the clean drum to come out of the tap. For this is used a 12v motorhome water pump and used a transformer from the mains supply. Again much to my surprise this worked pretty well
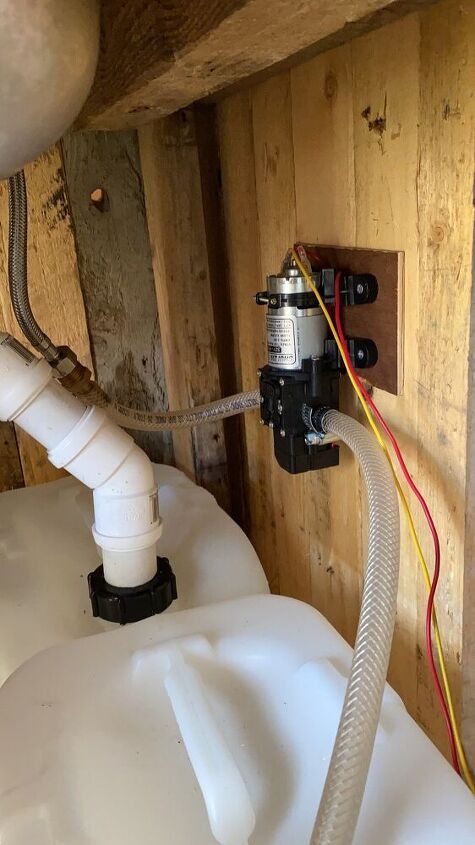
Here you can see the pump mounted to the bar with 2 pvc tubes being used. One for the infeed and one for the out. I used some clips to better secure the pipes to the pump
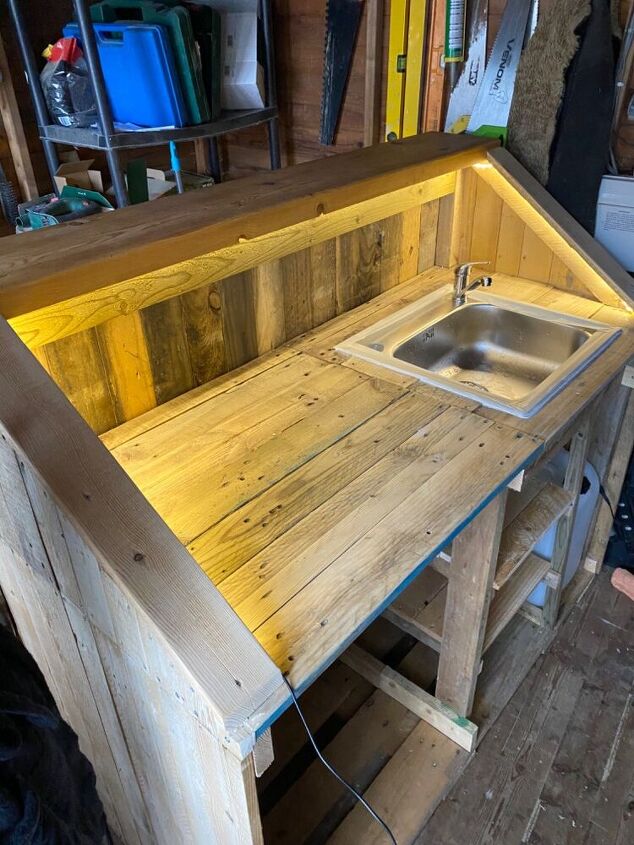
All that was left now was to fit the tap like any standard house tap and then install some waterproof LED strip lights so that it could be used when the sun goes down, these where run along the inside and outside
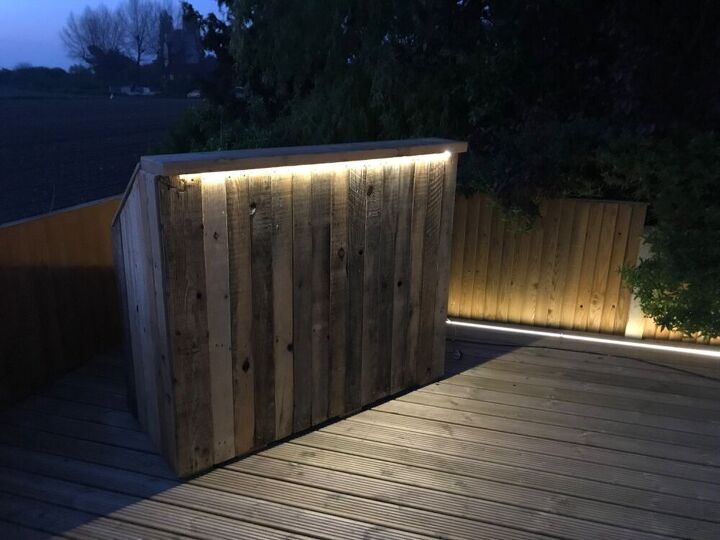
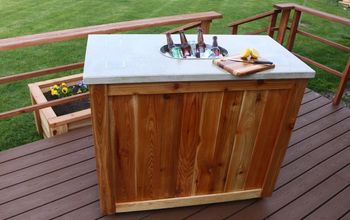
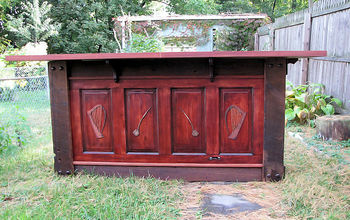
Now all was needed to set it in the correct spot on the decking and we could call this upcycled pallet project done!!

Comments
Join the conversation
-
I’m not sure why its never occurred to me that one can use camping technology for water and drains. Nicely done!
-
This is such a good idea! 🙂🙂🙂


Frequently asked questions
Have a question about this project?