


Create a Designer Cupcake Stand for Under $20

Need a colorful, customizable cake plate for an upcoming event? This project is for you! I love IKEA’s products, but some of them are a touch simple for my taste. When I saw this tiered glass cake stand I knew that I could create something beautiful that fit my style to a tee! The technique I’ll be showing you today is not food safe, however, it’s not really a problem as we’ll be decorating the bottom side of the plate. Because the plates are glass it will show through from the top and look tremendous! Follow my step-by-step tutorial below to make your own today!
Tools and Materials:
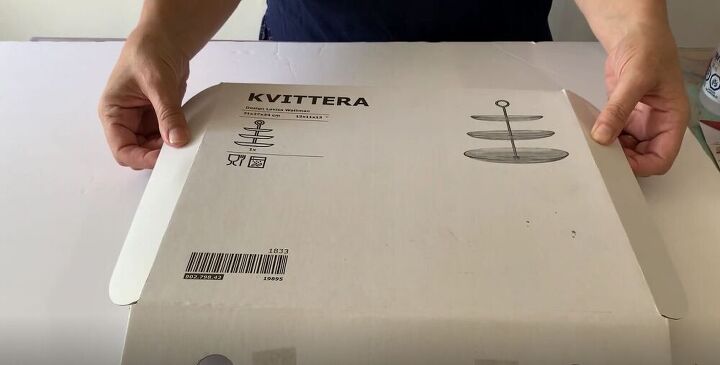
- IKEA Kvittera tiered cake plate
- Isopropyl alcohol
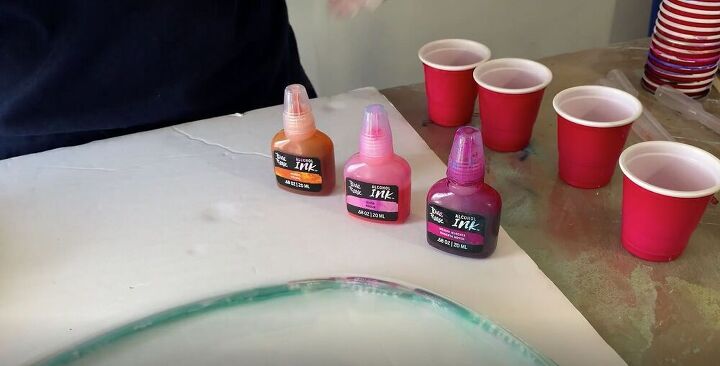
- Alcohol ink
- Blue shop cloth
- Washi tape
- Blu Tack
- Heat gun
- Kamar varnish
- Spray shellac
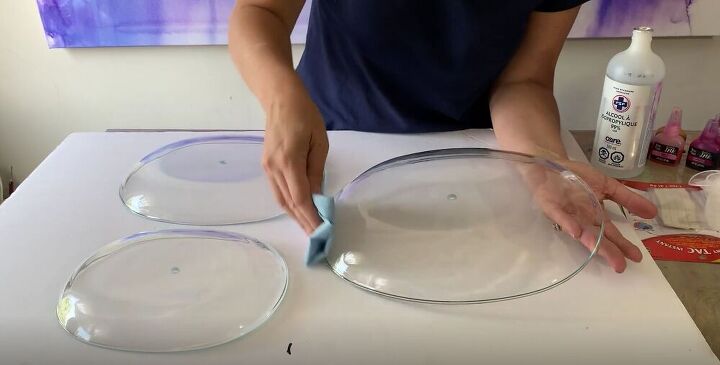
As always, whenever working with glass, make sure to thoroughly clean the surface. I used a bit of isopropyl alcohol and a blue shop cloth to wipe down the bottom of the plates. If the plate isn’t clean, you run the risk of there being bubbles or spots where the alcohol ink won’t stick.
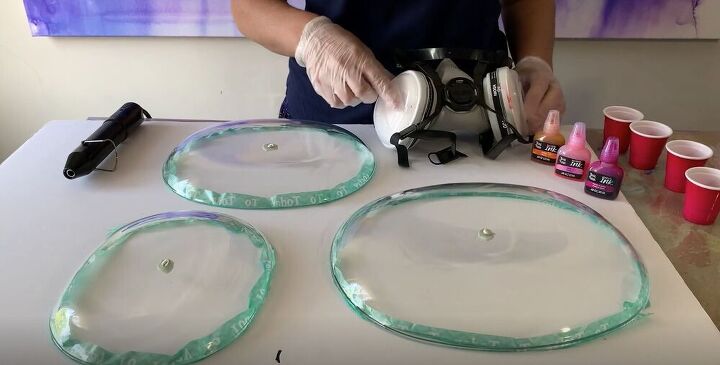
Once everything was completely clean, I taped along the edge of the top side of the plates. I also plugged the hole in the center of the plates with Blu Tack. This would prevent any of the alcohol ink from dripping down when I decorated it. If it does happen to drip down, it’s easy to just wipe it off, but I wanted to save myself some time if possible.
Tip:
When working with alcohol, make sure to work outside or in a well-ventilated area. If this isn’t an option, you can use a mask that filters the air.
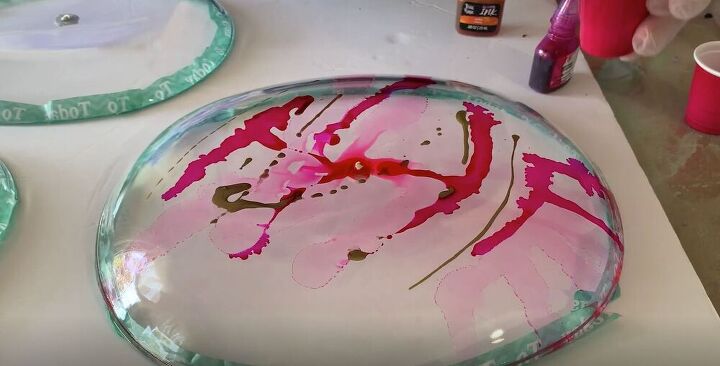
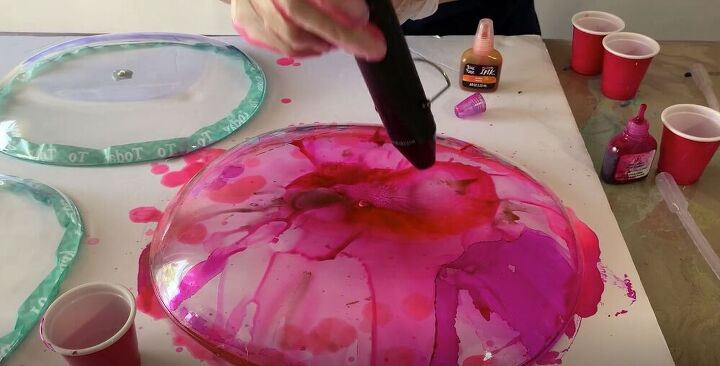
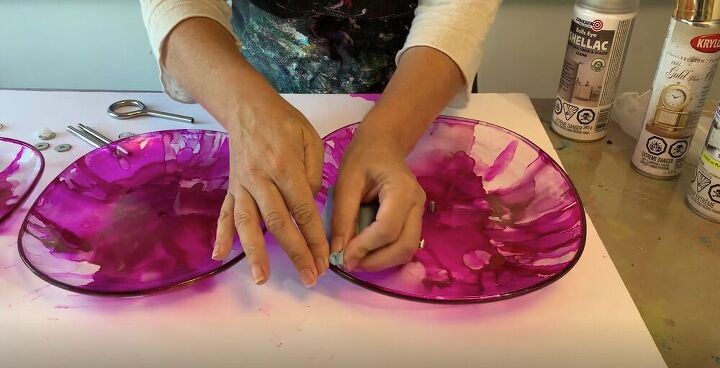
I added some random stripes of color with the alcohol ink.
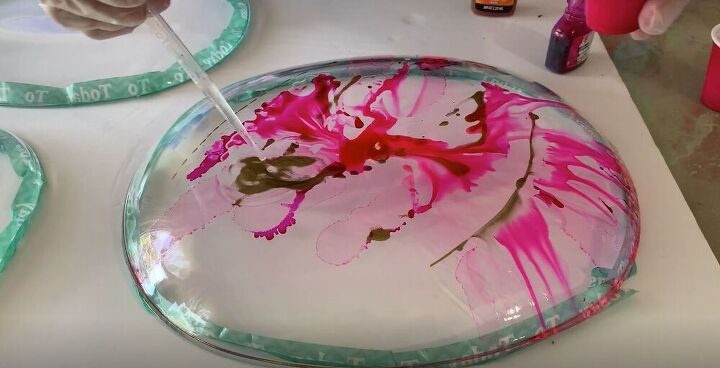
Then, using a pipette, I squirted isopropyl alcohol onto the plate, which moved the ink around a touch.
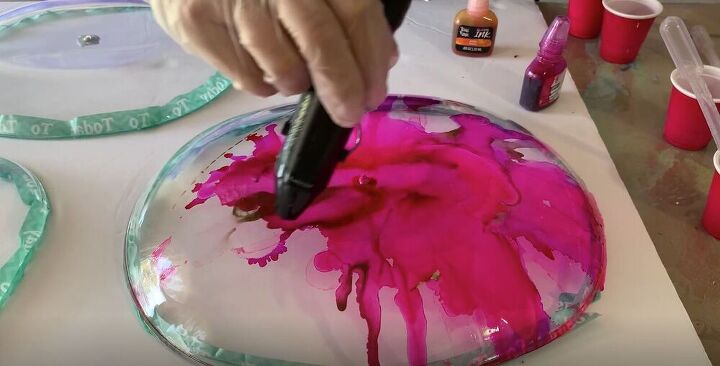
Next, I took a heat gun and blew the ink around a bit and dried it in place at the same time.
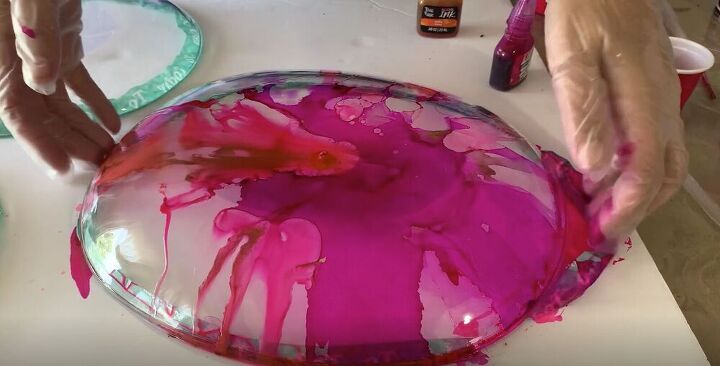
Then I added a bit more alcohol and repeated the process. If you’re unhappy with how it looks, all you need to do is take a cloth and wipe it off.
As you can see, the washi tape came off in the process. Not to worry, I’ll just wipe off the top of the plate before I set the ink.
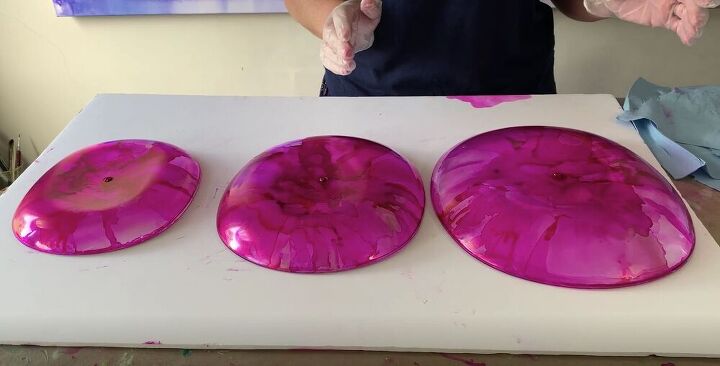
I repeated this process on the smaller two plates. There is no right or wrong to this project, as long as you like the finished product any decoration is the right one!
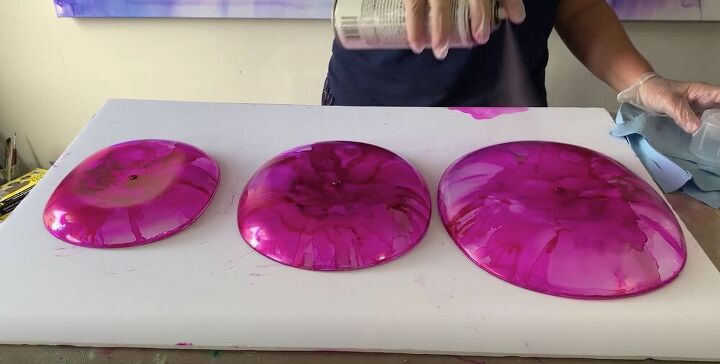
Once I was happy with how my plates looked, it was time to seal them. I used a spray called Kamar Varnish. Once again, make sure that you are working in a well-ventilated area when using a product like this. I did a few coats of the varnish to make sure that everything was completely sealed.
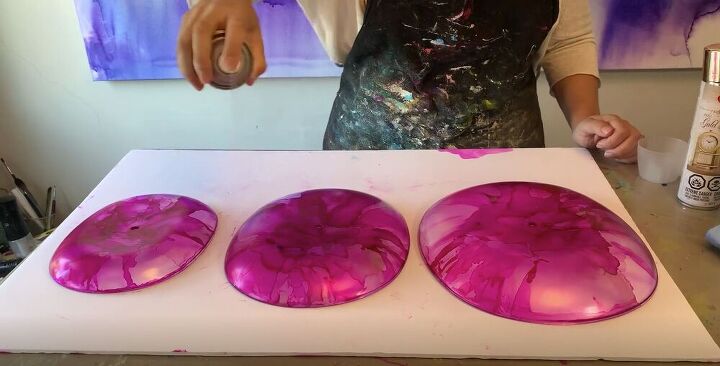
Then I added several coats of spray shellac to the plates. This will protect the bottom of the plates from any scratches or nicks that may occur when using them.
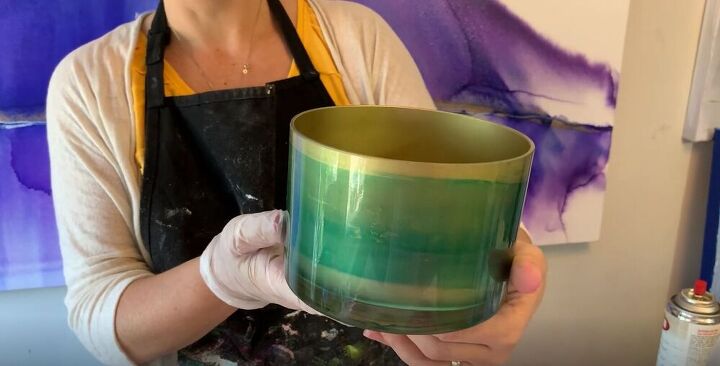
I tried the same technique on a vase. I used the ink on the inside of the vase and then added a layer of gold spray paint, creating a stunning effect on the outside, with a gold background added to the turquoise ink. You really can play around with all kinds of effects with this alcohol ink technique!
The final step before I put everything back together was to clean off any alcohol ink that happened to get on the top of the plates. These plates will be hand wash only, so make sure that they don’t end up in the dishwasher.
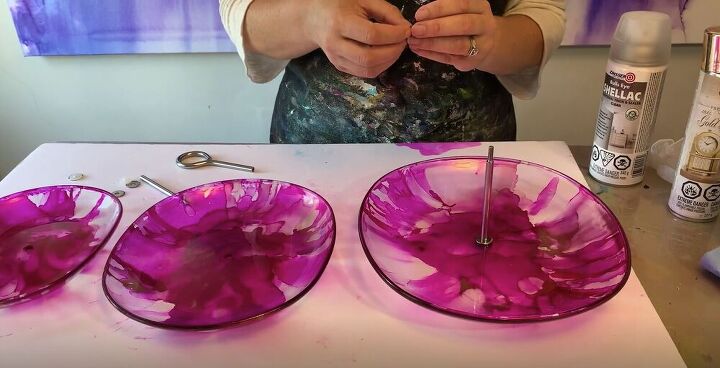
Then I put it all back together.
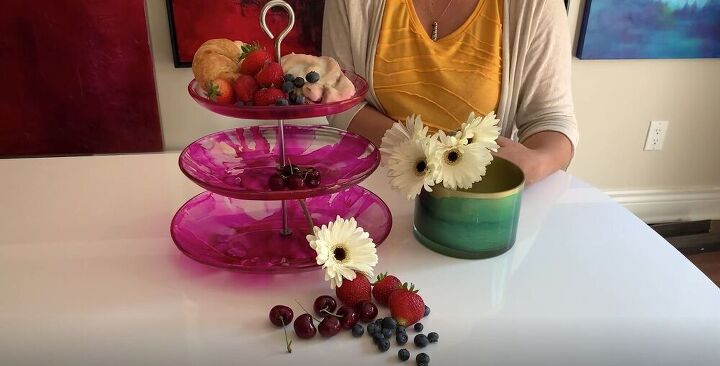
Sometimes, when you do a DIY project, it comes out way better than you could have ever imagined. This is one of those occasions! I am simply blown away by how incredibly beautiful this project turned out! I’m sure I’ll be making quite a few to give to family and friends. How would you use this alcohol ink technique? Let me know in the comments below!
Resources for this project:
See all materials


Comments
Join the conversation
-
Very cool idea
I love inks but have only used on paper and cards.
Think ill try this. Thank you BEAUTIFUL💕💕💕
-
Different idea love those colors


Frequently asked questions
Have a question about this project?
Why is there a tiny puppy on the top platter? 😉