


Make a New Crate Look Old for Fall Decor

Did you ever wish you could give a new crate an aged look? This is what I did using an easy paint technique.
Make a new DIY crate look old, add a great stencil, and then fill it with goodies after pumpkin picking!
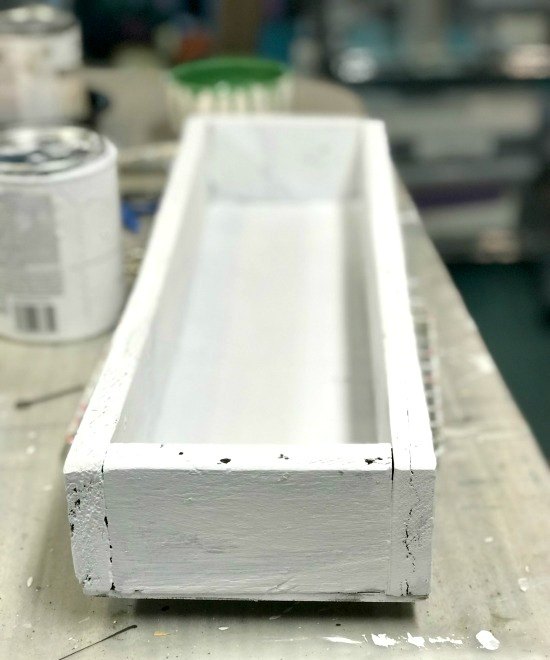
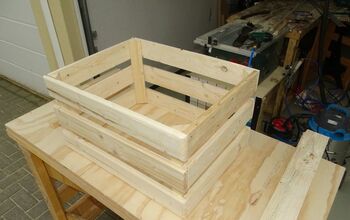
I built a crate using scraps of wood from the workshop. I created a box using 2 short and 2 long pieces then added a piece of thin plywood to the bottom.
After building the crate, I used chalky paint to paint it white.
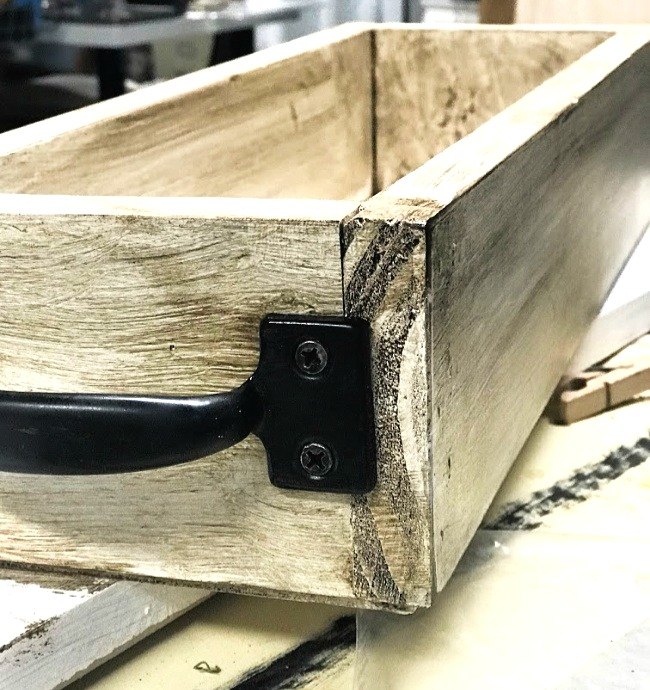
I let the white paint dry overnight then used an inexpensive chip brush to apply Rust-oleum Transformations antiquing glaze.

I put a small amount of the stain on my brush then sparingly brushed it onto the white paint until I got an antiqued look on the crate. It is important to only use a tiny bit of stain on the brush to achieve the streaked look.

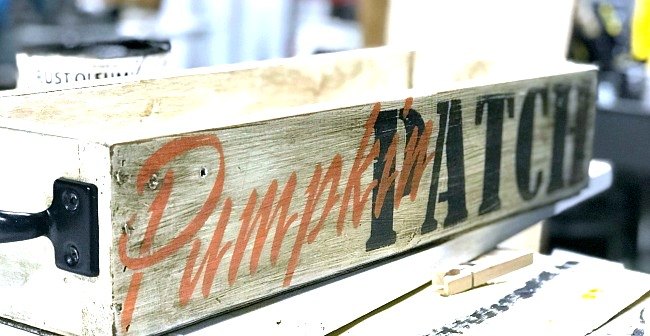
I added black metal handles to each side of the crate then stenciled on a pumpkin patch stencil from Old Sign Stencils.
To get the stencil to fit on the crate perfectly, I overlapped the lettering. First stenciled the word Patch, then went back and stenciled the word Pumpkin on top.
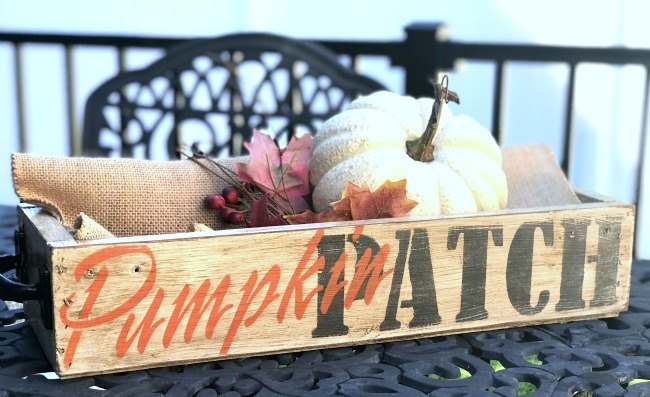
It is this easy to turn a pile of scrap wood into a rustic display for the fall.
All that was left to do was to fill the crate with pumpkins, leaves and burlap!
Thanks so much for visiting and for more DIY projects please visit my blog Homeroad.net by hitting GO in the box below.


Frequently asked questions
Have a question about this project?