


Garden Accent Gate Made From a Pallet

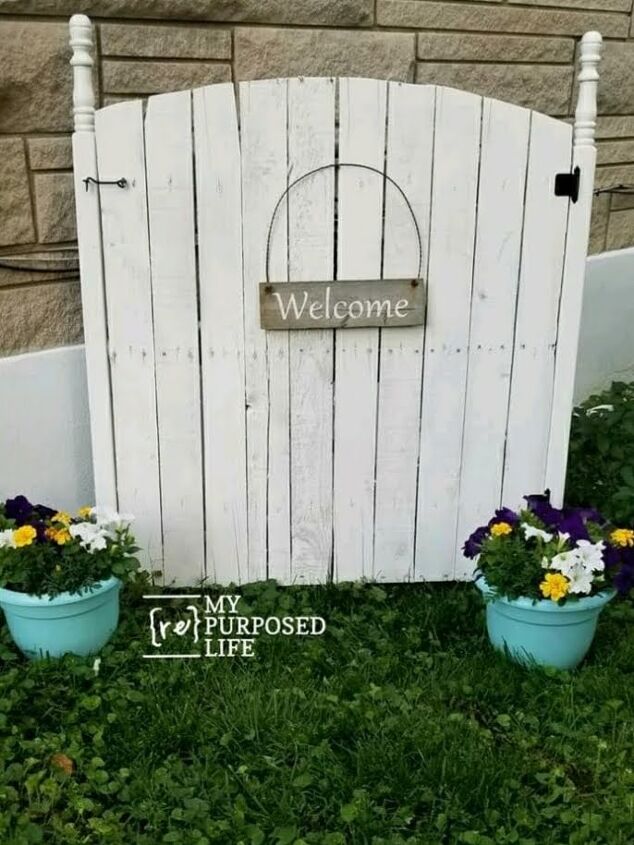
If you're a homeowner and a gardener you'll agree with me in that you take great pride in making it as beautiful as possible. Neat and tidy flower beds, a well maintained lawn but hardscape accents add so much whimsy and personality to the mix. This was our goal to create some charm with a garden gate that I then could decorate in multiple ways very easily.
Hmmm, that doesn't look too complicated all we'd need is two posts and a middle section.

The middle would be a pallet, the top view seen above is a full pallet but the bottom view has the slats on one side removed, that's what my husband did for our project.
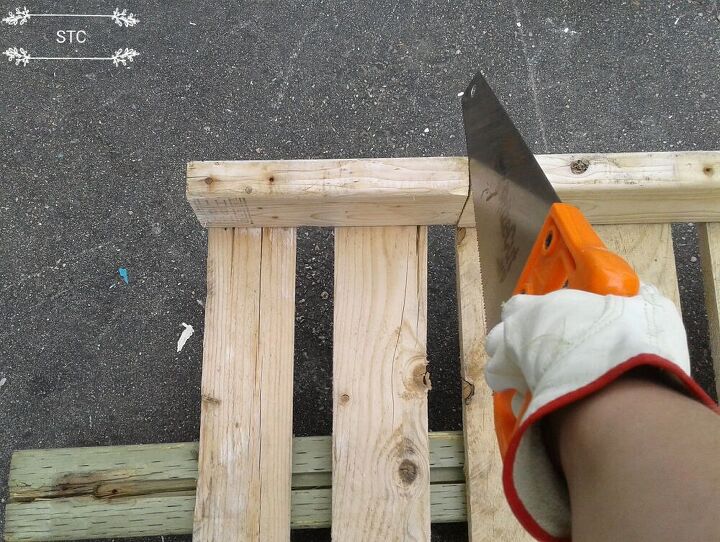
If we left the original width it would have made for a very wide gate so we opted to cut off two strips of board width.
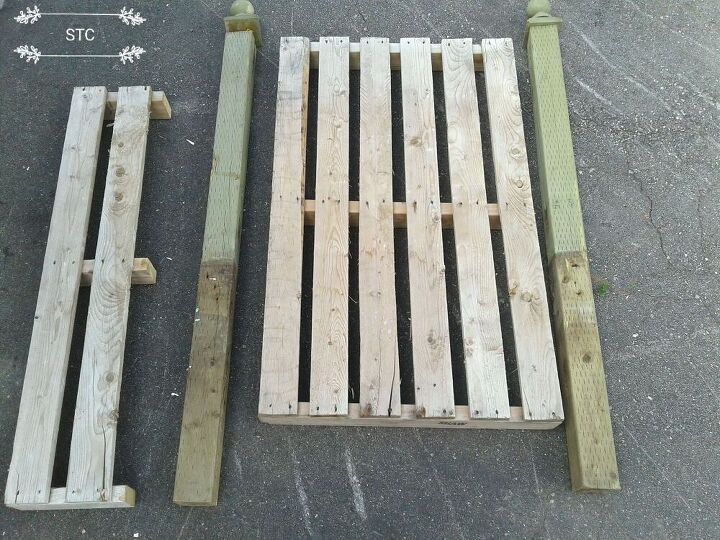
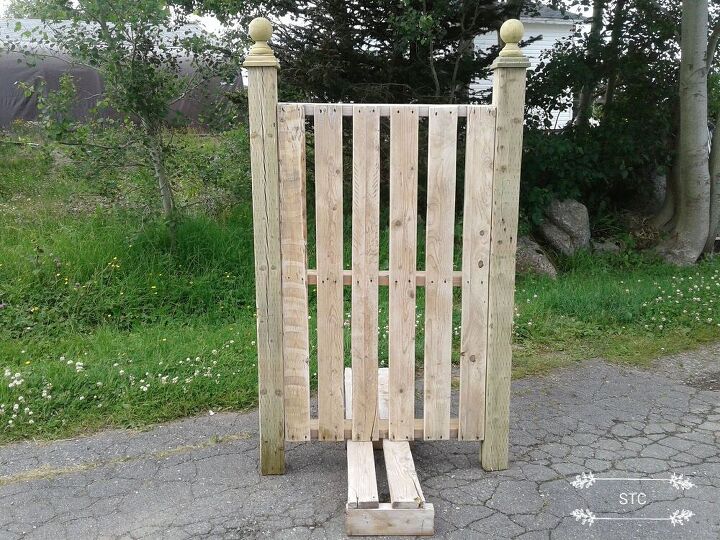
Making a post and pallet sandwich I should have titled this, so here's where you can now visually see how this will become a gate.
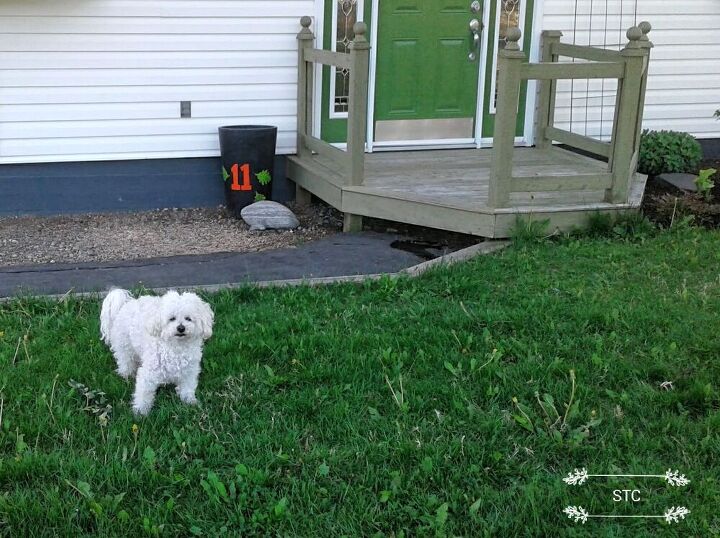
The posts came from a front step demo, win, win trash to treasure saves the day again. They were the perfect height and we even saved the decorative Orb tops! This post will also reveal the entry update later on as we proceed.
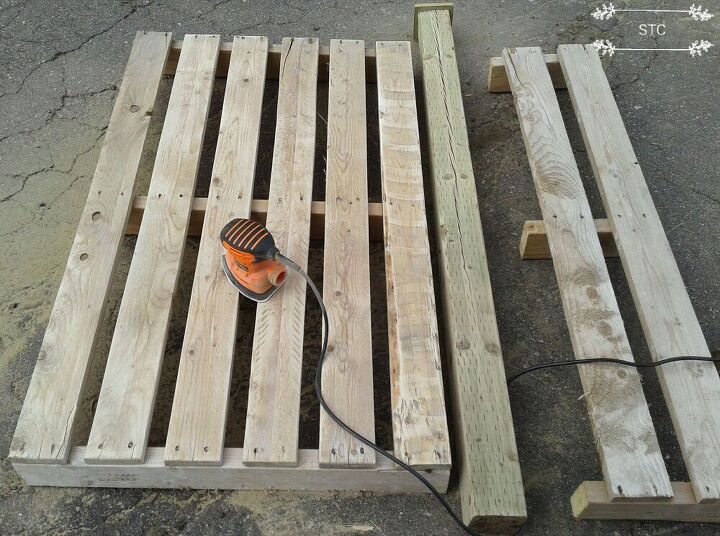
We used an 80 grit because the pallet boards needed an aggressive sanding to remove the roughness and to remove the old stain from the posts.
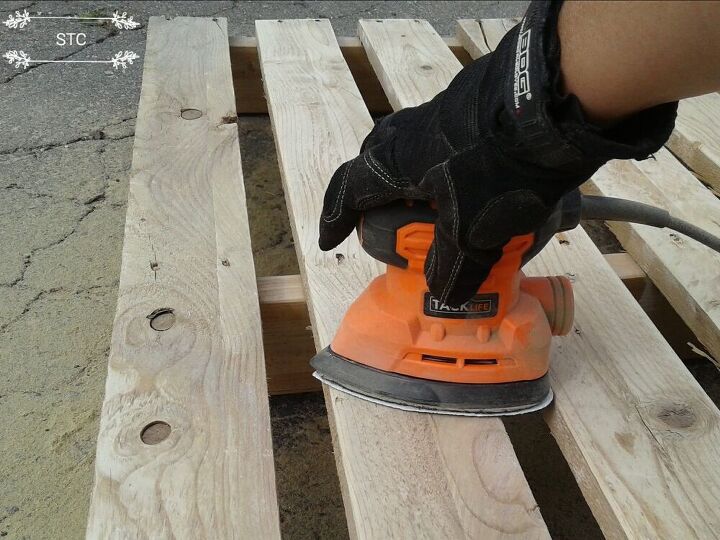
As you can see it created a lot of dust therefore this was a project where we took advantage of good weather to work outside! It was easy work just messy. We didn't aim for a furniture smooth finish because afterall this was just an outside accent for the garden.
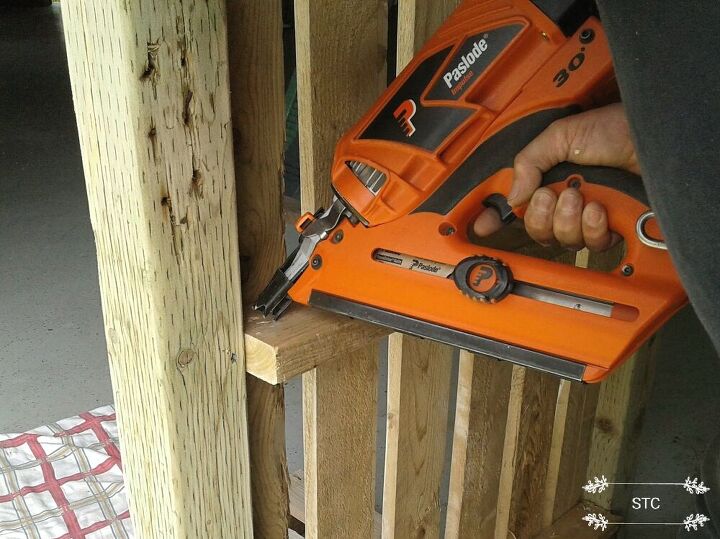
My husband nailed the pallet to the posts as seen above he nailed at at angle into the center 2x4 towards the exterior posts.

All along the 2 posts at the intersecting points of the 2x4 pallet backing the nailer secured the joins.
Now comes the fun part, adding the pretty so my husband nailed it to the piece of scrap pallet at the bottom to enable me to paint it easily.
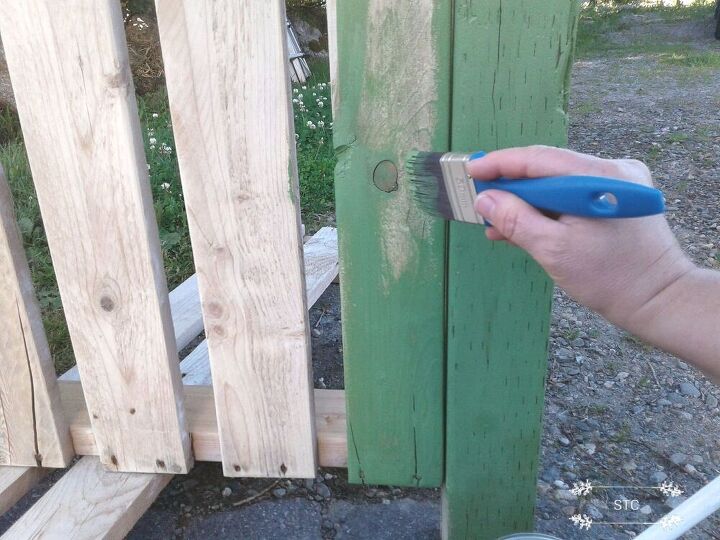
The color choice was easy, the same color as our front door is painted, it's called Moldavite. I gave most areas two coats of exterior, latex paint by Benjamin Moore.

It was easy, light work and now she was catching attention in her green dress, next was to break out the jewelry to accent!
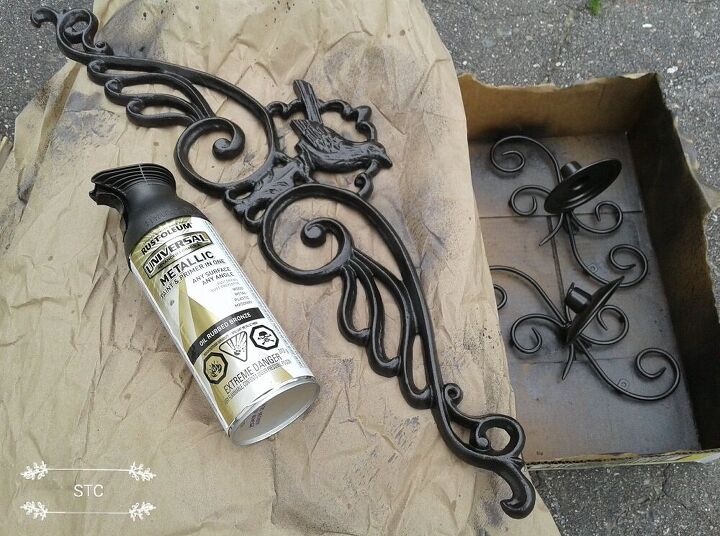
We both love having birds visit the garden so the bird accented ironwork wasn't a hard piece to choose...it had us written all over it! It was originally used in my interior decor above a door. The other pieces are indoor candle sconces, they will hold solar lights for outside use in this case.

Where do we hang the ironwork?? The holes were pre-drilled in it and if we used those it would hang way too low on the gate...now what?
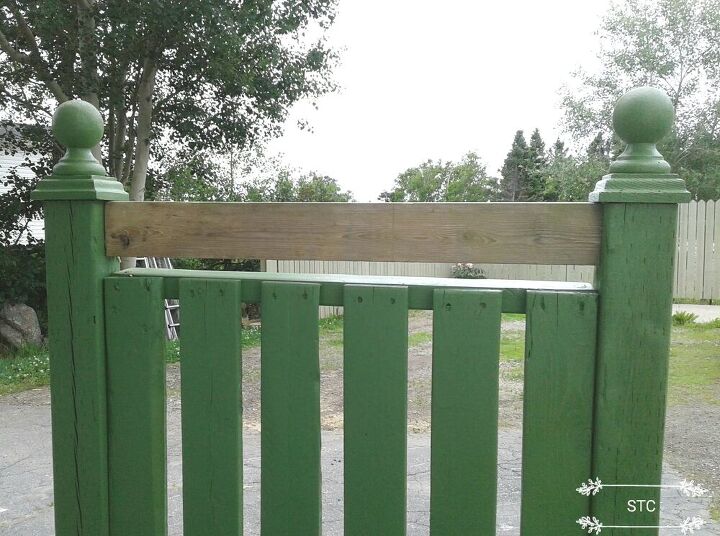
We found a piece of 2 x4 and my husband cut and screwed it into the top gap between the posts! Perfect! Once it got a lick of paint the decor pieces were just screwed into the wood with a drill and some wood screws. The solar lights were taken apart from the accompanying hardware as they were purchased and secured into the sconce with silicone.
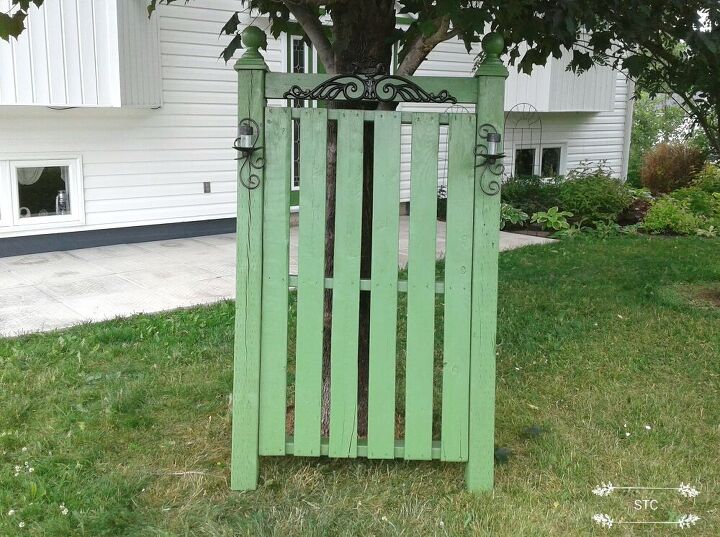
She has her green dress, her jewelry on...a necklace and earrings but she still needed that one wow piece don't you agree?
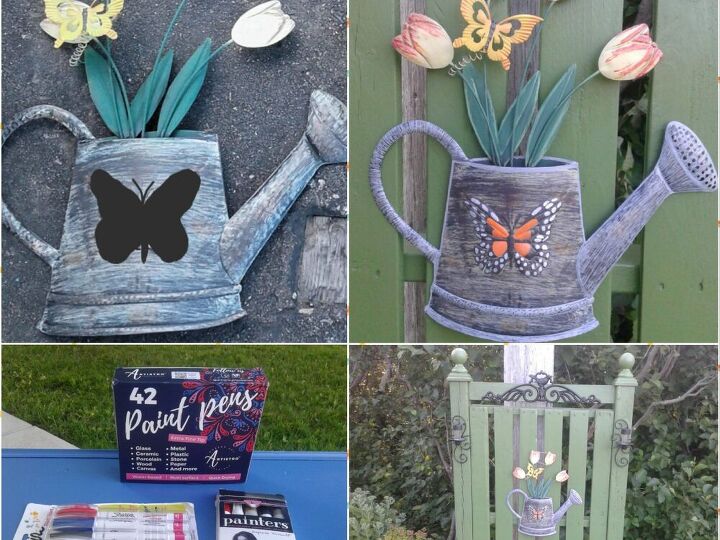
I stepped inside my back entry and took the watering can from the inside of my door and pizazzed it up with my new Artistro paint pens. A plain watering can went from drab to fab in a few, frazzled minutes. Summer Look Gate....check!
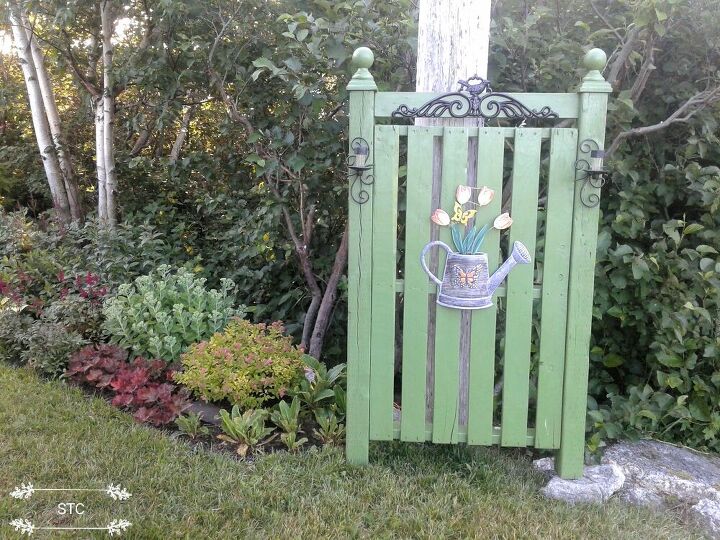
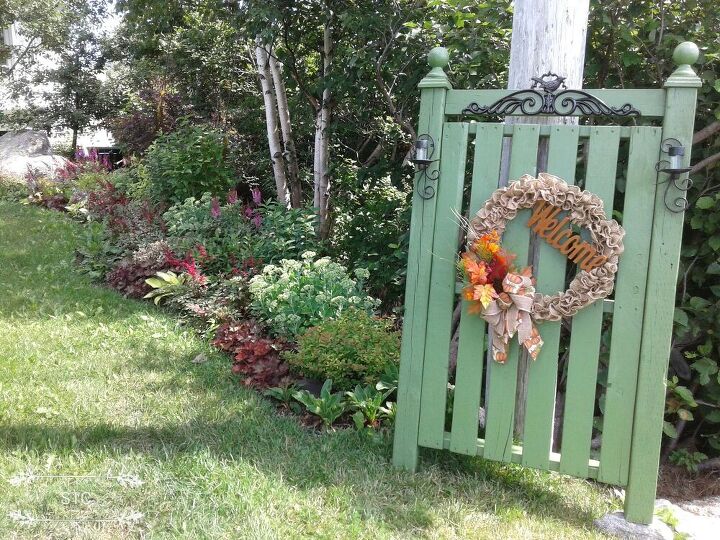
We moved the gate closer to the front of our yard and propped it against a utility pole to camouflage it hopefully, it's seen here at the end of my flower bed.
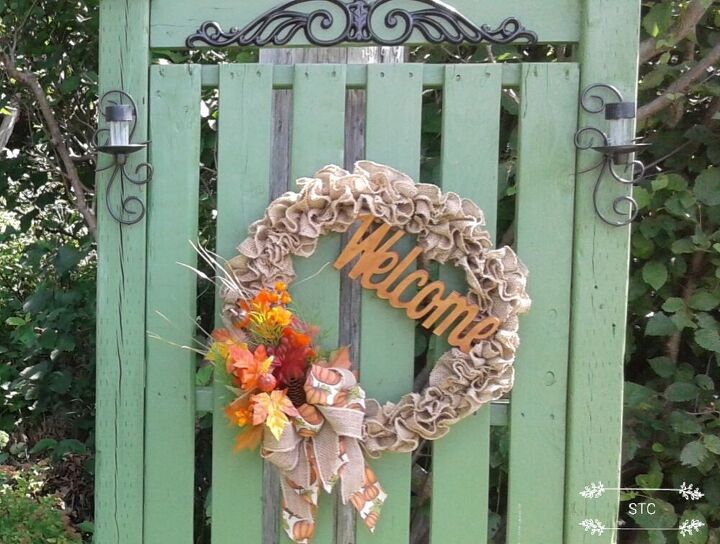
So as I mentioned previously we wanted this to be a garden accent that I could decorate with the seasons. This was a previously posted wreath that I made as seen here http://www.hometalk.com/diy/craft/wreaths/ruffled-burlap-ribbon-wreath-for-fall-44019804... class="step-title fs20">Wow Factor
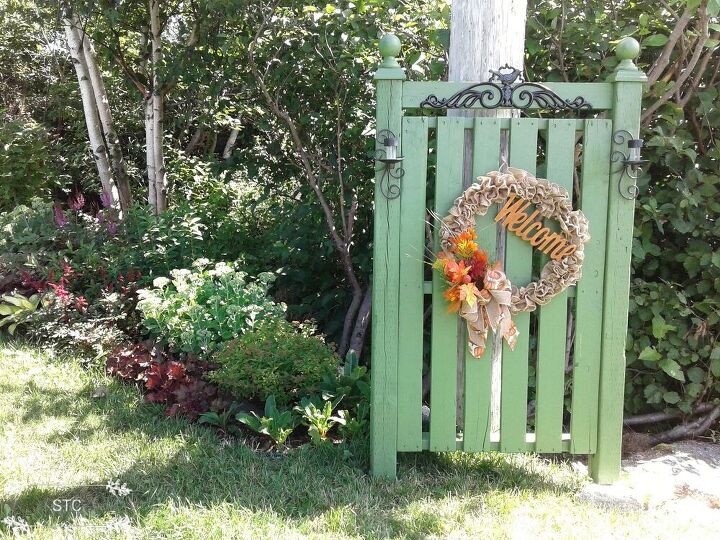
Now she's got it all once more with her green dress, jewelry and that one wow item! Oh the fun I'll be able to have with switching up the looks because as I always say I get bored easily with looking at the same old thing!
I'm so pleased with how easy this came together with basically scraps and a dream! Color and decor options are endless, just remember to make it yours because that's what makes it special!
Note: My cost is based on the fact that a lot of the items we're either re cycled or partially used for other projects like the paint, silicone and so on. The watering can and wreath are optional accents so their costs weren't included here either, just the gate build.
Resources for this project:
See all materials


Comments
Join the conversation
-
Pallets are the rage now...Adore your treatment & wood is wood & tha is what pallets are !!! So fabulous art pieces are done using them &. I need to make a garden gate very soon but dragging my heels...your treatment of a pallet for the gate inspired me...am worn out from too many things to fix this summer but got to keep moving...nearby lumber store has tons of pallets for $ 2 sooooooooo .....now inspiration
will get me through the tedious part of sawing & attaching hardware...I am an artist but get way sided with mechanics of the process (husband not able to do a lot these days) but
once I see a photo .... Boom ... I get going ...
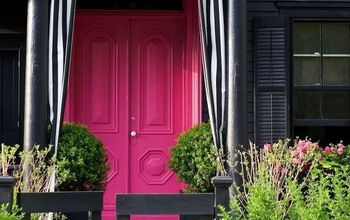
My redo for our front door is planned ... not your millenial milk paint neutrals .... Oh no ...
A Boston Special ... Beacon Hill Historical Area ...
A Raspberry Painted Door With Brass Highly Polished (have original door jewelry on it always) ... then same treatment with undersized bench..... paint the slats & paint 'antique' wrought iron black with silver & white & put place outside front door aside or a step down from front door.
~~~~~~~ Eliza 🌹 ~~~~~~~
- See 1 previous
-
oh I do like that gate !!! Such a lovely idea for a garden focal point!
Yay!!! Eliza! Let’s hear it for going against trends!! I too am an artist and love color!


Frequently asked questions
Have a question about this project?