


Bathroom Vanity Makeover
How to give an outdated bathroom vanity a modern-day makeover in just a few simple steps! + a couple of tips I learned along the way!
We recently decided to FINALLY remodel our upstairs full bath. In the intial plan a new vanity was in the budget, but later I decided that the current one was in good shape and we could definitely save money if I gave it a makeover instead!
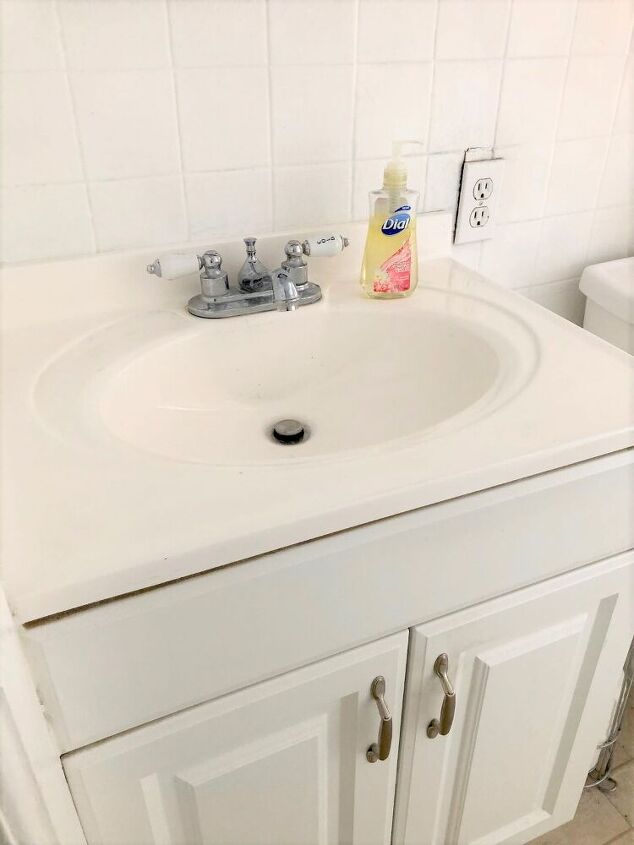
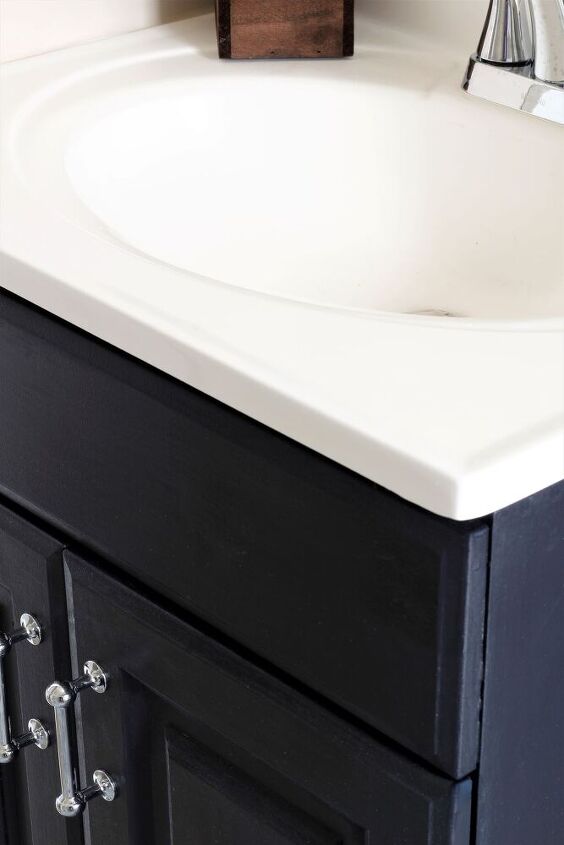
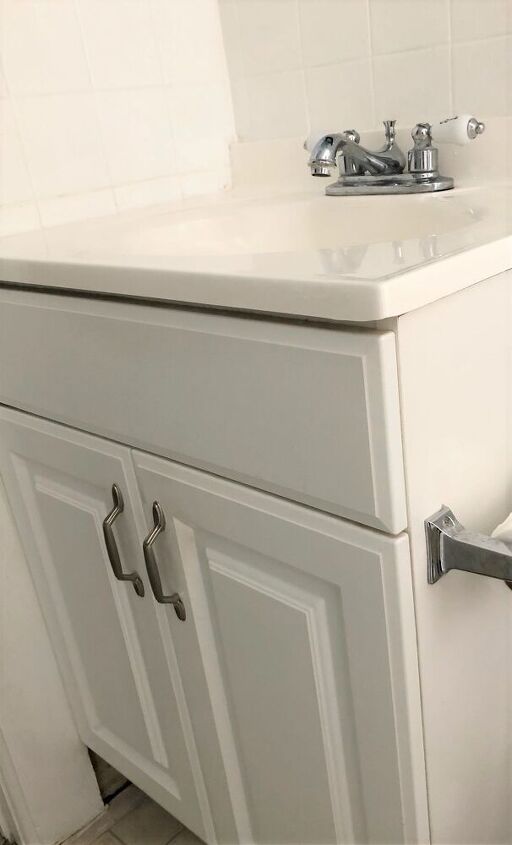
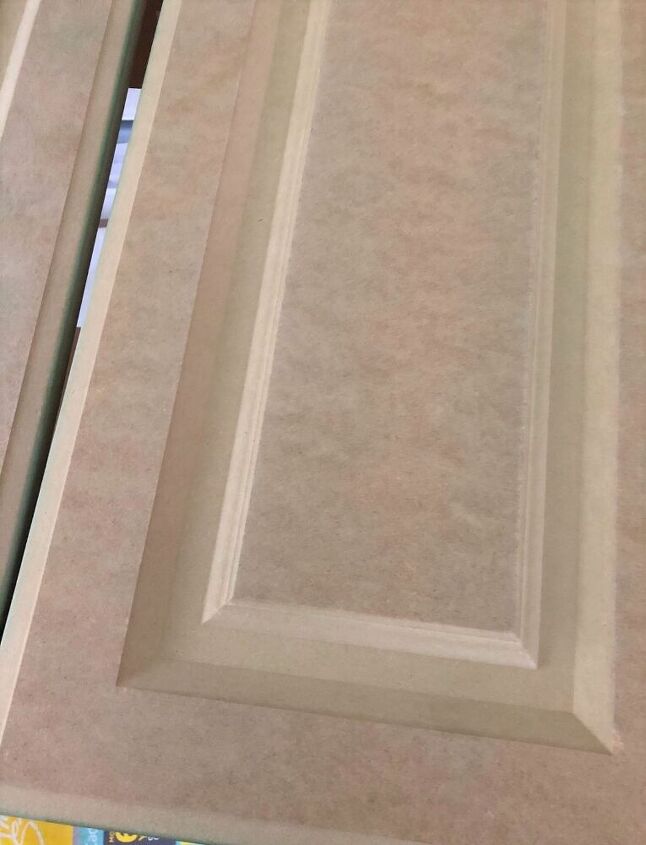
As you can see the vanity was of the plain-'big box' store variety. It wasn't bad, but it was pretty either. My plan was to give it a new color (black), new hardware, and a new faucet. I wasn't sure about the top. It had a small burn mark on the left side, but other than that it was in good shape.
Since I wasn't sure what I would do with the top, I just removed it and set it aside. Now, with just the base to deal with, I began removing the doors and hardware. As I began to inspect the doors prior to sanding them, I noticed that the coating on one had peeled off in one corner. There was a jagged edge so I began scraping it and to my horror the coating began to pull up and I was able to literally 'peel' it off!!!
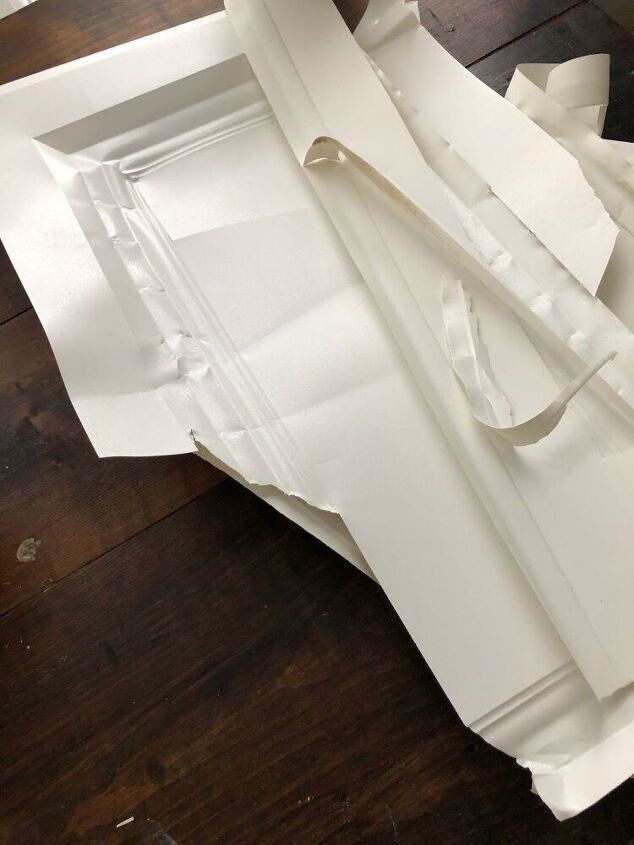
Although I knew our vanity was cheaply made (laminate) I had no idea they were covered in this coating. Thankfully, it was SUPER easy to remove (basically just peeled right off both doors).
After I removed the coating, I felt the doors and they both had a sticky film (glue?) on them. So I grabbed some TSP and a rough sponge and gave each one a good scrub-being careful not to get them too wet. Then I let them dry. (About 20 minutes).
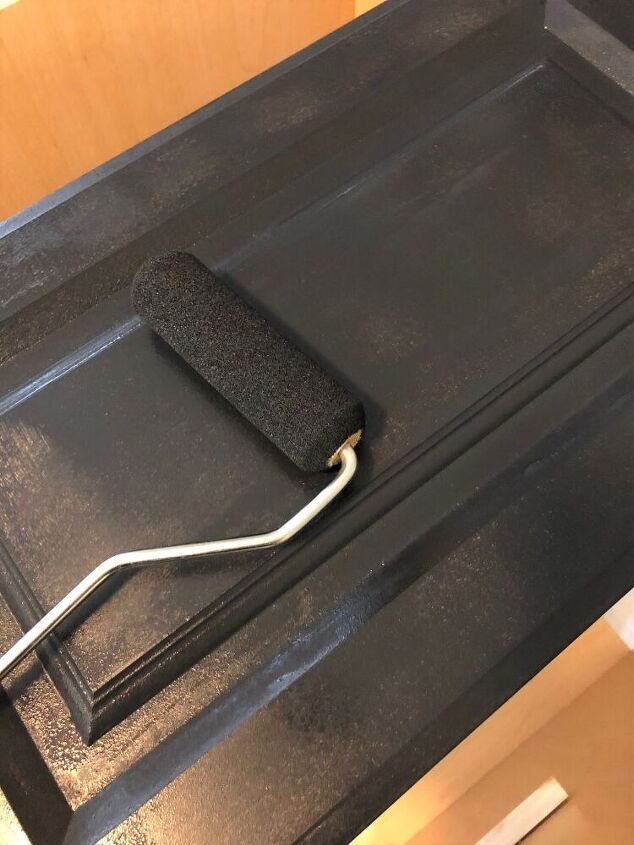
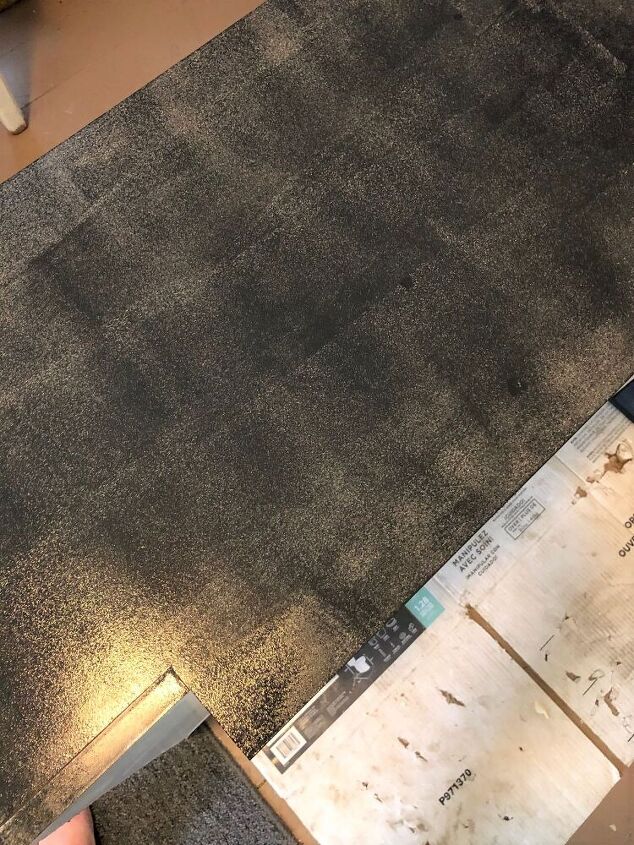
Once the doors were dry I gave each of them two coats of primer. Allowing drying time (1 hour) between each coat. Then I let them dry overnight. The next day I used a foam roller and gave each of them two coats of the black paint. (Again, allowing 1 hour of drying time between coats.)
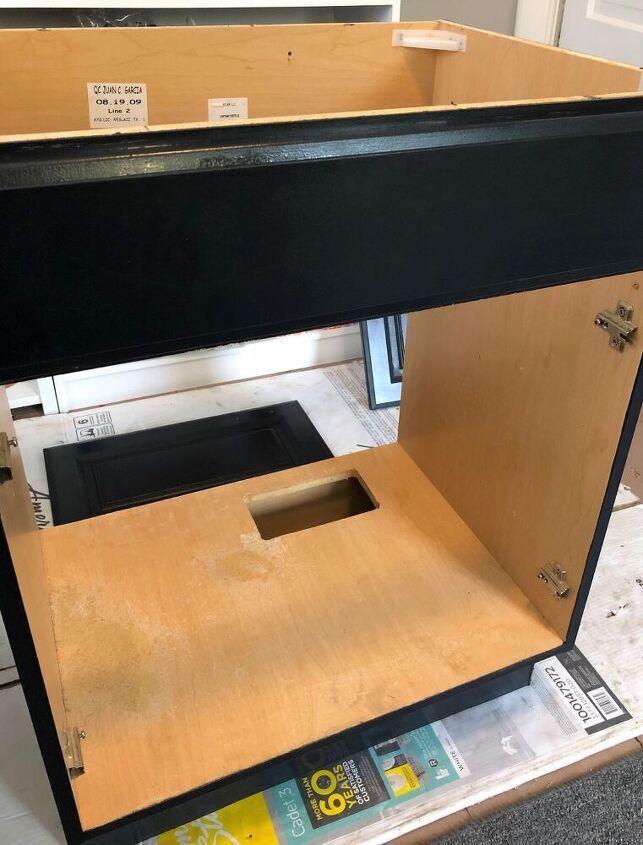
Although the coating on the doors was easy to remove, the coating on the base was not. In fact it didn't appear to be the same type and wouldn't come off at all! My worry was that the paint wouldn't adhere to this glossy surface, but I went ahead anyway.
First, I gave the entire base a good scrub down with the TSP. Then I tried roughing it up with sandpaper. Unfortunately, the surface still looked and felt glossy. So before I started priming, I did one last step. I grabbed some Klean Strip, which I've used before on shiny surfaces before painting. It basically 'deglosses' the surface like sandpaper only chemically. (I recommend wearing gloves).
***I'm not sure if this extra step was necessary as both the TSP and Klean Strip are suppose to do the same thing, but I did notice the surface was less shiny after I wiped off the Klean Strip!
Like the doors after the base dried, I gave it two coats of primer (1 hour drying time in between), and allowed it to dry overnight. Then I gave it two coats of black paint (1 hour drying in between.)
The next day, before I proceeded to the next step, I did a 'scratch' test on the base and the doors! The paint held!!! YIPPEE!!! Now it was time to add some legs!
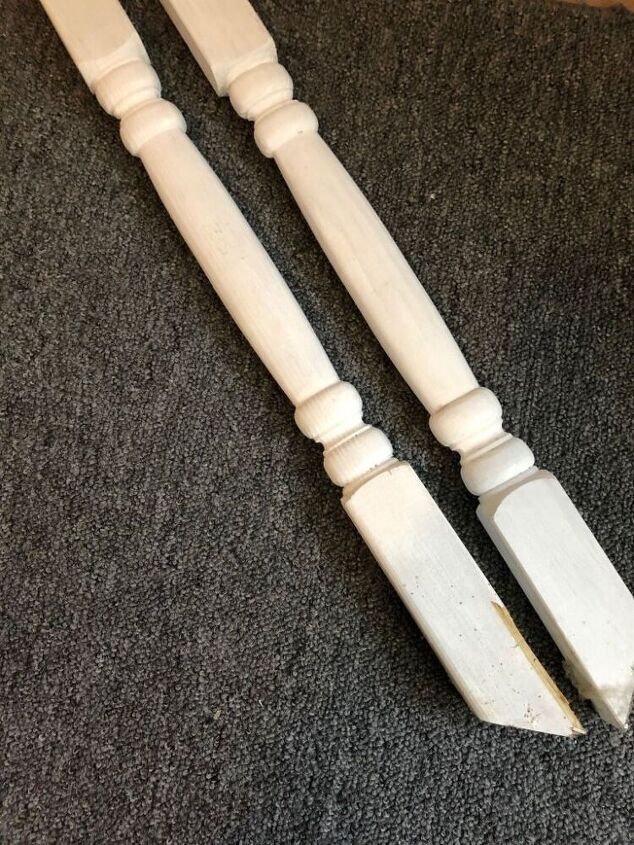
I wanted to raise the vanity up a bit but not too much. Unfortunately, I wasn't able to find legs online that were the perfect height and width. So, we decided to make our own using the post newels we had leftover from our staircase.
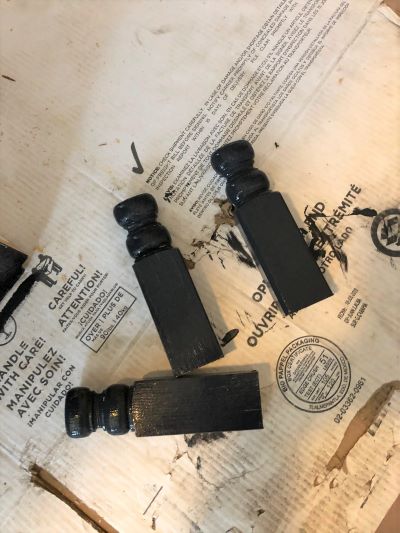
We simply cut them down to size, painted them and attached them to the bottom of the vanity!
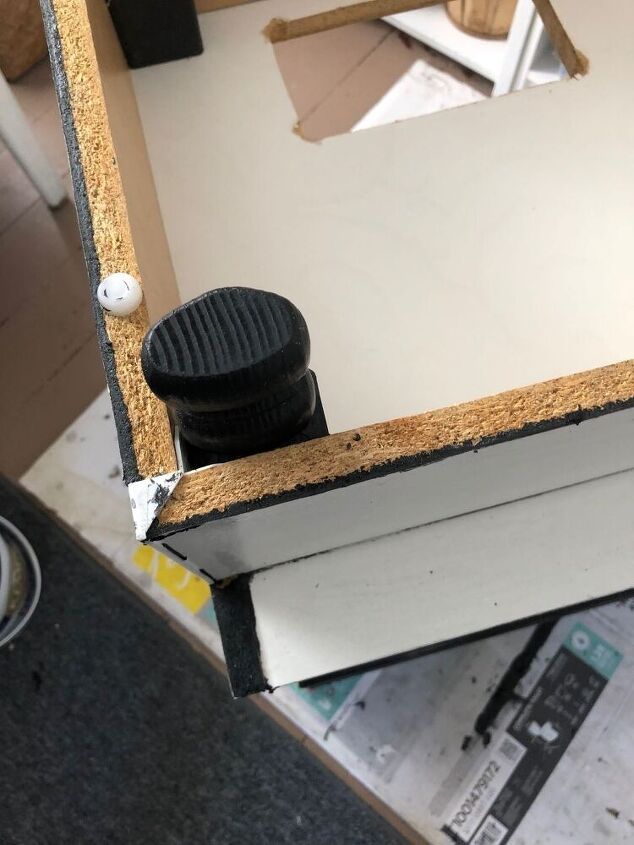
Since the vanity is in the corner, it's difficult to see the legs unless you look real close, but that didn't really matter to me. Although now that they were on it looked more like a piece of furniture than a vanity which I loved.
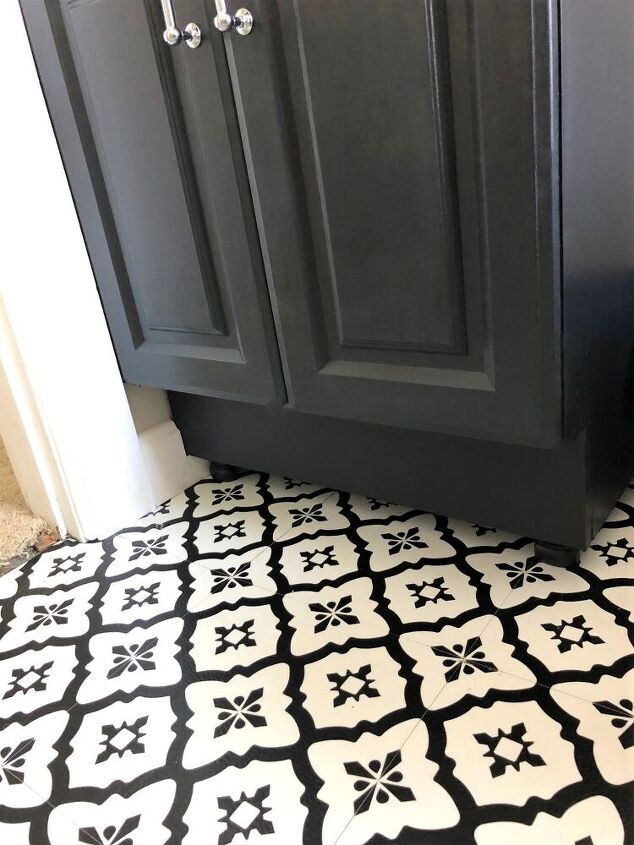
The next step for this makeover was to add the bling! I chose these pretty chrome handles to add a little modern touch to the vanity.
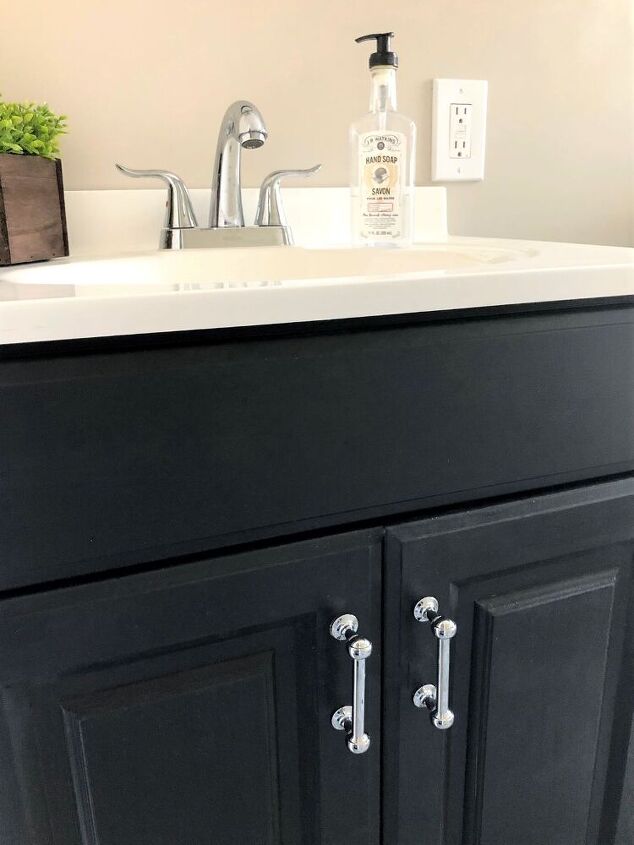
And the last step? Well, that would all depend on whether or not I could get that nasty burn off the top!! Thankfully, it was easier than I thought. All it took was a piece of 220 grit sandpaper and it was gone!

So for just the cost of a new faucet and hardware ($47) we now have a modern bathroom vanity!
The full tutorial and material list is available over on my blog (see link below)!


Comments
Join the conversation
-
The vanity turned out really nice. It's amazing how those little feet change the whole effect tho'...it's the little things. : )
-
Thank you so much, Hope! Yes, I LOVE those feet and just that bit of extra height has made a world of difference using the sink!


Frequently asked questions
Have a question about this project?
Thanks for sharing i have a similar vanity like yours... This is a great idea on lifting up alittle love it
What kind of paint is ? Semi gloss or high gloss what brand?.....
Do you have a link to your handles? I love them!
If you ever want a new top, you can spray paint it a different color with Rustoleum. I just used their white glossy enamel spray to do a makeover on a toilet and bathtub. Now they look brand new. They make many kinds of paint and many colors. Spraying your top metallic silver would look cool!