


How to Make an Affordable Slat Wall
I absolutely love the look of a slat wall! The contrast of the wood against a painted wall really caught my eye. After pricing out a slat wall using pieces of pre-cut wood, I decided to find a different way to create it without spending so much money. That's when I decided to use plywood instead! Here is how I created a slat wall with just two 4'x8' pieces of plywood.
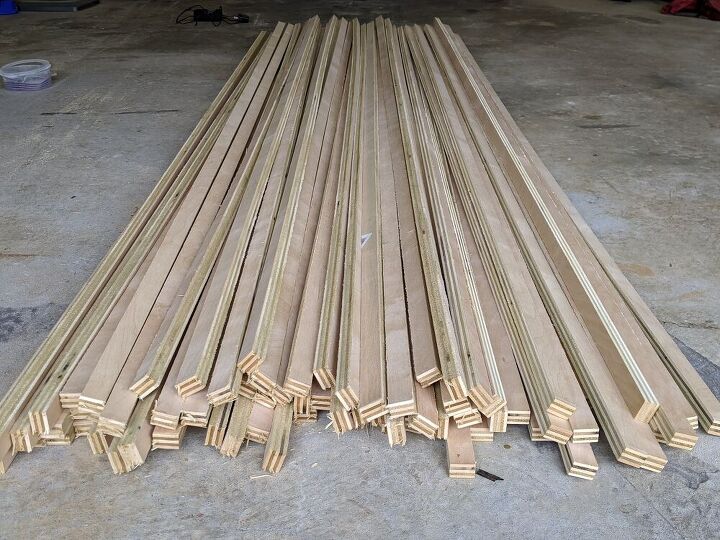
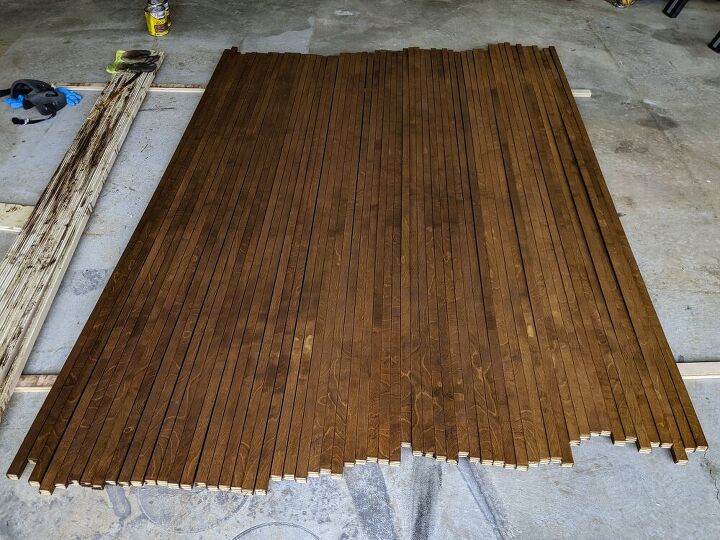
I ran the plywood boards through my table saw to create several 1" slats. I decided to use birch plywood since I wanted to stain it.
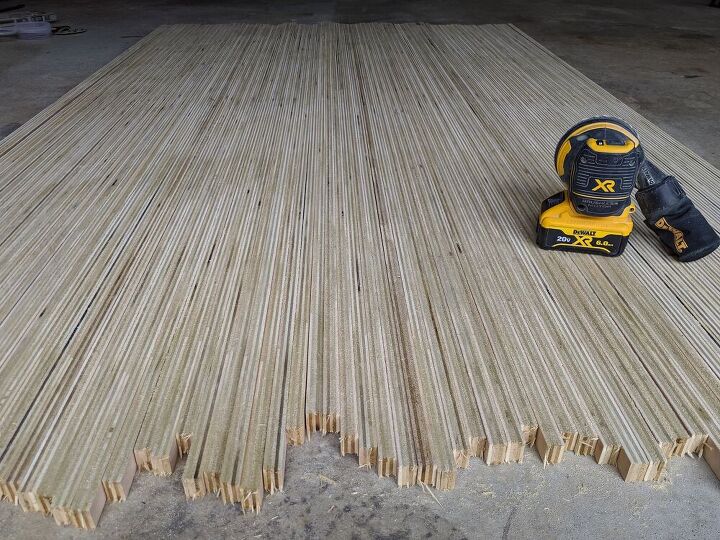
I did a quick sanding to remove any rough edges. I lined them up and quickly sanded each side and the front and back. I then sanded each edge of slats by hand.
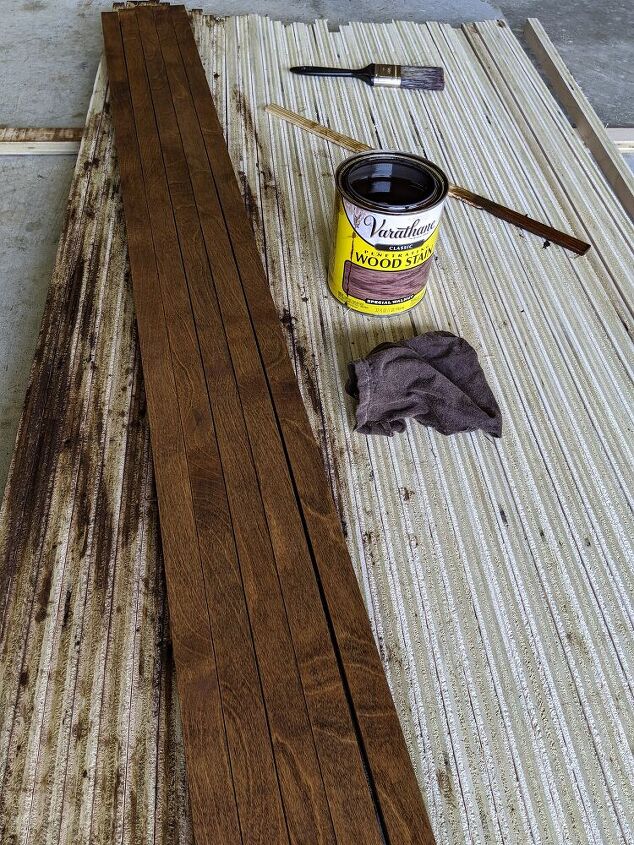
I stained three sides of the slats using a special walnut stain. I did not bother staining the side of the slats that would be up against the wall. Once the stain dries, seal the wood. (I foolishly waited until the slats were installed on the wall to seal it.) Allow the stain to cure before installing it on the wall. This will prevent the stain from making your whole house smell!
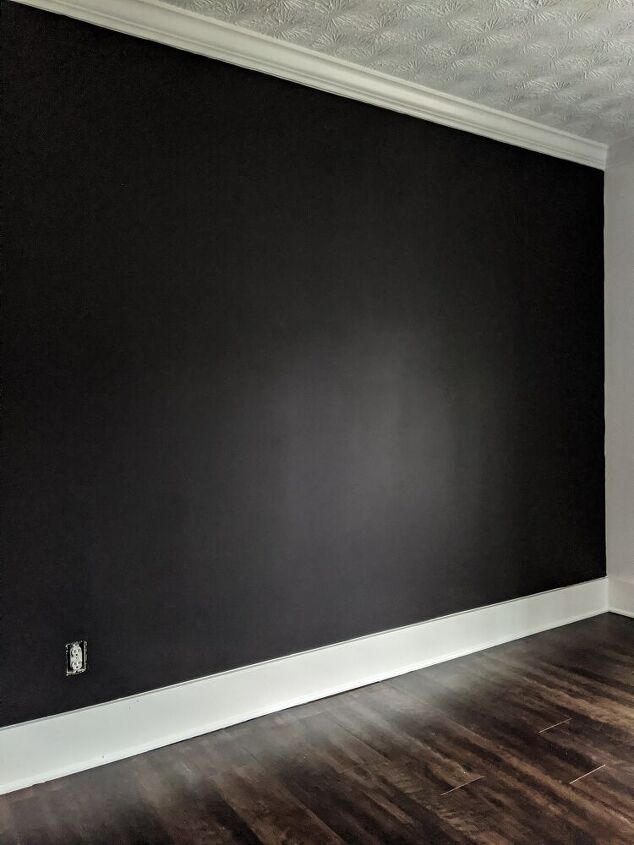
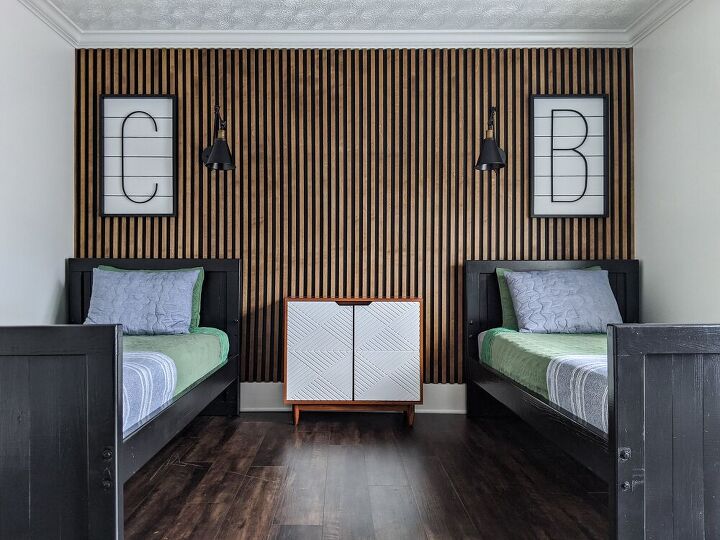
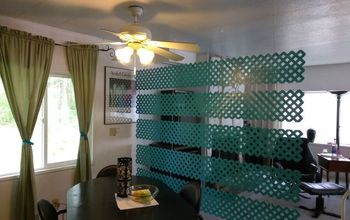
Paint the wall where you will be installing the slats whatever color you would like. The wall color will show through between the slats. I chose to paint my wall black because I like the contrast of the wood against a black wall.
Since no wall in my house is straight, I did not expect this wall to be an exception. Therefore, I only cut a handful of slats at a time. I installed those slats and then cut the next batch. This ensured that the slats weren’t too long or short.
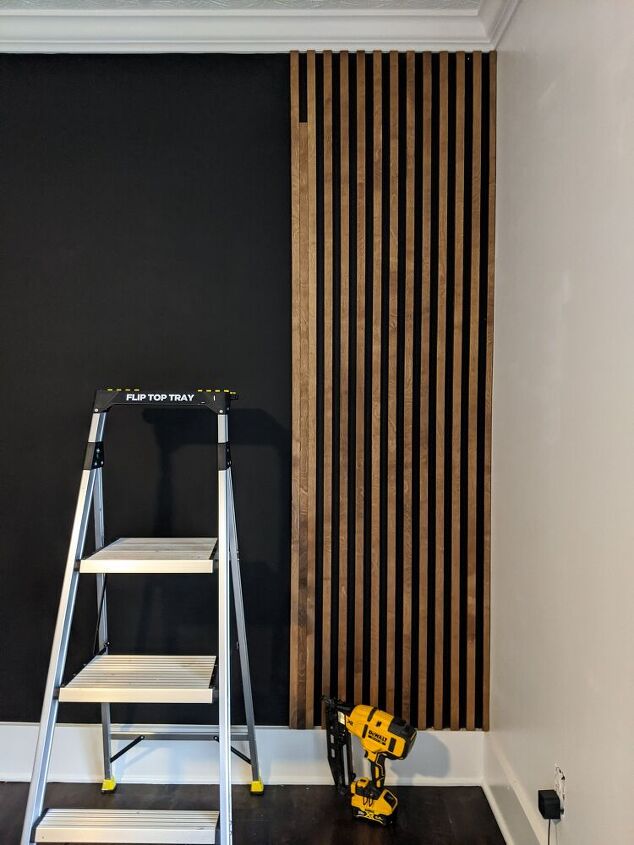
To secure the slats to the drywall, I used both construction adhesive and finishing nails. I applied several small dots of construction adhesive to the slat and then nailed it to the wall, making sure the spacer was tight between the two slats. I put the nails in at a slight angle and alternated directions (left to right). I cut one of the slats slightly shorter than the rest and used it as a spacer to ensure that the slats were spaced the same.
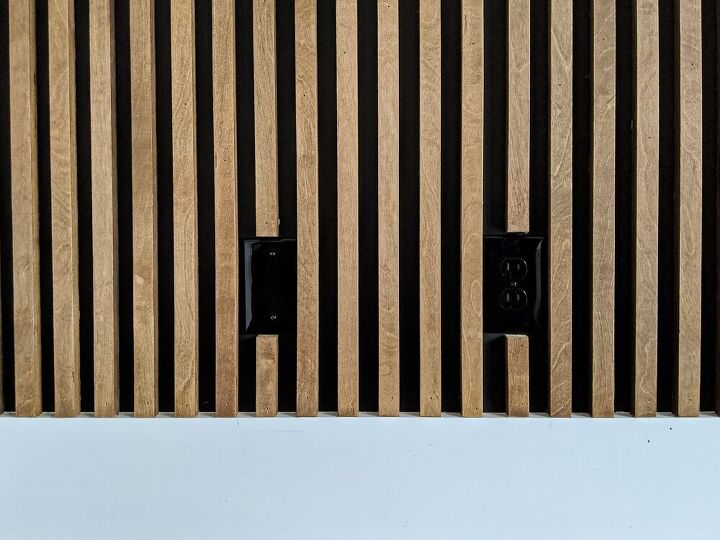
I had one outlet and one blank cover plate on the accent wall. Luckily, the slats were spaced perfectly to where I only needed to cut one slat per plate cover. For these, I simply cut out enough of the slat to install the covers.
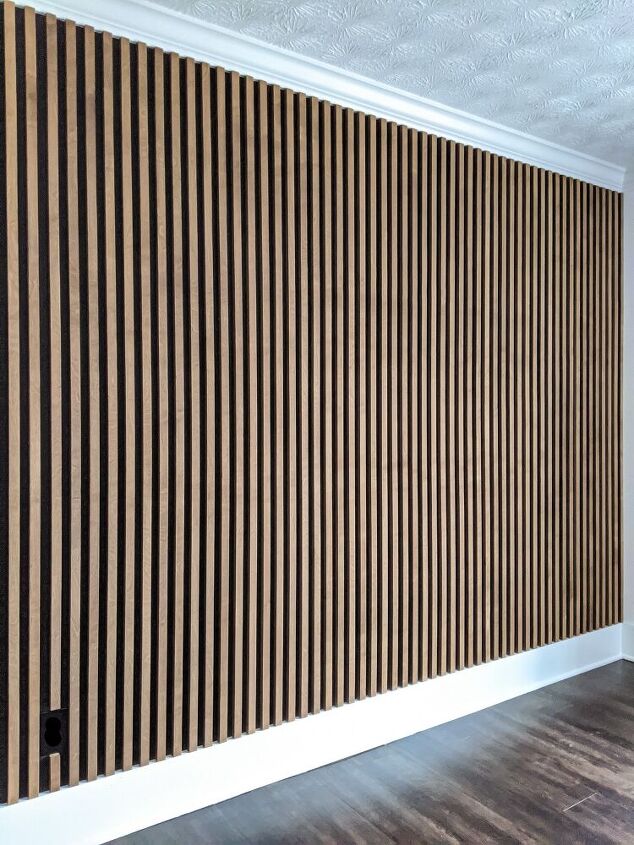
I installed this slat wall as an accent wall in my boys' room. A slat wall would be the perfect addition to any room!
Resources for this project:
See all materials


Comments
Join the conversation
-
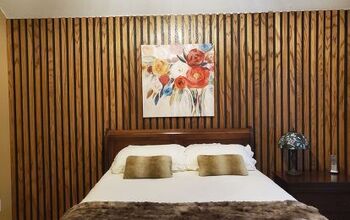
You really inspired me so I just had to show you what we did in our guest room. We used oak plywood and special walnut stain. I was going for rustic/romantic. We did 2" slats with 1" space (husband's call) ha ha. But I absolutely love it. A lot of work, but so worth it. Thank you!
-
This is so awesome!! I have a corner in my living room that I couldnt figure out what to do with… I now have my solution!! Thanks so much for sharing this great idea!! Beautiful!! ❤️❤️


Frequently asked questions
Have a question about this project?
I did this to my front porch since it is recessed and people actually stop to look at it!!Such a great effect it has no matter where you put these slats! I love this bedroom idea. Question, the wall lights, do they plug in?
I LOVED this look. What a great idea; thanks for sharing it. Could you post a picture of the wall straight on? I’m considering a fairly large wall and I want to make sure it’s not too busy from a straight on view. Thank you.
How would you clean that? Seems like a dust catcher?