


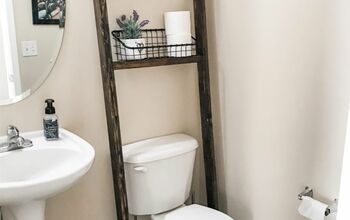
Farmhouse Blanket Ladder DIY Free Detailed Instructions
4 Materials
$10
2 Hours
Easy
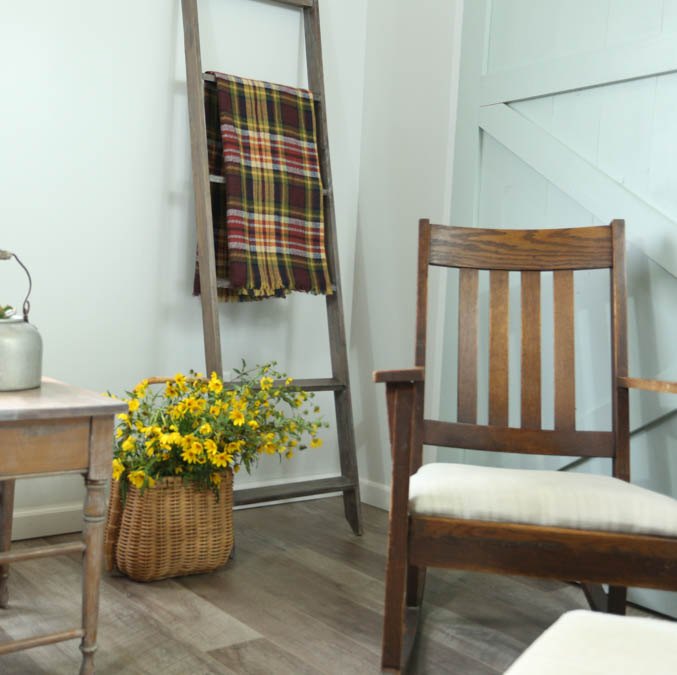
A Farmhouse Blanket ladder is simple to make even with beginner woodworking skills. This DIY blanket ladder adds so much character to your space, you may want to make more than one!
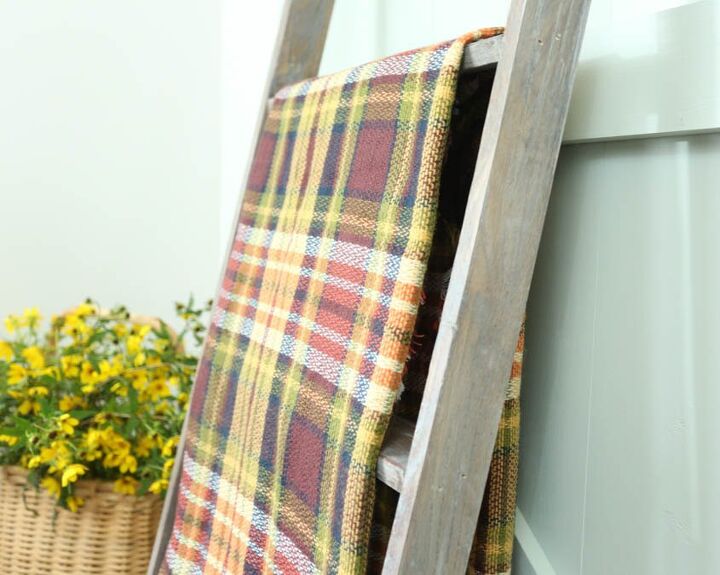
Have you seen these blanket ladders all over the place? I have been noticing them for years. They are so perfect for storing those extra throws that you may have out this time of year. I usually keep throws in a basket, but that takes up precious floor space. These are great if space is limited.I couldn’t help but notice the price on these ladders! Yikes! Having that DIY spirit, I knew we could make one for cheap or better yet FREE!
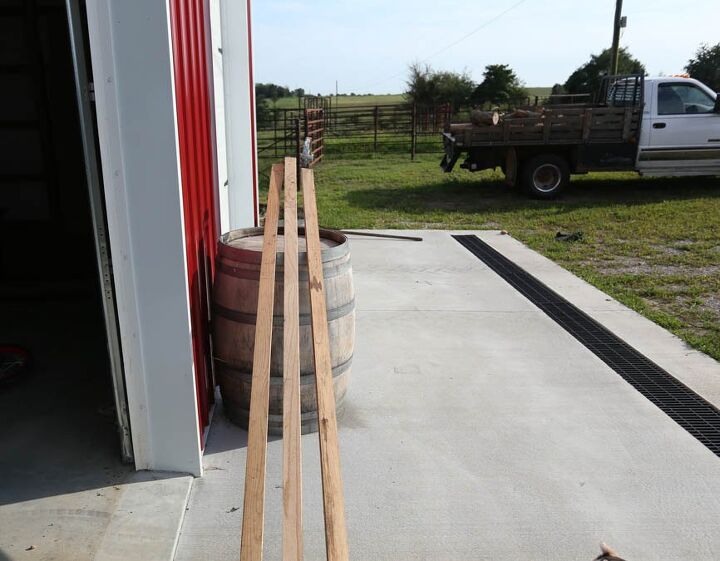
Step 1: Gather materials
- You will need a saw, or you could have your boards cut to size at the lumber store.
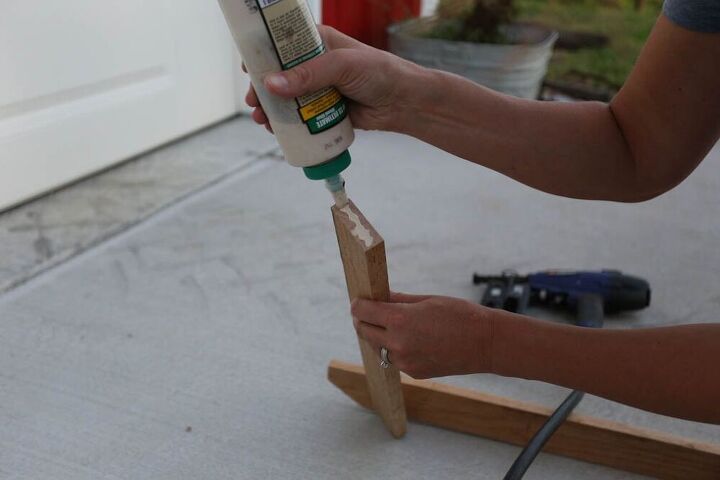
- You will need either screws or nails to attach the boards together.
- Wood glue is also helpful for making it more rigid.
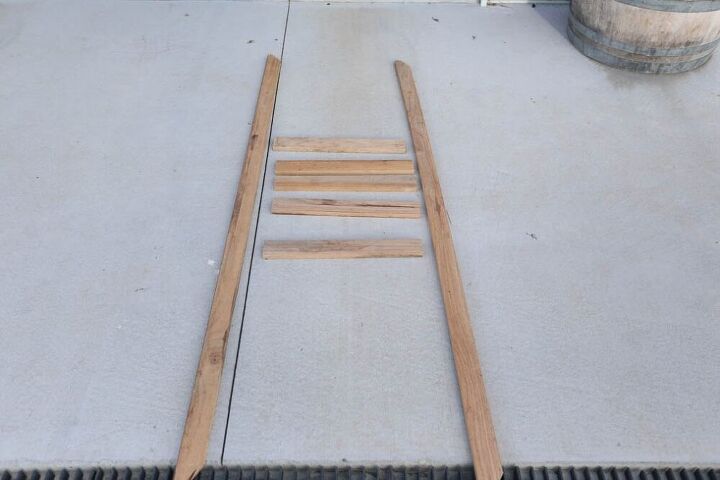
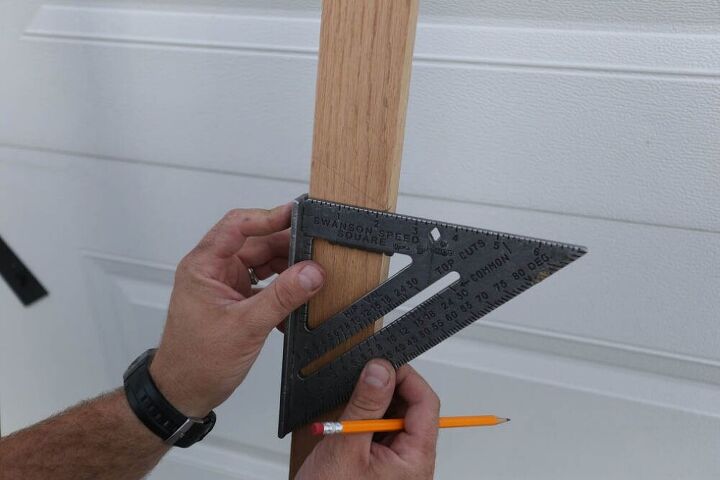
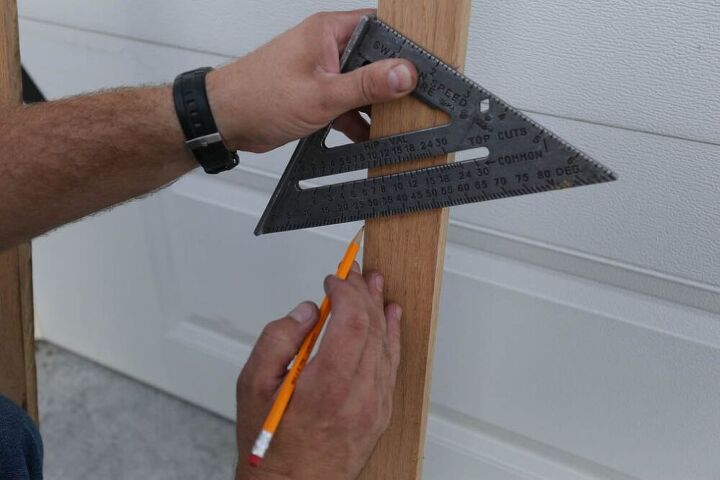
Step 2: Figure Dimensions
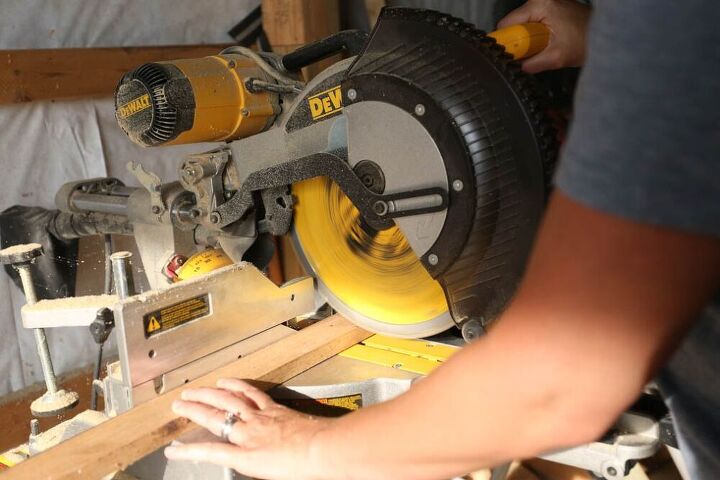
Step 3: Cut the Boards
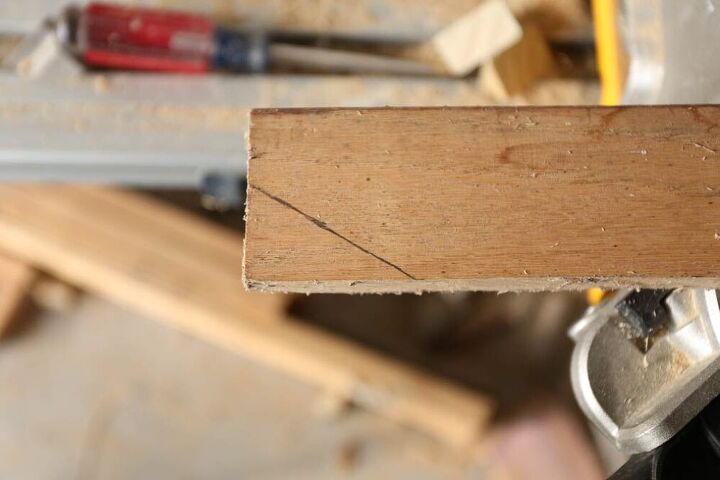
Angled tops and bottoms
Step 4: Angled Rungs or Not?
Hold it flat
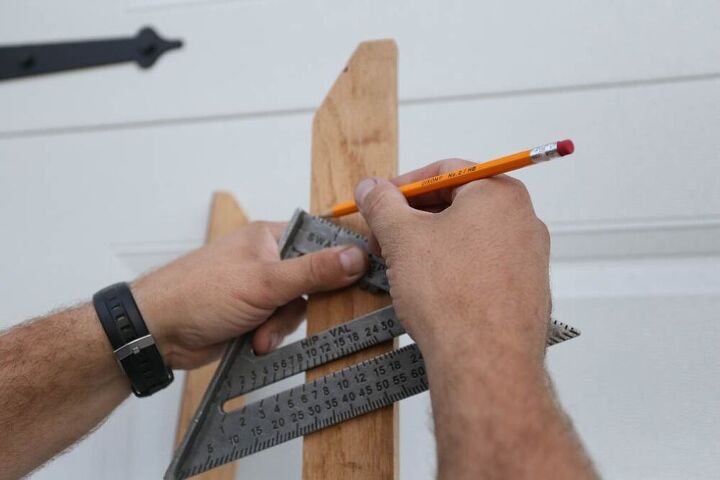
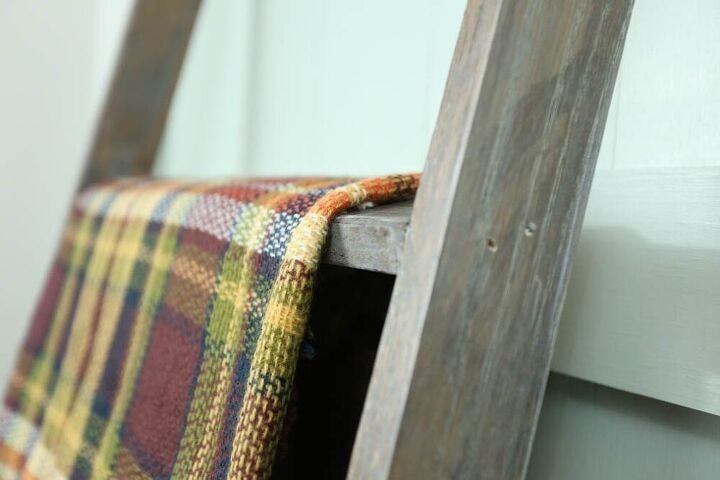
This is pivoting out to 26 degrees to match the initial line.
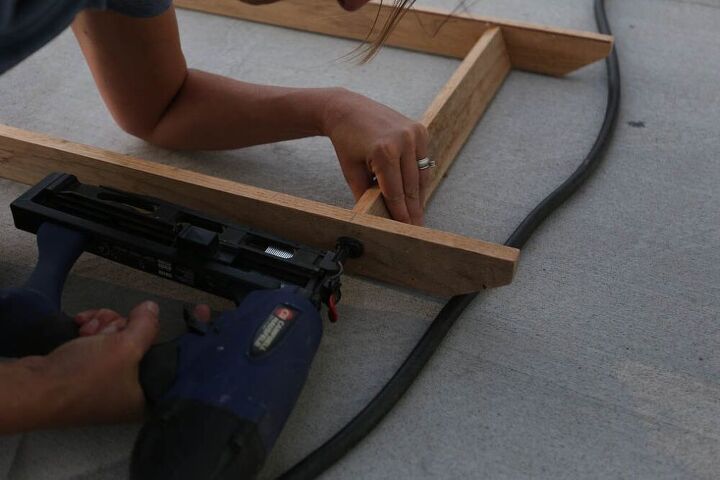
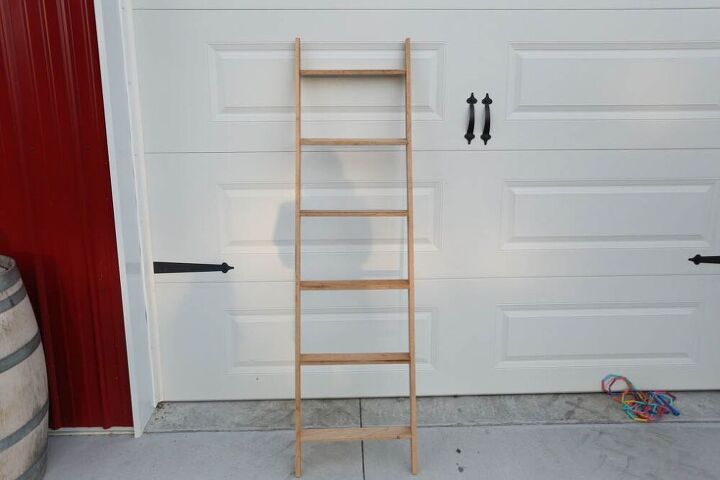
Step 5: Assembling the Blanket Ladder

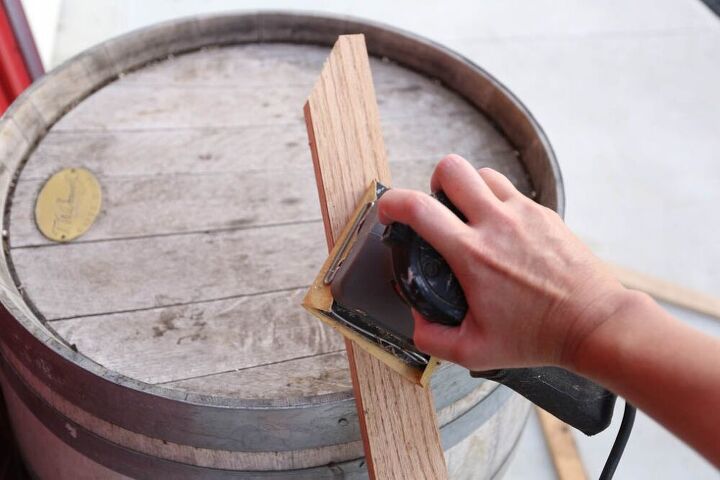
Step 6: Finish Your DIY Blanket Ladder
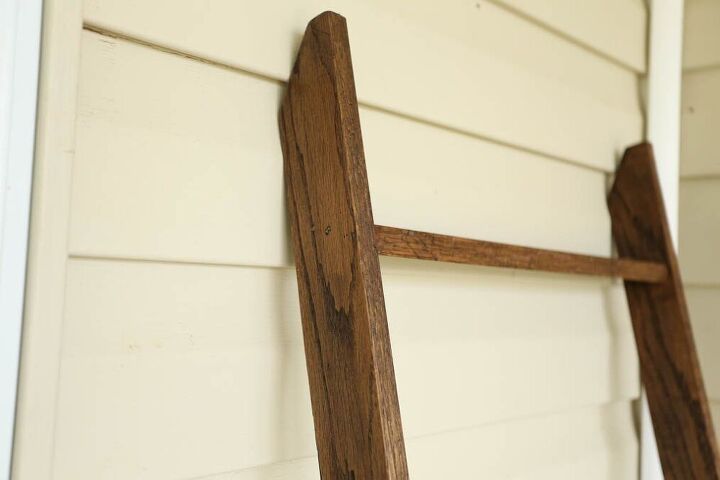
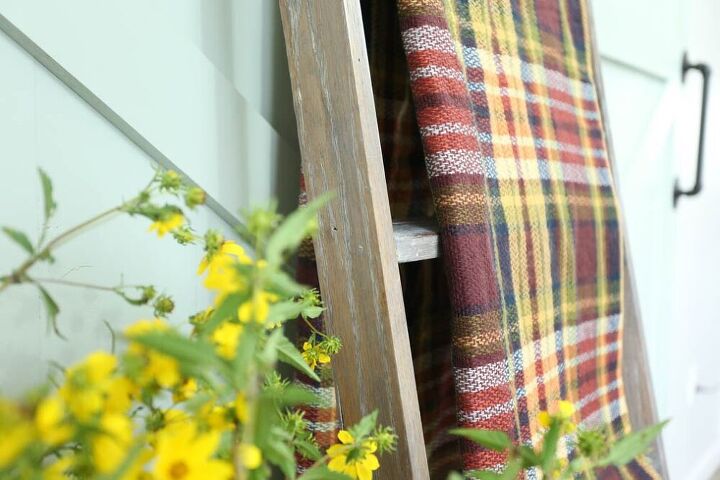
For the finish on this ladder, first give it a good sanding. I then stained it with minwax dark walnut stain. This finish looked very pretty, especially on the oak wood. However, I wanted a bit more depth to the finish.I decided to give this farmhouse blanket ladder a limed wax finish. This is easily achieved with Briwax Liming Wax. One can of this will cover many many projects! I have done two tables, and this ladder with one can, and I have about half of the can left!
I hope you give this diy blanket ladder a try! It is so rewarding to make something out of things that you have lying around! It’s also very fun to learn to use tools and make something all by myself…well almost!!
Resources for this project:
See all materials


Any price and availability information displayed on [relevant Amazon Site(s), as applicable] at the time of purchase will apply to the purchase of this product.
Hometalk may collect a small share of sales from the links on this page.More info

Want more details about this and other DIY projects? Check out my blog post!
Comments
Join the conversation
3 of 13 comments
-
I know that this is an older post, but it's one of the best that I have seen, your post is clear and I understand all the info... most do so much talking and talk about stuff that doesn't even relate to their post. So Thank you very much... 😊😊😊
O and it maybe old news to others but its new news for me...lol Thank you 😊😊😊
-
I love it!!!


Frequently asked questions
Have a question about this project?