


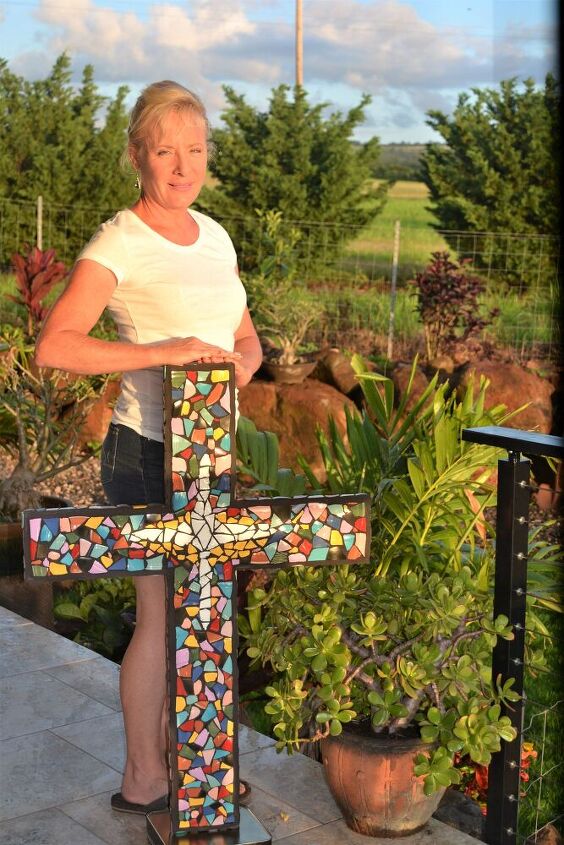
3D Mosaic Cross
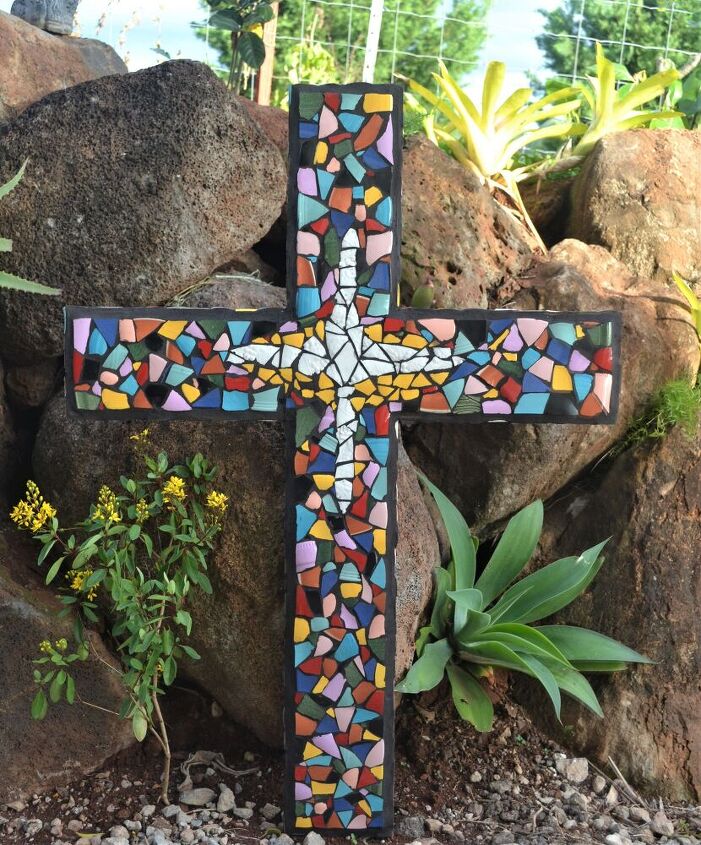
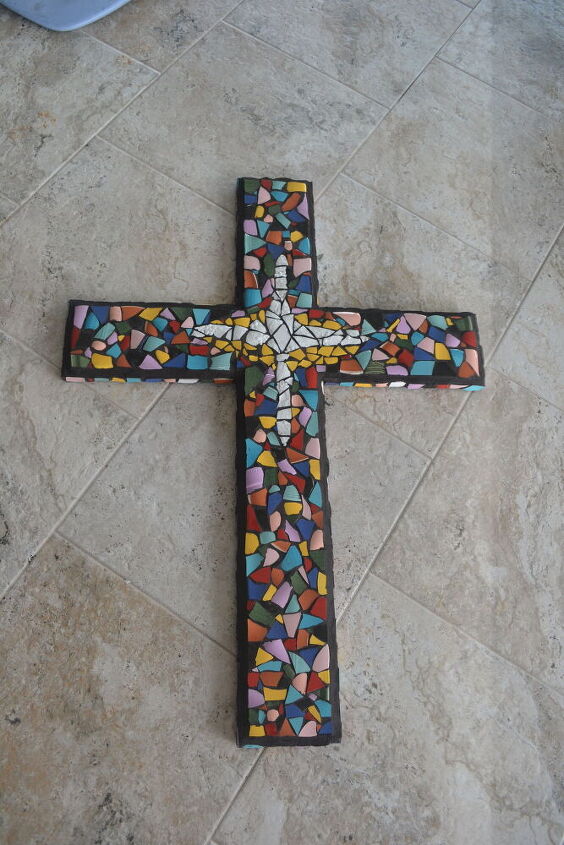
I was commissioned to make this mosaic cross for a newly built small church in Texas. This 3-demensional cross features recycled china shards from a variety of vintage china sources in varying colors. The white center pieces were strategically placed to represent the Holy Spirit. This a relatively easy project, however a tedious one. You can make a smaller scale cross by following my steps below.
Follow my simple steps to create your own 3 dimensional cross of any size.
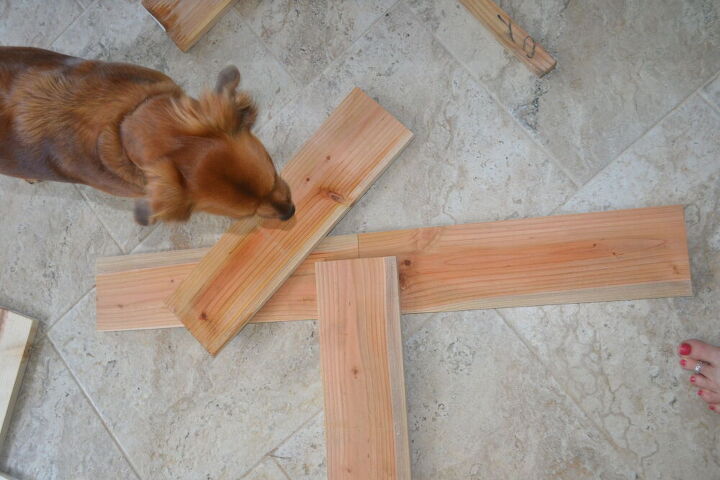
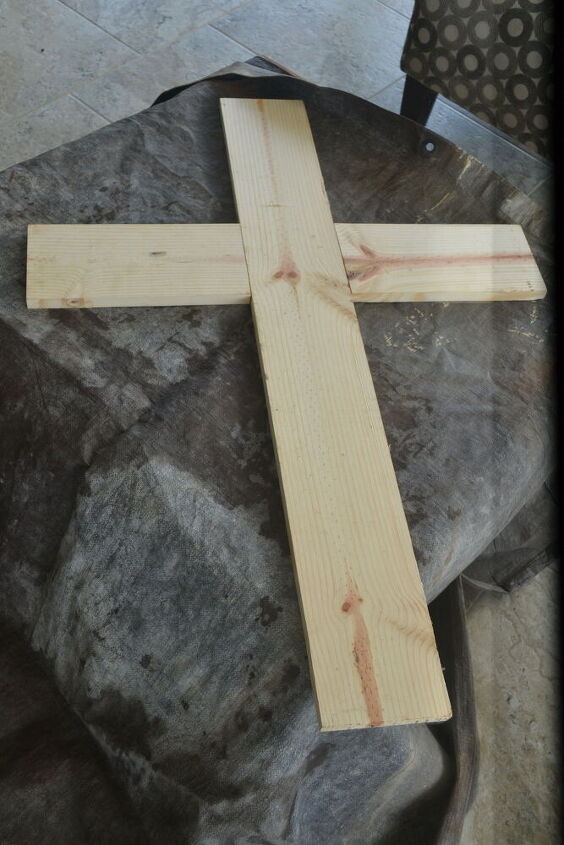
I used a 6' long 2 x 4 piece of lumber and had Home Depot cut the wood into pieces for me: One piece at 4' and two pieces at 1'.
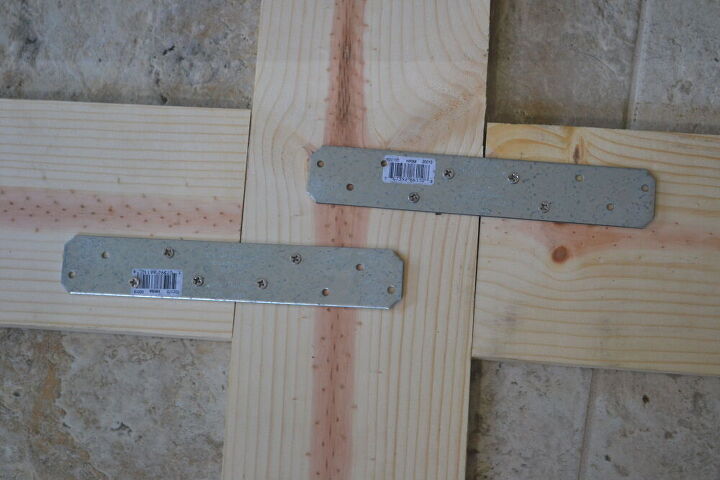
I also purchased two flat metal brackets to secure onto the back side. You will not be mosaicking the back side, so don't worry about the back side not being completely flat.
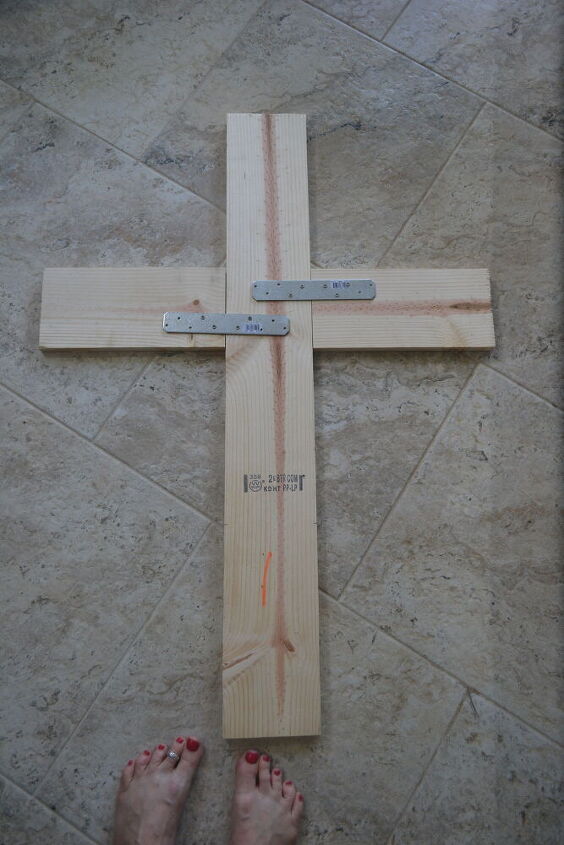
Once in place, secure the metal brackets with screws. Be sure that the length of your screw does not exceed the thickness of your wood.
I placed a large tarp over my flooring and draped part of it over a coffee table so that I could have a raised work area to work on. This will get messy, so be sure to cover a large area or work outside in a shaded area. There will also be many sharp edged shards, so choose your work area wisely.
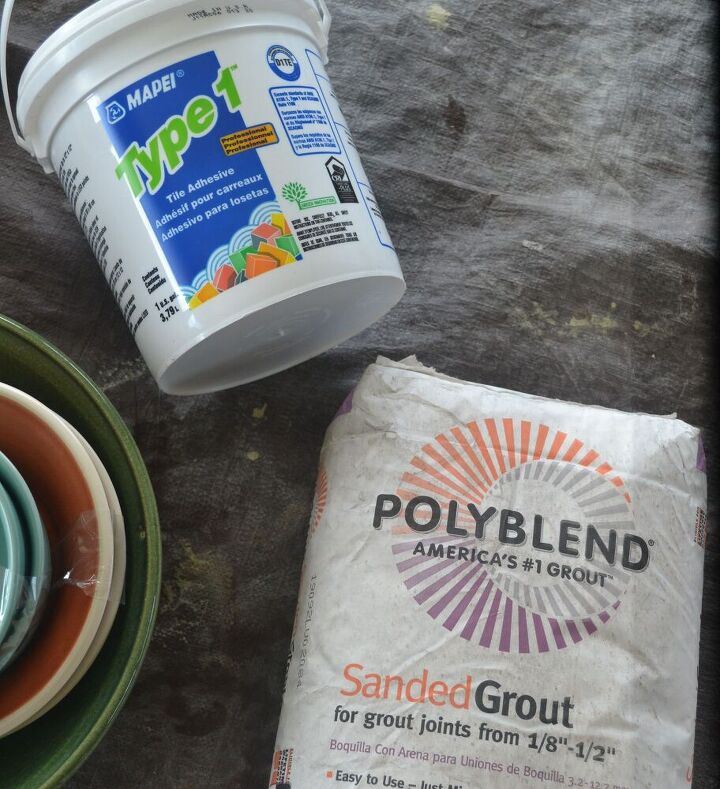
My favorite mortar for ALL of my mosaic projects is made by Mapei. It is a 2 in 1 product whereby you can use it as the mortar AND the grout! However, in this project I will only be using it as my mortar (adhesive), as I have chosen to use a charcoal black grout for this project. I purchased the Mapei from Lowes, as Home Depot does not carry. They have the gallon size as shown, as well as pint sizes for smaller projects. It's easy to use and easy cleanup as well.
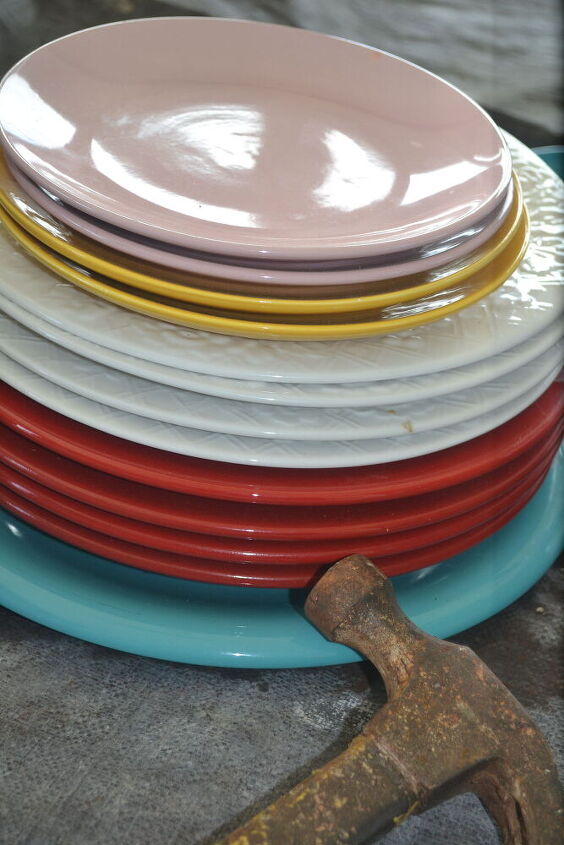
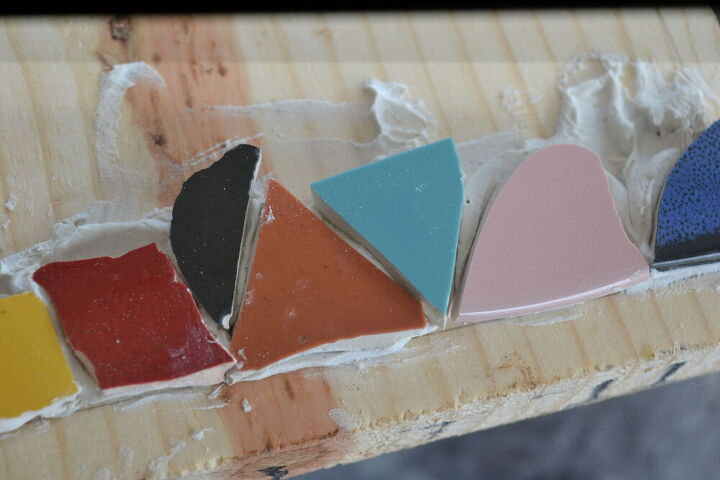
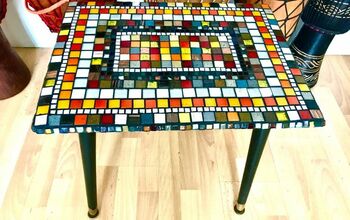
I spent some time collecting different colors of dishware from thrift stores. If you already have tiles that's great too. You can use solids, or prints, smooth or patterned. It all depends on what type of finished look you're going for.
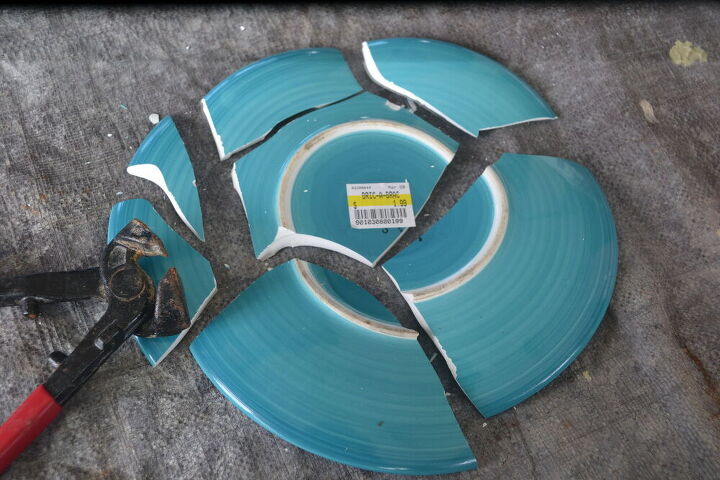
Now the fun part! BE SURE TO WEAR SAFETY GOGGLES. I used a hammer and tile nippers to break, cut and size pieces into desired shapes and sizes. It's best to have a variety of both, about 1 - 2 inches each.
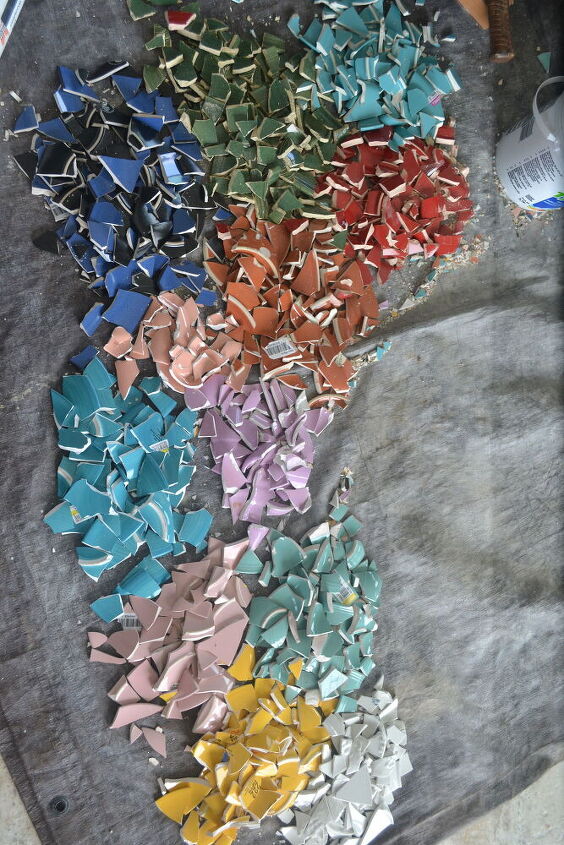
Make sure you have more than enough pieces to work with. Once you begin you will find that you will need a variety of shapes to puzzle fit in with the other pieces.
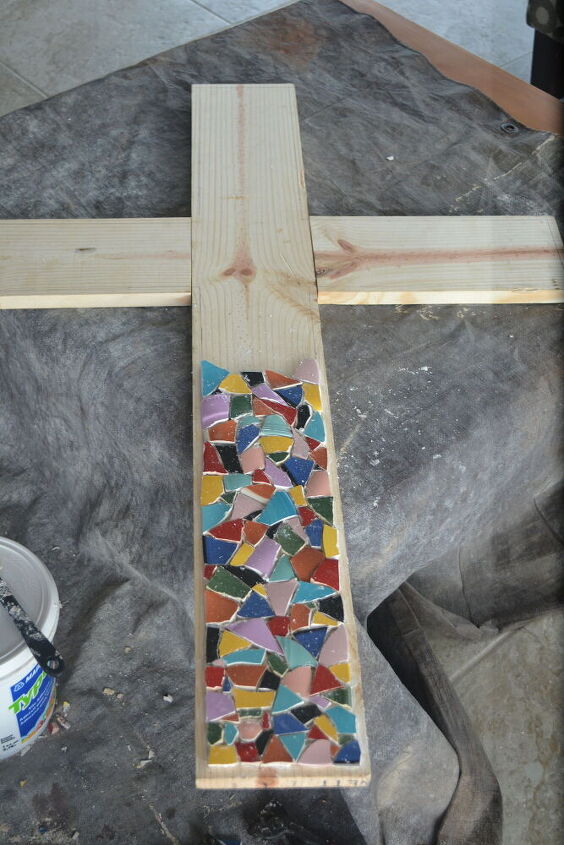
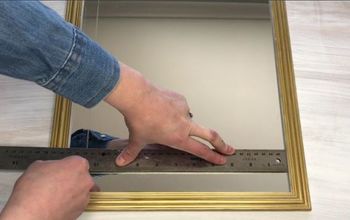
For this project, I really wanted the colors to pop, so I anticipated a black grouted border. I penciled in a 1/2" border so that I reference of where to lay the pieces up to.
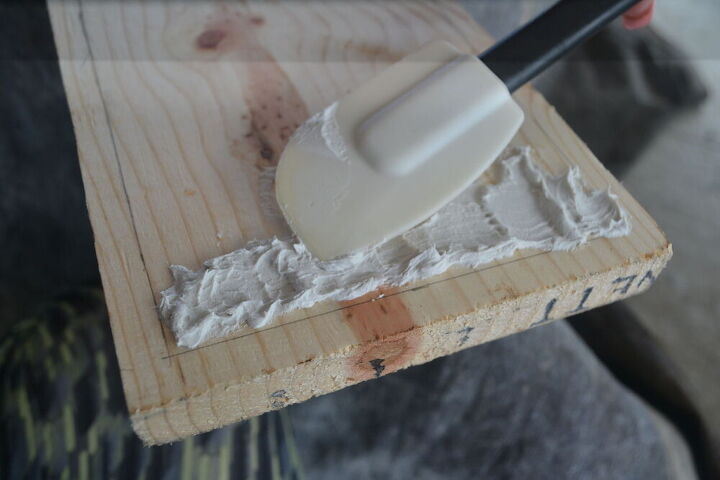
Begin with a small section at a time, and add the mortar like frosting onto a cake, not too thin and not to thick. If it's too thin there will not be enough product for the tile piece to adhere to the wood. If there's too much, you will excess that rises above the tile piece on the sides and the cleanup will be a nightmare.
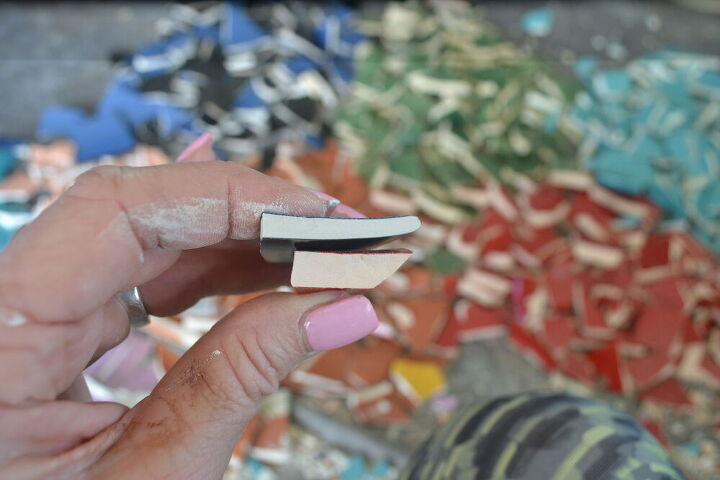
When working with a variety of materials, as seen here, by mindful of the thickness of each piece in relation to the thickness of your mortar. Obviously the thicker piece can be set in deeper than a thinner piece, however the tops of both must be as even and level as possible.
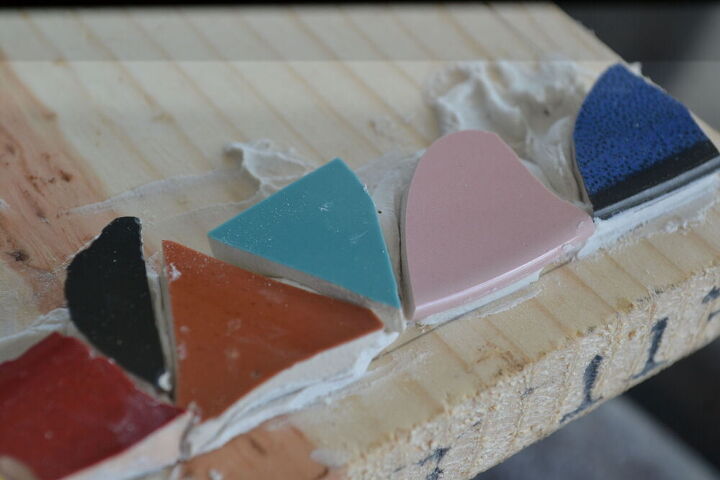
Follow your pencil border and set straight edged pieces along your pencil line first. Then fill in the gaps with perfectly sized pieces. You may need to nip some pieces to get the perfect fit.
Make SURE that once your piece is pressed down that the mortar adhesive does not rise up past the height of your piece. If it does, you're using too much product. Use a toothpick or similar to remove. If you don't, once hardened it will be very time consuming to remove. Complete curing time is 24 hours, however once the mortar is applied you will have about an hour to work with it before it begins to harden. You can always scrape off an area and re-apply if you're not happy with an area, but do this within the hour because once dried and hardened it's like cement.
The good thing about this project is you can stop at any time. Just do a small section at a time. My ratio was (8), five hour days at a time, but you might want to tackle your project and hour or two at a time, depending on the size of your project.
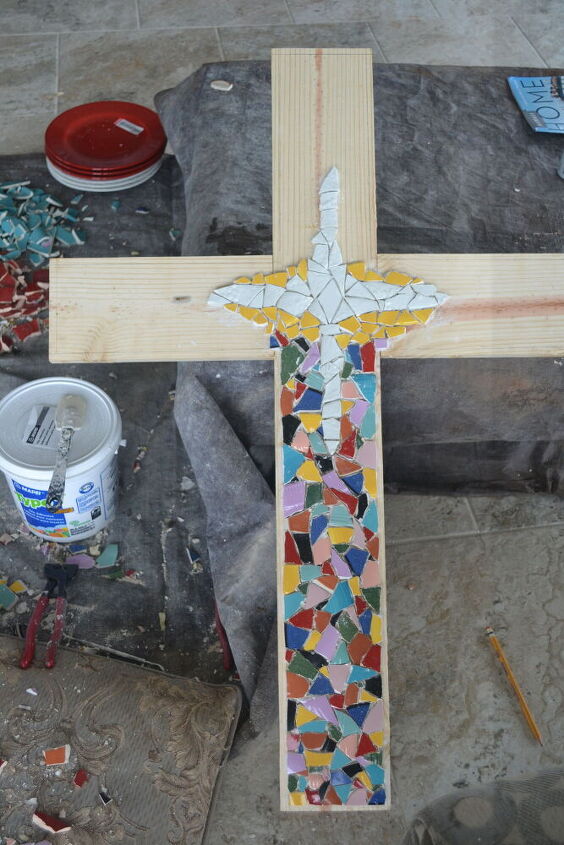
Once I neared the center, I finished the center focal point before continuing the other ends. This may or may not apply to your design.
Hang in there, it can get tedious, but the end result will be worth it in the end!
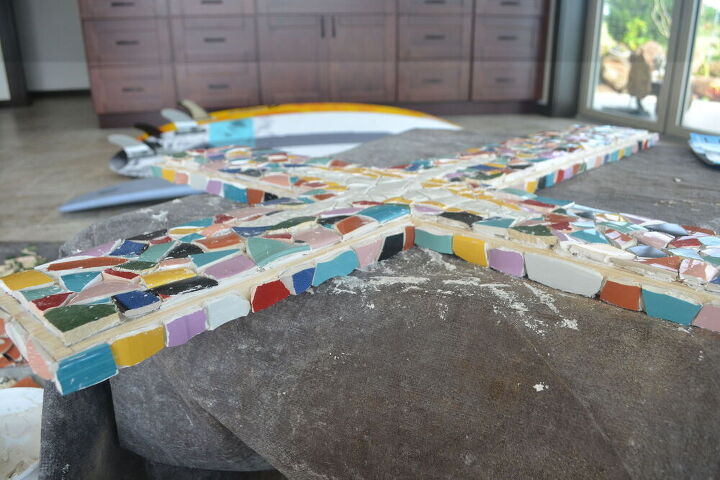
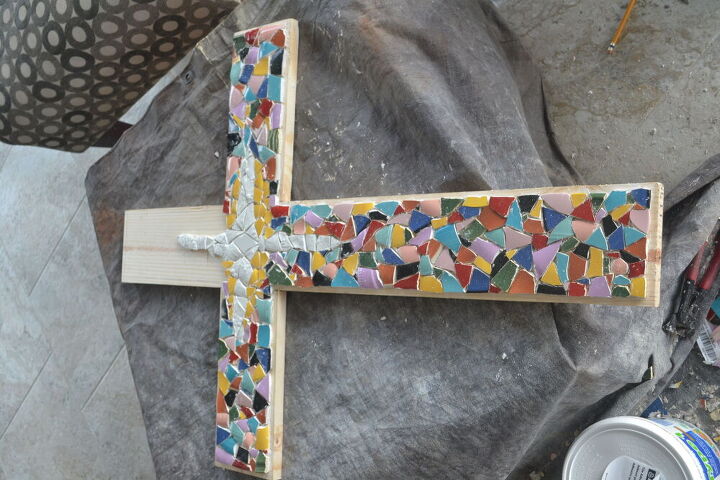
Once the top tiles are set in place, I continued with one row of tiles on the side.
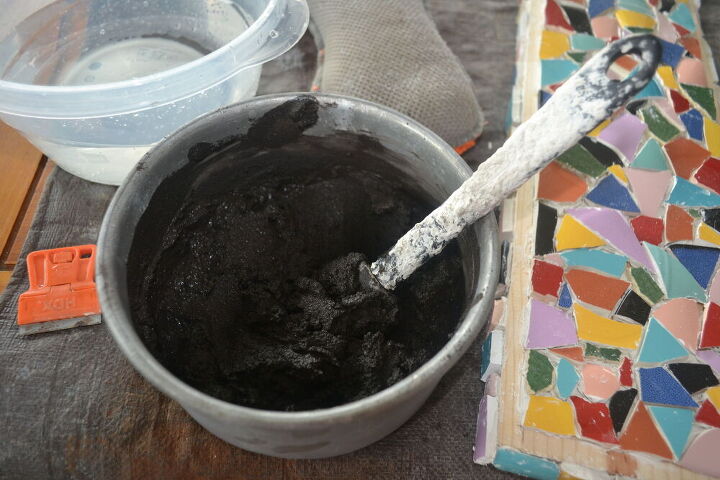
Mix grout according to instructions. The consistency should be that of a thick brownie mix, and nut runny at all. USE GLOVES! Grout will cause havoc on your nails and skin. I find it best to use a plastic tip spatula to mash down the grout in between the tiles.
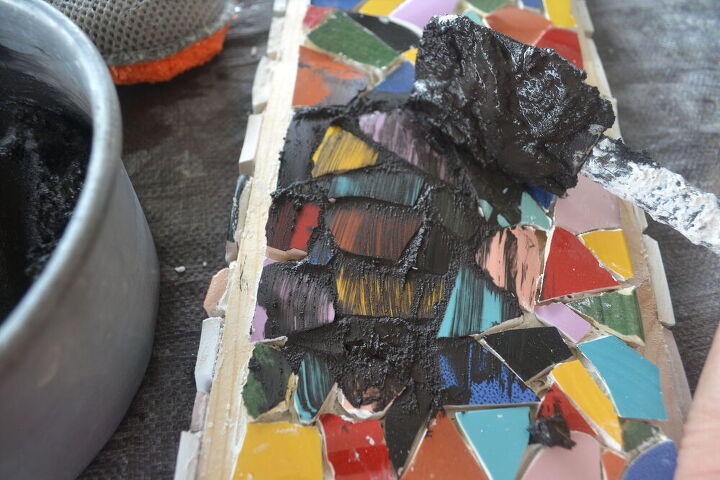
Scoop a portion of the grout onto a portion of the tile, about an 8"x8" area at a time. Using a spatula, scrape grout across the tiles while mashing the grout into the cavities.
Scrape away as much excess grout as possible.
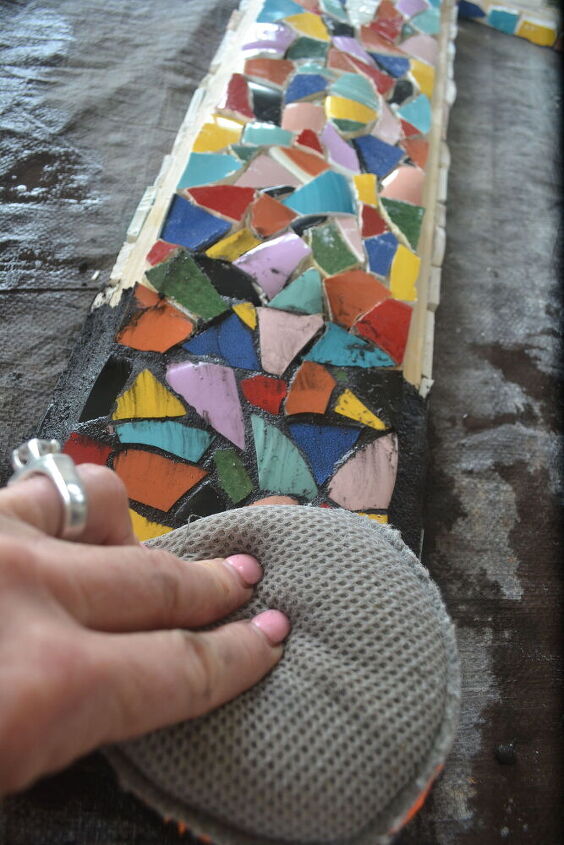
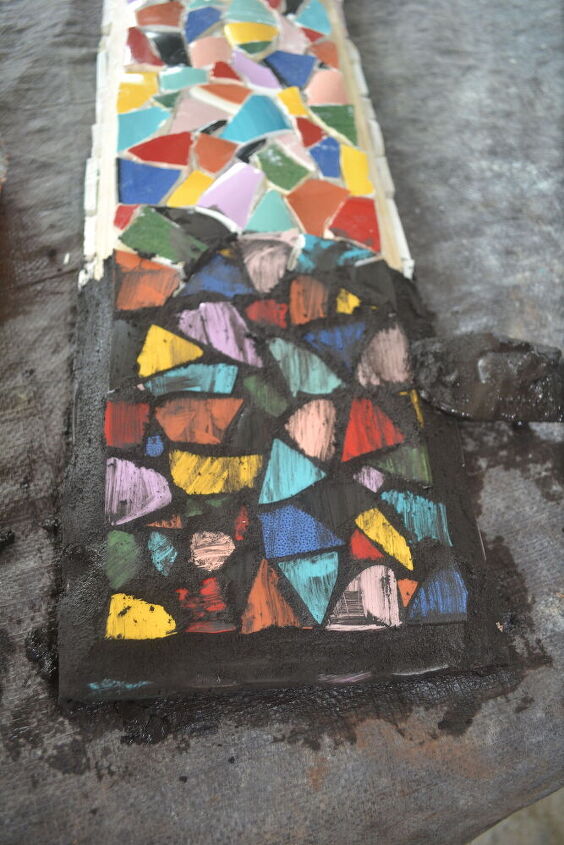
With a damp FELT/LINT FREE cloth, beginning cleaning the area by wiping off all excess grout. Old T-shirts and rags are great, as are cleaning pads. Do not use bare sponges, as the sharp edges of the tiles will catch and rip the sponge into shreds and leave pieces of sponge stuck to your work.
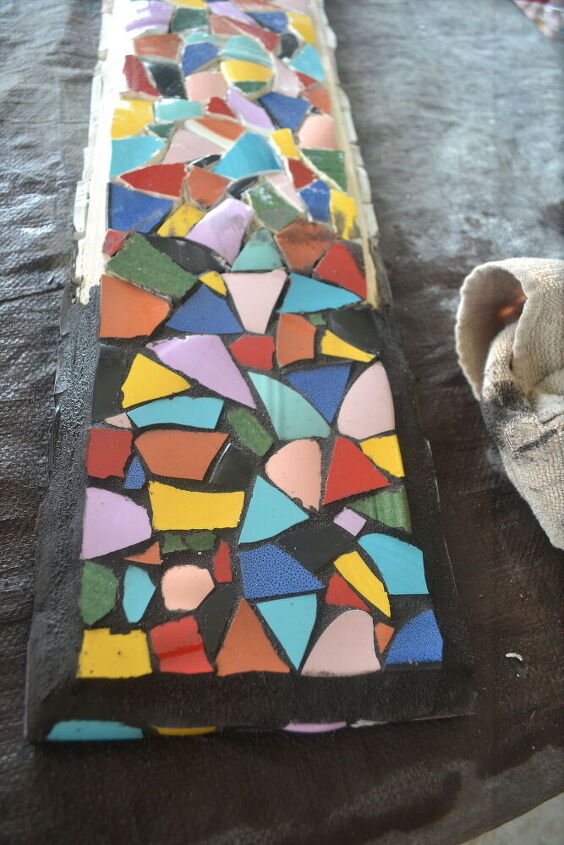
Once you've removed all grout film, use a dry (lint free) towel for a final dry buff cleaning. Your area should look like this once completed. This section will not have to be cleaned again.
Repeat the above steps again, a small section at a time until complete. Drying time is 24 hours.
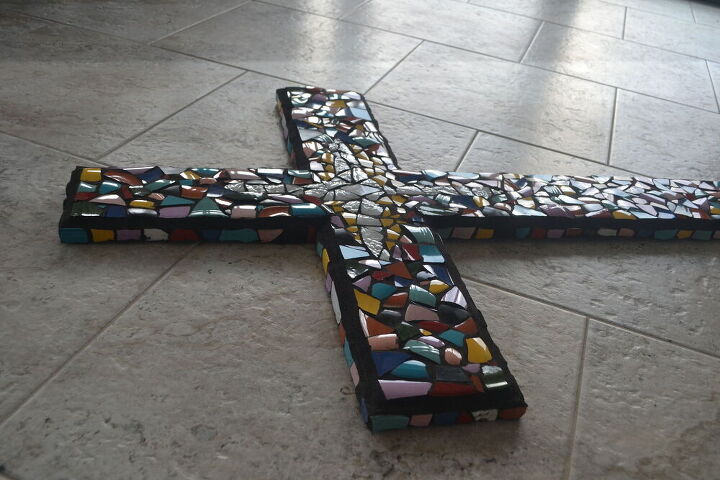
There you have it!
Thank you for tuning in - I'd love your feedback and to see YOUR very own mosaic art project! 
Resources for this project:
See all materials


Comments
Join the conversation
-
Its a beautiful piece.
-
Thank you so much.


Frequently asked questions
Have a question about this project?
This a beautiful piece and an inspiration to do something similar to this on a smaller scale. In looking at all of the pictures from the side when putting the pieces of wood together, the dimensions look more like a 1"x 6" especially when you had your hand on the top. A 2"x 4" is only 1 1/2" x 3 1/2". Just wondering.
This is an 8ft. 3D Cross I did for my church. It was a challenge but I like a good challenge. Don't you? LOL
This project is stunning. Do you think you could add black paint to tint the mortar instead of purchasing another product?