


DIY LampPosts, No Dig, No Mess Block & Posts — Garden Bridge Update
This summer we built a footbridge from a futon frame and now we've added seriously FUN, no-dig lampposts on each corner. You can see the longer video at this link.
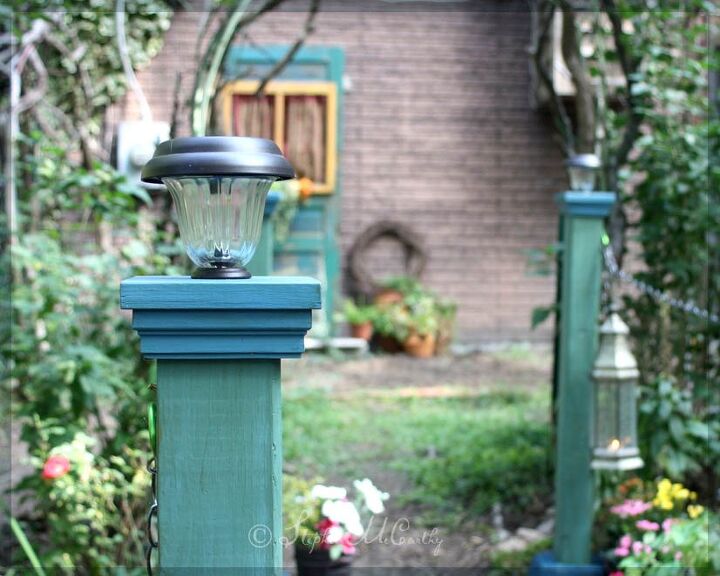
We topped our new lampposts with solar lights and also found lots of ways to make our garden bridge waterproof and colorful.
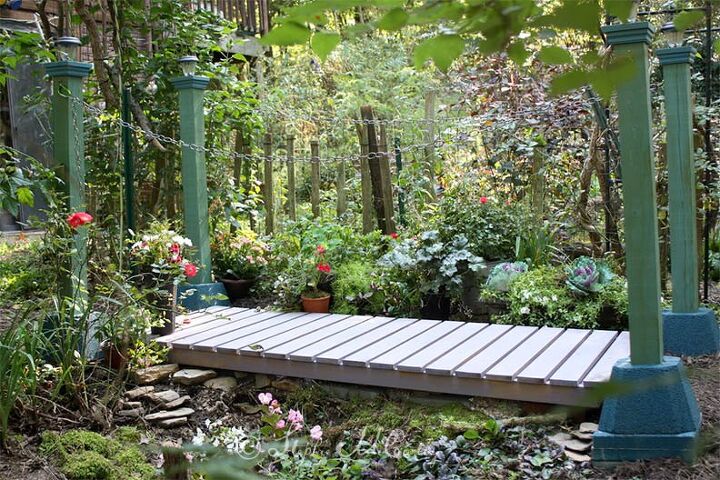
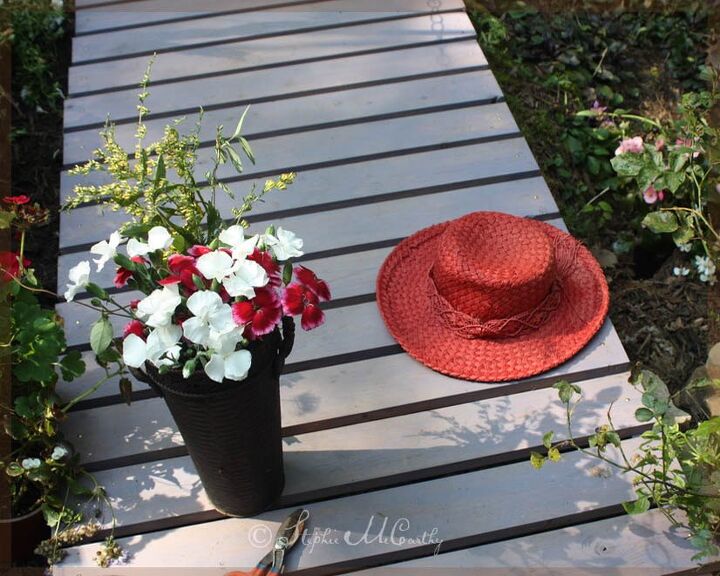
Here's a side view of the bridge garden. We've filled the area with potted plants. This gives us an idea of what plants to use for landscaping.
We're working on adding rock ledges that will be stable and also look natural for when we add our Gravity Fed, Rain Barrel Water Feature when the weather warms up again. Be sure to follow us — we think you're going to enjoy that project!
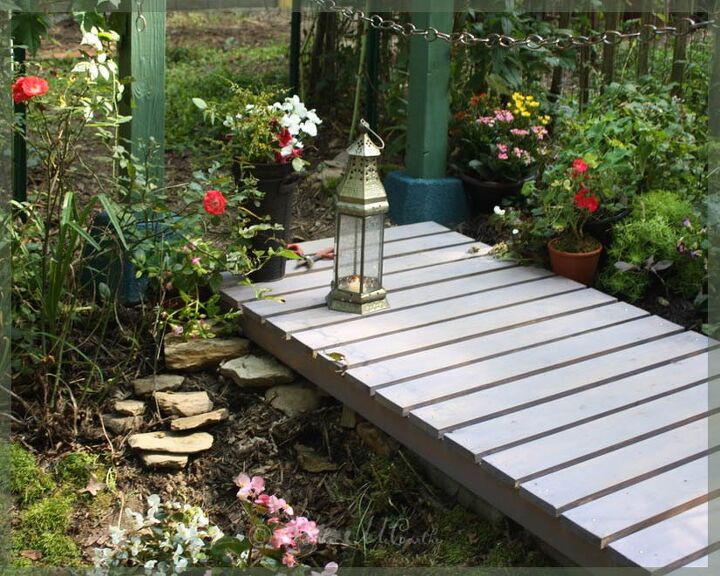
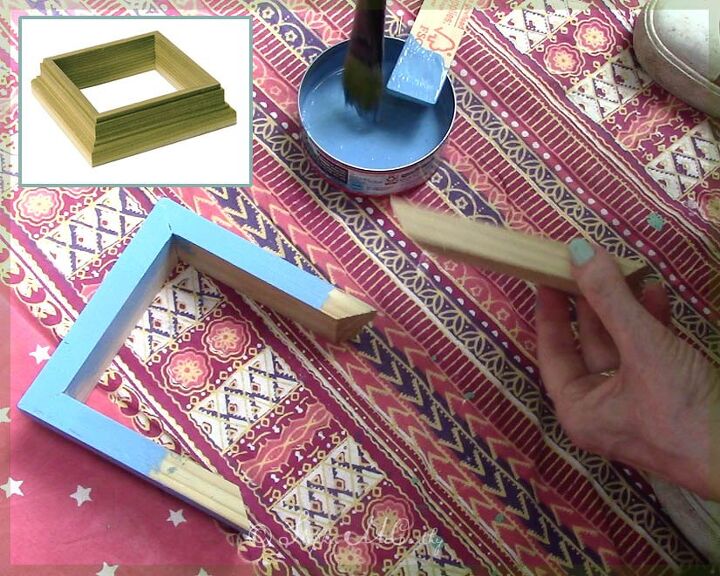
The lilac bridge looks gray in morning light and really hides dirt. We made the stain by mixing 1 cup of Behr Waterproofing Wood Finish with 1/4 cup of Kilz Complete Coat in a color called Berry Punch. You can buy Kilz Complete in many colors in 8 ounce sizes through Walmart OnLine.
The Behr Waterproofer mixed with a little tinted primer allows the grain of the wood to show but still have color (we love that!) We sprayed the four concrete blocks with Krylon Spray Peacock Blue.
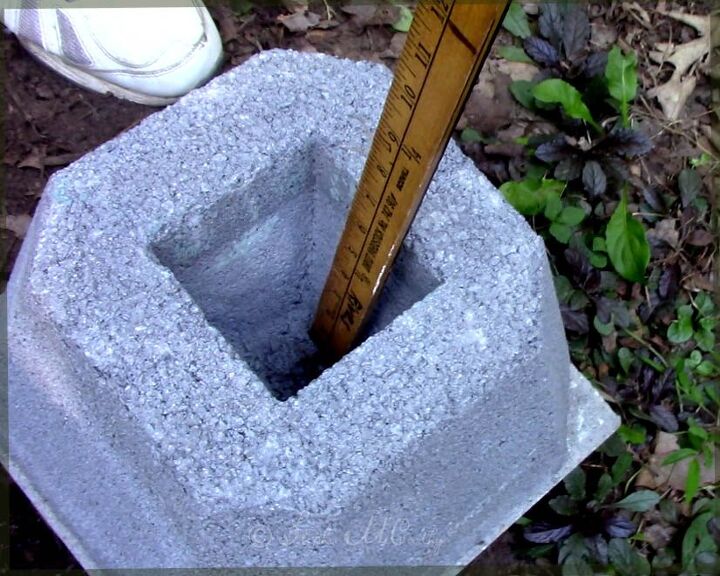
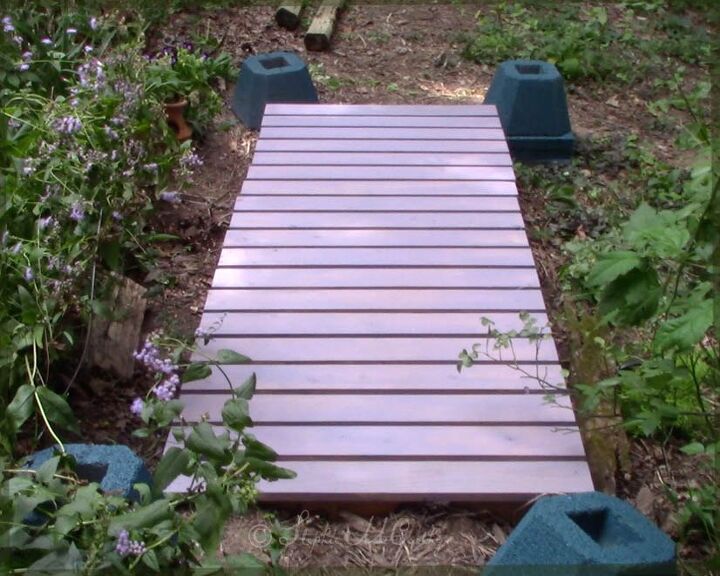
Here's what the blocks look like fresh from HomeDepot. They are heavy! They cost about $6.00 each. They have a square opening that's about 7" deep tapering to a drainage hole. We've placed this block on a couple of pavers because we're building on a rocky slope, the other three sit directly on the ground.
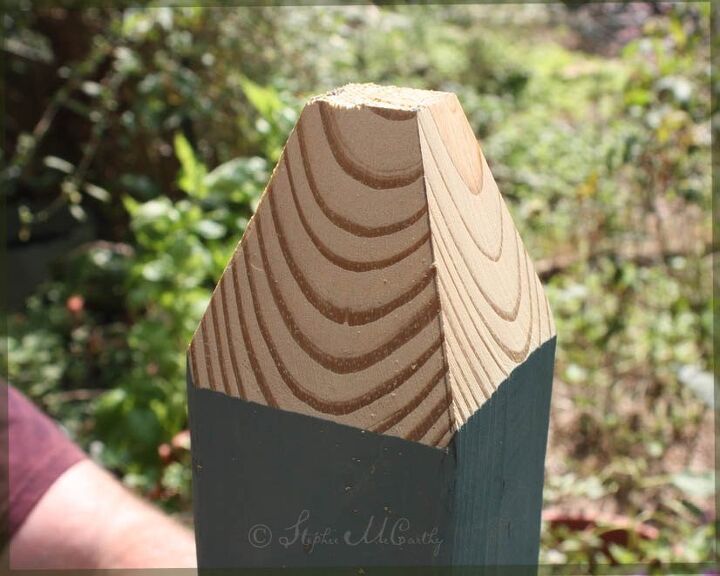
We used a miter saw to taper each corner of our 4'x4' posts. We also used the Behr Waterproofer on them and attached our railing hardware before placing these inside of our blocks. The waterproofer adds a bit of an antique amber finish. We used the waterproofer right over the railing hooks too!
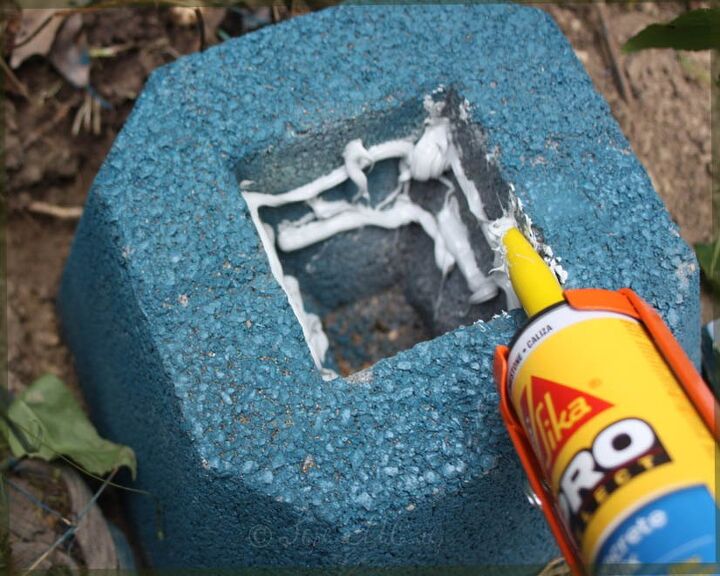
We coated the block openings with Sika Concrete Fix. We added the posts and tapped the tops with a hammer. This made a solid connection. The posts are very stable. We also shimmed under some of the blocks with 'fritter sized' rocks to make sure those didn't wobble.
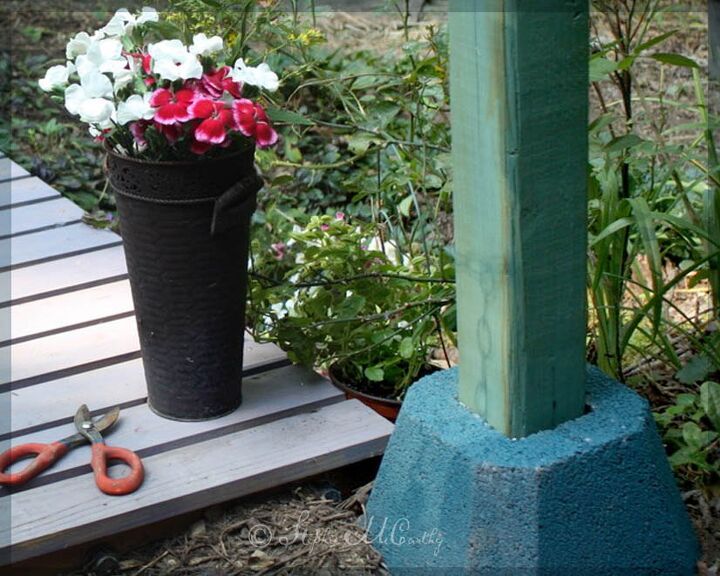
The colors are bright but also blend into the landscape.
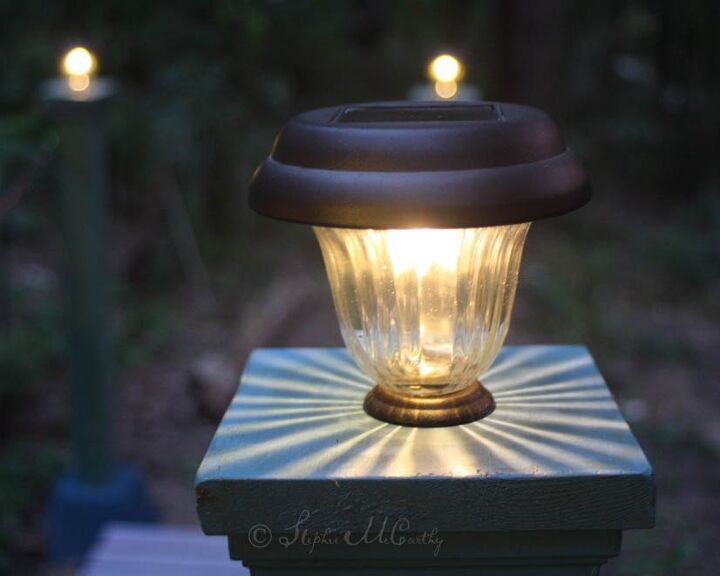
Our shortcut with the solar posts caps was to use ready-made post skirts. We painted them a medium blue with chalk paint and also used Behr Waterproofer as a top coat.
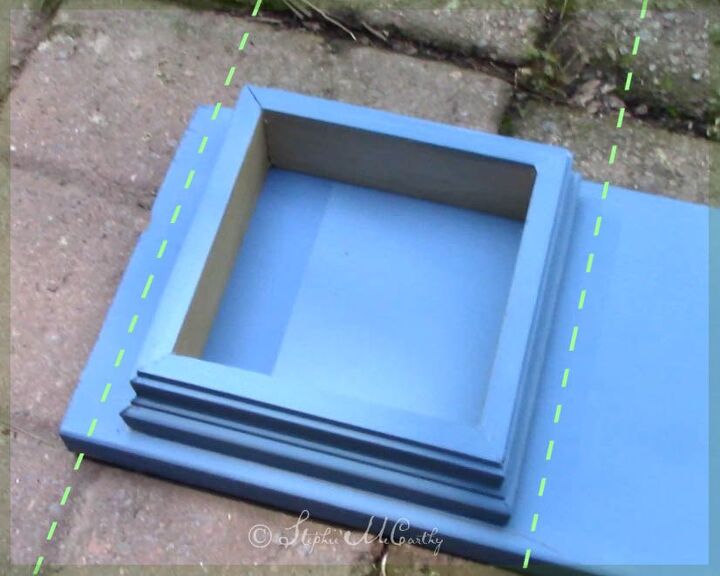
We cut a matching board slightly larger than the post skirt for each cap. We glued all the pieces together using Titebond glue. We'll add small brads later with a nail gun.
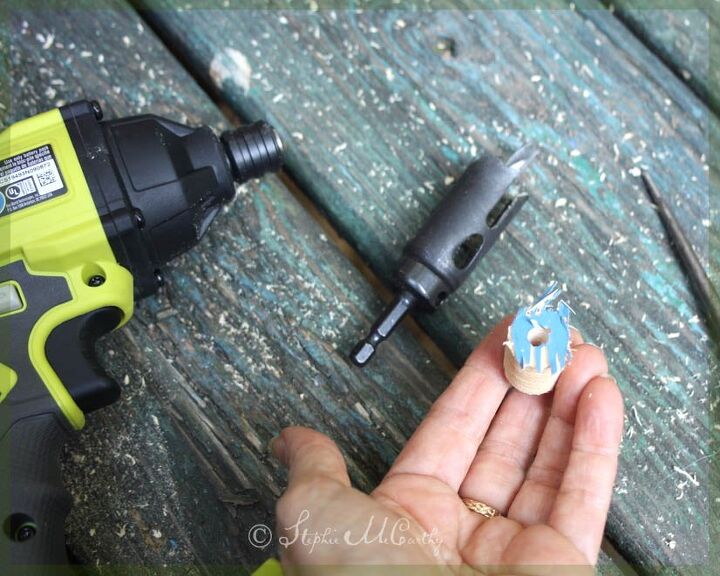
We used a Bosch 1" Hole Saw and a 18V Ryobi Drill to make holes in each board. As soon as the saw punches through the board, we remove the battery from the drill, remove the saw bit, and push the wood plug out with an awl. We repeated the process until we had four post caps.
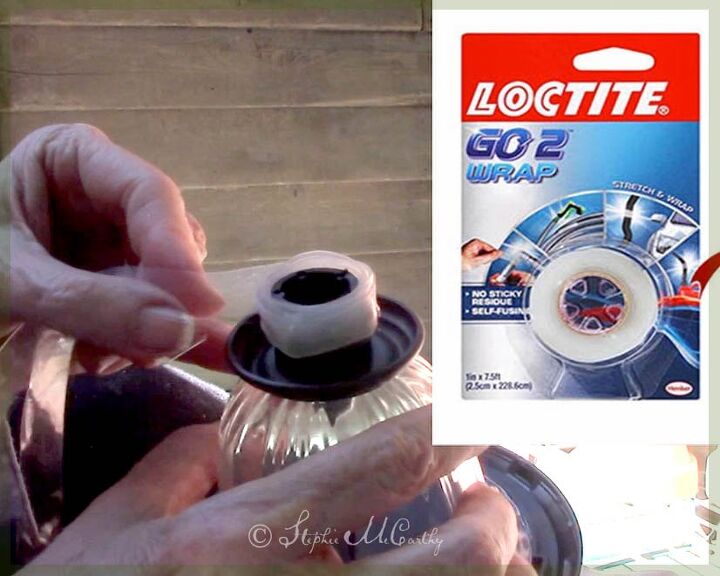
We removed the plastic stems of the solar lights and made the shortened stems more like corks by wrapping them with a half-strip of LocTite GO2 Wrap. We pushed the fattened stem into the post cap hole and held it in place with a little silicone glue. These will stay in place but will also be removable if we need to replace the lights.
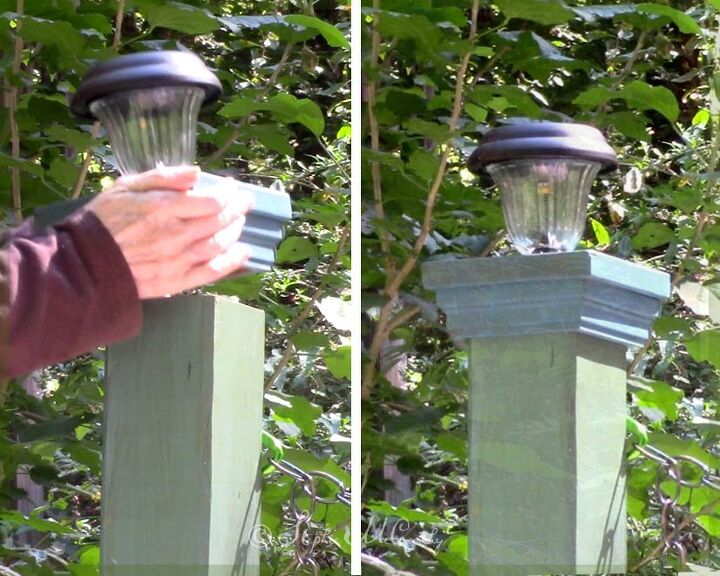
We added the finished caps to our lampposts. We'll add some brads later. We decided not to use glue in case we want to remove these later for any reason. With brads, we'll be able to work the caps loose if we need to replace them.
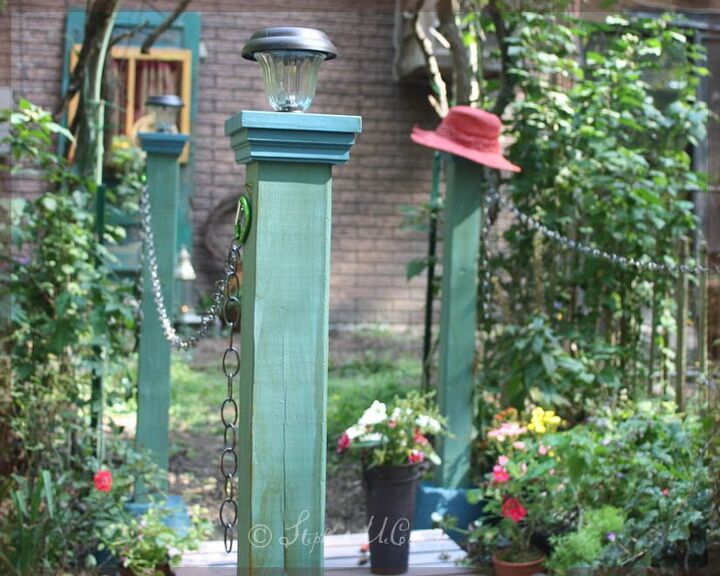
We made light-duty railings with lamp chains and carabiner clips. The beauty of the block and post system is that you can use pre-drilled posts and rails and make a very sturdy railing or even add pickets.
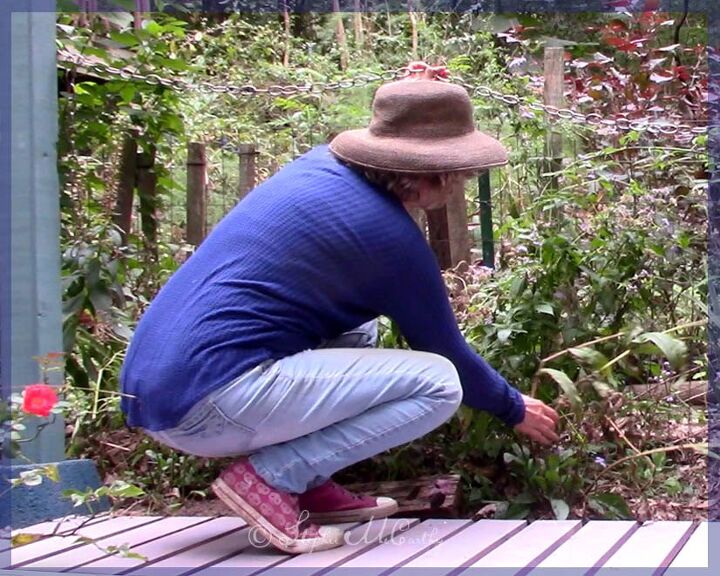
We'll be able to move our chain to do maintenance around the bridge. In this photo, I'm lifting the chain out of the way so I can reach the flower border. Very convenient!
Whatever type posts or railings you need — this system allows for lots of creativity and personalization. Can you image tall posts with hanging flower baskets? Or a birdhouse? A wind sock? We can!
And with solar lights — a walk at night is so beautiful. Can you hear the owls, crickets, and Spring peepers? If you'd like to see more of this project, we've got LOTS MORE PHOTOS of it on our website we think you will love!
Resources for this project:
See all materials


Comments
Join the conversation
-
What a gorgeous garden you have. Great instructions for the light posts. ❤
-
Hi Stephie, thank you so much for this post. I am going to have to replace an old post and rail fence and the cement block is a wonderful idea. This is a great alternative to digging holes and filling with cement for the posts. Also if there are termites in the area the cement blocks might deter them better.


Frequently asked questions
Have a question about this project?
can you tell me the angle at which you cut the ends of the posts so they fit in the block? This has given me an idea to accomplish something in my yard that I've wanted for some time but for which I can no longer dig holes. This is a revelation. Thank you.