


Easy DIY Orchid Arrangement


There are those who I call plant whispers. They can bring a plant from the brink of doom to fully thriving. I have had a couple of victories but nothing compared to some of my friends who just have the gift – even with elusive orchids. Ah, orchids, how I have tried to nurture and keep my orchids for more than a couple of weeks only to fail. What’s a girl to do? Buy fake, but good fake arrangements are so expensive and rightly so. What if you can’t swing the cost? Well, I have a great option for you! Read on to see how to make this easy orchid arrangement DIY.
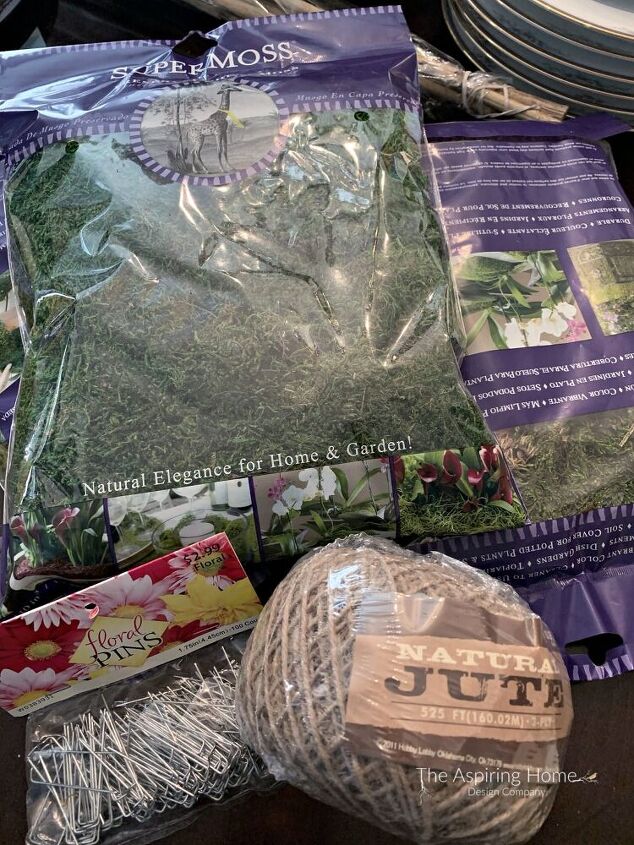
Supplies
- A container of your choice
- Faux Orchid stems
- Faux Orchid leaves
- Floral foam
- Sheet moss
- U-pins
- Reeds
- Twine
- Wire cutters
- Wood skewers
- Serrated knife
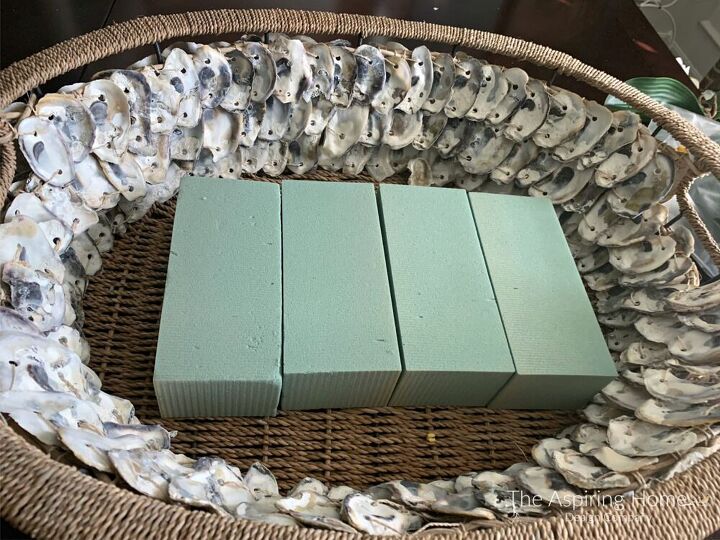
Step 1:
Fill your container with floral foam. Use whatever container makes your heart skip a beat. I chose to use this gorgeous oyster laden basket for my inspiration, it reminds me of a fun trip I took with a friend to the local Home Goods store while hunting for something else.
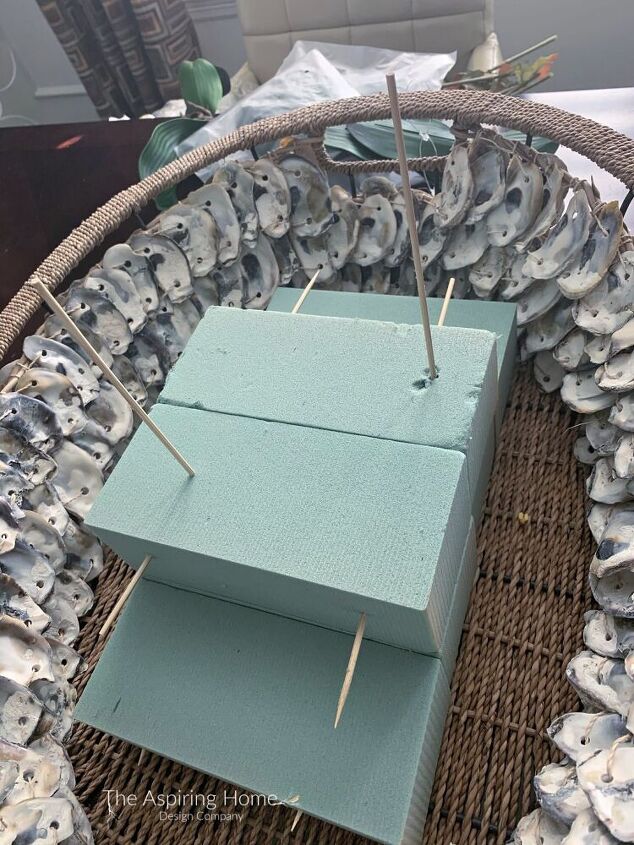
To secure my foam in this huge container, I used wood skewers. I wanted an over the top “mounded” look. To further the look, I slightly sawed off the edges and corners using an old serrated knife. Once the foam is secured, just use your wire clippers to cut the extra skewer length level with your foam.
I just filled the container super tight with foam and that friction helped the foam mass stay in place but if you want a little more security, you can use hot glue specifically made for securing foram without melting it into oblivion.

Hint: If you have a container like mine that is “open” basket style – lay a layer of plastic in the bottom and the sides if necessary. This will help keep the moss from leaving its imprint on your table. And, yes, I should have done that but I was too excited to see if this idea worked so do as I say and not as I did. HA!
Step 2:
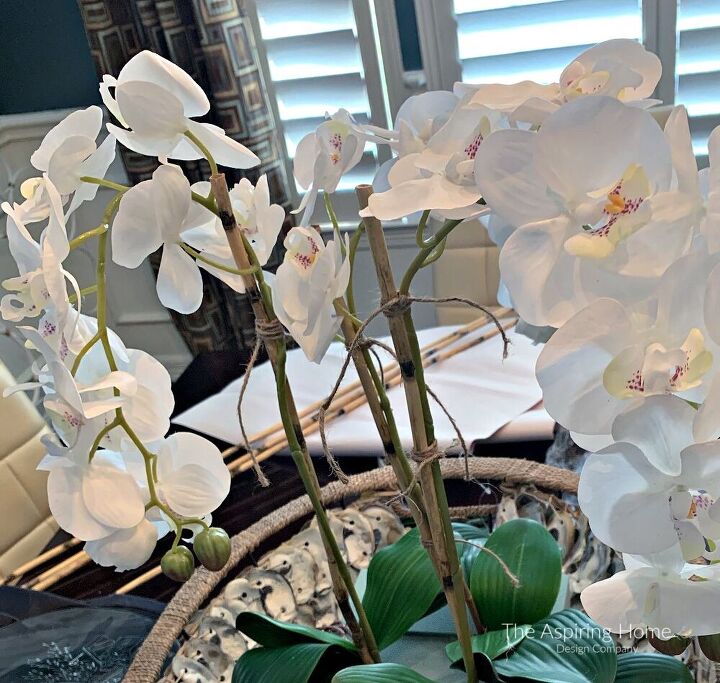
Fluff and add your faux orchid stems. So, I went on a few “high-end” sites to look at the orchid arrangements they sold for hundreds of dollars and mimicked the placement of my orchids, This is a HUGE tip, my friends!
Place your Orchids stems into the foam. Next, cut reeds to a length that is just a tad bit taller than the point of where your stem bends from the bloom weight. Push reed into the floral foam next to a stem.
You will need one reed per one or two stems (look at your inspiration photo). Use the twine to secure the stem to the reed.
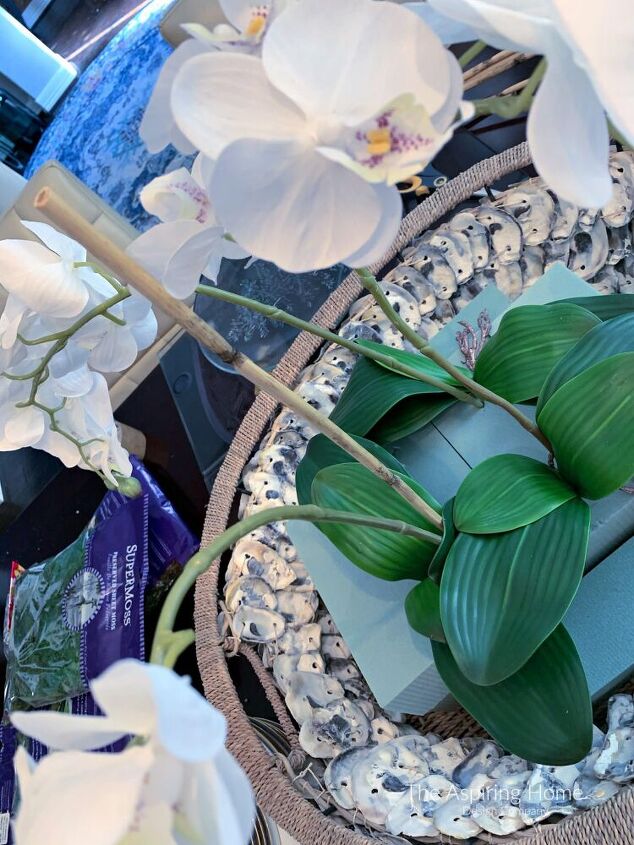
Step 3:
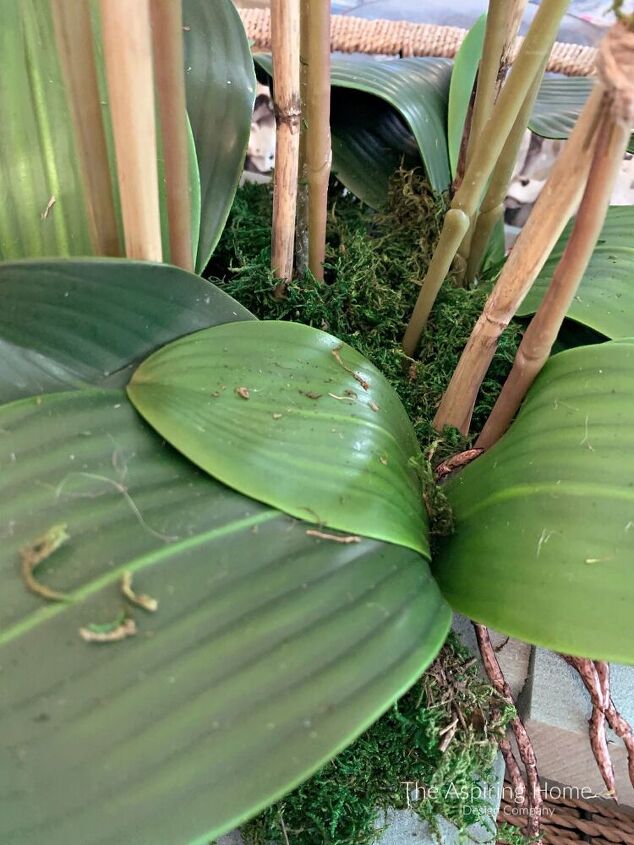
Tuck the faux orchid leaves around the stems. Again, look at your inspiration picture and just mimic it. You will notice in the previous pictures the leaves I tucked in already. As I was figuring out how to create this I did tuck leaves in. BUT it is easier if you wait and tuck leaves in after you place you stems
Step 4:
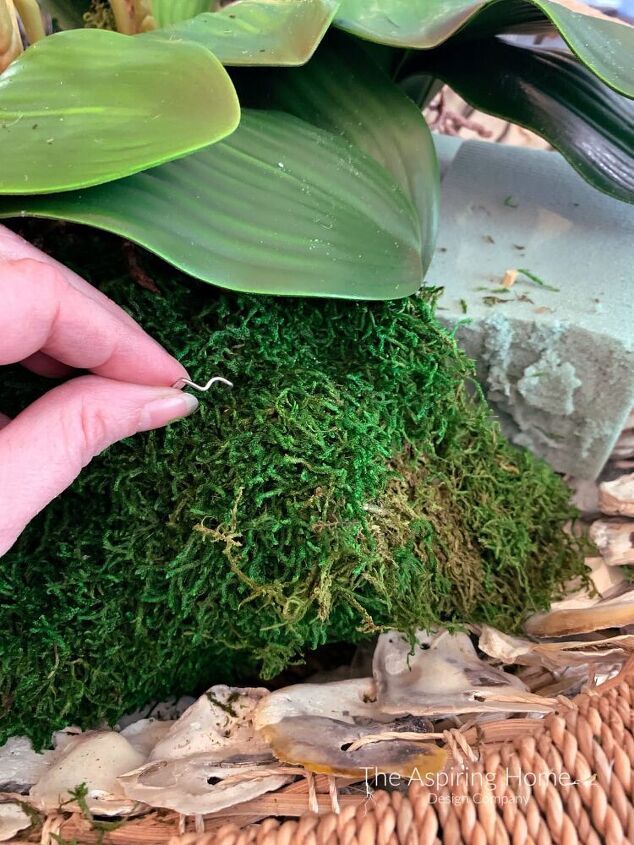
Add the sheet moss. Let’s cover up all the mechanics of our orchid arrangement DIY with a layer of moss. Attach with “U” pins.

Step 5:
Find the perfect spot for your faux orchid arrangement! You’ve just gotta show it off – seriously, look what you did!

Now you can always have a bit of beauty to bring a little happy without breaking the budget! Because, you and I know we have so many other ideas that we will need the budget to stretch for, right?
and…
Keep bringing in the live plants and flowers – nothing is better for the soul but when you can’t pull out your faux beauty.
til Later,
Joy
Follow me on Instagram - @theaspiringhome_
Pinterest - theaspiringhome_
Facebook - theaspiringhome
Website - theaspiringhome.com
Resources for this project:
See all materials


Frequently asked questions
Have a question about this project?