


Laminant Staircase Upgrade
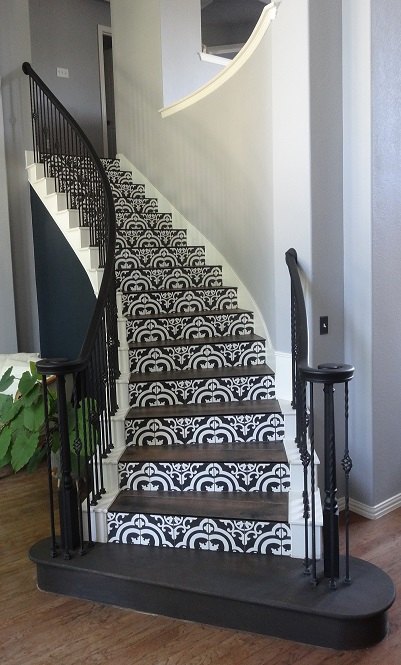
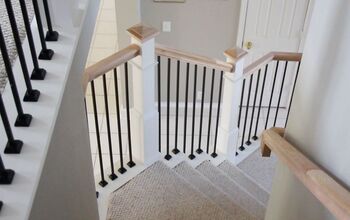
Quarantine 2020 has turned into Home Renovation Quarantine for us. We replaced our entire second floor carpeting with laminant flooring. Then we were faced with the dillema of what to do with the remainig front and back stairs. The front curved staircase , pictured below was tiled (see link for project details). I really like how the front tile staircase turned out but it was labor intensive and a bit expensive for our backstairs. So we agreed that laminant stairs was a good option, using the same material we had used on the upstairs flooring.
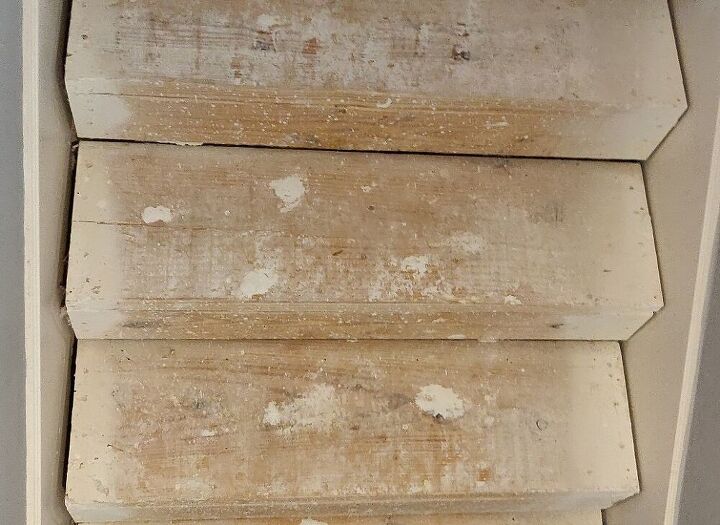
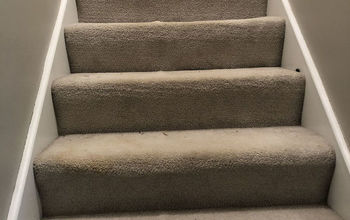
Start by removing carpet, nail boards, nails(from the nail boards that had secured the carpeting) and staples
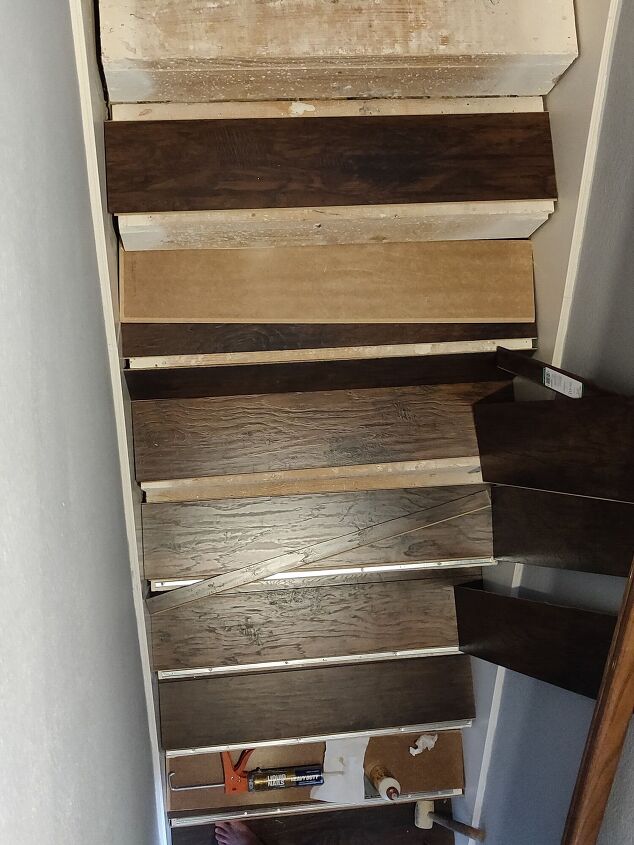
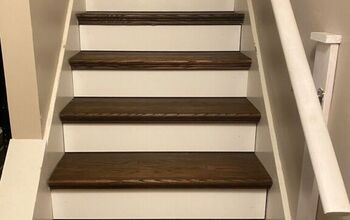
Measure Each Step by Width/Heigth of both Step and Face – our stairs were not perfectly square, so each cut was a little different. Yes, this took a long time… We used one and a half boards per surface, then bullnose on the edge of each step. Depending on the bullnose you use, it will vary how much space you will need at the edge of each step for the metal strip and bullnose.
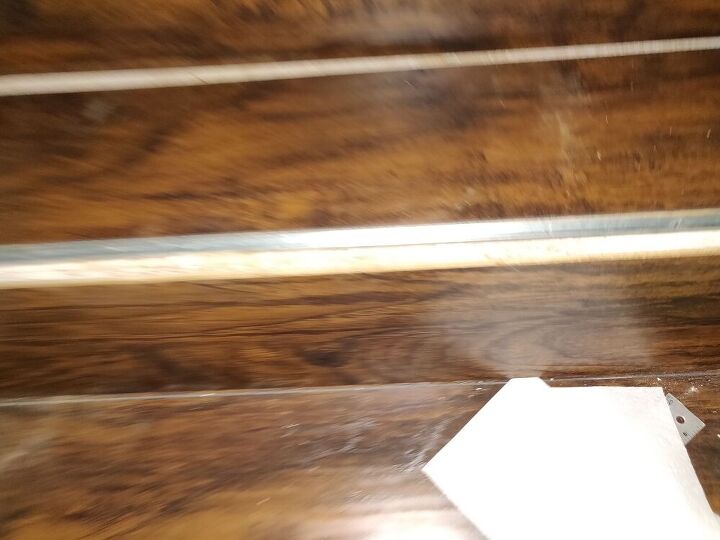
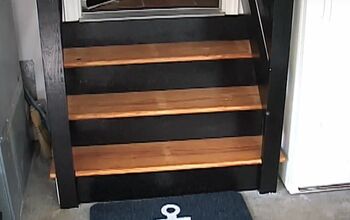
Sorry for the poor picture, but this is the bullnose metal strip that goes on the edge of every step and helps to anchor the bullnose. Under the bullnose, theres a metal strip that is screwed down to the wooden stair (top of step). Then the laminant pieces are glued with liquid nails. Allowing to dry at least 24 hours before anyone walks on them.
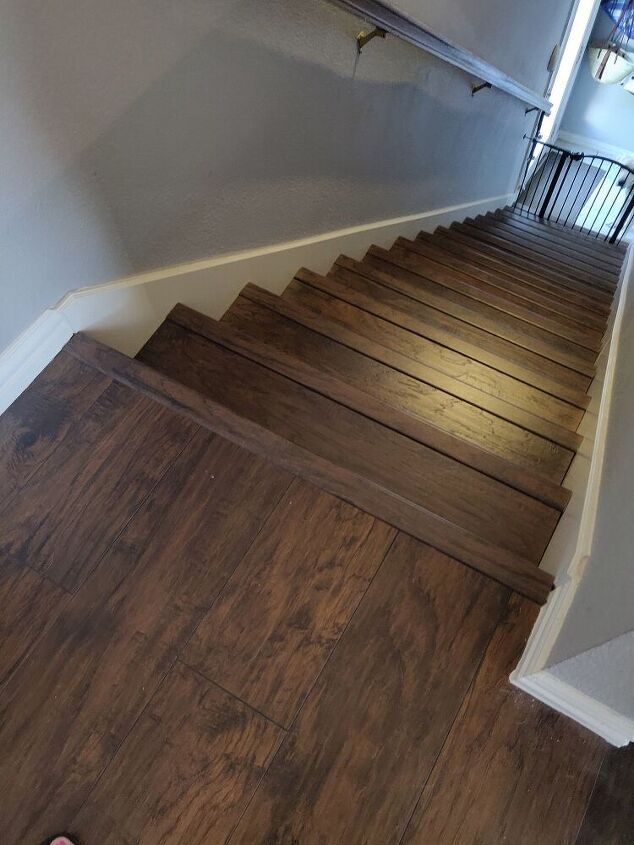
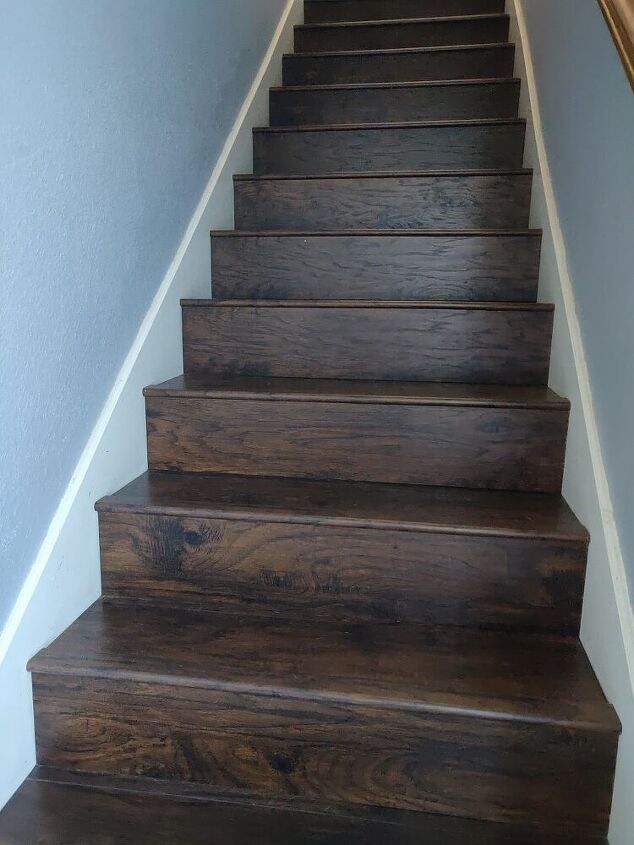
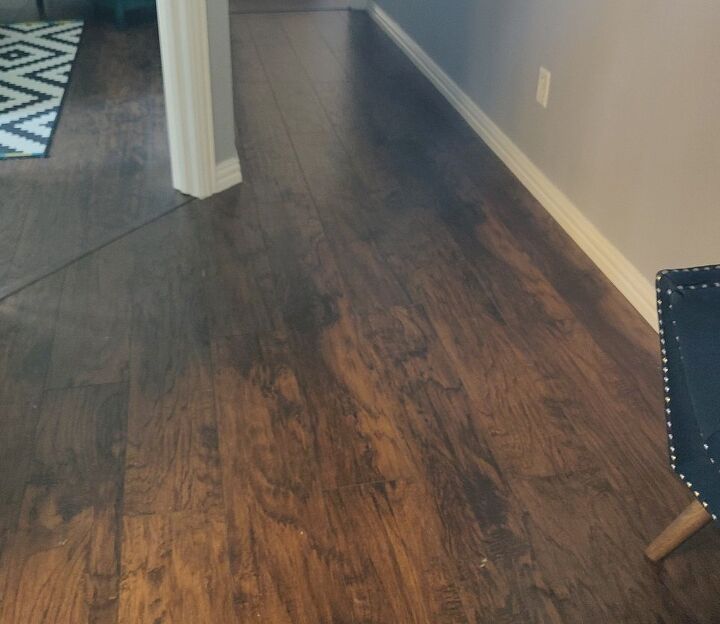
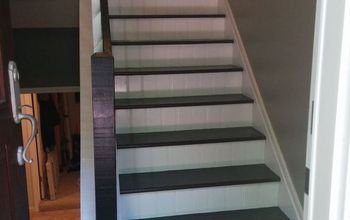
Here’s a look at the finished stairs, we love how it turned out. The bullnose on the front of each stairs really adds a nice look and added traction.
Resources for this project:


Comments
Join the conversation
-
We ripped ours out when we moved into this house. The mounding on the edge did create a tripping hazard.
-
I worry about how slick they might be for us old people without the carpet. Having fell down our carpeted ones. At least there was some padding.


Frequently asked questions
Have a question about this project?
The effect is nice, but I'd have to imagine that the moulding which sticks out above the edge of each tread could be potentially hazardous. Have you had any trips or falls due to this? Thanks.
Could you explain what bullnose is for the sake of us amateurs?
I have a teenage boy who thumps up and down stairs with carpet! Will this not be a lot noisier?