


Upcycle a Cardboard Box Into a Home Storage Savior
I love keeping my things neat and orderly and nothing helps more than storage boxes! Rather than going out to the store to buy them, I decided to make my own from cardboard boxes. I love that I can choose the fabric color and design to suit my aesthetic. These awesome boxes aren’t only functional, they’re decorative as well! If you are looking to get a little more organized around the house this is the upcycle for you! Follow my easy, step-by-step tutorial and learn how to make these amazing boxes for all your storage needs!
Tools and Materials:
- Cardboard box
- Masking tape
- Exacto knife
- Fabric
- Glue
- Rope
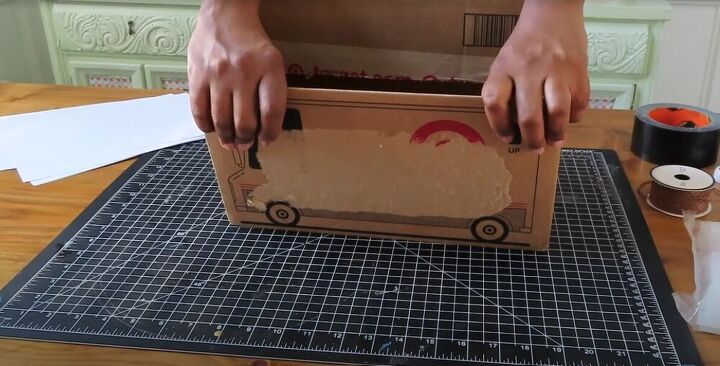
I started off by making sure my storage box would be strong and secure by folding all the tabs inside the box. I used strong masking tape to make sure the tabs were safely stuck in place.
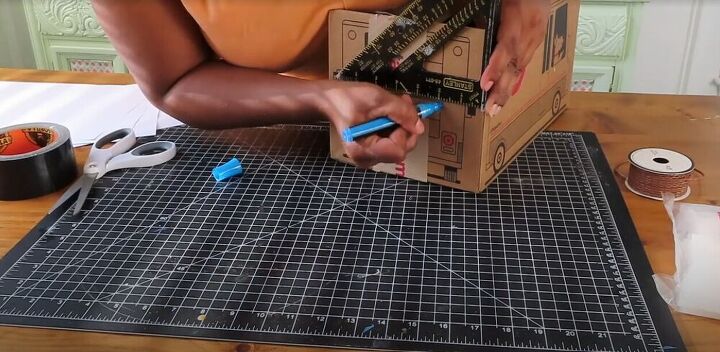
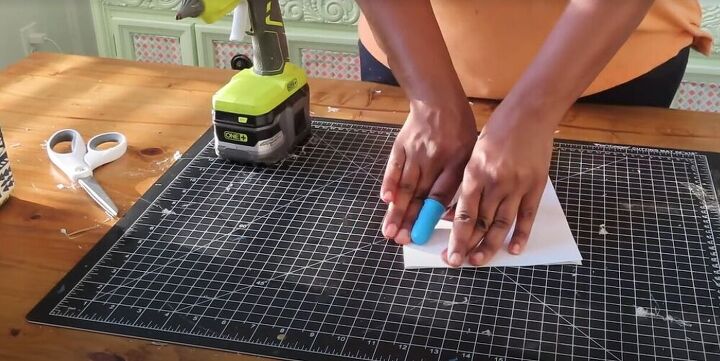
Next, I made markings which I would use as a guide to cut holes in the side of the box for handles. I marked 1.5 inches from the top of the box, 2 inches from the side, and 3 inches from the top which would be the bottom of the handle. Having handles on a storage box adds so much to its functionality!
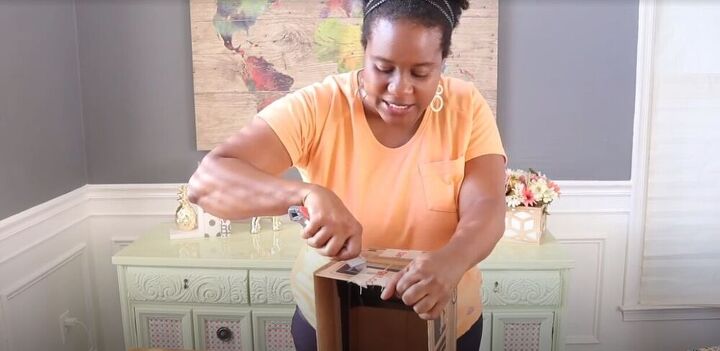
Using my Exacto knife, I cut handles into the box. If you don’t have an Exacto knife, scissors will work just as well! I love how after this small, simple step the box really starts to look like a storage box.
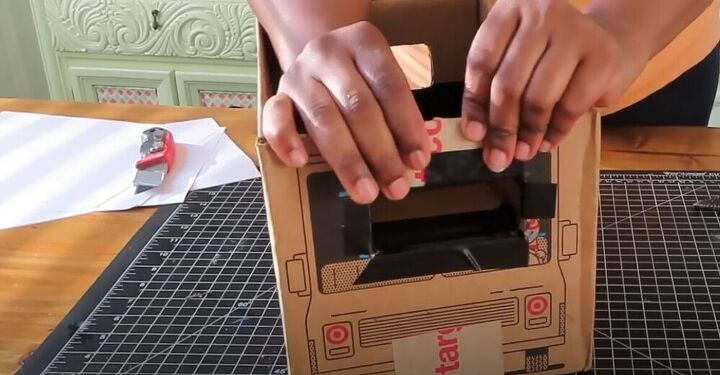
Once my handles were cut out, I stuck masking tape around their raw edges to add some additional strength and to smooth the edges.
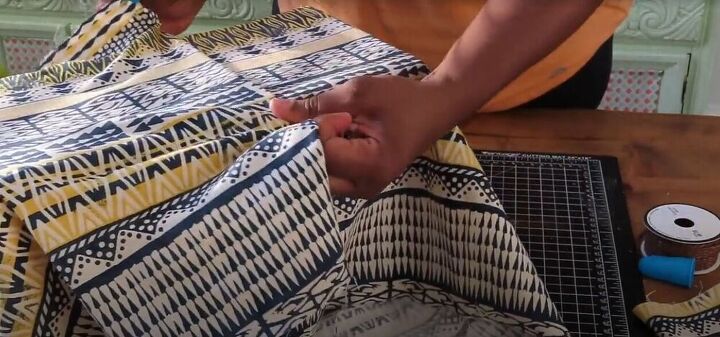
Now it’s time for the fun part! If you have any extra fabric sitting around at home, this is the perfect time to use it! You don’t need a lot of fabric, I used about ⅝ of a yard and started by simply checking that I had enough to wrap around the whole box. A great tip when using fabric with a pattern is to make sure the fabric lines up with the box.
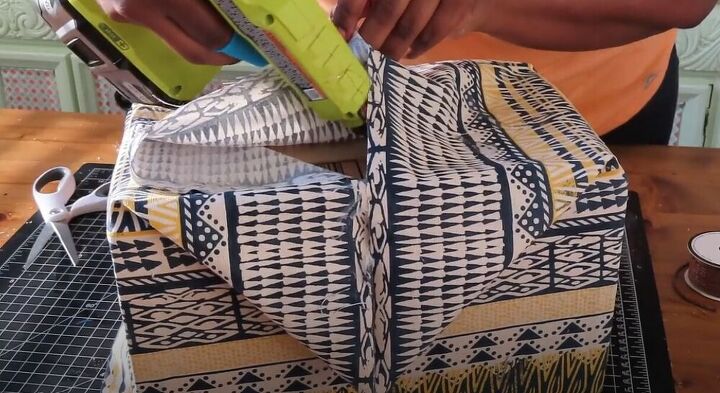
I cut my fabric to size and then got out my hot glue gun. I started sticking the fabric onto the box, starting at the center. When making these amazing storage boxes I prefer to use a thicker fabric to help add to the sturdiness of the box. Usually, I use a canvas fabric but any thick fabric works!
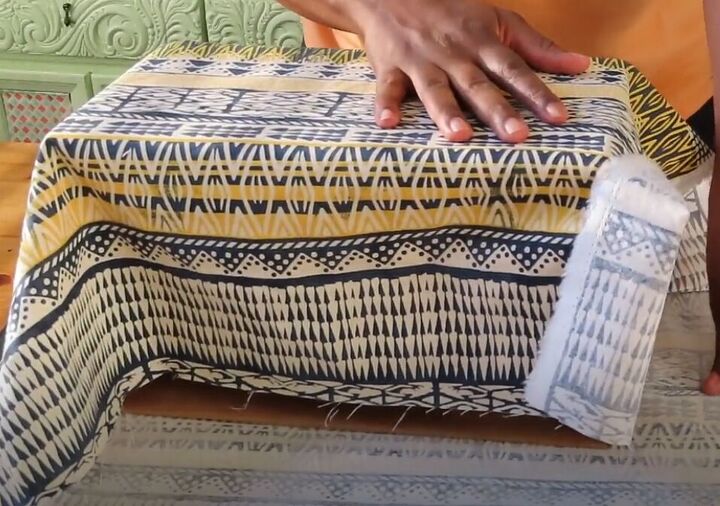
I gradually made my way around the box, applying glue and sticking down the fabric tightly as I glued. It’s important to pay special attention to the corners of the box to make sure the fabric is sitting properly.
As I came back to the point where I started, I folded the end of the fabric before I stuck it down. This will help give your new box the perfect finish!
I was then ready to move on to the bottom of my box. I wrapped the bottom the same way I would a gift. This part isn’t going to be seen so if it isn’t neat it’s okay! The important part is that the fabric sits as flat as possible.
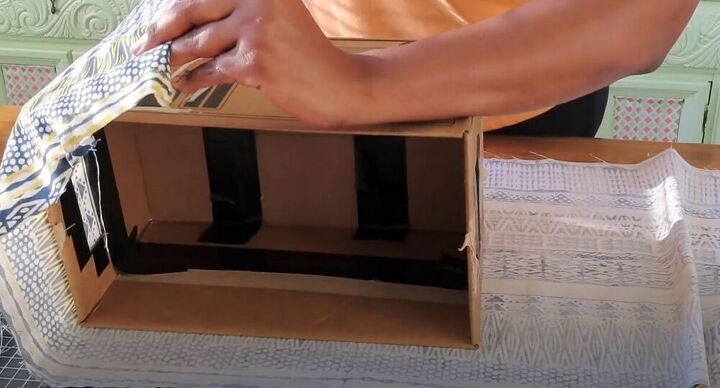
Next, I turned the box over to work on the top. To get the fabric sitting nice and straight inside, I cut the 4 corner seams open. I then stuck my fabric pieces down inside the box, making sure to pull them tight as I stuck.
A little detail that really helps turn this cardboard box into a stunning storage box is adding a lining to the inside. I used printer paper to line the inside. I folded the top edge of all my pieces to make the papers the same height as the box. The folded pieces would then line the bottom of the box.
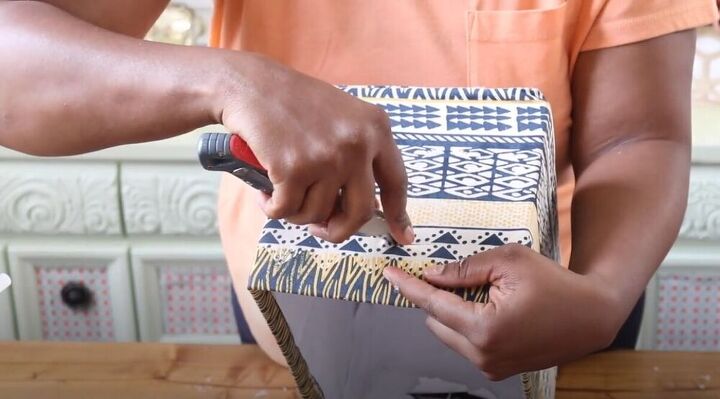
Once the inside was lined I moved on to cutting out the handles in my fabric. I started by cutting a straight line at the edge of the handle. I then made a diagonal cut from the corner on both sides. This made it easier to cut out the rest of the fabric.
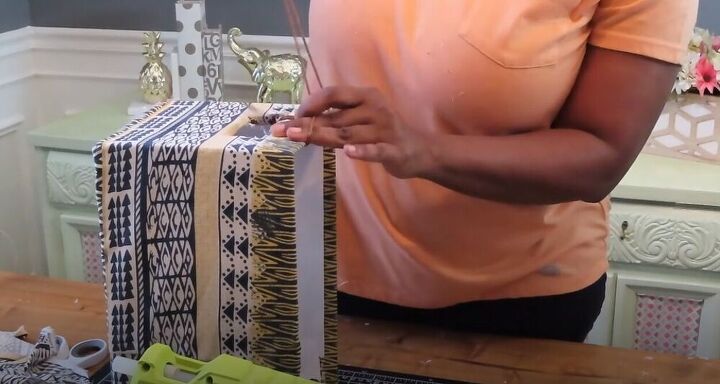
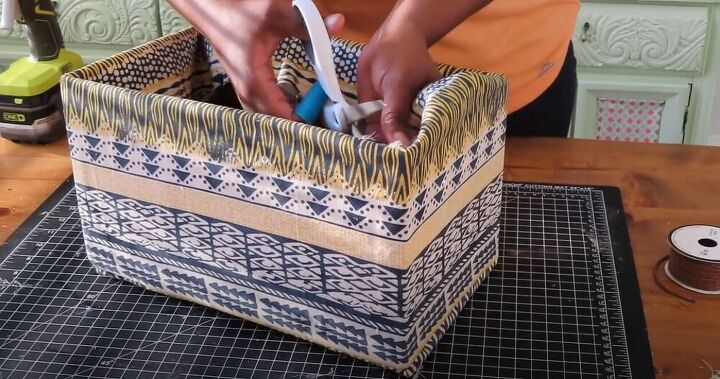
To add a little extra something to the box and give it a decorative finish I took some corded leather and wrapped it around the handles. Rope or twine will work just as well to add that extra flair to the storage box. I wrapped it around very tightly and couldn't wait to see how much it added to the style of the box.
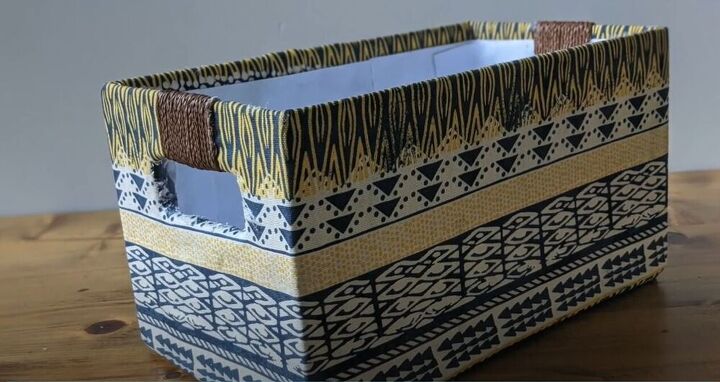
I am so obsessed with this easy to make storage box! What would you store in this amazing upcycled box? Let me know in the comments below!
Resources for this project:
See all materials


Comments
Join the conversation
-
Love this box! Great job! Thank you. 😊
-
I have done something similar with bankers boxes. When I go to a baby shower I will often cover a storage box with fabric to match the nursery to store baby keepsakes over the years. Love you project!


Frequently asked questions
Have a question about this project?
My absolute favorite save on this app! This is a wonderful, beautiful, idea and I cannot wait to try this myself. I'm going to get me some materials today! Thank you for being so creative and sharing wonderful idea!
how to transform bathroom ideas in RV
Hi there! Love this, I just have one question please. You didn't show much of how you lined the white paper in, did you use a few pieces of paper for each sides or did you separate the paper for the other 3 sides of the box? Also did you need to glue the top of where the paper meets the edge of the box? Thanks for sharing:)