


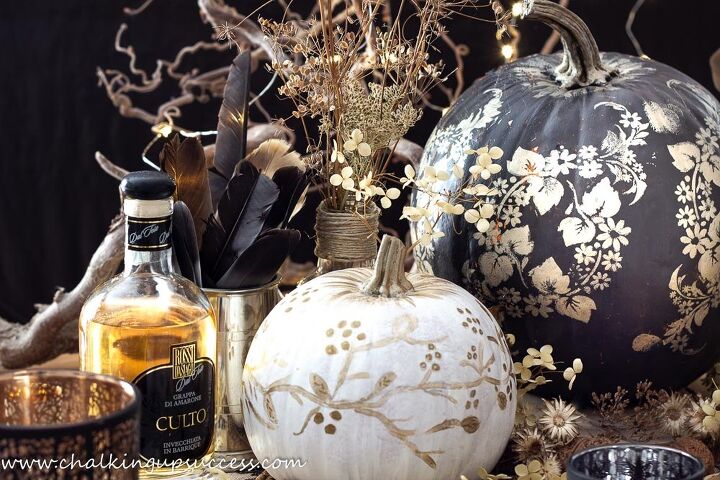
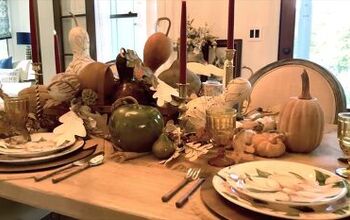
Cute Painted Pumpkins – Ideas for a Pretty Fall Table
These pretty painted pumpkins are a bit more glamorous than your usual Halloween pumpkin. They would make fabulous table centrepieces for an adult Halloween dinner party or wedding. This is an abreviated post. The full tutorial, a list of supplies and lots more photos can be seen on my blog chalkingupsuccess.com under 'Categories' 'Decor'.
A QUICK REMINDER
When attempting any DIY project, please take care to undertake the necessary safety precautions. You should always follow the manufacturer’s safety recommendations when using any product or tool. When following my instructions for a DIY project, you are doing so at your own risk.
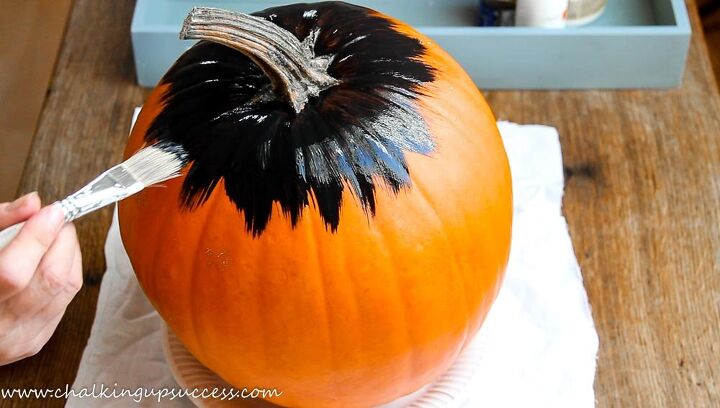
Seal the pumpkin by painting/or spraying on a layer of Mod Podge. Once the Mod Podge is completely dry all over, it’s time to start painting the pumpkins. I gave my large pumpkin two good coats of black paint and then did the same with the smaller pumpkin which I painted white.
Paint one side of the pumpkins, allow to dry, turn them over and paint the other side. Allow to dry completely.
Repeat the painting process as needed. I gave my pumpkins two layers of paint.

Just hold the stencil in place on the pumpkin with one hand and dab the paint on with the other. You will still need to hold the stencil in place while you work. The pumpkin is round and uneven, so it probably won’t hold your stencil in place all over as it would if you were to apply the stencil to a flat surface.
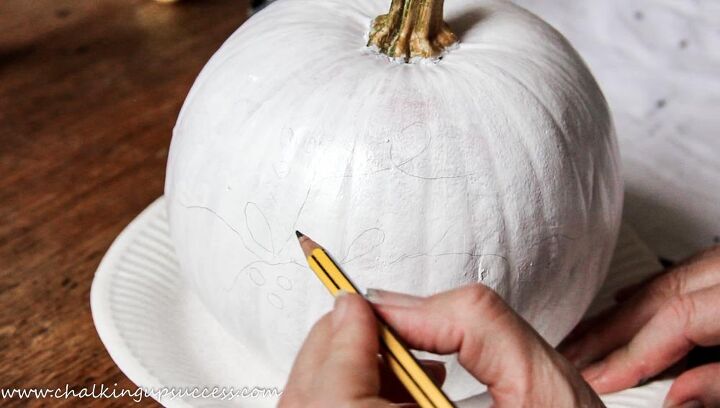
Use a pencil to hand-draw your design of choice onto your painted pumpkin.
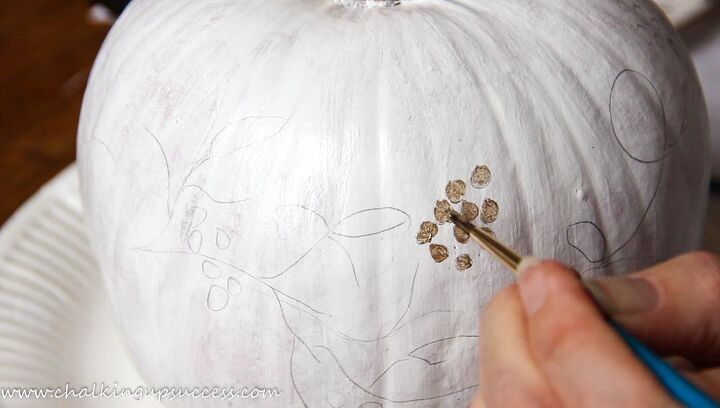
Paint over your design with gold paint.
Now, all that’s left to do is to seal your pretty painted pumpkins. You can use the same method as above for this. I used a spray sealer which is quick and easy to use.
TIP
If you use a paint sealing spray or lacquer to seal the pumpkins, make sure to use it outdoors or in a well-ventilated room. Always follow the instructions of use on any crafting materials. You may also need to wear a respirator and goggles. As I say, read and adhere to the instructions and you should be good to go.
Let your cute painted pumpkins dry completely. I sprayed my pumpkins outside in the garden and let them sit outside on the porch for a couple of hours.
There you have it – cute painted pumpkins – ideas for a pretty fall table. You can see more beautiful photos of these on my blog. Just type in 'pumpkins' to the search bar at the top of the page. 
WAIT!
Before you go, if you’re not part of our amazing creative community yet but would love to join us, I would love to have you stop by my blog Chalking Up Success for the full tutorial or to sign up for my latest posts, DIY, inspiring home decor, natural home recipes and more.
FREE RESOURCES
By signing up, you’ll also receive a copy of the free ‘Furniture Flip Checklist’ and gain access to all the other printables, e-books and labels in the VIP Resource Library.
FOLLOW CHALKING UP SUCCESS
CHALKING UP SUCCESS ON YOUTUBE
Subscribe to my YouTube channel to see more DIY, home decor and crafts - https://www.youtube.com/channel/UC4uyVGrJxoo8-7qlAg5_x-g?sub_confirmation=1 I can't wait to see you there!
Facebook:
https://www.facebook.com/chalkingupsuccess/
Instagram:
https://www.instagram.com/chalking_up_success/
Pinterest:
https://www.pinterest.de/chalkingupsuccess/

Comments
Join the conversation
-
Usually I can’t relate to pumpkin crafts but these are soooo beautiful!


Frequently asked questions
Have a question about this project?