


Slat Style Bench

When I redid the black feature wall (see previous post for details on that) I knew I needed a new bench. So, naturally I decided it was best to make one myself.
follow along with me and I will show you how I made this slat bench.
- (4) 2x4 dimensional pine
- (4) 2x3 dimensional pine
- white paint
- gold spray paint
- wood glue
- 2 1/2 screws
- table saw
- Mitre saw
- Drill
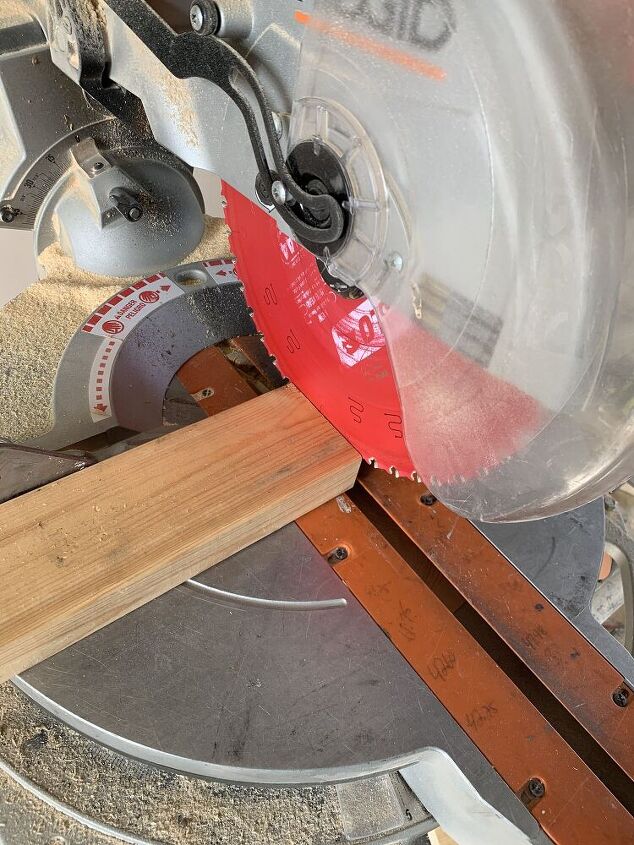
- 2x4’s- cut to 68” on mitre saw and then with your table saw rip (run lengthways on your table saw) into 1” strips. You will need 8 in total.
- 2x3’s -cut 2 at 68”
- 2x3’s - cut 3 at 14” (these will be the supports for the slats)
- bench legs: 2x3
- cut 2 at 12”
- Cut 2 at 10”
- cut 4 at 15.5”
you will need to set the depth on your mitre saw so you are only cutting into half of the 2x3’s (14” pieces)
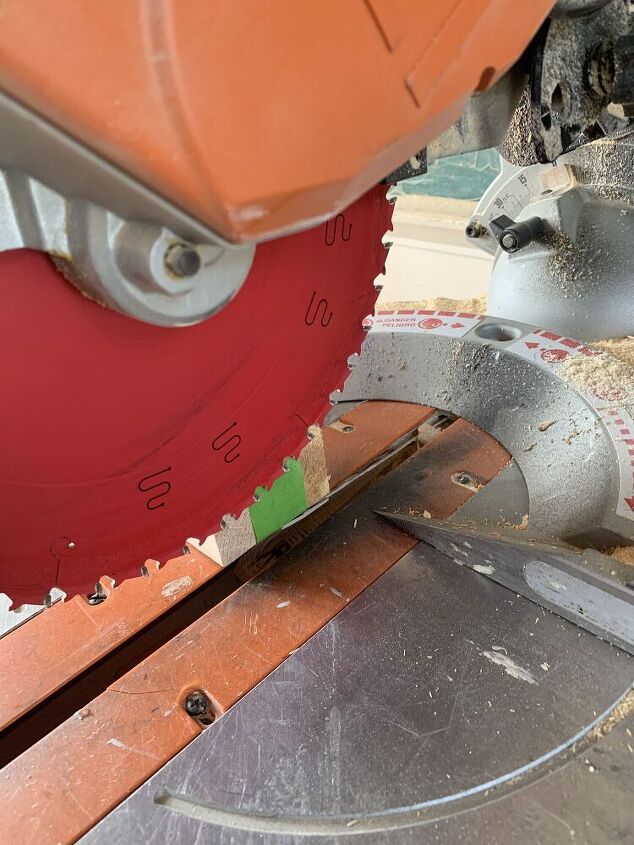
Mark out so there is a 3/4” spacing between every one inch. You will need to cut out the 1” spaces. This is where your long 68” slats will sit. You will do this for all 3 pieces. You will put one on each end and on in the Center of the slats.
when making these cuts, you will cut once, and then move the wood over by a saw blades width and continue to make cuts. Keep moving the wood over and continue the cuts until the space is fully cut out.
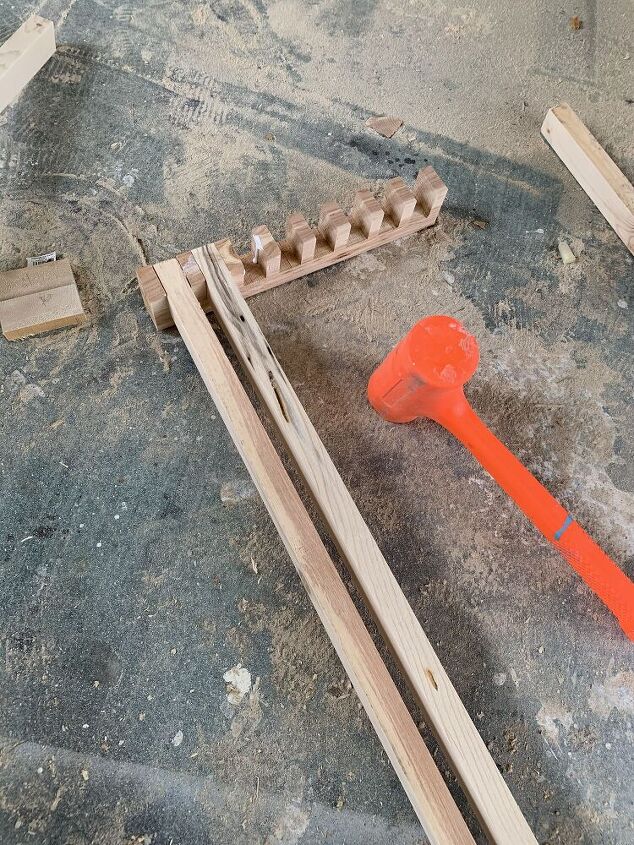
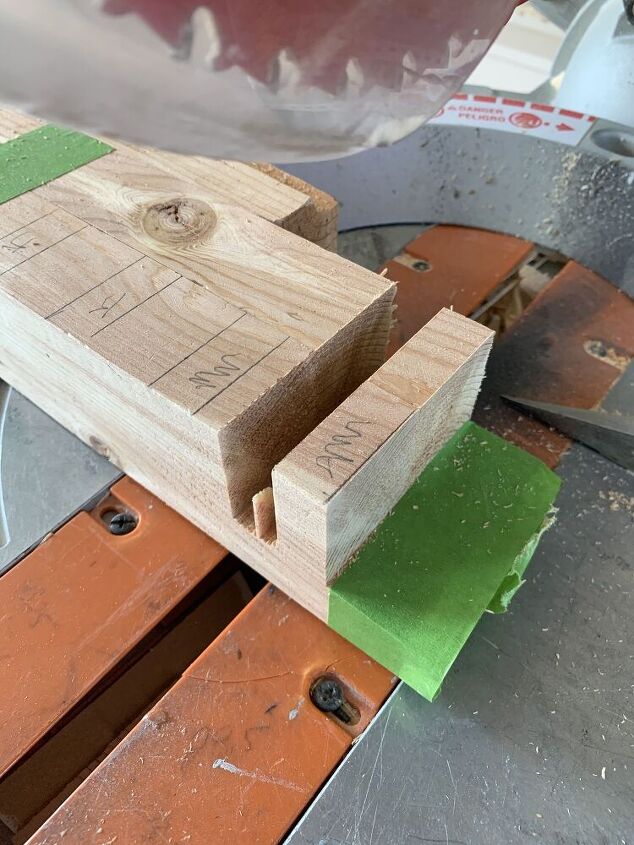
this is a better picture of how the 2x3 pieces will look once they are only cut into Half ways. As you can see the slats will now sit into to 2x3 pieces in the 1” spaces you cut out.
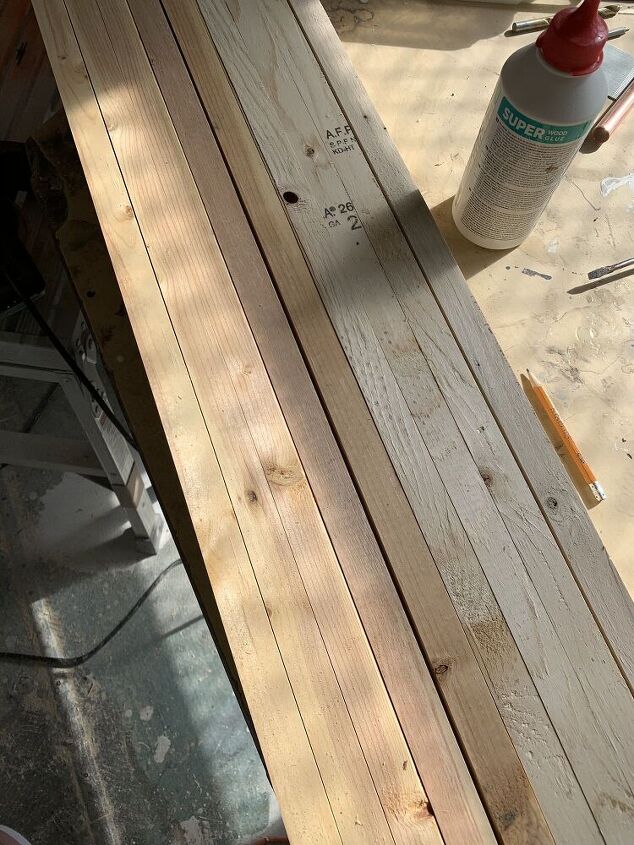
apply a generous amount of glue into the slots and place your slats into them. You may need to use a mallet to get the slats into the grooves. I also did put one brad nail into the end of each slat going into the 2x3.
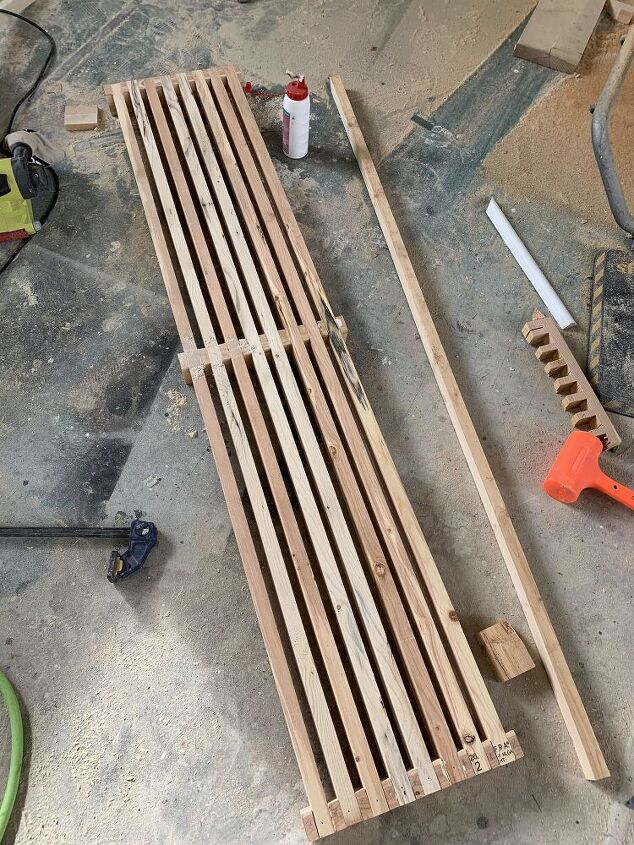
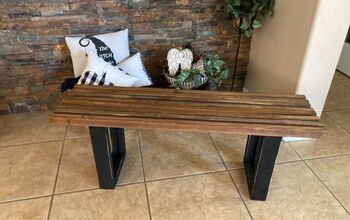
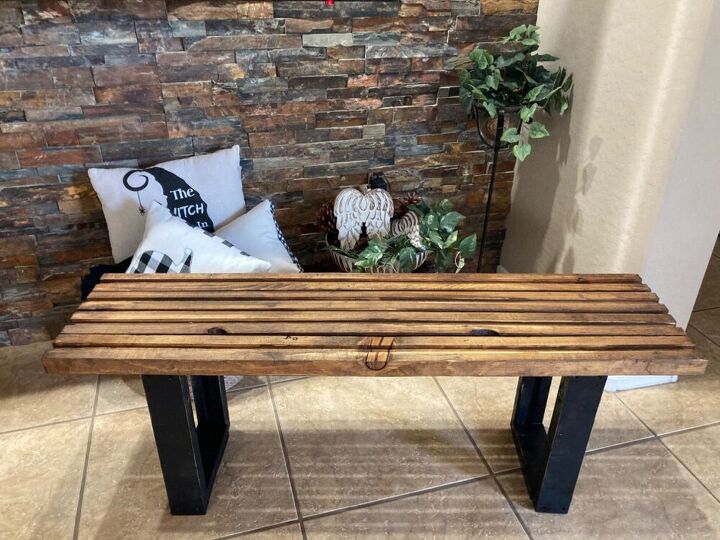
this is what the bench top will look like after all the slats are in place.
after you have this assembled. Take the 68” 2x3 pieces and attach them to each side.
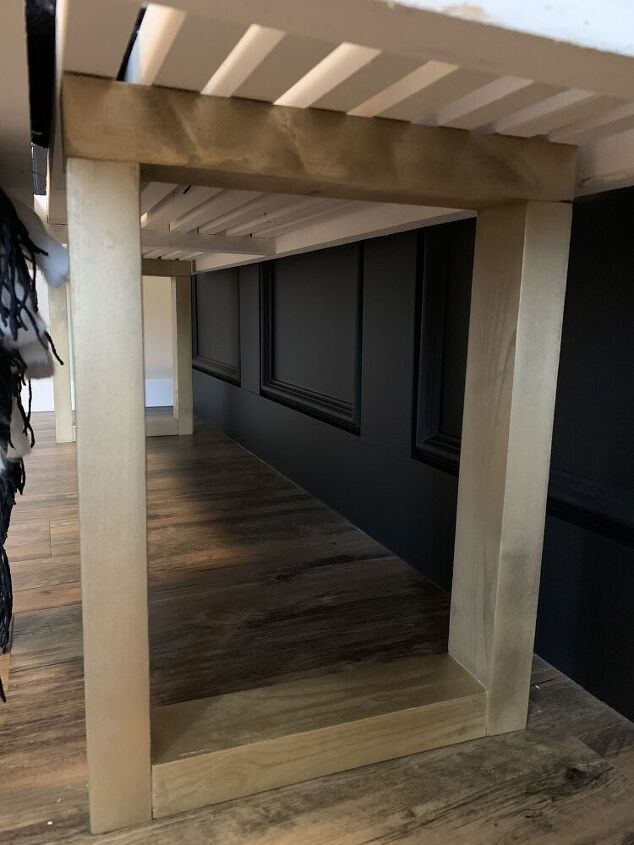
to assemble the legs, I used pocket holes for the 10” bottom pieces (you don’t need to, you can just use normal screws drilled in through the long pieces) and simply just screw down into the 12” top pieces.
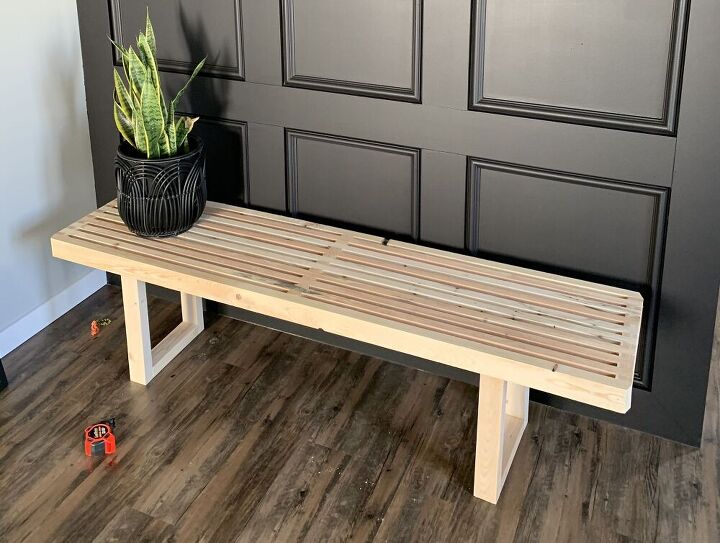
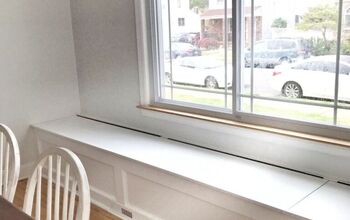
This is what the bench looks like without paint on. I however chose to paint my bench top white and spray the legs gold
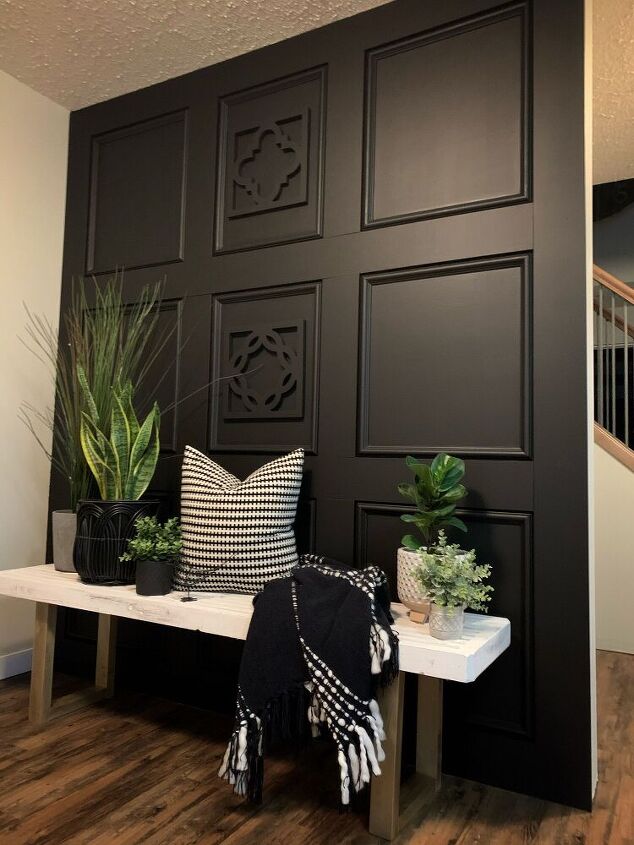
I styled my bench with some plants, a blanket and a pillow.
I feel the look of this type of bench can be something that looks intimidating to build, but it’s honestly not to bad. As long as you set your depth properly and measure accurately it’s fairly simple.
if you don’t have a mitre saw where the cut depth can be set, you can also use a circular saw as well.
be sure to check out my previous post on the mini transformation I gave this black feature wall as well.
Dont forget to follow along with on here , hometalk, as well as Instagram.
Cannot wait for our next DIY together
xo
Amber
Resources for this project:
See all materials


Comments
Join the conversation
-
Check out this way it’s a bit less work! But yours looks amazing https://www.hometalk.com/diy/build/furniture/how-to-make-a-bench-for-3-44329905
-
Love it absolutely beautiful!!!


Frequently asked questions
Have a question about this project?
It's beautiful but I can't figure out how you're cutting out those chunks of wood out to make the slats. Do you cut out a slice at a time and then use a hand saw or something to cut horizontally? I guess I missed something...
I absolutely love that black wall !!!!!