


DIY Makeover : Butcher Block Top Kitchen Island

DIY: Farmhouse Style Kitchen Island. Save money and do it yourself!
Do you want to know how to build your own unique farmhouse style kitchen island and save money? Well you came to the right place. We will show you our journey down the DIY road with one of our latest DIY projects, A Farmhouse style kitchen island.
Before you get started with any DIY project is important that you put together a DIY Home Project Planning Checklist. Thankfully we have put one together for you to make it easy for you as well as make your Do-it-yourself project run smoother. Click here for your FREE DIY HOME PROJECT PLANNING CHECKLIST.
This past summer we moved into a larger home to accommodate our growing family. As our family has grown we needed more living space and the kitchen is an important room that many gather in. We did a lot of research and decided to dive into another classic FabSix (Our fabulous family of 6) DIY project.
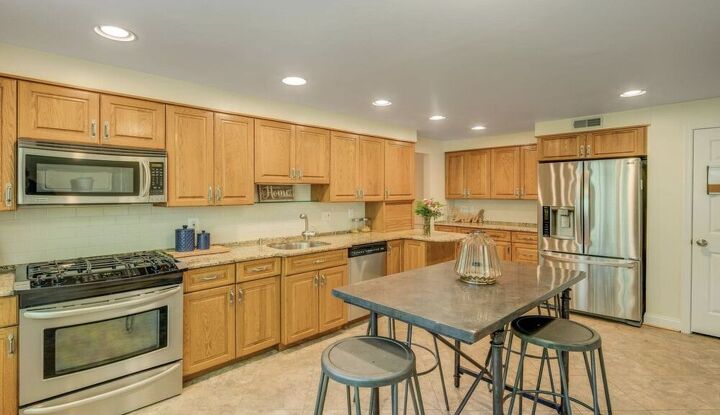
My wife (Crystal) and I come up with all of these great ideas and I do my best to figure how to best execute them. In our new kitchen space which is much larger than the 10×10 kitchen in our old house and has a big open void in the middle.
We could stick a table and chairs in there and call it a day but we wanted something a bit more interesting and functional for our kids and family.
We needed enough seating for at least 4 kids and still enough room to navigate around the kitchen.
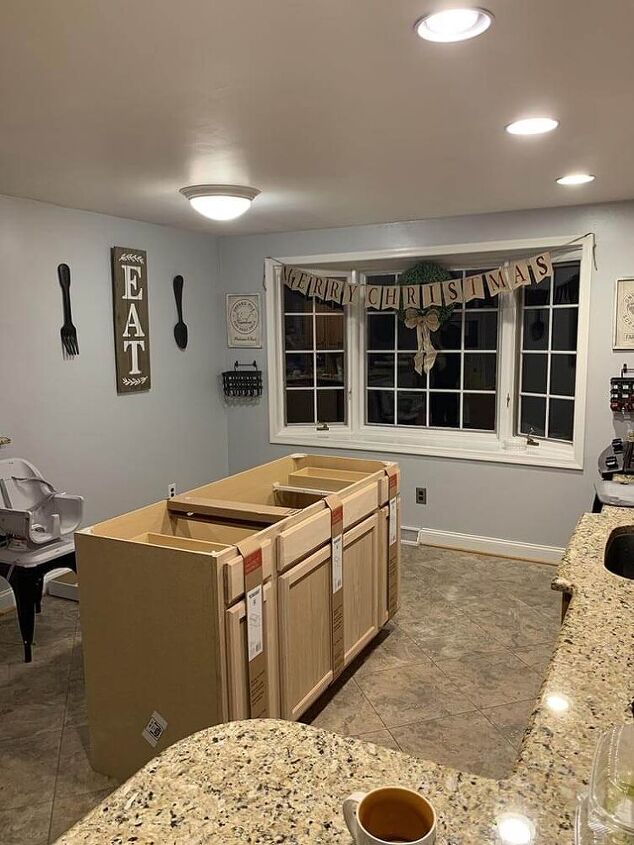
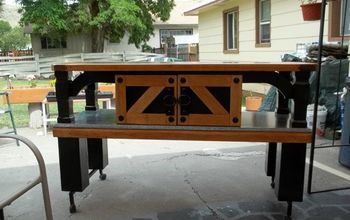
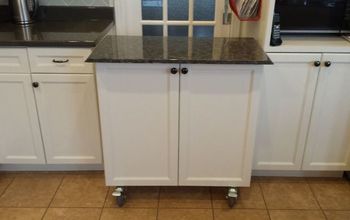
We found this awesome 60" base cabinet from Home Depot for only $150.
We re-enforced the back of the base cabinet with 1/4" OSB board to protect it from the kids kicking the back while sitting at the kitchen island.
It fit perfectly in the middle of the kitchen area. We used painters tape directly on the floor to figure out where the base cabinet would be finalized.

Next, we screwed 2 2x4s using 3" construction screws to the floor and then placed the base cabinet on top so the 2x4's were on the inside of the toe kick and then screwed the base cabinet into the 2x4s from the front and the backside.
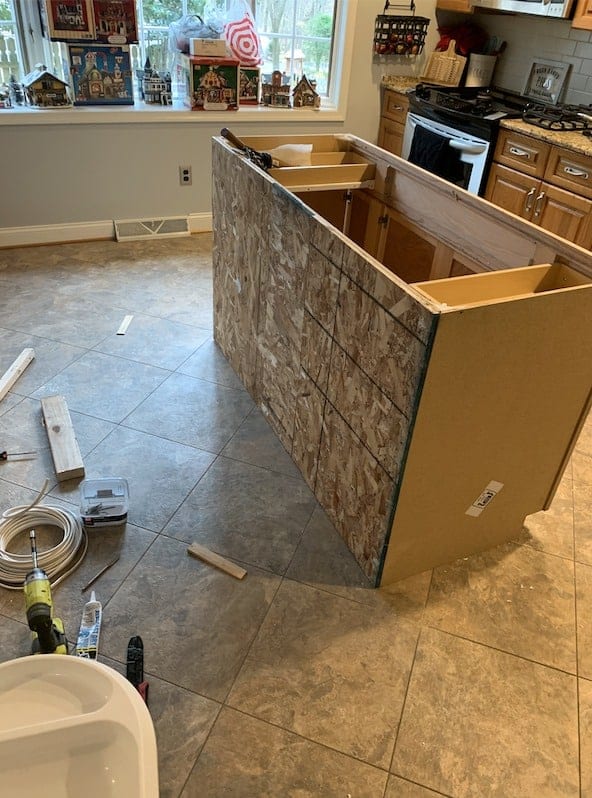
We re-enforced the back of the base cabinet with 1/4″ OSB board to protect it from the kids kicking the back while sitting at the kitchen island.
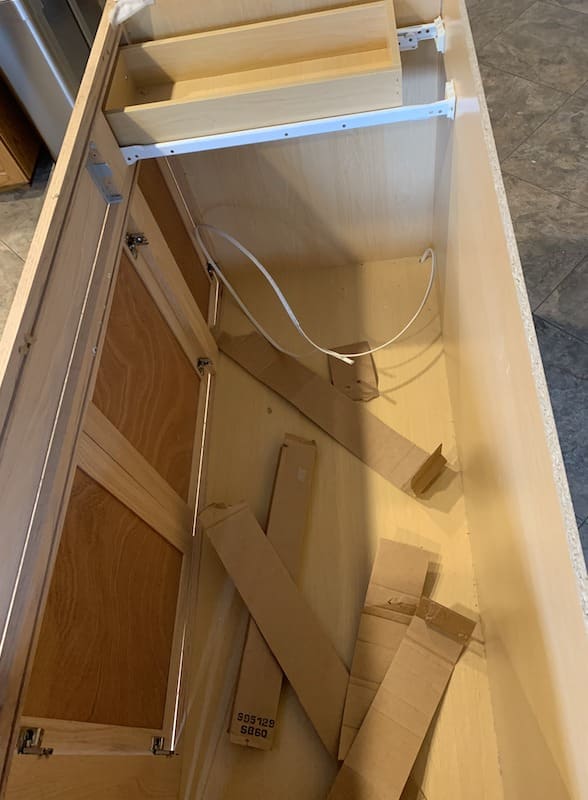
We really wanted to have access to electric receptacles on the island for easy access for our miscellaneous appliances so we ran Romex wiring through the base of the cabinet into the floor.
Next we cut out holes on each side to accommodate 2 electrical receptacle outlets.
The power was pulled from a junction box in the basement crawl space.
Please work with a certified electrician for any power needs.
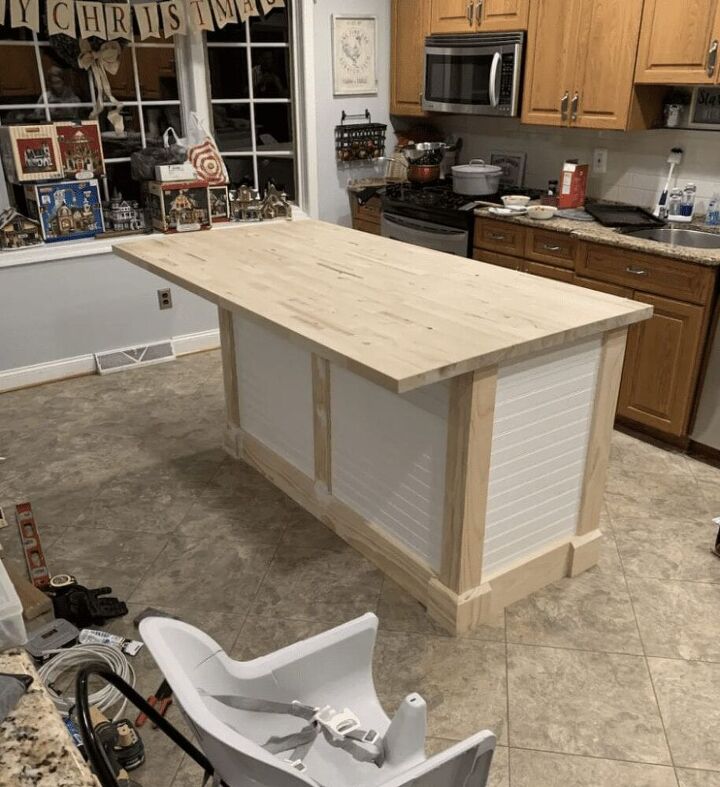
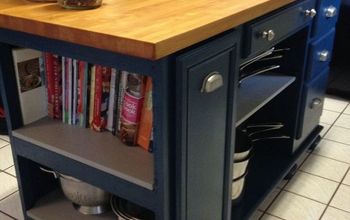
To add a cool farmhouse look we bought 4'x8' beadboard sheets and cut them to size and used panel glue and brad nailed them on vertically.
Remember measure twice and cut once. Doing it the other way around was a recipe for failure.
We also wanted to add some trim to the bottom and sides so we used 1x6 pine boards for the bottom and 1x4 pine boards for the verticals.
On the corners, we mitered 45 degree angles to make the edges look clean. We also decided to add 1x6 pine blocks to the corners (We cut these from extra 1x6 pieces we had left over).
We were happy with how the trim turned out!
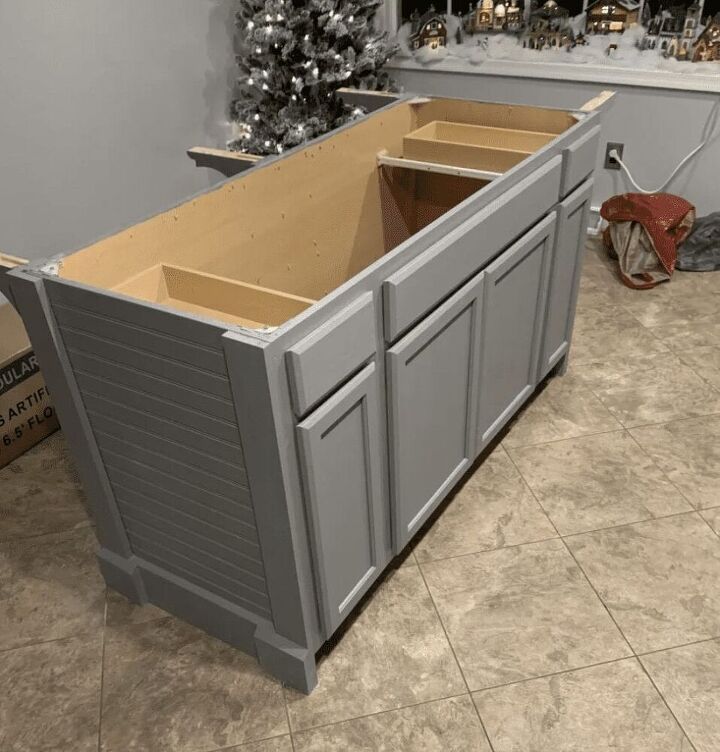
Next, we painted the entire base using a color called flannel grey by Sherwin Williams in satin.
We had to do 3 coats to get it right. It was easiest to take off all of the door and drawer fronts and paint them separately.
Taping off the floor with painters tape will help to avoid painting your floor by mistake.
However, if paint were to get on your floor it cleans up really easy with baby wipes. Baby wipes are a versatile tool!

We really wanted a butcher block countertop so we found one at The Home Depot.
It measured 6' 2" x 3'3". A perfect size!
The packaging was ripped a little and a few scuffs on one side but hey I only need one good side.
We were able to get the store to knock off $50! Sold!
Since our cabinets are a honey oak color we went with the closest stain color we could find which was Pecan.
We decided to go with a stain and poly mix.
The natural auburn color of oil-based poly was a perfect addition to the color we were going for anyways.
We used 80 grit then 120 grit and then finally 220 grit sanding block to get a fine finish.
Next, we wiped all the dust off. You don't want wood dust particles to get mixed in with your stain and poly.
The next step was to use a wood conditioner.
The wood conditioner did wonders it helped to bring out the natural beauty of the wood.
We used a stain brush to apply the conditioner at a 45-degree angle going with the grain. We made sure to wipe off any excess conditioner before it dries.
After about 30 minutes the conditioner did its job and it was time to apply the oil based stain and poly.
Using a stain brush at a 45-degree angle we applied the poly using smooth strokes and not over-soaking the wood.
You want to have clean and light applications.
You have to also make sure to apply the brush with the grain of the wood.
However, you leave your brush strokes is how it will dry on the wood.

After letting the first coat dry for at least 6 hours, the 2nd coat was ready to go. Make sure, in between coats you want to do a fine sanding using 000 rated steel wool. This will help each coat adhere properly.
We ended up doing 3 coats on this countertop and it turned out excellent.
Quick Tip: Make sure you stain and seal all sides of the wood countertop. Wood breathes. Therefore, you may expose yourself to countertop warping because of natural moisture in your home. If you seal all of the sides it will ensure your countertop will stay in great shape.
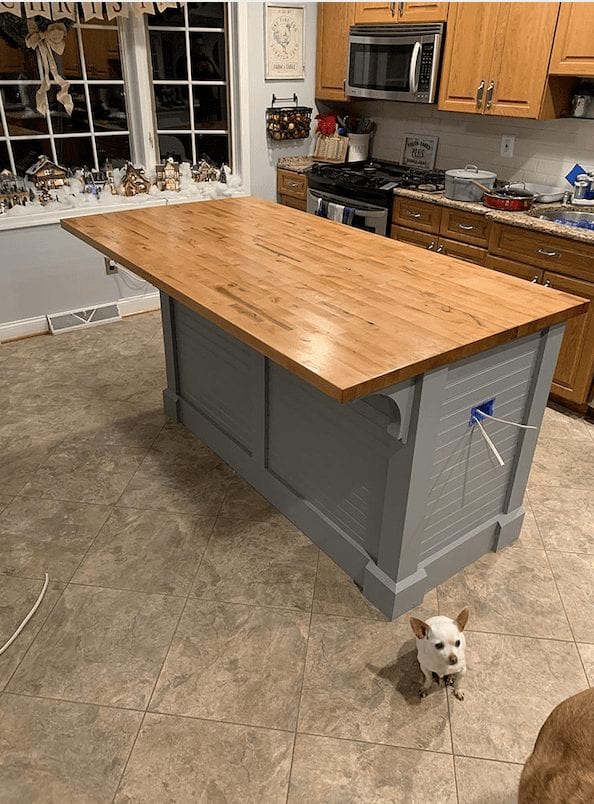
Once the countertop was finished and dried, it was time to install it on top of the island base.
Also, I used screws on each of the corners from the underside of the base cabinet to secure the butcher-block top.
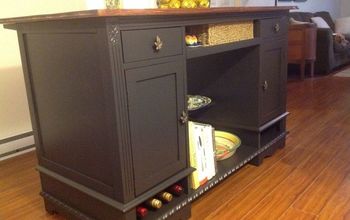
For added support and a cool look, we decided to add corbels to the front and side. We bought these at The Home Depot.
They weren't too expensive and they really add a nice touch to the overall look.
After that, we tied the electrical outlets into the junction box.
Finally, the hard work was done!

We were so excited about how it turned out and our family absolutely loves it.
It has become one of the most used areas in our home where we gather every day.
An amazing addition to our new home!
Resources for this project:
See all materials


Comments
Join the conversation
-
Love your table/island. The butcher block top looks great with your existing cabinets and don’t pay any attention to those who use the word dated. Real wood cabinets are beautiful. Good job!
-
Looks great but I would love to see a picture like the first one from the same viewpoint to see the transformation better.


Frequently asked questions
Have a question about this project?
How much did this cost you
Materials
Are the rest of the cabinets going to become gray as well to match?
Why gray when the entire kitchen is in warm colors?