


Upcycling From Cans
You can make this beautiful storage with lid yourself from a tin can and leftovers!
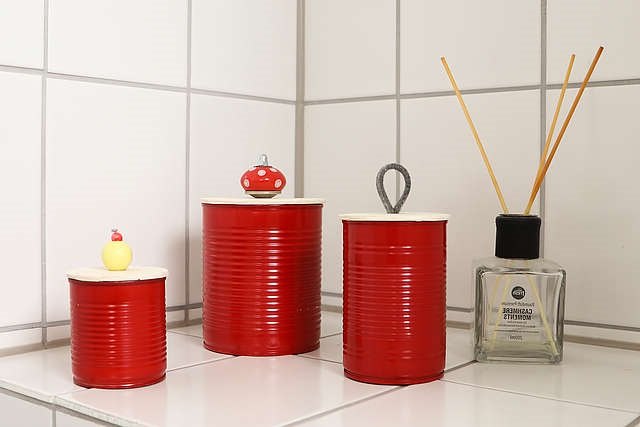
Despite the good intentions to eat fresh food every day, cooking sometimes has to be quick. Then canned food is often a convenient alternative. Instead of throwing them away after eating, you can keep using them sensibly. Cosmetics, jewelry, sewing accessories and all kinds of odds and ends are neatly stowed in the creatively designed storage boxes.
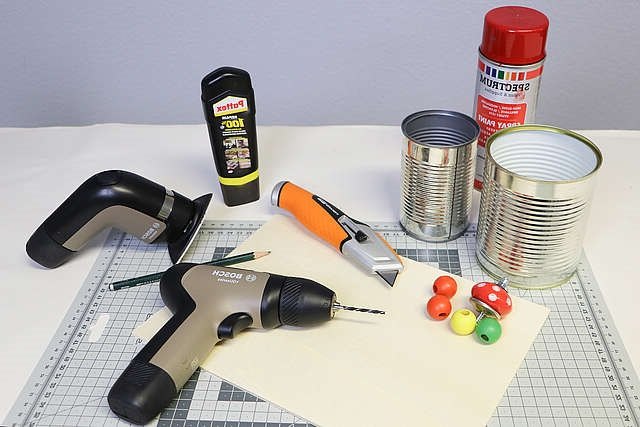
- Empty, clean food cans
- Poplar plywood, 4 mm thick (the bottoms of cheese plywood boxes also work)
- Spray paint in the color of your choice, clear coat
- Paper for covering, cardboard as “spray booth”
- Cord, felt or leather scraps, wooden beads or furniture knobs
- pencil
- All-purpose glue for gluing the wooden balls
- Fretsaw or sharp cutter knife with cutting mat
- Sander or sanding block with 150 grit sandpaper
- Cordless drill with 4 mm wood drill bit
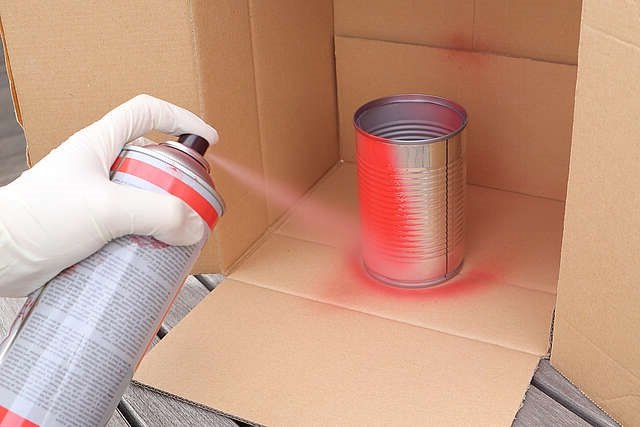
First you rinse the cans clean and remove the paper bands. For painting, it’s best to go outside or in a well-ventilated room. Cover surrounding areas with foil or newspaper. Then you place each can individually in a cardboard box, which serves as a spray booth, and paint them in several thin layers! Layers on all sides until the paint covers well. Then let it dry. For a more robust surface, apply another layer of clear lacquer.
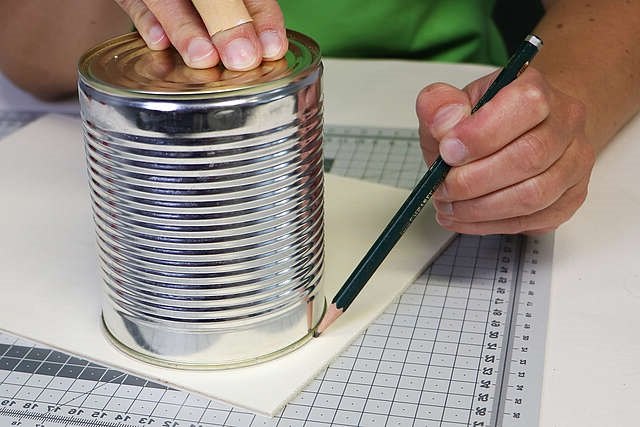
We use 4 mm poplar plywood from the hardware store for the lids. You need slices that are slightly larger than the diameter of the cans. To do this, place the cans on the plywood and outline them with a pencil. A fretsaw or a cutter knife are suitable for sawing out. If you are using a craft knife, trace the circles several times with the blade until the wood is cut through.
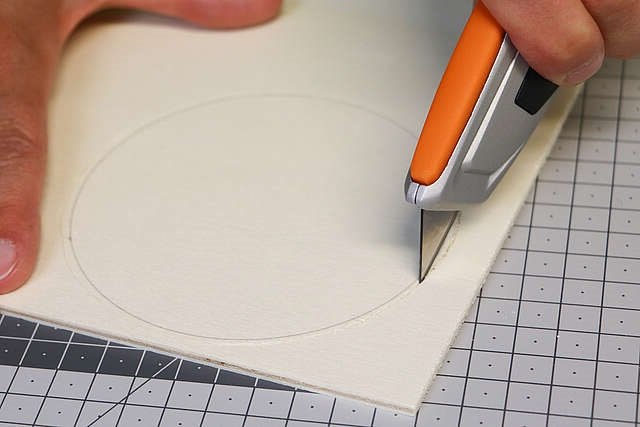
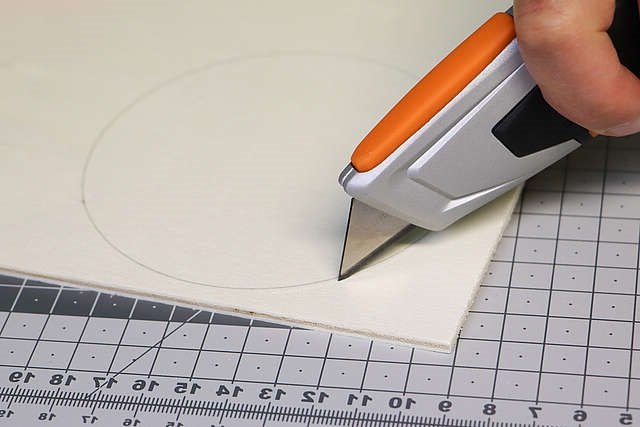
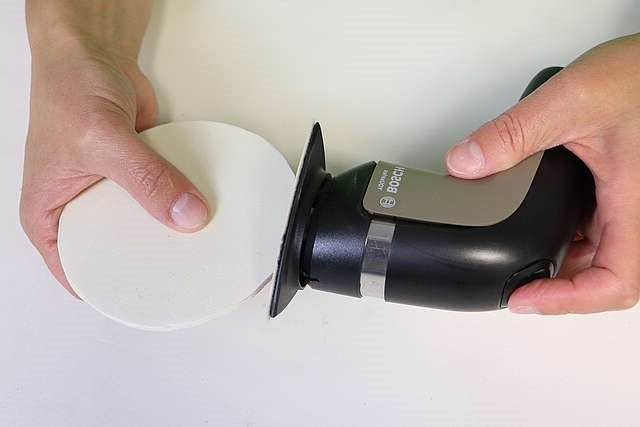
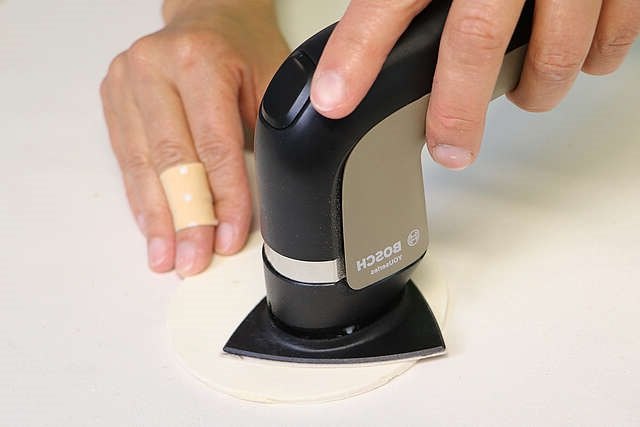
Since plywood cannot be cut cleanly against the grain with a fretsaw or cutter, it is better to cut the slices two to three millimeters larger and then sand them to fit. You also sand the surface nice and smooth. Remove dust.
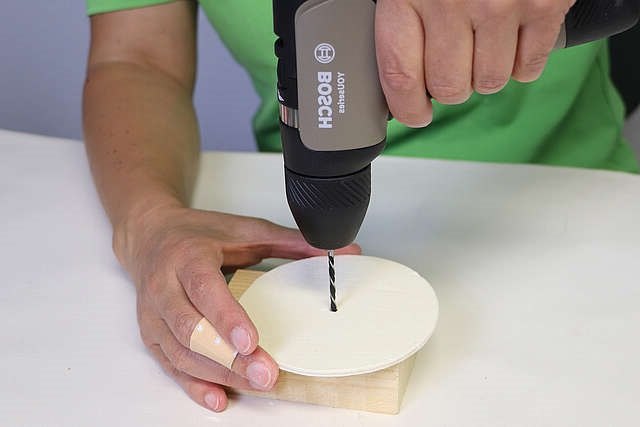
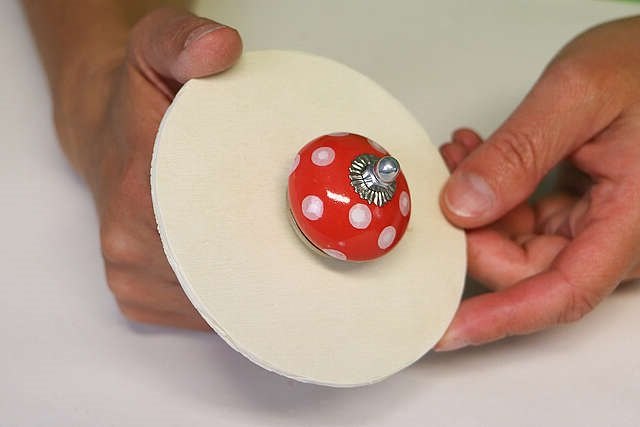
Now you drill a hole in the middle of the lid. Use a mat to prevent the back of the wood from fraying. Then treat the lid on both sides with clear lacquer for better protection. Now you can attach a furniture knob, pieces of leather or cord with wooden balls as a “handle”.

Resources for this project:
See all materials


Comments
Join the conversation
-
A great example of trash to treasure, so simple and so perfect !
-
Very cute!


Frequently asked questions
Have a question about this project?
I was wondering, if you opened the can with one of those non sharp edges openers (that’s a weird sentence) 😂 you could use the can lid for a lid! Adding the handle of course. Would that work?