


DIY Santa’s Mailbox

I came across these mailboxes at the Dollar Tree and thought it would be so fun to incorporate into my kid’s holiday decor! A little brainstorming on the assembly process and our Santa’s Mailbox was born!
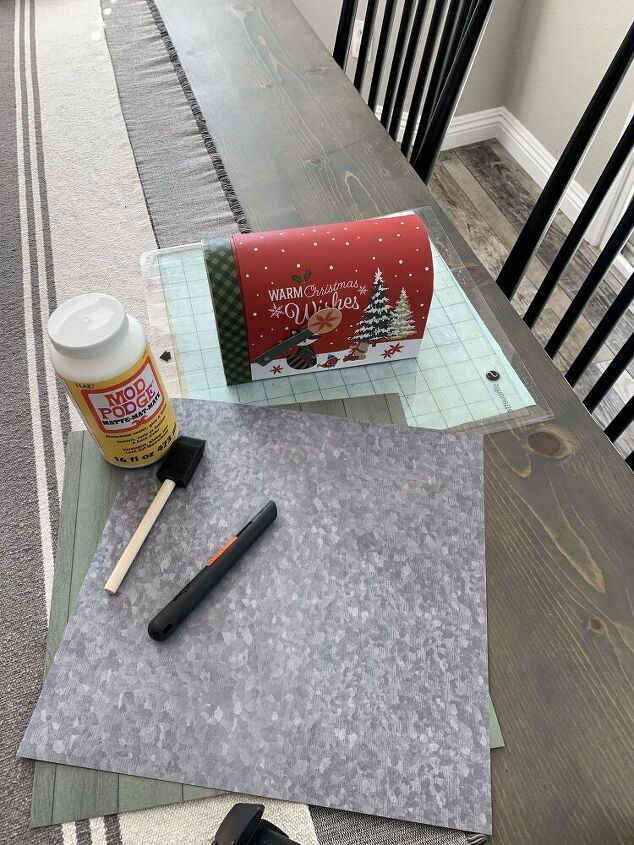
Minus the 2 pieces of scrapbook paper which I picked up from Hobby Lobby, all materials were from the Dollar Tree making this an extremely cost effective project!
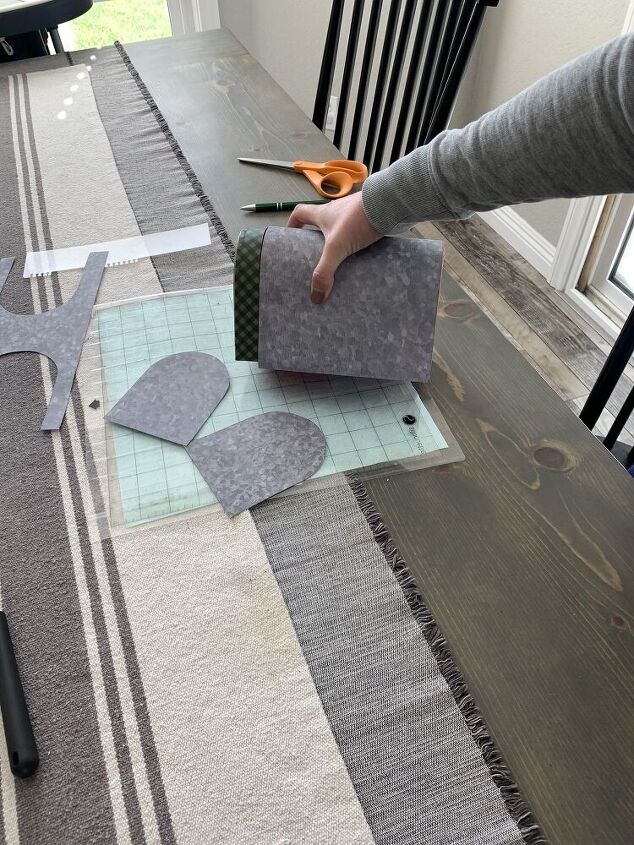
I just loved this galvanized print scrapbook paper! Trace and cut around all the edges to create pieces to fit each side. You then need to Mod Podge them all on.
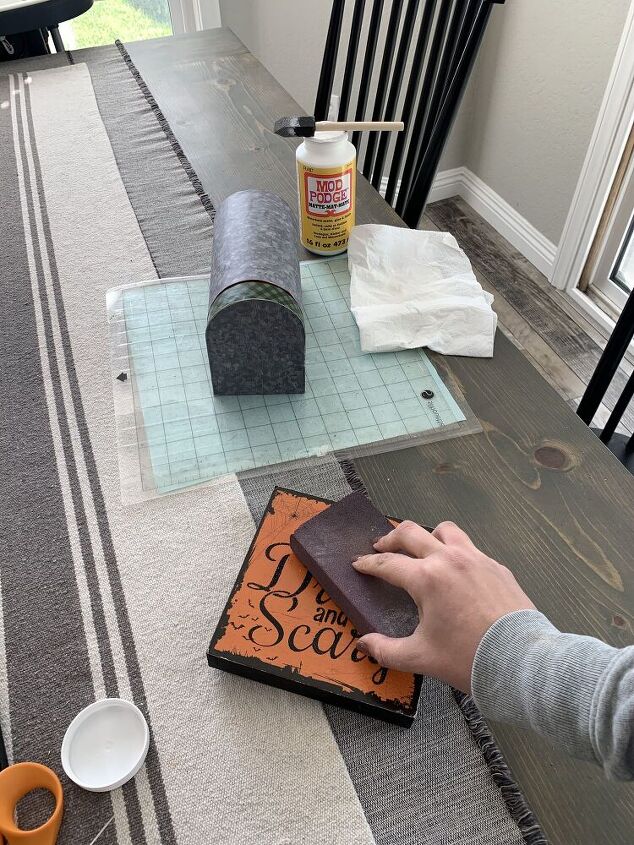
Grab any small square sign from the Dollar Tree and lightly sand the top. Next, cut a piece of scrapbook paper to fit on top and Mod Podge it on.
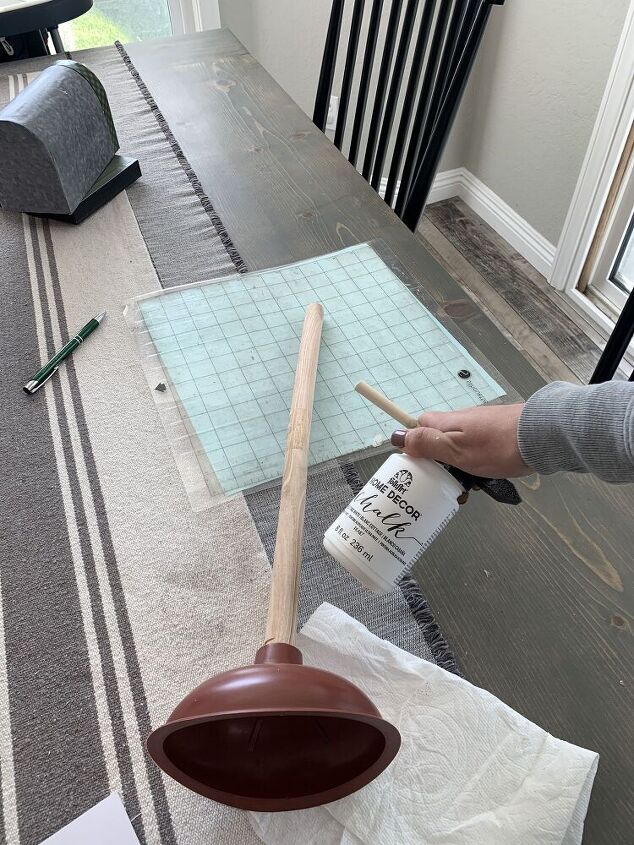
Now we’re going to get creative! Pick up a toilet plunger from the Dollar Tree. Unscrew it apart and paint the handle white or black.
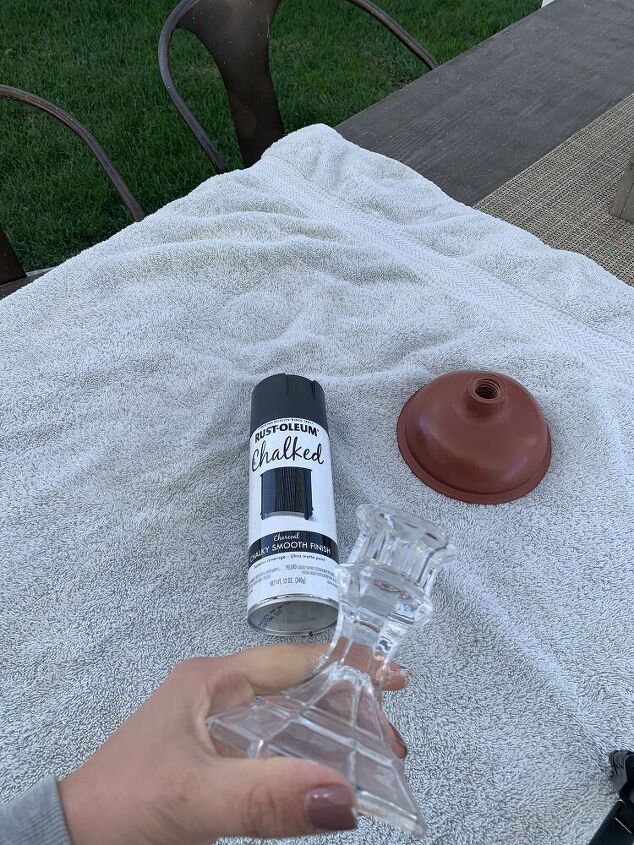
Take some black spray paint and paint both the candlestick and the plunger section.
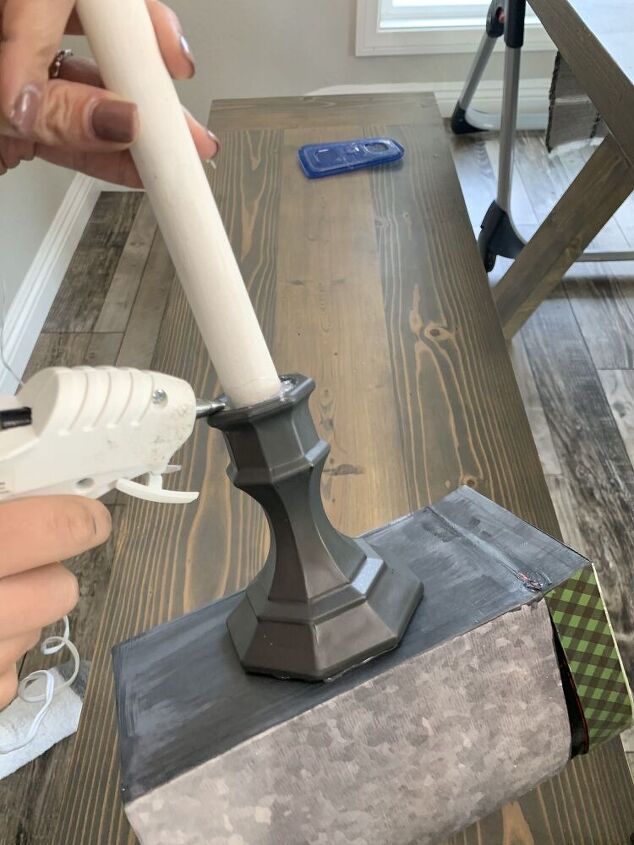
Hot glue the candlestick upside down onto the bottom of your mailbox. You then will glue the plunger handle into the candlestick.
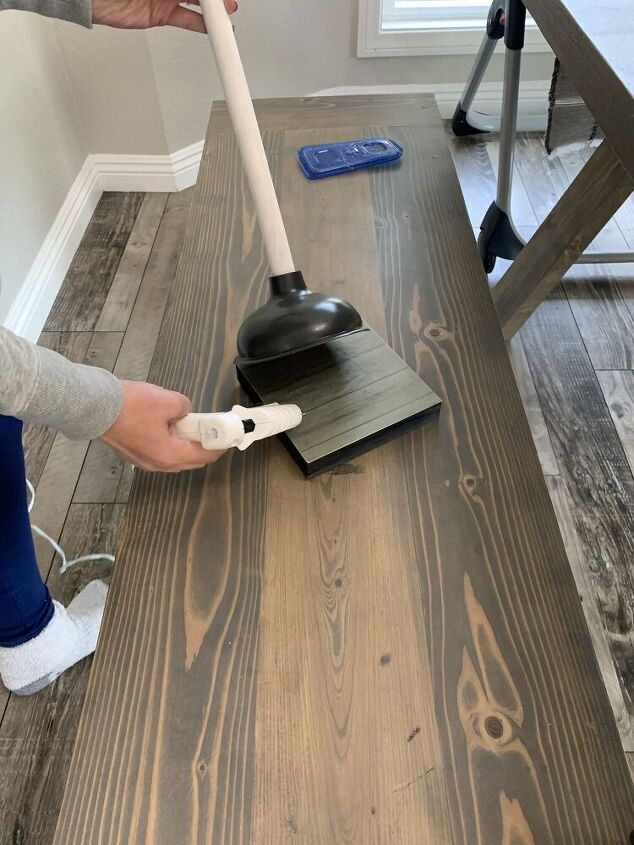
Lastly, glue your plunger onto your square base.
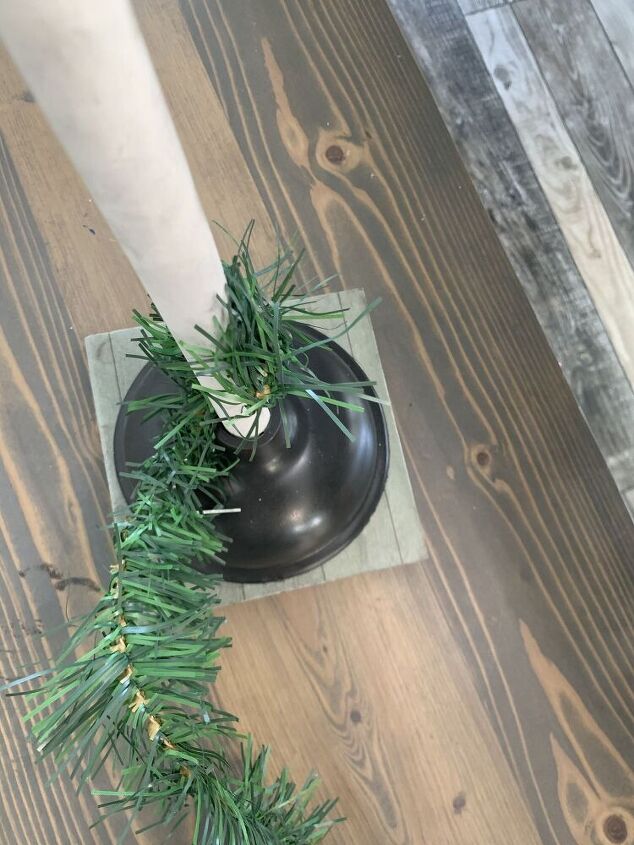
Add some garland to dress up the mailbox post!
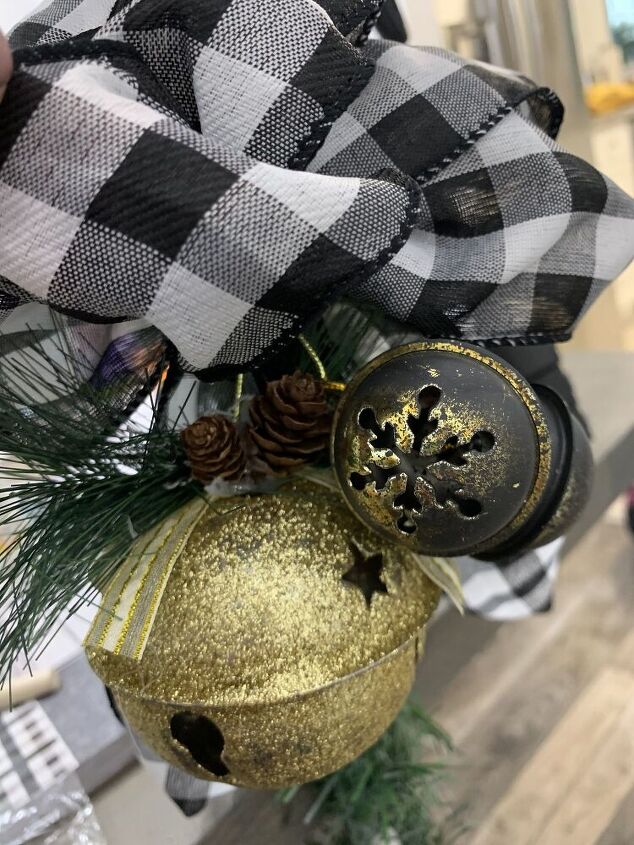
I also added on some bells, faux pine and a bow to embellish the post.
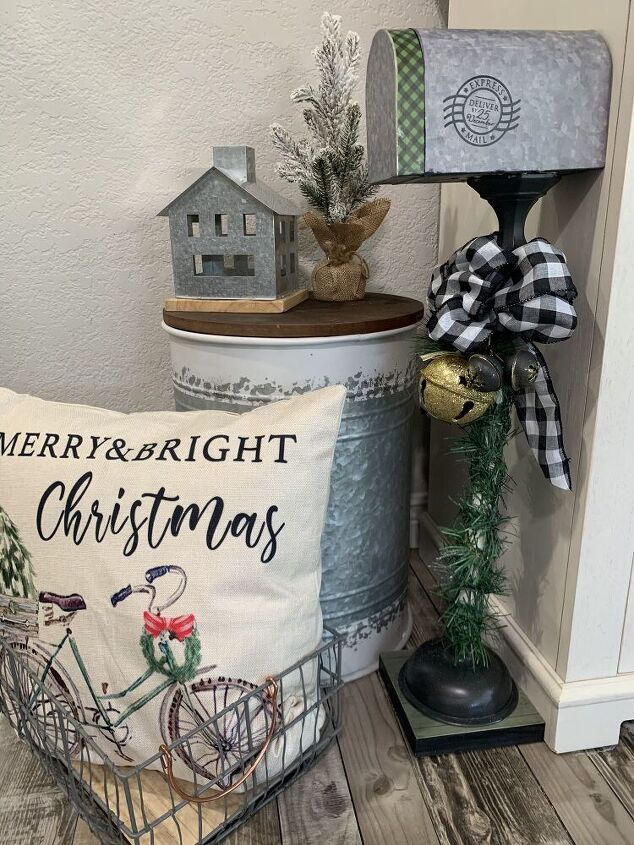
That’s it!! My preschooler is having so much fun putting letters to Santa into our new mailbox! This would also be a cute piece to put on your Christmas porch.
Resources for this project:
See all materials


Comments
Join the conversation
-
Yes, adorable!!! I love the idea.
-
So darned creative and adorable!


Frequently asked questions
Have a question about this project?