


How We Made a Simple DIY Walkway For Our Cute Bicycle Mailbox

Well, it's been a few years and our DIY bicycle mailbox was ready for a makeover. This time around we added a DIY walkway under it to avoid having to weed whack around it. So this tutorial is mainly explaining how we put a walkway under it.
Tools and Materials
- 4 steel fence posts
- 4 bags cement mix
- 1 bag of sand
- Perma sand
- Grass seed
- Rustoleum spray paint
- Gourd and flowers
- Wheelbarrow
- Shovel
- Fence post driver
- Quickrete Walkmaker cement mold
- Landscaping fabric
- Cement mixing container
- Dirt/Sand Tamper
- Hand spade
- Broom
- Old bike
- Mailbox
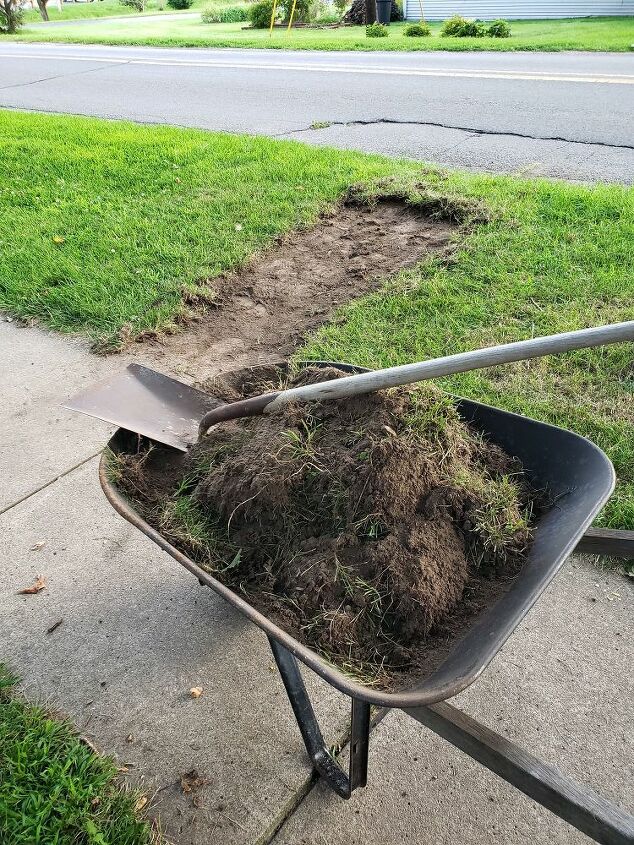
1. Check the area
The first thing you will want to do is verify there are no utilities below ground where you want to place your walkway space. Then remove the sod from the area and level it all out.
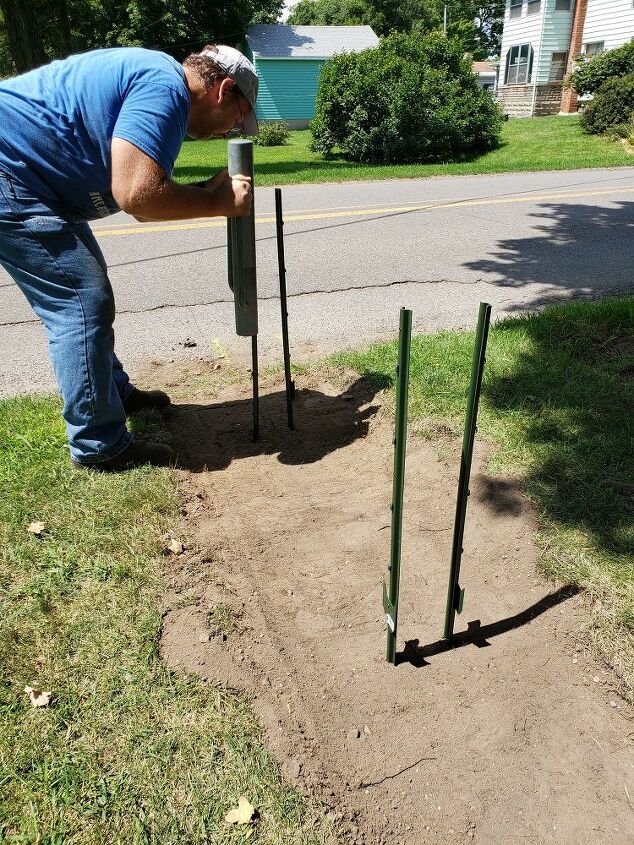
2. Add fence posts
You'll need 4 steel fence posts- they will be too long but you can shorten them later. Using a fence post driver, pound them into place. They will need to line up with the center of the bike wheels to be bolted into place.
Note: we forgot to paint them to match the bike color (to blend in) and wished we had done it beforehand.
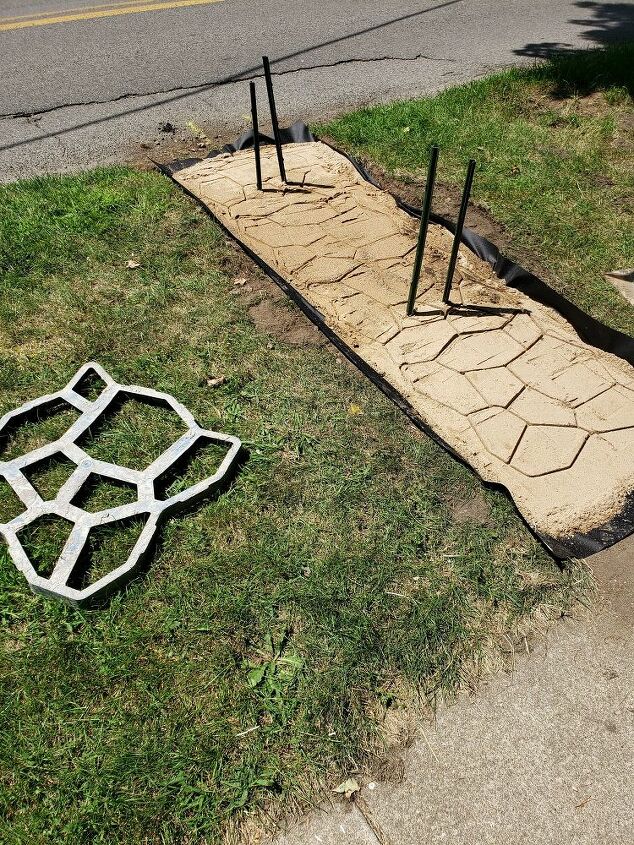
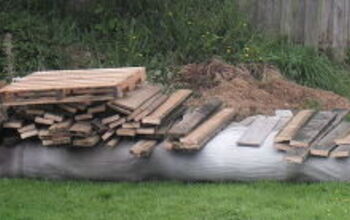
3. Add sand
Lay some landscaping fabric down (cut holes to drop over posts) and add shovelfuls of sand over this. Tamp it down with a tamper.
Then take the Quickrete Walkmaker cement mold and lightly press it into the sand so you can see how to best fit your walkway pattern.
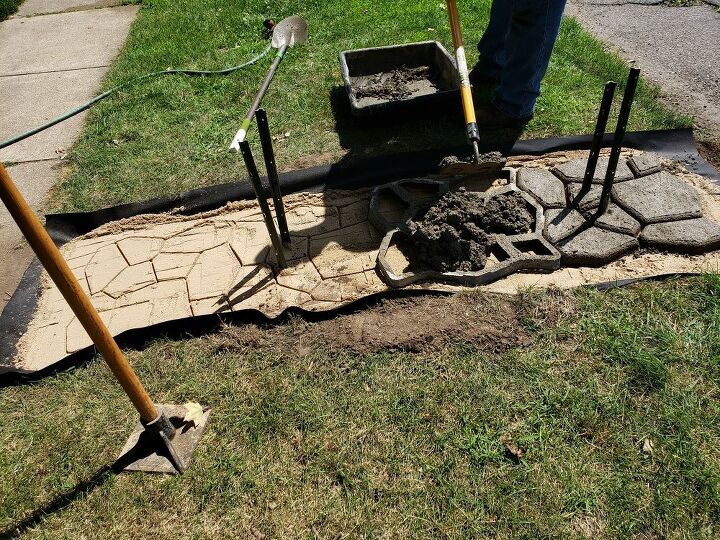
4. Make the walkway
Mix your cement and fill the walkway cement mold moving along as you can. It's a quick process if you don't make the cement too soupy.
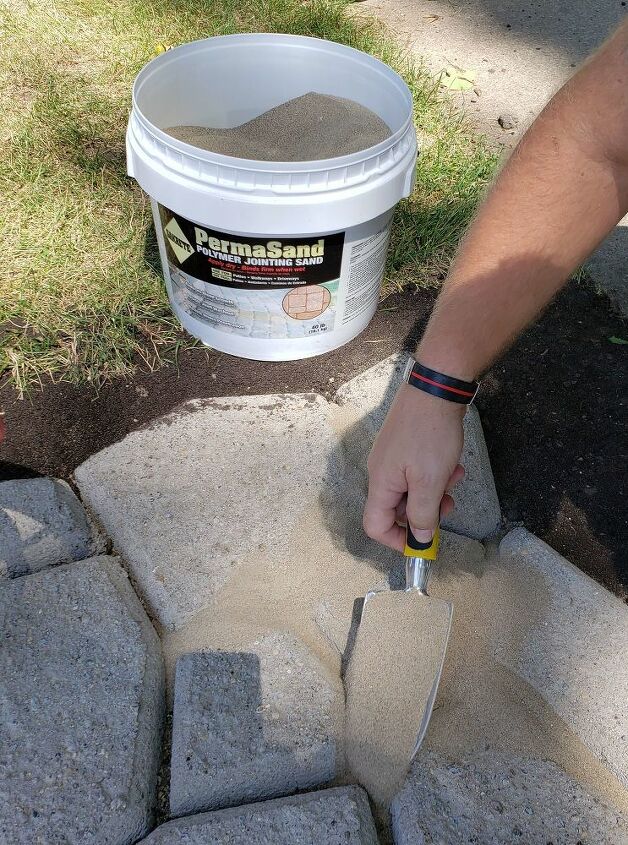
5. Add Perma Sand
Once dry add some Perma Sand in the walkway cracks, then broom sweep and water it to solidify per the directions on the container. We also sprinkled grass seed around the sides.
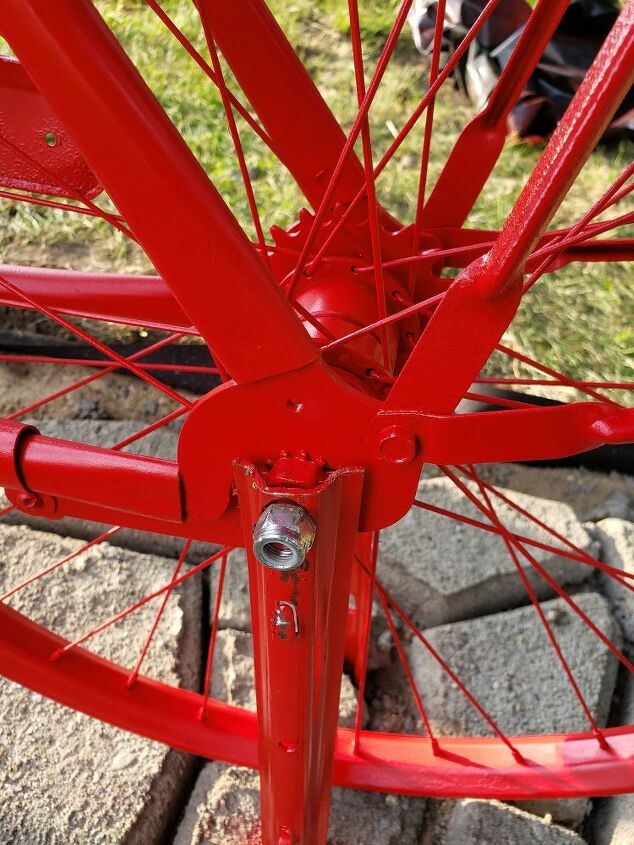
6. Bolt the bike in place
Bolt the newly painted bike to the 4 steel posts which are cemented into the ground. We also spray-painted these to match the bike afterward.
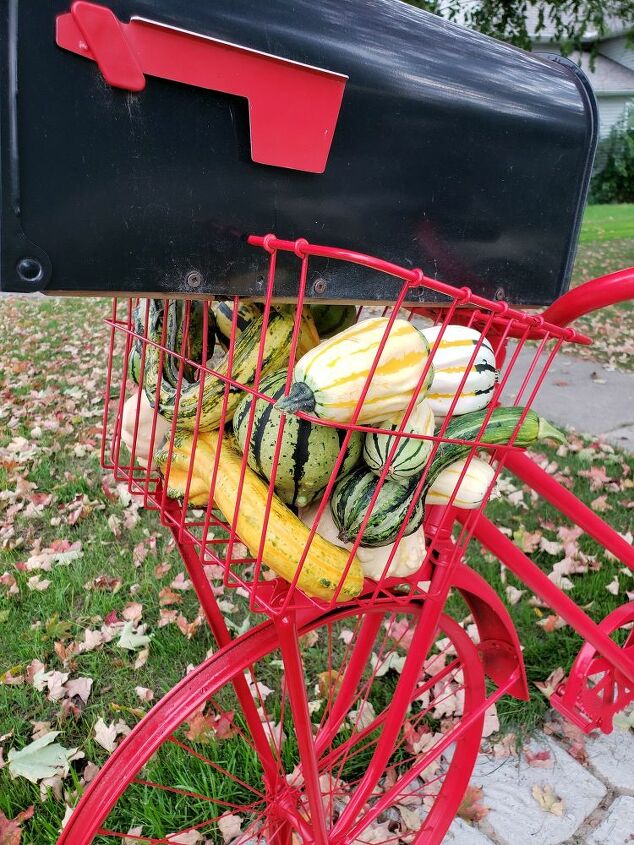
7. Add decor
I love to add something seasonal to the basket and since the leaves are falling I added some gourds...
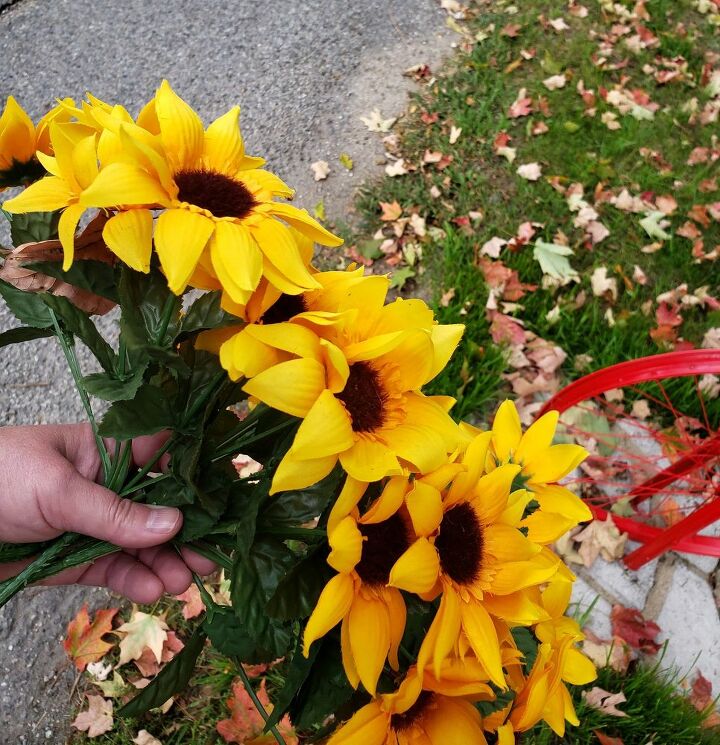
And also some sweet silk flowers....
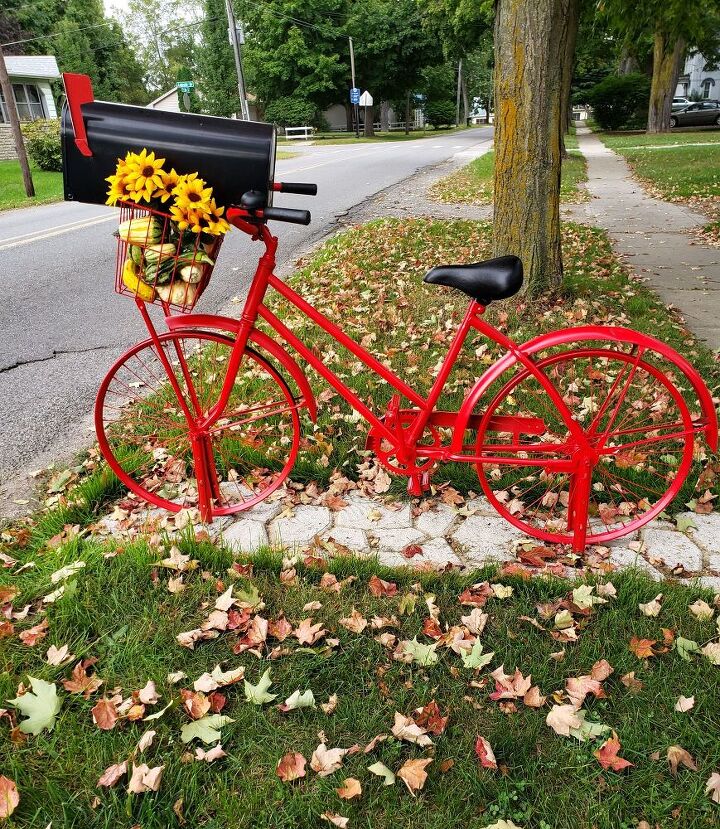
DIY walkway and bicycle mailbox
We love our bicycle mailbox and adding the DIY walkway under it really added to the look. Now we don't have to weed whack around it!
We followed all USPS and Village guidelines when installing this mailbox bicycle and its walkway.
Let us know what you think of this DIY project in the comments below.
More Incredible Incredible Projects to Update Your Home's Exterior
Resources for this project:
See all materials


Comments
Join the conversation
-
Bright cheerful, and totally inspired. Love it.
-
VERY clever and lovely!!


Frequently asked questions
Have a question about this project?
Why isn’t their any positive posts?
what a beautiful project you have done.
looks beautiful!!
I wish I could have that tho in my community mailboxes are all in one spot kinda like a PO Box.
Awesome job!
this is so pretty, I was wondering how do you fill the basket? looks like there is no way in if you want to change the decorations? Very nice job and explanations.
What were/are the posts for? I don’t see them in the finished product….