


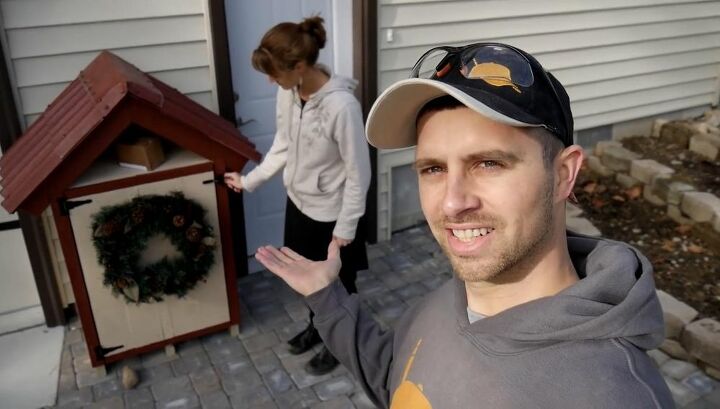
DIY Package Drop Box

If your house is anything like ours at Christmastime, there is a steady stream of packages arriving during the weeks before and they are often piled up on the porch when we arrive home. Not only does this invite theft, but it can also easily spoil Christmas morning surprises when that hard to find, must-have toy of the year arrives in its original box for everyone to see! We decided to create a package drop box for weather protection, to remove the temptation for theft, and to keep all of the arriving presents hidden away. This is a simple DIY that anyone can follow the plan for and recreate. Using a circular saw, drill, and jig saw, I completed a 3-tool DIY package drop box that made our Christmas season mail delivery a success!
Hometalk Recommends!
You Will Need:
- Deck screws
- Drill bits
- Lumber (2x4 and 5½ inch wide fence boards)
- 3 tools (circular saw, drill, jig saw)
- Tar Sheet
- Paint
- Gate latch and hinges
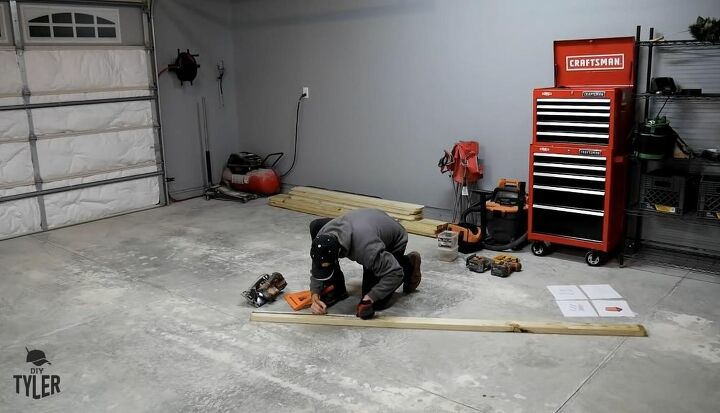
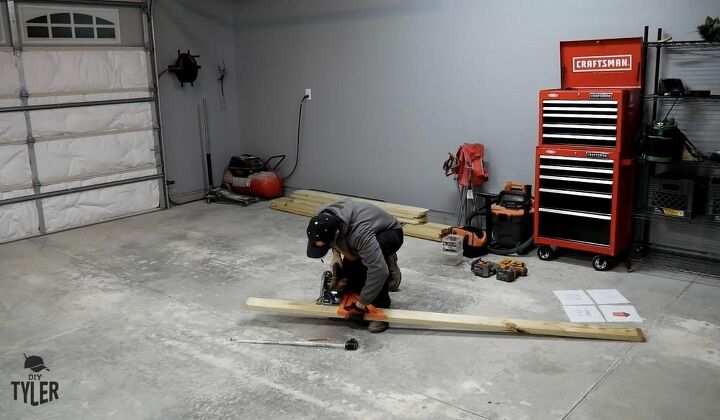
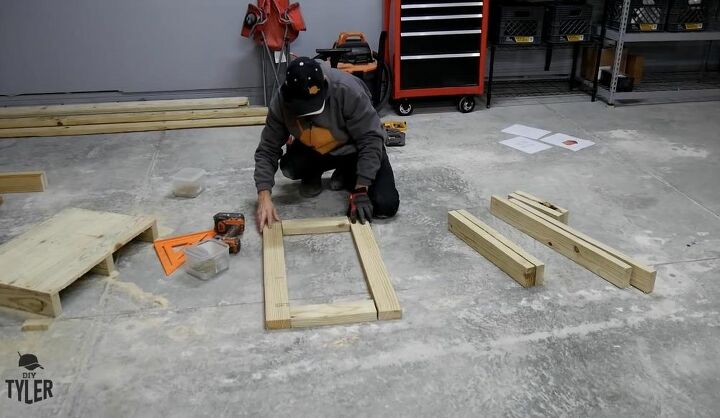
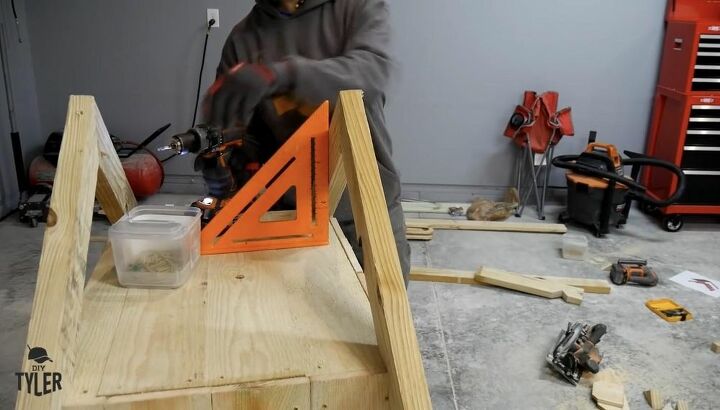
Step 1: Make Miter Cuts to Build Base
I used a speed square to keep the circular saw perpendicular to where I wanted to make my cuts and cut my 2x4 to make the base of the drop box. I cut 5½” fence boards and then attached them to three cuts from the 2x4s with 1⅝” deck screws. One board will overhang the back so just trim that with the circular saw after screwing it down.
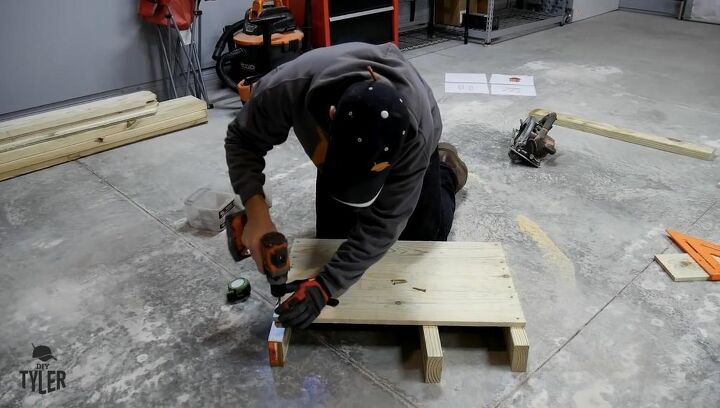
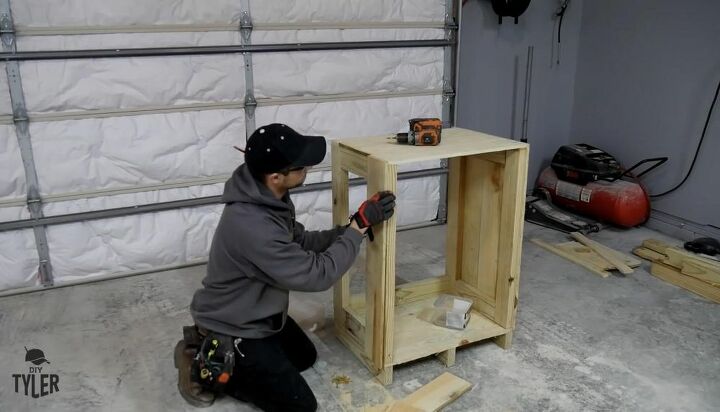
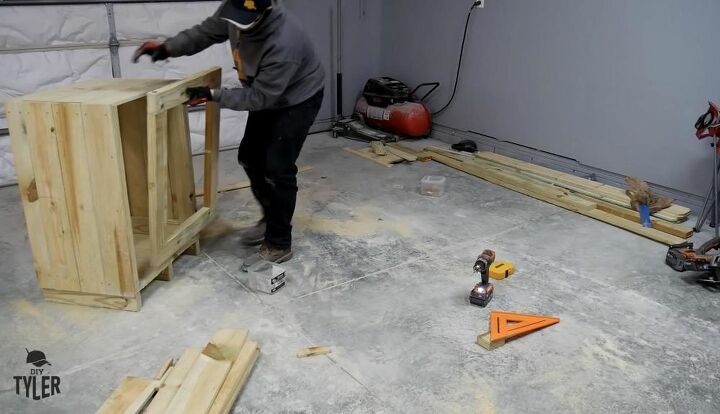
Step 2: Create Package Drop Box Structure
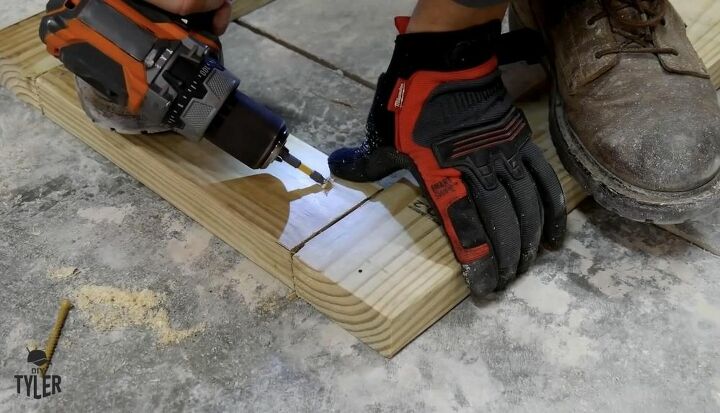
I used my speed square to ensure everything was perpendicular and cut 2x4s for the structure of the parcel drop box. I staged and built the drop box frame and screwed it together with 2½ inch deck screws and then repeated the process for the opposite side. Once the two sides were done, I joined them together with a cross brace piece and screwed the whole thing down to the base.
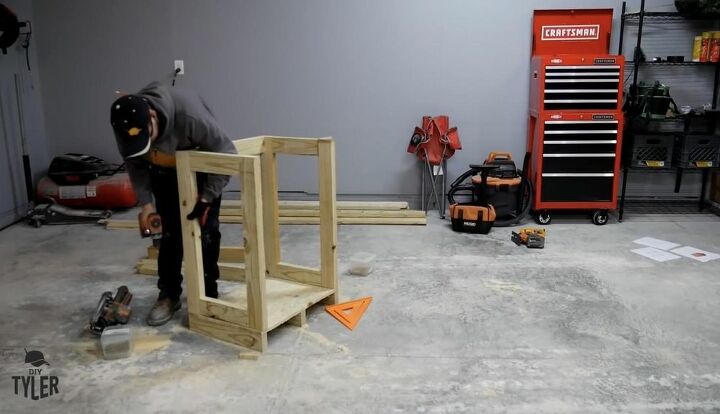
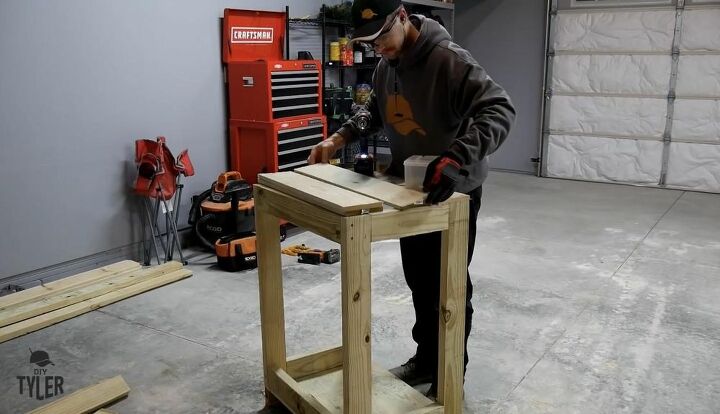
Step 3: Build Top Shelf
Before adding the siding, I built the top shelf. I cut and screwed fence board pieces across the top of the structure to create the shelf.
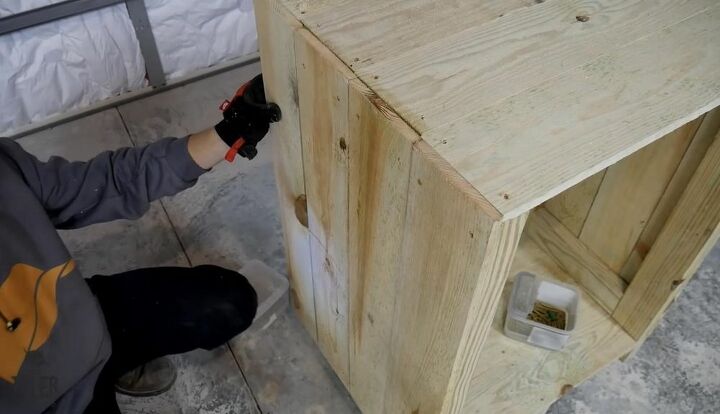
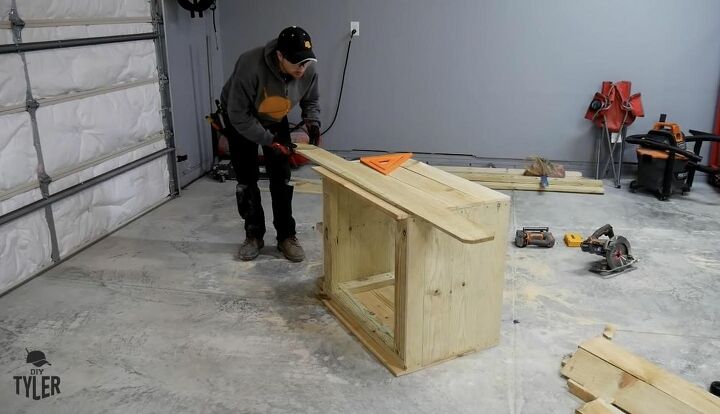
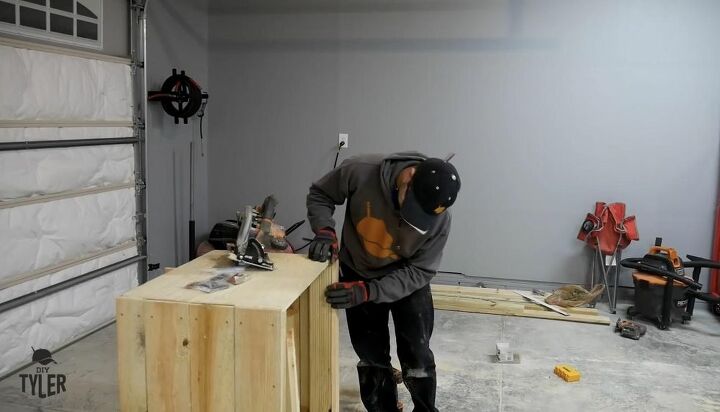
Step 4: Add Siding Pieces
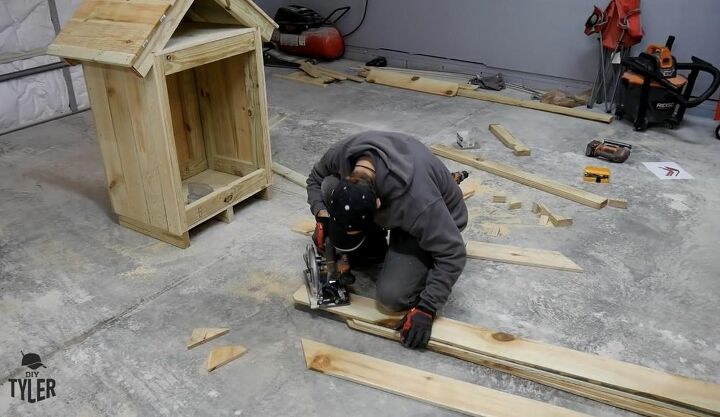
Using 1⅝” deck screws I added the siding pieces to the sides of the structure. I used a straight fence board to measure my line and trimmed the overhang piece from the structure with the circular saw set to the correct depth. Save all of the trimmed pieces to use for the door.
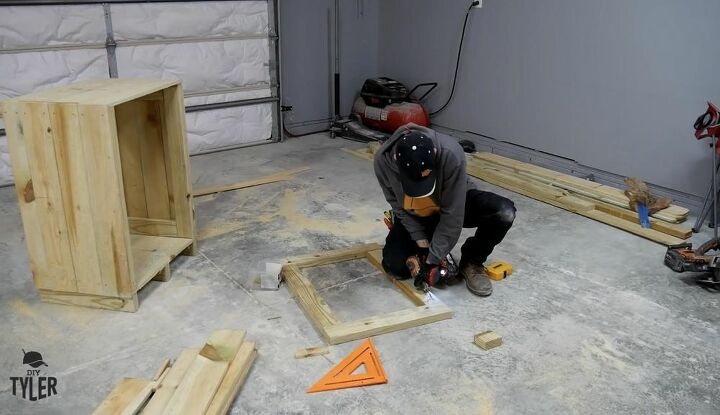
Step 5: Build the Door
I built the door frame with 2½ inch deck screws toe nailed together and inset into the front of the structure and then added 5½ inch wide fence board siding on the front. I cut all of the siding pieces down to length and used the trimmed pieces to finish the front of the door.
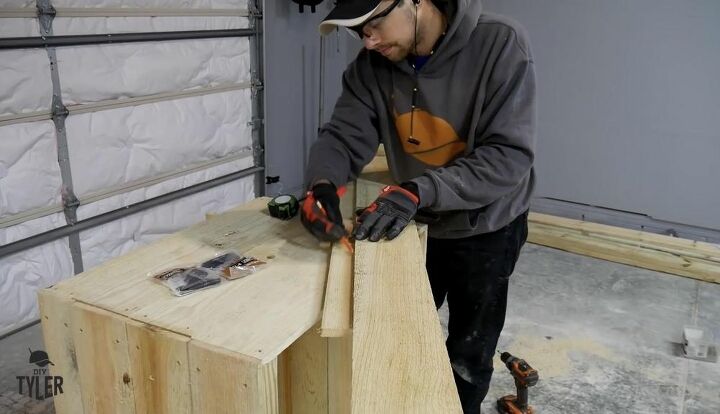
Step 6: Cover 2x4s to Create Flush Hardware Mount
I cut pieces of fence board to create a flush mount for the hinges and lock mechanism on the front of the door. I used a straight fence board to make a straight cut and repositioned the board as I cut to cover the front 2x4s.
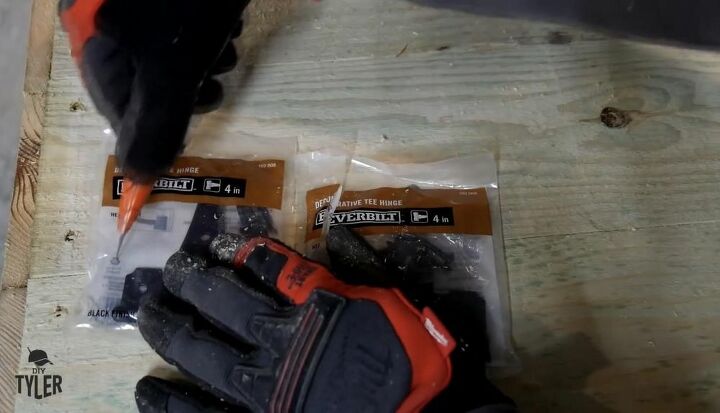
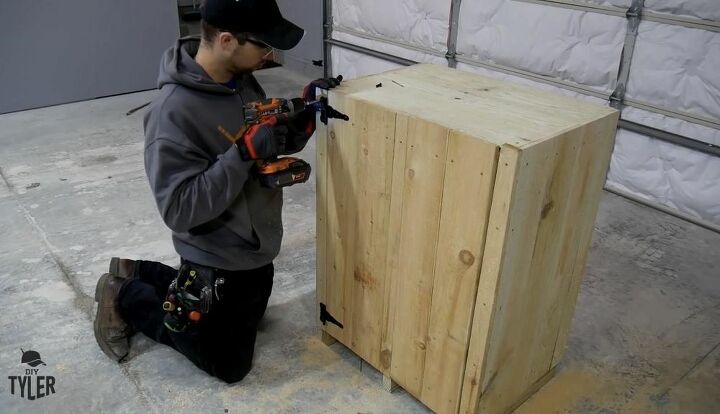
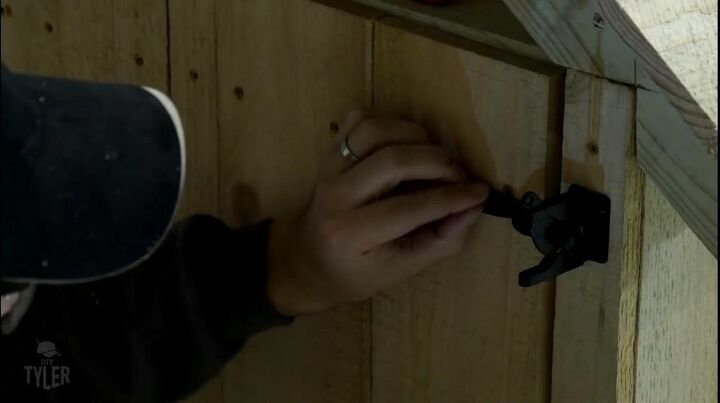
Step 7: Install Hardware
I installed black 4-inch hinges from the home improvement store to the door frame. I made my door frame smaller than the opening so that the door can open and close without interference. I added a gate latch to the door but you could use whatever hardware or locking mechanism you choose.
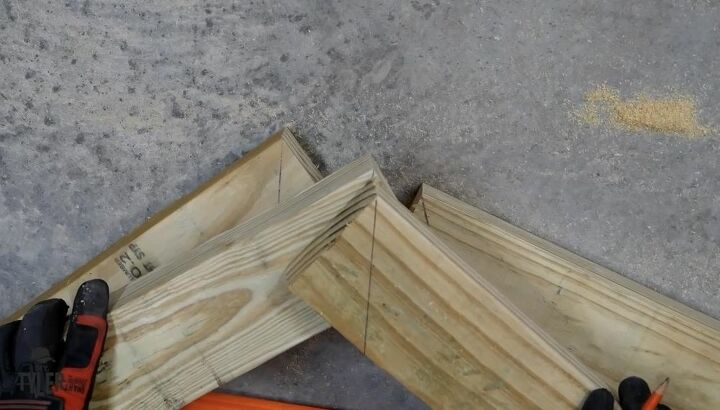
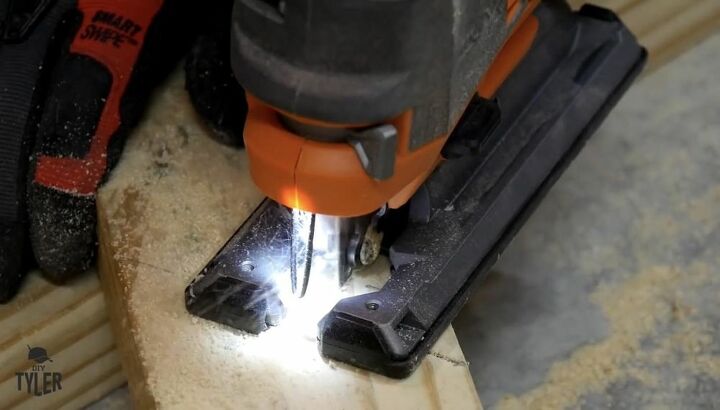
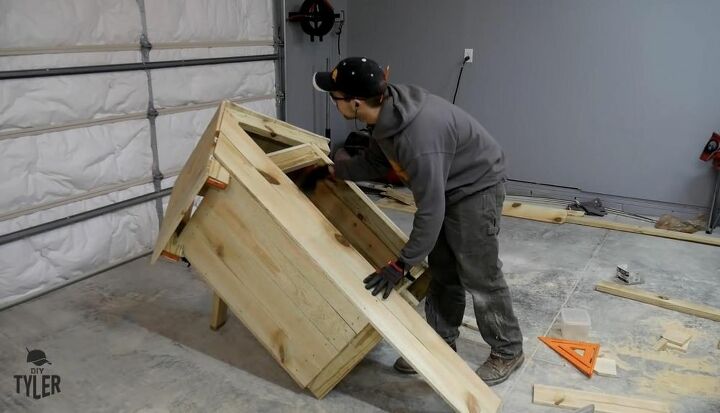
Step 8: Create Rooftop Trusses
I marked and cut 39 degree angles on the ends of two 2x4 pieces with my circular saw to make the peak of the trusses of the drop box roof. I used my jigsaw to cut a section out of the lower end of the 2x4 where the trusses would sit on the house, joined the two pieces, and then attached the finished trusses to create the roof structure. I repeated this process to create two trusses.
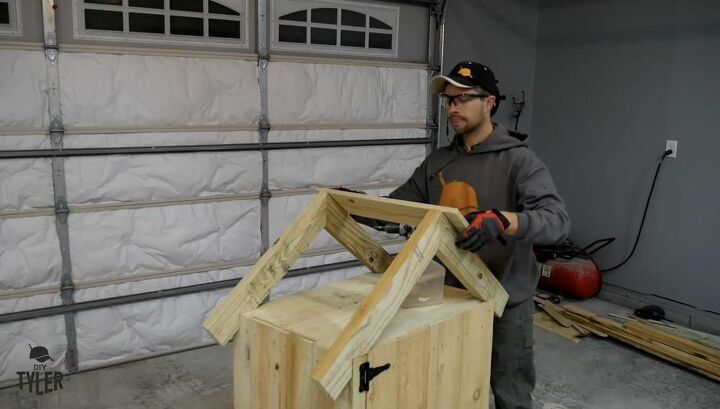
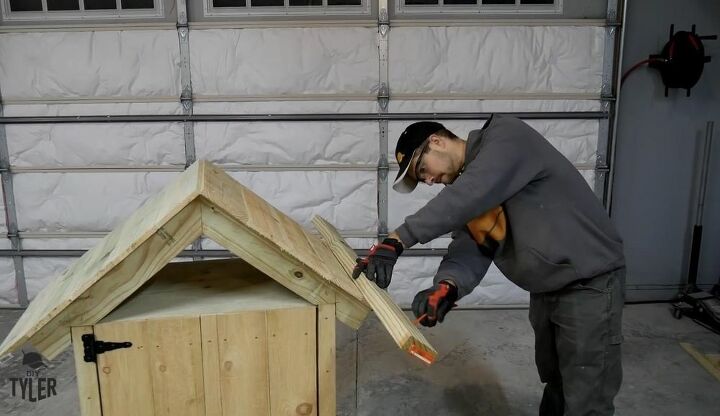
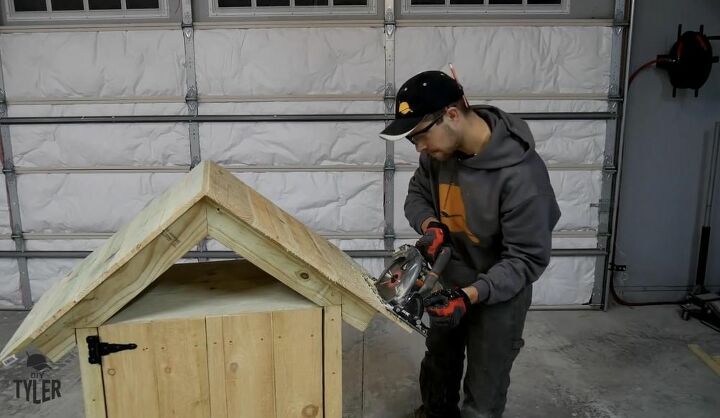
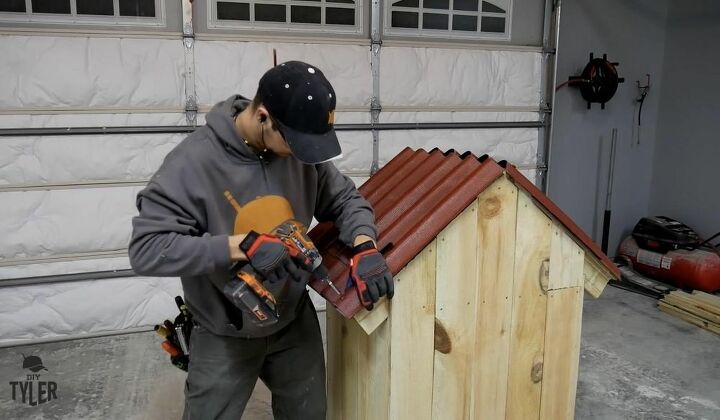
Step 9: Add Fence Boards to Roof
To add structure to the roof, I again used fence boards screwed in place with deck screws and trimmed away the overhang with the circular saw.

Step 10: Create Back Wall
I cut fence boards to form the back wall of the drop box that went all the way to the roof and covered the cubby at the top. I used a circular saw and a previously cut board as a guide to cut all of the boards when they were screwed in place.

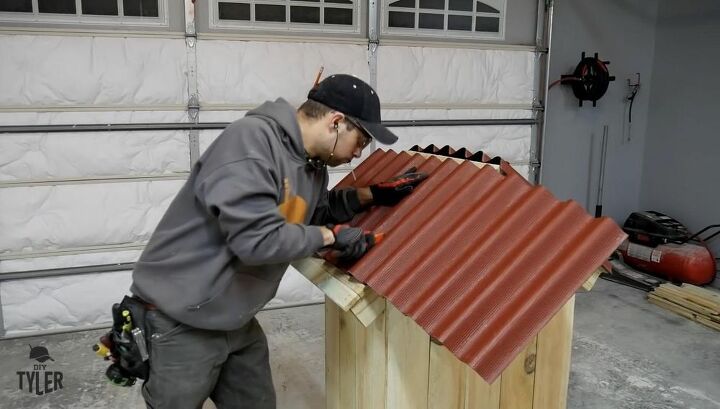
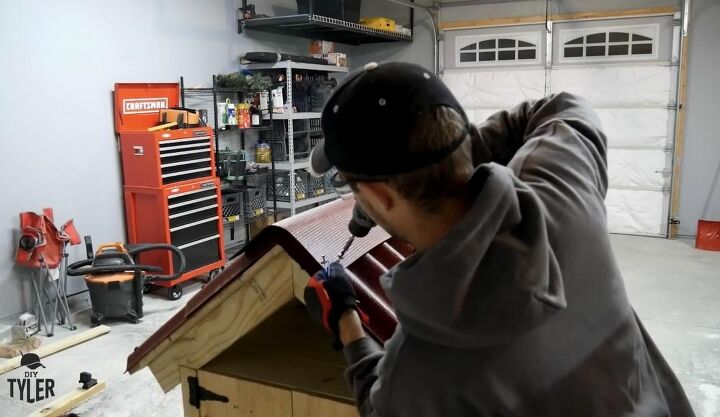
Step 11: Add Tar Sheet Trim to Roof
I cut red tar sheet to trim the roof of the parcel drop box using a utility knife and screwed it into place with matching red screws. The fence boards will cover the roof securely but the tar sheet adds a really nice finished look for the drop box.
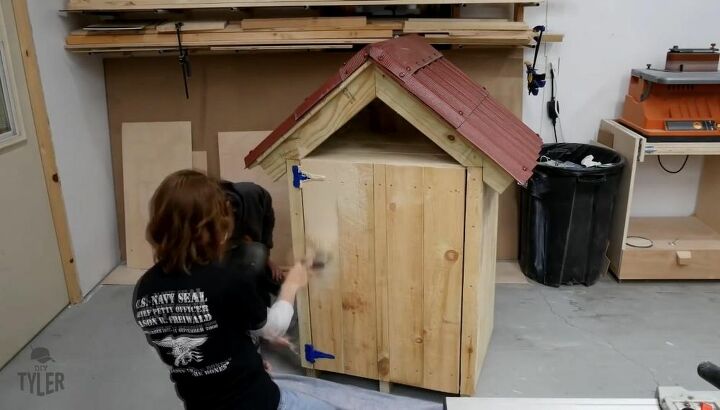
Step 12: Paint Parcel Drop Box
Once the roof was finished, we added a couple of coats of exterior grade paint in shades to match our house and when it was dry, placed the drop box in the driveway to begin collecting our Christmas mail. Choose a color that matches your home or trim and decorate your drop box in your favorite style
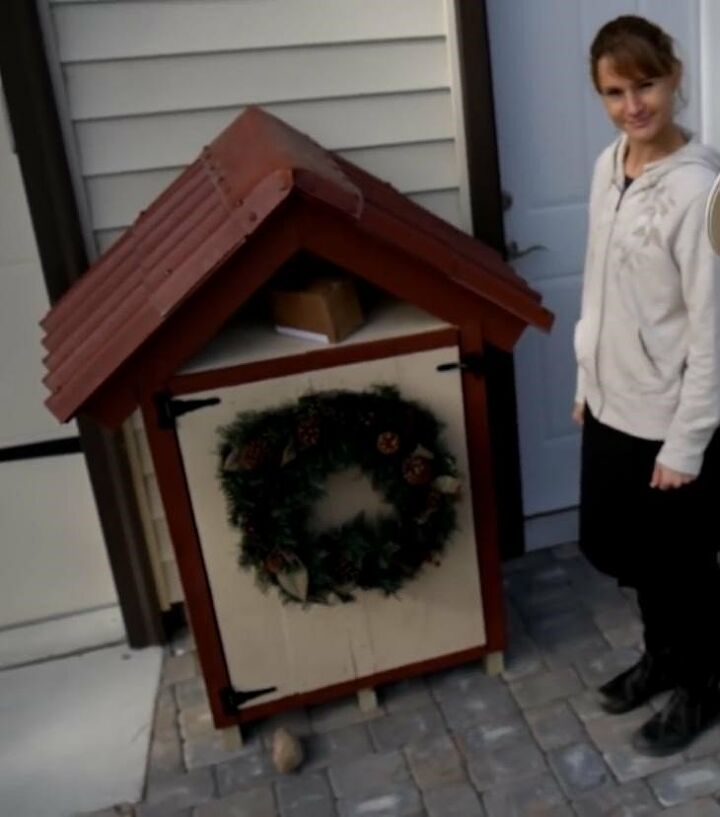
We are so happy with our DIY package drop box and I’m glad to share this simple but useful project that can be completed using only three tools. Anyone can follow the plan for the parcel drop box and customize it to the size and style they want. Take the worry out of the Christmas package delivery season and rest easy knowing that all of your gifts will be safe fromthe weather, theft, or eyes that aren’t meant to see them!
Have you created a DIY solution for collecting your holiday mail or packages? Share your project photos and tips or find inspiration for more simple building projects like this one on Hometalk!


Comments
Join the conversation
-
I bet some would have to secure it to the porch, or the thieves would just pick up the whole thing.
-
not in South Africa they will take the parcel box with the contents,but super nice idea if there was no theft


Frequently asked questions
Have a question about this project?
Unless the packages drop THRU the box and into a secured area... how would it prevent theft by porch pirates?
Nice shop,especially like your dust collection system.Having said that,why are you working (making cuts)where you aren't capturing that dust?Also why work down on your knees(without knee pads yet)when you have that perfectly great shop to work from?At least prefab the pieces to assemble on site!! The finished product looks great,just don't understand the 'getting there'!
Nice idea, but how do you get the delivery guys to use it? We can't even get them to ring the doorbell, even though they have to place packages on the ground right beneath it. They throw the package and run.