


DIY Vintage Peg Rack
I found an old piece of trim at an antique store for a few dollars. I wasn't sure what I was going to do with it, but I loved the color and detail so it came home. I decided to make a peg rack with it and had my hubby join in!
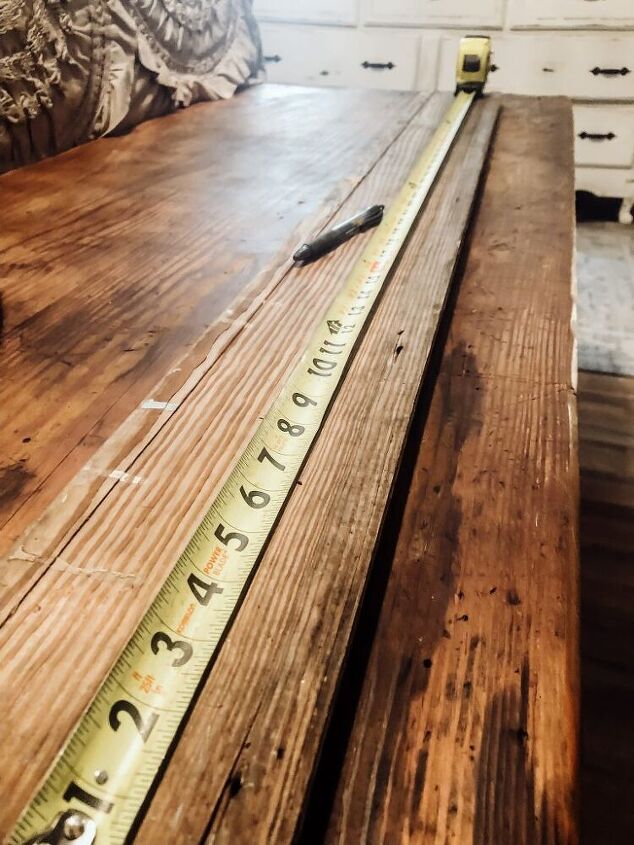
The first step is figuring out where you want your peg hooks to be. I measured my piece of trim and then evenly spaced my hooks along the board by marking with a pencil.
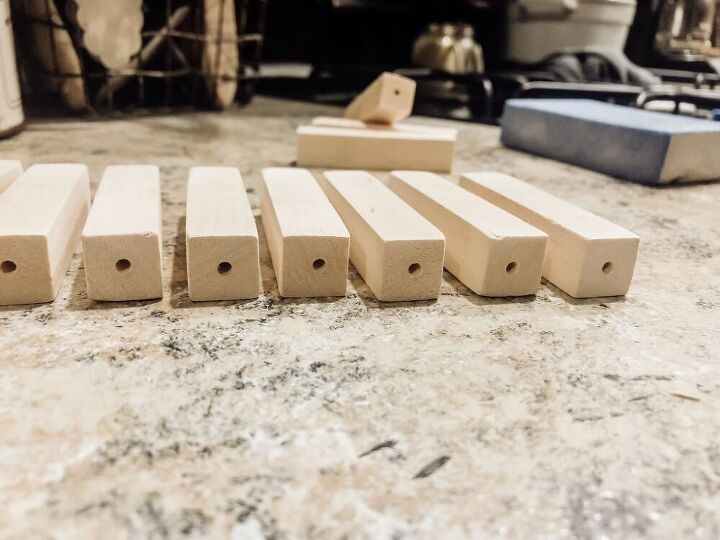
You can either buy your dowels pre-made for this or make them yourself. We had square dowels laying around so I had my hubby cut them to size, sand them, and drill holes in them so that my screws didn't split them.
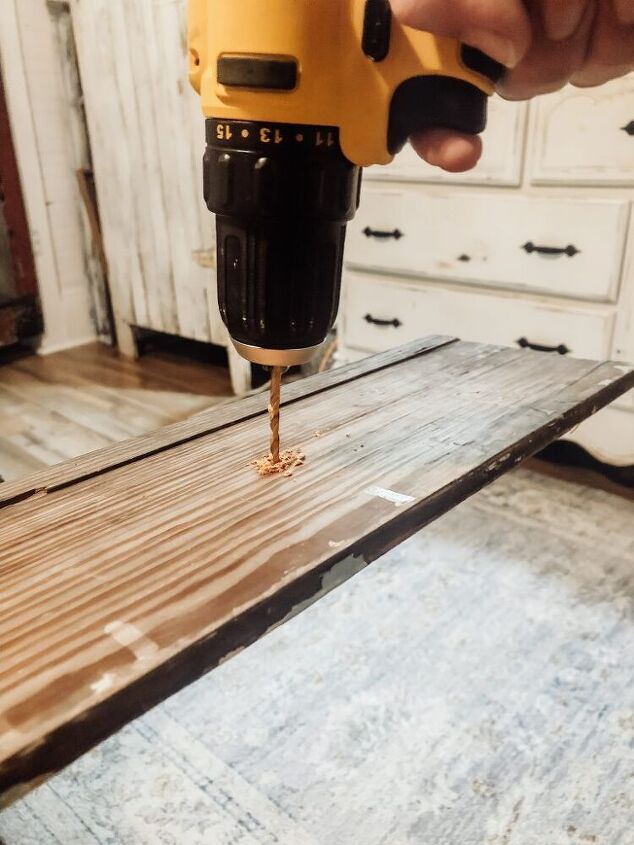
Using a drill bit smaller than the screws you are using, drill through your piece of trim on each of the pencil marks that you made.
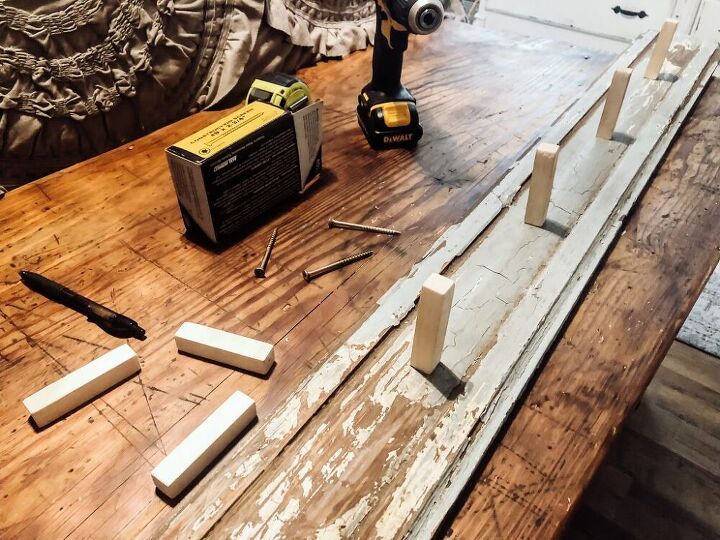
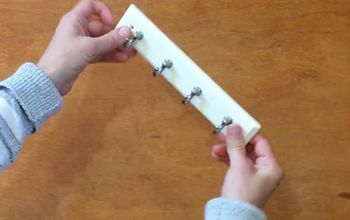
Lining up your wood dowels with the holes you just drilled, screw the screws in through the back of the trim, and into the center of the dowels. You can then tighten down and straighten the dowels as needed.
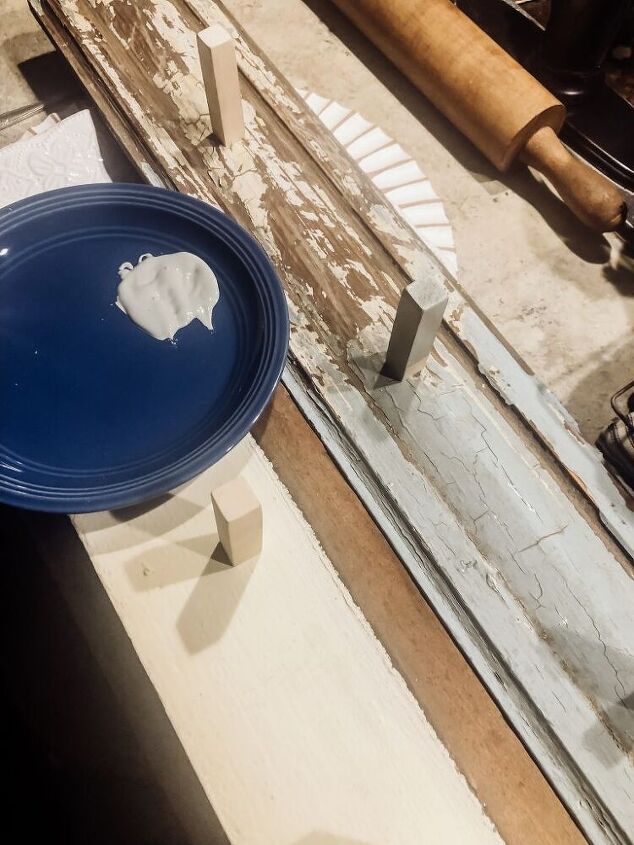
I didn't like the natural color of my hooks, so I found that I had identical paint on hand to match the trim!
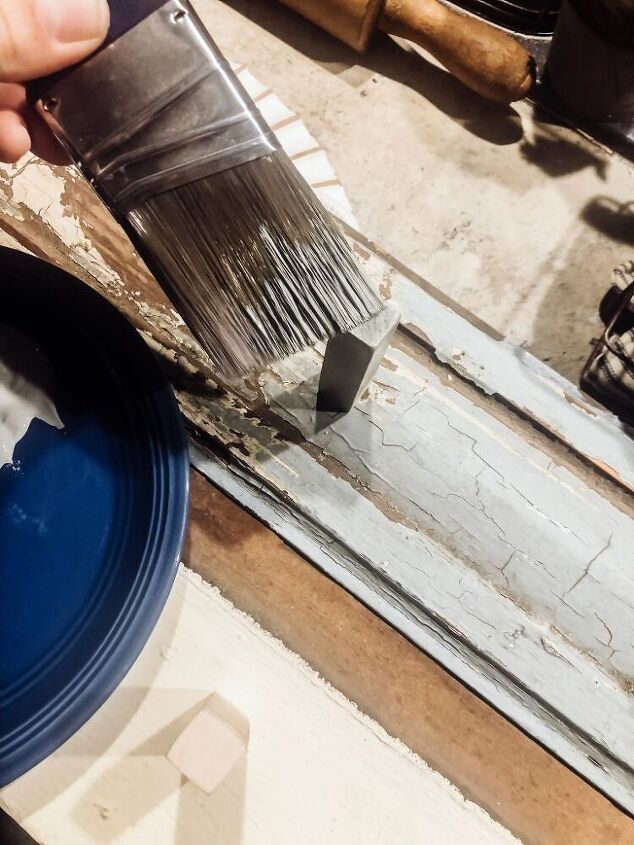
I grabbed a paint brush and quickly gave them one coat of paint!
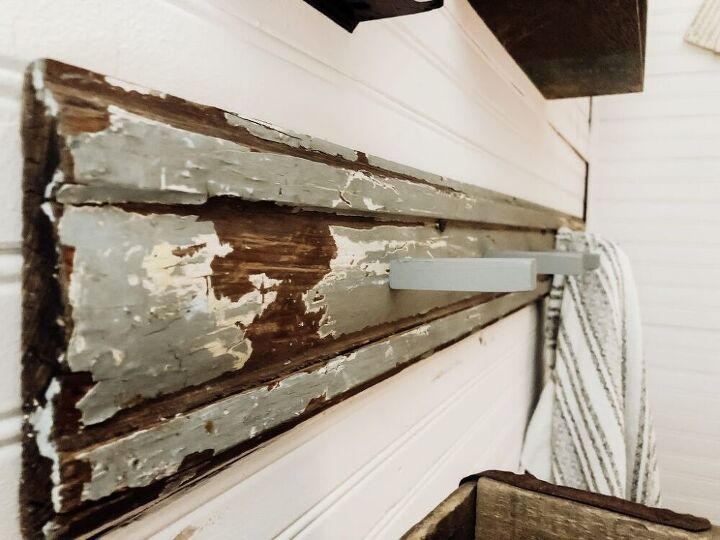
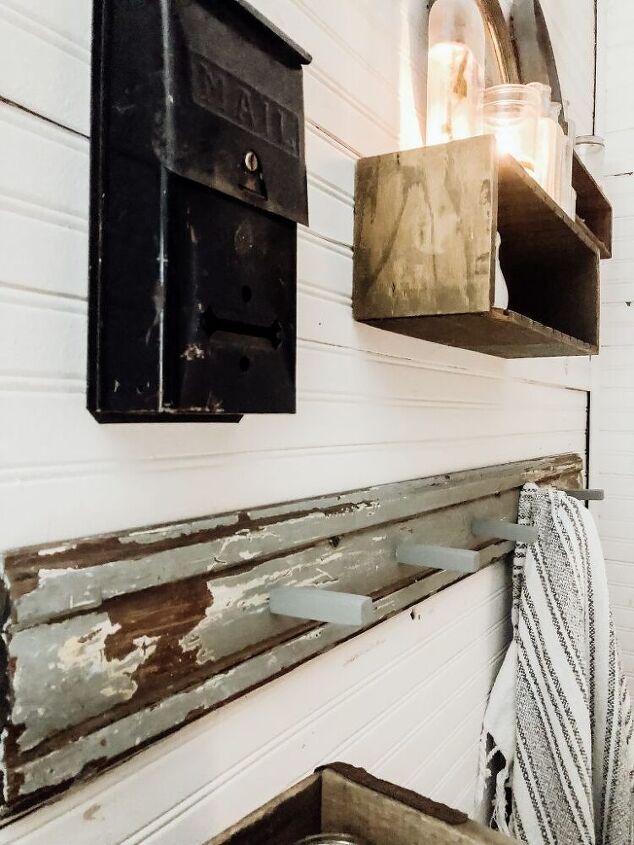
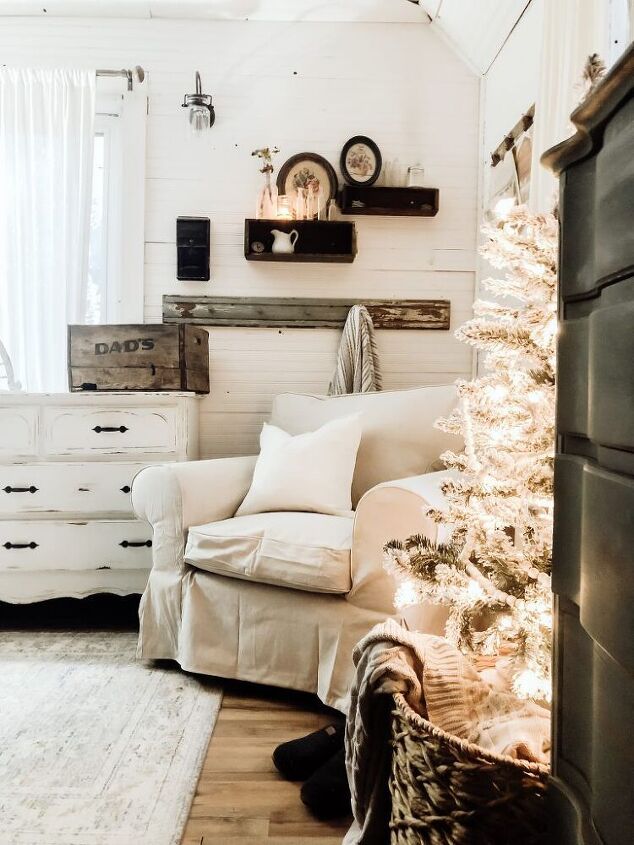
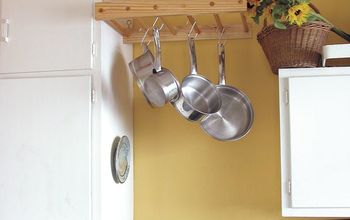
Next up, we just screwed the trim into the studs, and wa-la. A vintage inspired peg rack! Perfect for blankets, hats, purses and coats!


Comments
Join the conversation
-
WOW, have seen so many pegboard ideas and I swear yours is outstanding!
I'd have so brought this exact board home myself, Lol.
It's perfectly BEAUTIFUL!
GOOD ON YOU ☺️
-
Inspired by you thank this is beautiful!


Frequently asked questions
Have a question about this project?