


Plant Stand of Wood; That’s How You Make It Yourself!

A plant stand made of wood, you have probably seen it pass by. In this article I will explain step by step how you can make a plant stand yourself. The nice thing about this project is that it is not complicated to make and it is also a low budget DIY idea! Follow the steps and discover how to make a plant stand yourself.
Determine in advance how high the plant standard should be and which flower pot you want to use. Choose a flower pot with a wider rim at the top, it will hang better in the stand. Measure the diameter of the flower pot on the inside, hold the measuring tape where the thickening of the edge stops. This is the point where the flowerpot will rest on the wood. Now you know how big the opening of the plant stand should be. For me this was 19 cm, so I will continue with that dimension in this step-by-step plan. I chose to miter the battens for a nice finish. Mark the length on the wooden slat, this will be the shortest side (inside) of the slat, as you will cut them diagonally.
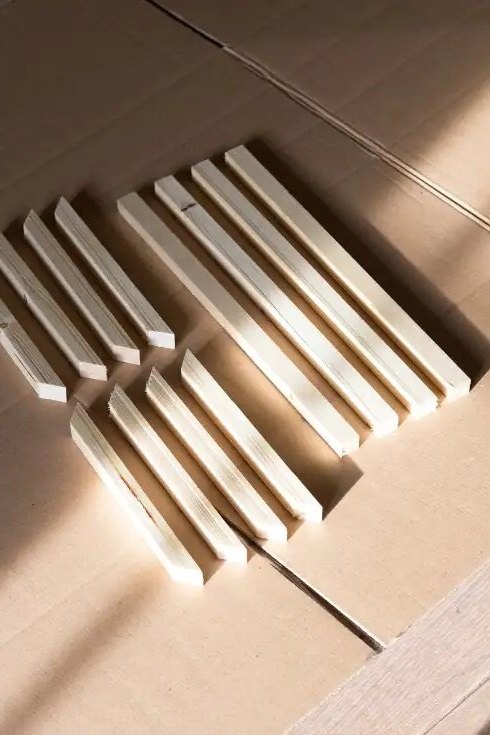
Saw the battens
Set the miter saw to a position of 45 degrees. Cut eight pieces of 19 cm (or your desired size) diagonally, making sure that the shortest side of the slats is no less than 19 cm. Then return the miter saw to a 90 degree setting and cut four pieces of 35 cm straight. Sand the edges of the slats smooth with sandpaper.
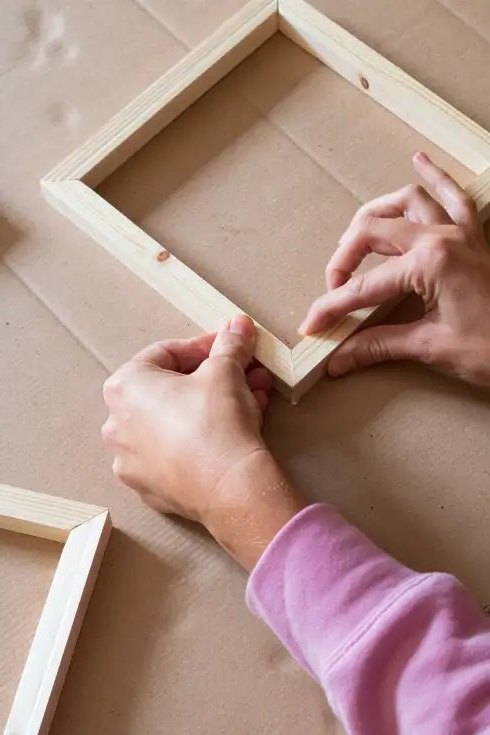
Glue the short strips
First glue the short strips together with wood glue so that you get two squares. You can use a piece of masking tape to reinforce the corners while drying. Let the glue dry well.
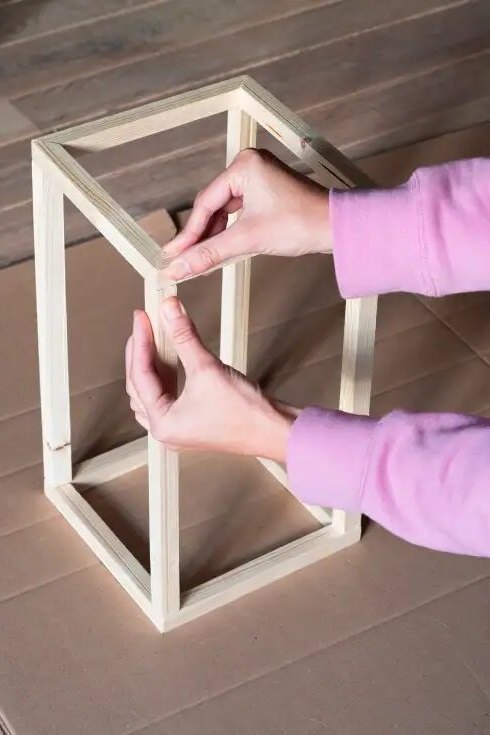
Glue the long strips
Then glue the long strips as a kind of legs between the two squares and a rectangular cube is created. Again, you can use tape to reinforce it during drying. To ensure that the plant stand does not collapse, it is best to let the glue dry for at least an hour.
Add color
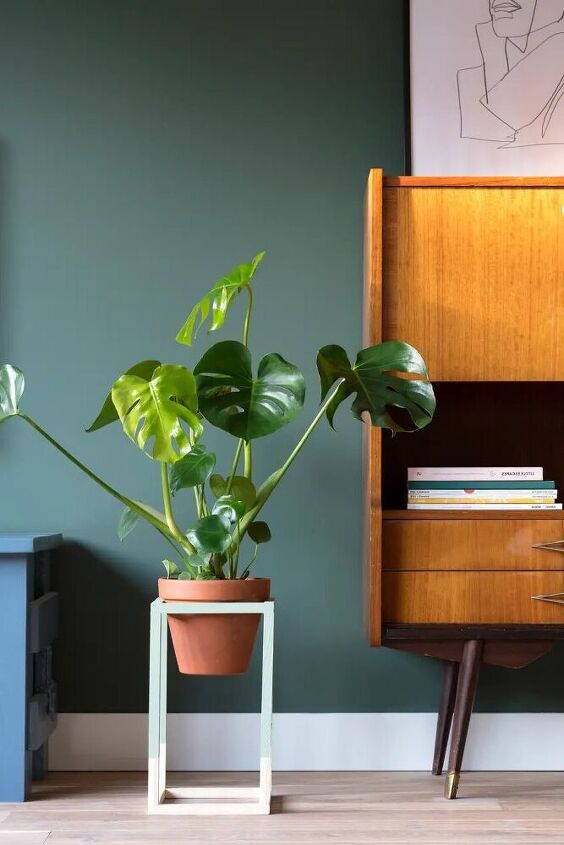
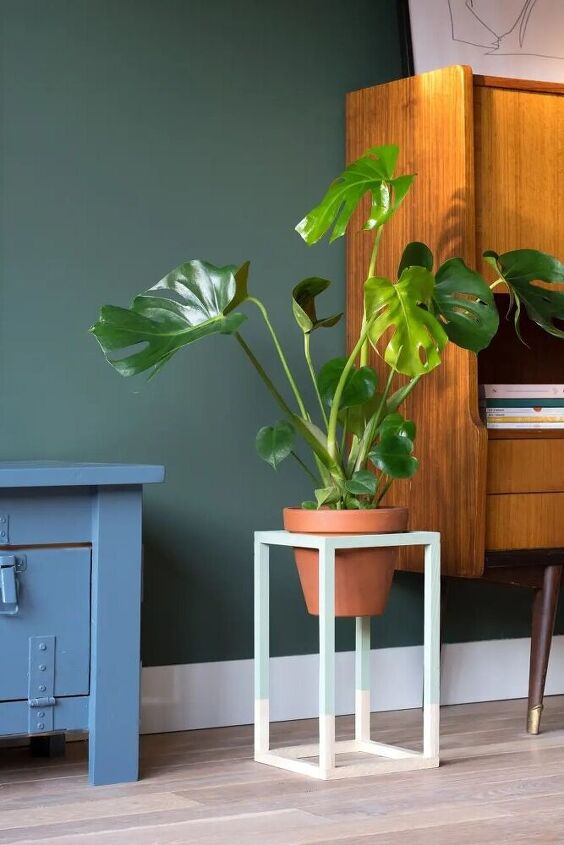
When the wood plant stand has dried properly, you can add another color with wood lacquer or chalkboard paint . I chose the color Jade Green from Flexa Creations in a matte lacquer. I didn’t quite paint the stand, because I liked seeing some of the wood again. The flower pot with Monstera plant got a place in the plant stand and I placed a small terracotta saucer at the bottom of the flower pot to prevent too much water leakage. Be careful with watering as there is a hole in the bottom of terracotta flower pots. If necessary, put it over the sink or put a towel underneath to protect your floor.
Resources for this project:
See all materials


Comments
Join the conversation
-
Hi Kelsey, this came out very well but I am wondering how it is holding up with no reinforcing of the glued pieces. I am thinking 90 degree L brackets might help to stabilize the whole piece. Thank you for sharing your project with us.
-
Nifty idea!


Frequently asked questions
Have a question about this project?
What a great idea, thank you! But, where would one place the under-pot saucer that catches any water overflow? Is everyone but me, able to water their plants without excess water running out of the pot?