


How to Apply Frosted Window Film for Privacy
Frosted window film is a great option if you are wanting more privacy from a certain window, but don’t want to lose the natural light. Let me show you just how easy it is to apply frosted window film for privacy.
We have been slowly making over our master bedroom over the past few months. It was one of the rooms that I hated the most after we moved in, but because the house needed so much work overall, the bedroom was fairly low on the priority list.
Then, 2020 happened, and we suddenly (and unexpectedly) had a lot of extra time on our hands. So, we put it to good use and got to work on the house. We have made it through what probably would have been, under normal circumstances, 2 – 2.5 years worth of projects in the past 9 months. Woohoo! Definitely one great thing to have come out of this pandemic.
But anyway, on to the master bedroom.
We have a very large master suite, which is wonderful. When we moved into this house, however, the entire master suite was yellow. Everything in the bedroom was yellow, and everything in the bathroom is yellow… I hated it so much that I didn’t even hardly get “before” photos. I was so anxious to change it, we just jumped right in to painting!
We started tackling the bedroom this past summer and got the painting done. The painting alone was a huge task, as we had to paint the ceiling (was yellow), all the trim (and there’s A LOT of trim), and the walls. We also changed up the window treatments. There were originally large plantation shutters hung throughout the bedroom. We removed all the shutters and replaced them with bamboo shades and curtains on the windows.
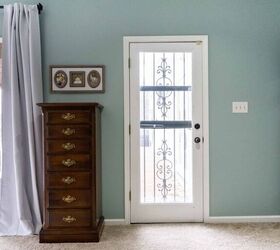
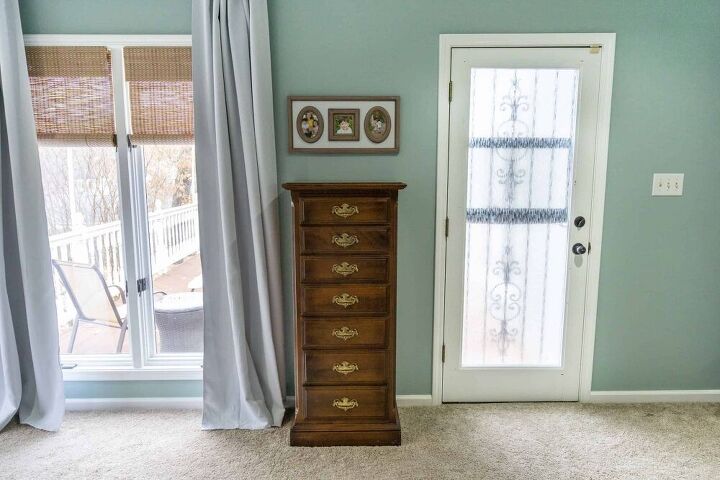
However, there is an exterior door in our master bedroom that leads to our back deck. It also had a plantation shutter on it, which we removed. I didn’t like the idea of hanging a shade on it, though, so it has just been wide open for the last few months.
While I wasn’t overly concerned about it, since it is a back door, I did want to get something up on the window that offered some privacy. I decided to try a window film on the door, in the hopes that I would gain privacy, but not lose too much natural light.
And let me tell you – it is fantastic!
It provides nice coverage without blocking daylight, and I’m not sure it could have been any easier to install. Plus, if I ever want to change things up, it is incredibly easy to remove.
How to Apply Frosted Window Film for Privacy
Let me start by saying the term “frosted” is a bit misleading, as you can find window privacy film in just about any pattern you could possibly imagine. You can get anything from an incredibly basic pattern to something that will make your window look like gorgeous stained glass.
After sifting through a lot of options, I decided to go with a pattern that was fairly simple. I am hoping to keep the vibe in our bedroom pretty classic, so I didn’t want anything too fancy or out of the ordinary.
Supplies Needed:
- Window Film
- Rubbing Alcohol, or other cleaner
- Clean rag
- Spray bottle
- Utility Knife
- Credit card, or something similar (optional)
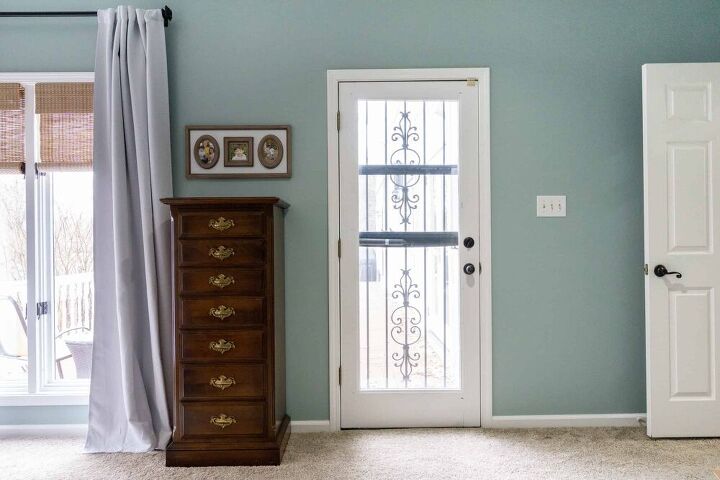
Step 1 – Clean Window Surface
You want to make sure your window is very clean before applying any type of film to it.
I used a little bit of rubbing alcohol mixed with water to clean the door glass. Rubbing alcohol is great at cutting grease and will get rid of any sticky residues or fingerprints that may be on the glass.
Just a quick, but thorough, wipe down, and let dry.
Step 2 – Cut to the Proper Dimensions
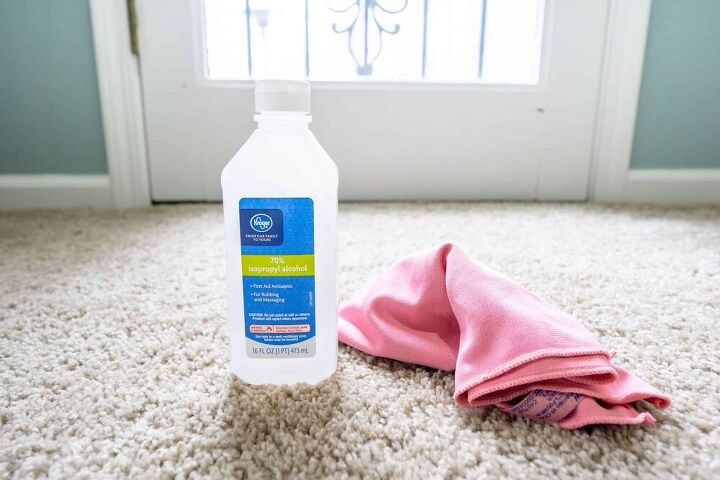
After reading a lot of reviews, I decided to go with the Rabbitgoo brand. They have tons of pattern options for window film.
Once the window is clean, you will need to cut your window film to the proper dimensions. The instructions state to cut slightly wider than your actual dimensions, and then, trim the excess after it is hung. This is what I did.
Step 3 – Soak Window
According to the directions on the package, you are supposed to spray the glass down with water before applying. Make sure it is completely wet.
Step 4 – Hang Film and Smooth Air Bubbles
I had cut my film into one large sheet that would cover the entire window. I started at the top, and lined the top edge of the film up with the top edge of the window. (I did not have any overlap on this top edge.)
Then, slowly I began smoothing the film out with my hands. The instructions say to use a credit card, or something similar, to eliminate air bubbles, but I was able to do it by just using my hands.
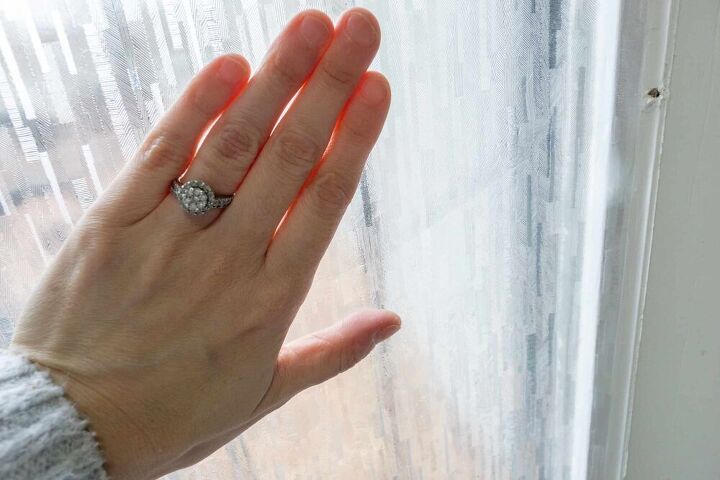
I just slowly worked my way down the length of the window, smoothing as I went.
You can kind of see in the above picture how I have cut the film wider than the window itself.
Step 5 – Trim Edges
Once the window film is completely smoothed out, simply take a utility knife, and slowly, and carefully, run it along the film at the edges of the window.
You will probably need to smooth the edges out a bit after cutting away the excess.
But that’s it! You’re done.
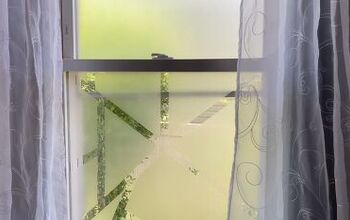
*Note – Once it got dark outside, I was able to see a few air bubbles that I had missed earlier in the day. Even hours later, though, I had no problem smoothing those air bubbles out with my hands.
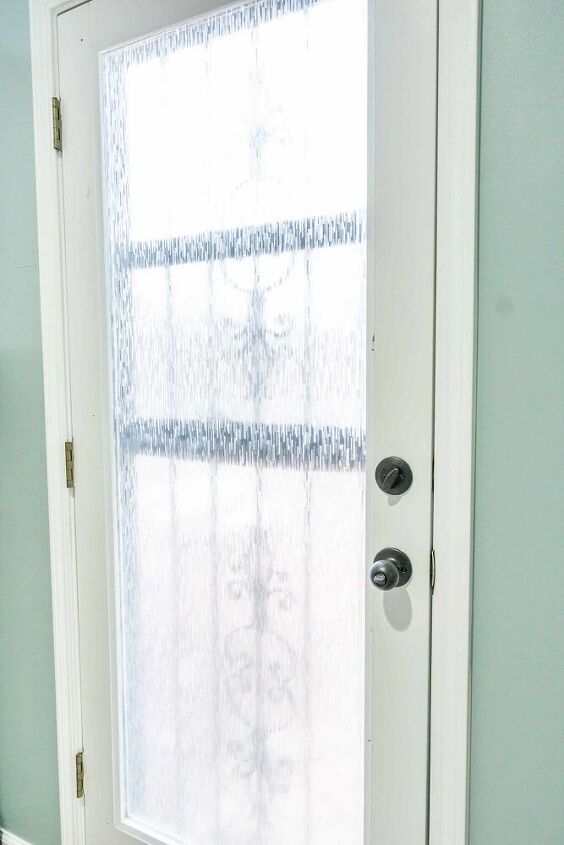
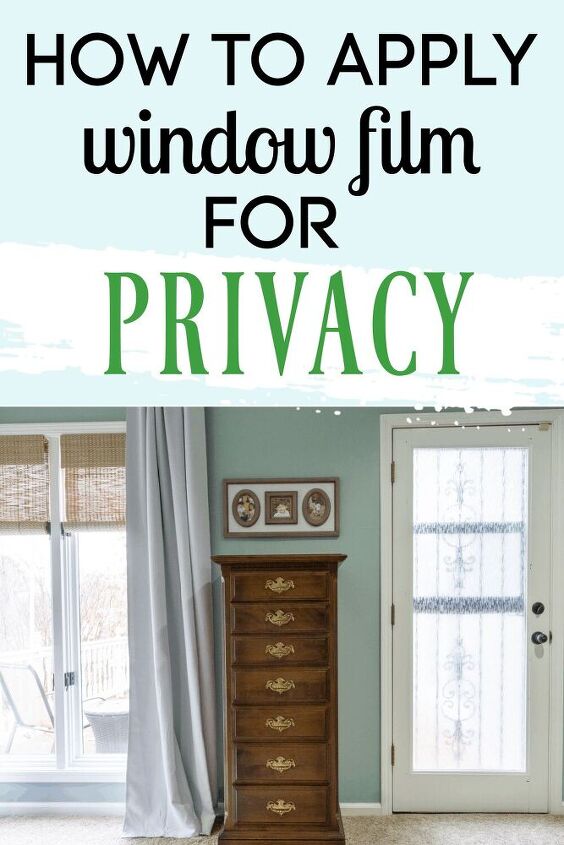
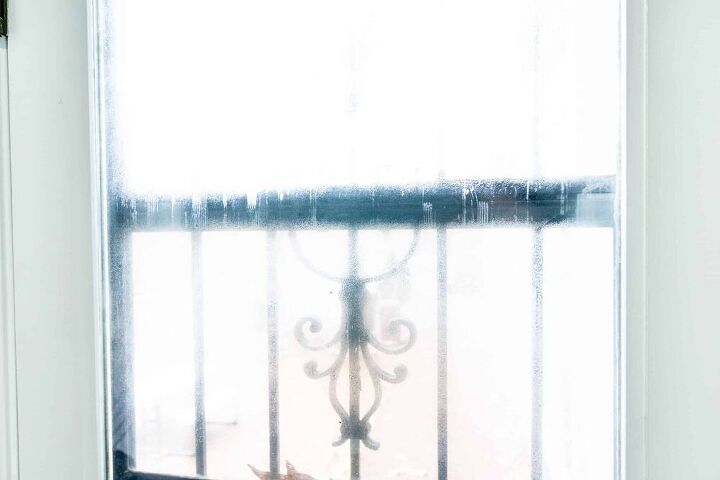
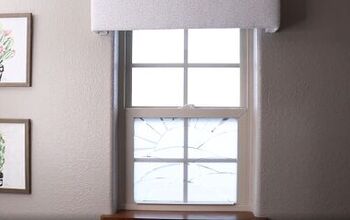
Ta-da! Here, you can see how much visibility it blocks, yet how much light is still filtering in.
Take a look again at the “before” photo below.
You can see the table and chair out of the window on the left side, as well as the deck floor and the grill (all the way at the other end of the deck) out of the door window.
Now compare to the “after.”
The table and chair are still very visible out the window, but you can’t really see much out of the door now!
This has been such a great alternative to hanging a shade. Also, it has been up for about month now, and we haven’t had any hint of peeling whatsoever.
So, if you are needing some privacy from a certain window, but don’t want to lose light, I would definitely recommend a window film. Plus, I’m not sure you could find a much easier DIY project than how to apply frosted window film. Total win-win!
What do you think? Have you ever used window film?
Follow me on Pinterest for more inspiration!

Comments
Join the conversation
-
I have used Contact Paper in the past. Never tried window film yet. Would need to have a big project for it to be cost effective.
-
Transparent Contact paper comes in different patterns, even stain glass. The adhesive holds up very well. That is what is was made for decades before window film was available. It easily peels off when ever someone chooses too. The adhesive residue can be removed with Goo Gone or WD40.


Frequently asked questions
Have a question about this project?
Home Depot sells the window film in the area near the window shades. They aren't that expensive. My only concern is using them on double pane windows. I was told you shouldn't as it could damage them. Not sure how or why. Anyone have any info on that? I love how the door looks and would love to do that on our sliders in the family room.
How much or little can be seen from outside looking in with indoor light on and off?