


DIY Moss Ball Topiary
Now that all the winter stuff is packed away…I know, I know you’re saying “but Jen, it’s January”… I’m moving on to thinking (and dreaming) of Spring. I just changed up my little entryway area and needed to decorate my new table. I wanted to make it feel Springy and had topiaries in mind…but all the ones I found were $40! I knew I could make a DIY moss ball topiary and save a few dollars.
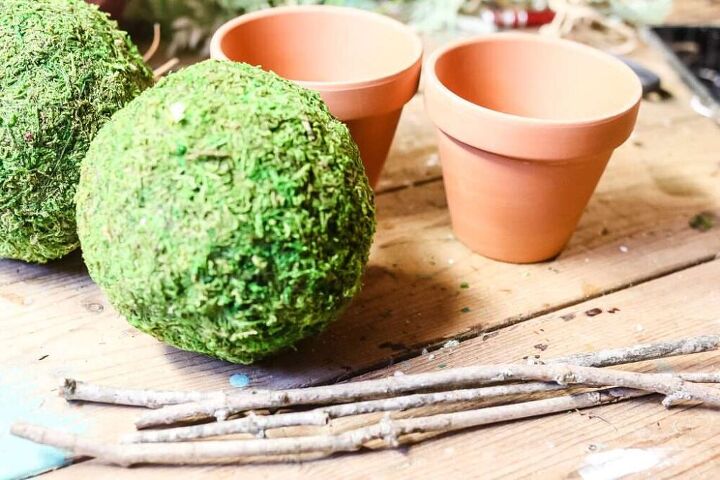
Here’s what I used to DIY moss ball topiaries:
- 4 inch clay pot
- 5 or 6 inch moss balls
- spackling compound
- thin sticks
- floral wire
- floral foam
- paint
- grapevine garland
- moss
.
Pots
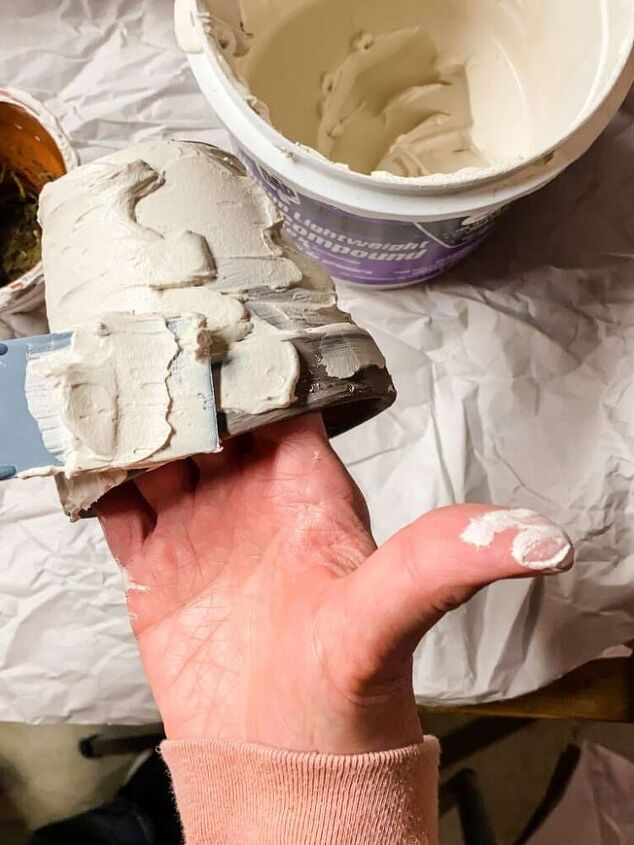
I wanted my pots to have that old world, been around forever look to them. You could go out and find pots that already look like that, but for a couple of minutes work you can transform a new $1 clay pot into one.
Using a plastic putty knife, I spread spackling compound onto my clay pot. It goes on like frosting…just pretend you are making a cake!
Don’t forget to spread some of the compound around the rim of the pot.
Let it dry overnight. Next, I painted the pot with a coat of off white chalk paint.
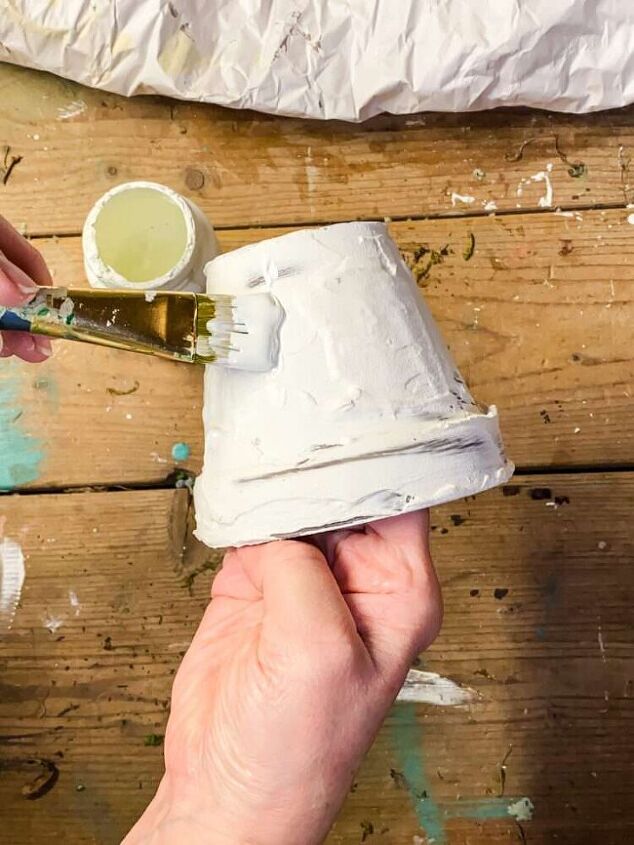
Next, I painted the pot with a coat of off white chalk paint. Once the white paint was dry, I dry brushed a light brown chalk paint over the pot. This picks up all the details on the pot.
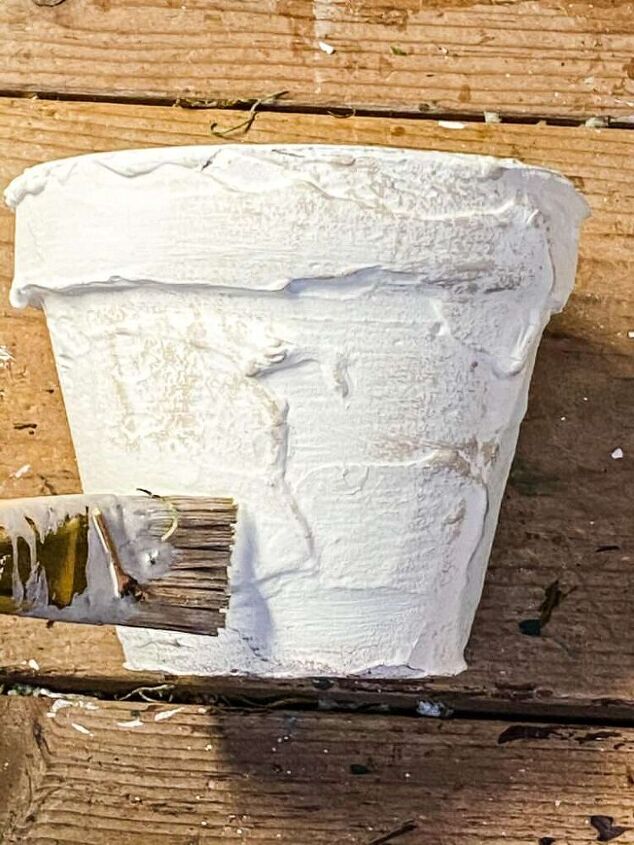
Once the white paint was dry, I dry brushed a light brown chalk paint over the pot. This picks up all the details on the pot.
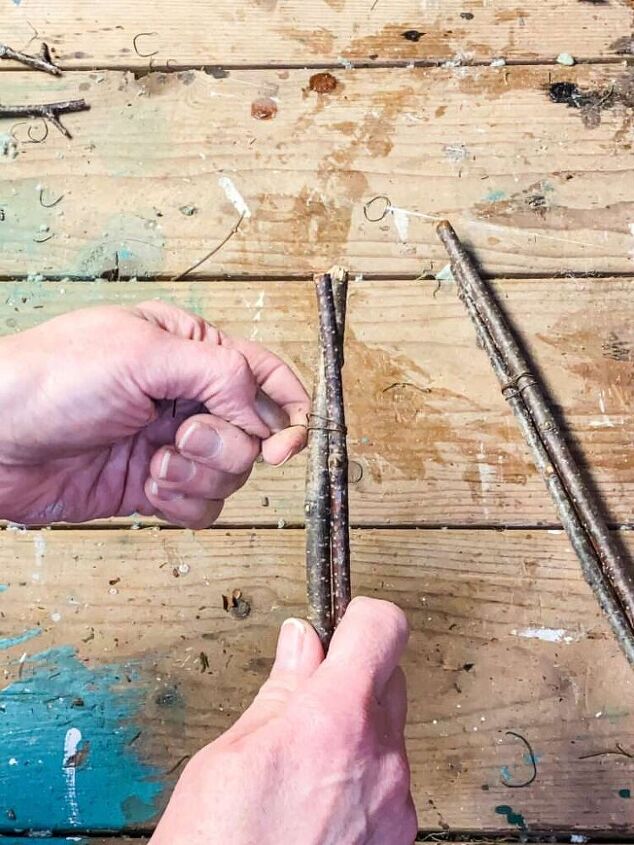
I cut thin branches into 12 inch pieces and secured them together with floral wire at the top and near the bottom.
Add floral foam to your pots and stick in the branches.
Moss Balls
The moss balls that I’m using for my topiaries are from craftoutlet.com and were only $2.25 each. This place is my secret crafting weapon…they always have the best prices and I find so many cool things on their site! You have to hit it early in a season because they tend to sellout quickly.
You can also find moss balls to make a topiary at Michael’s, Hobby Lobby, & sometimes Amazon.
Just using the moss balls would look great but I wanted to add a little something extra!
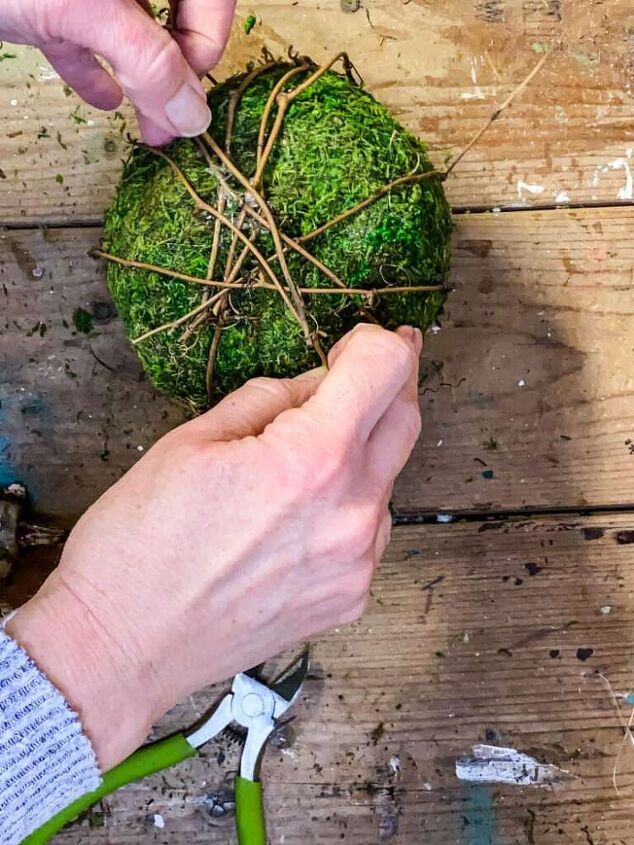
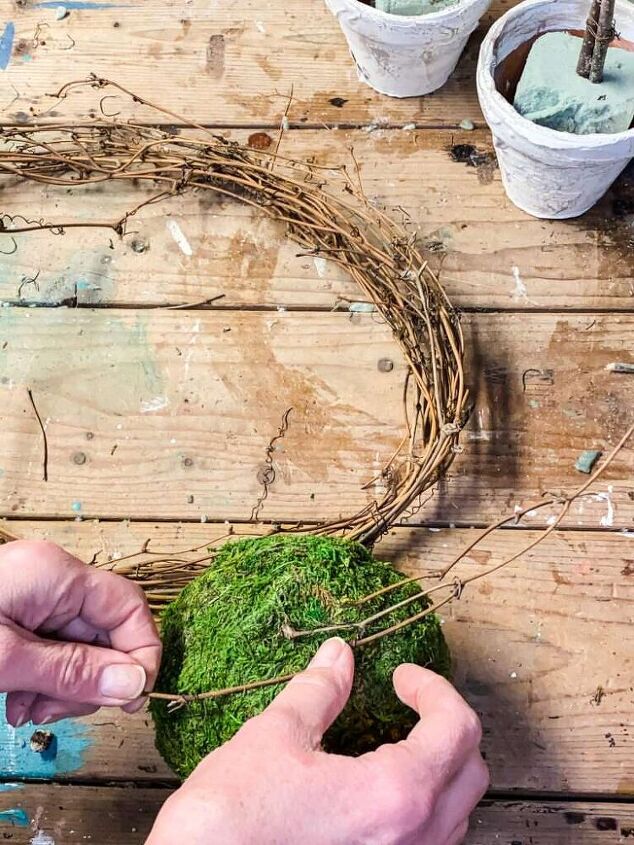
I took out the leftover grapevine garland I had from making my heart shaped wreath. By untwisting the floral wire you can remove individual pieces of the grapevine. Hot glue one end of the grapevine to the bottom of the moss ball and wrap it around. Glue the other end to the bottom. Trim off the excess. Push the moss ball onto the stick base.
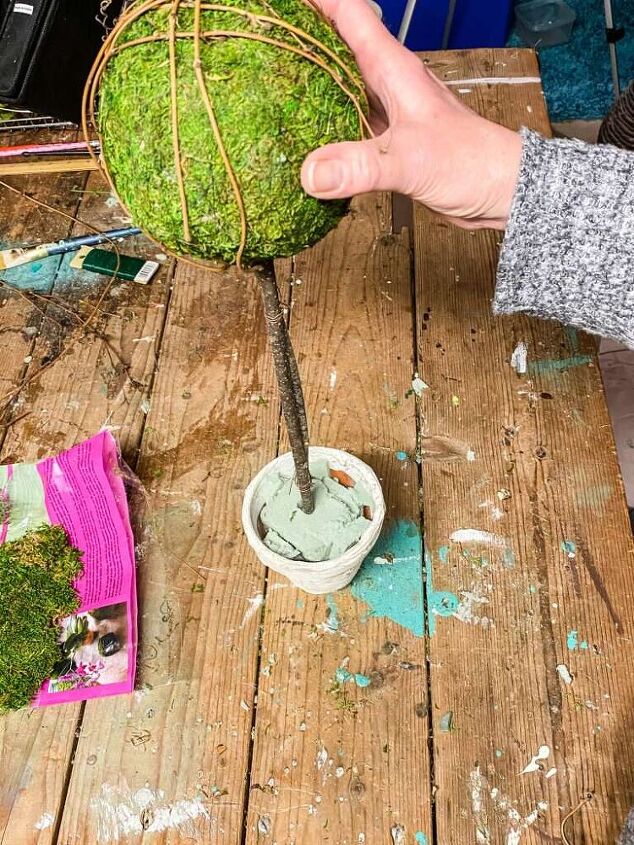
Push the moss ball onto the stick base. To cover the floral foam I used a little sheet moss and Spanish moss.
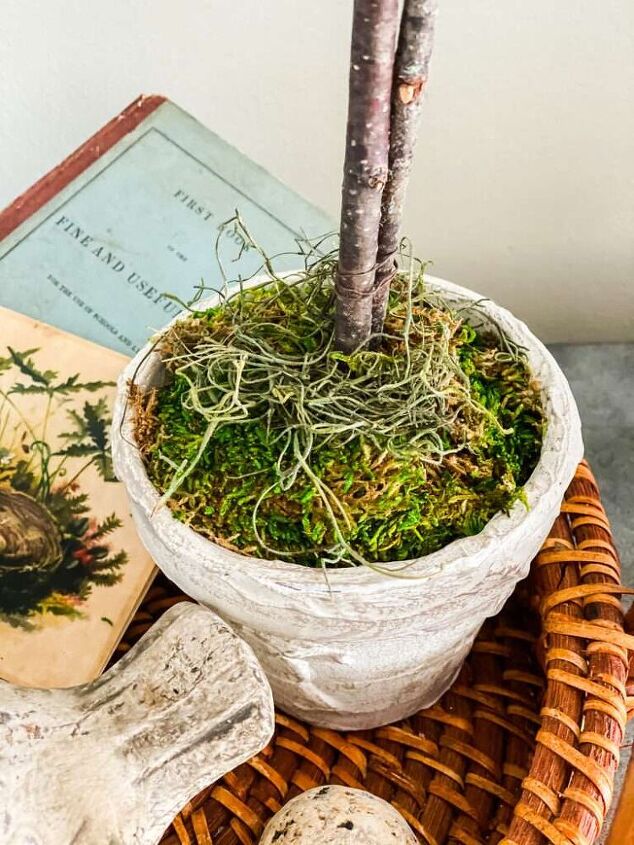
To cover the floral foam I used a little sheet moss and Spanish moss.
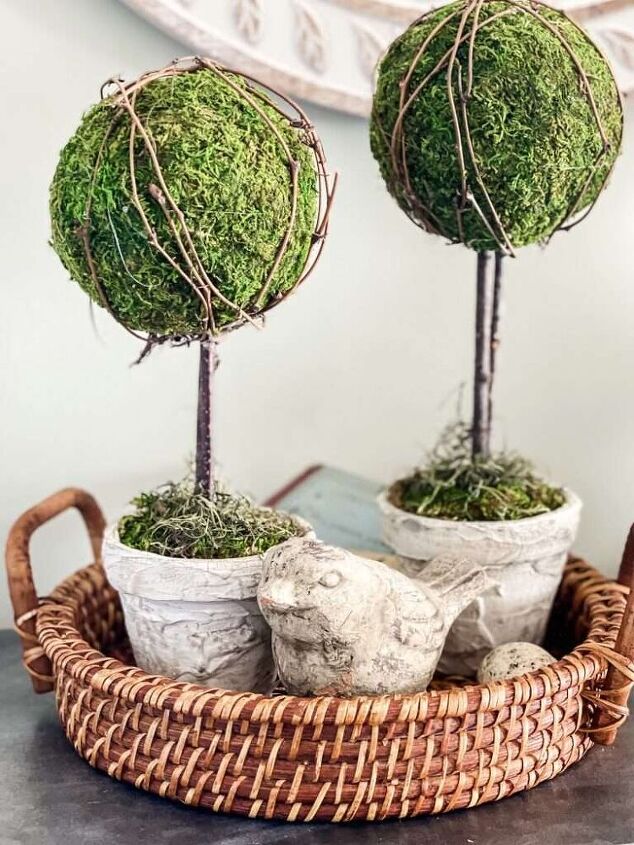
How do you like them? It’s so fun to make your own decor! It’s relaxing and you can create something that is truly original to your home.


Comments
Join the conversation
-
Love this!! Thank you for sharing! 🌺
-
Did you know that one block of floral foam is the equivalent of ten plastic shopping bags? These past few years, a growing number of florists in the industry have become increasingly concerned about the environmental impact this foam is causing...and for good reason! It's non-biodegradable, non-recyclable and toxic to both humans and animals.


Frequently asked questions
Have a question about this project?
Is there something to seal this pot with so you can put it outside ?