


Creating a Decorative Armoire Back to Use It as a Room Divider
I created another room divider a few years ago to divide my office from my family room area. The room was long and narrow with plenty of doors and other obstacles. The only place I could create a wall was to place one in the middle of the room myself instead of building a wall, which would take a lot of time and money. This armoire room divider was created to help me keep my supplies together for blogging and organizing. Follow along and see how my husband and I created this truly special divider.
In prior years, I created a standing scrapbook armoire. I transformed it from my inherited armoire to a fabulous place for me to do scrapbooking. Below are the posts that I created on these DIY projects.
HOW TO MAKE A STANDING SCRAPBOOKING STATION
CHALK PAINT ARMOIRE DIY PROJECT TUTORIAL
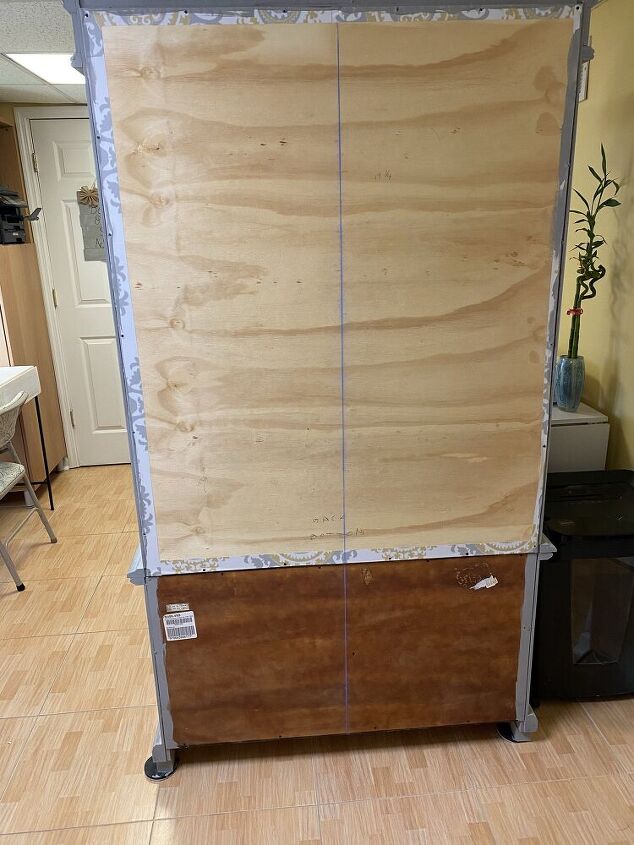
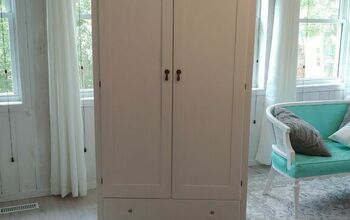
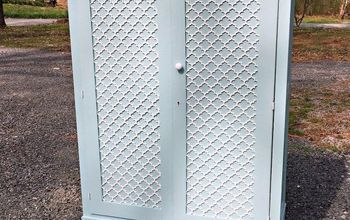
Here's the before armoire back.

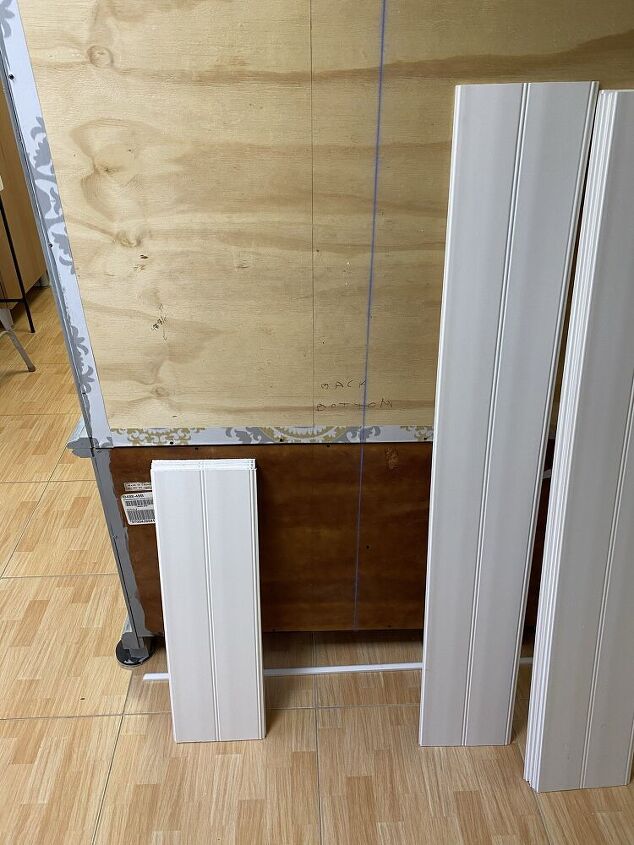
Here are the tools I used.
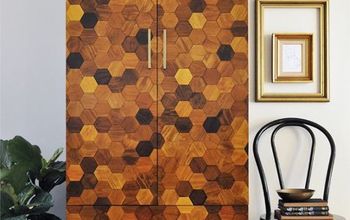
Our armoire measured 39 inches wide and 6 feet long (4 feet tall for the top part and 2 feet for the bottom part). My husband and I decided to create two sections because the armoire does separate, and if we moved, it would make it easier to move the armoire when there are two pieces instead of one piece. The moulding is attached to the upper part of the armoire.

First, I painted the edges with the same grey chalk paint from the armoire chalk paint project post. This is because the back was not finished. After all, it was originally up against a wall.
We then created a center vertical line so we would know where the pieces would go. This also helps us determine how many pieces we would need and how to lay them out.

We used the hand saw and cut the vinyl panels into two lengths - one was 4 feet, and the other was 2 feet. It cut pretty well and did not take a lot of effort. Then, we cut all the pieces so that there was a little space evenly on either side of the back.
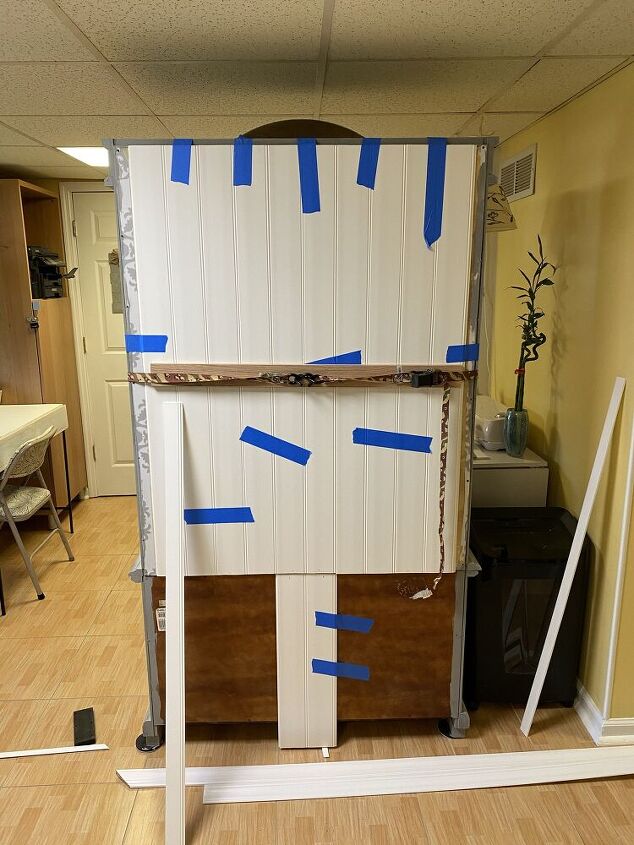
Then we started gluing the vinyl panels (they were a tongue and groove style) to the top part of the armoire back.
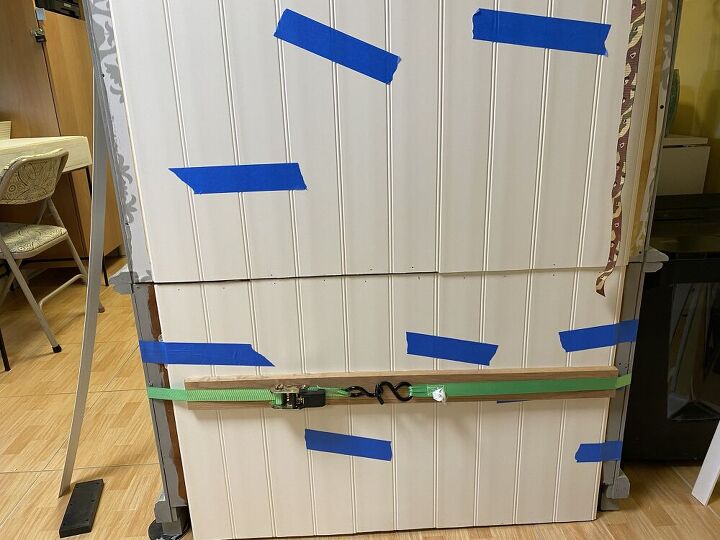
Then, we started the bottom portion. We made sure the panels were pretty close to the floor to cover the extra gap at the bottom. We added the straps with the wood so the vinyl panel would stay tight to the back and we left it that way until it was completely dry.
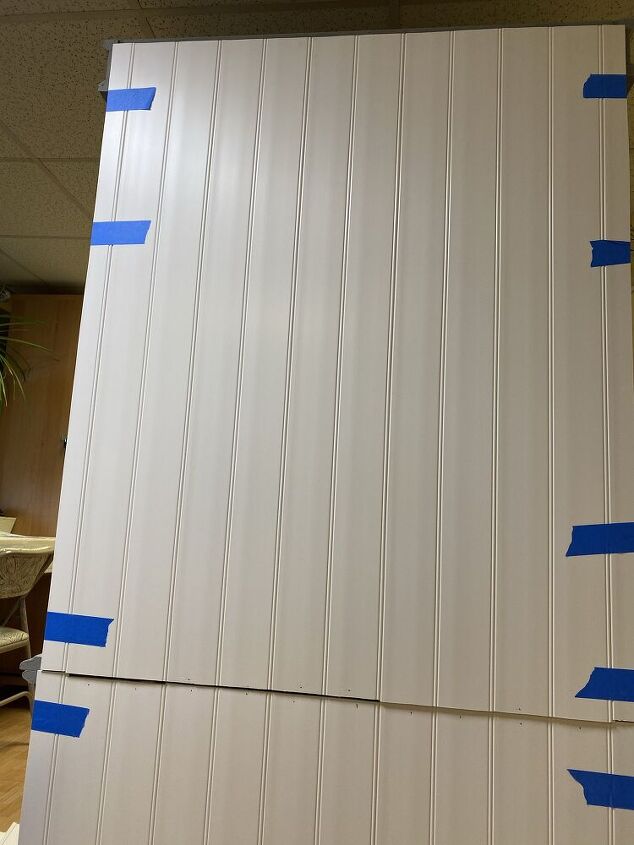
The next day, we cut the two end pieces for each side panels for the top and the bottom portion and taped them. We added the straps again to hold the side pieces until it dried.
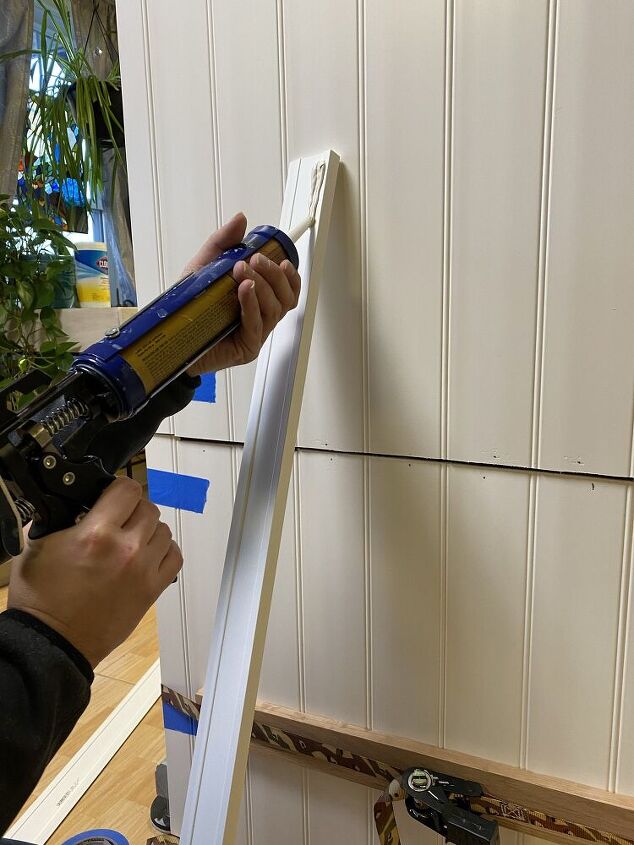
After everything dried for 4-5 hours, we added the decorative PVC moulding with liquid nail glue. Then, we ratcheted the moulding as well until it was dry. We then added the top piece of moulding and did the same thing.
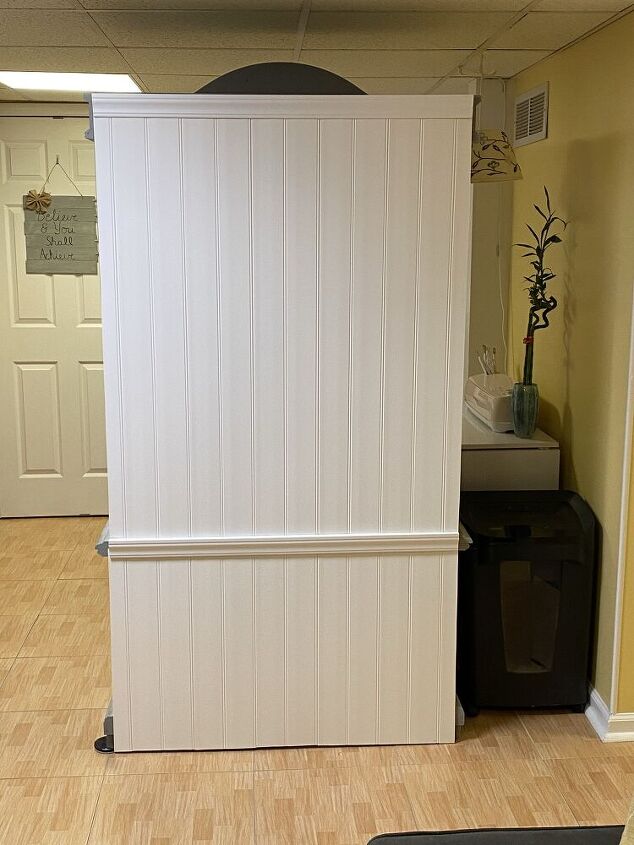
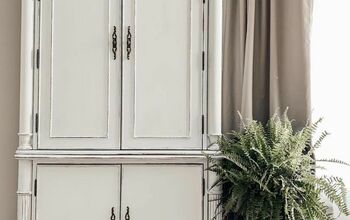
Here's what it looked like when it was finished.
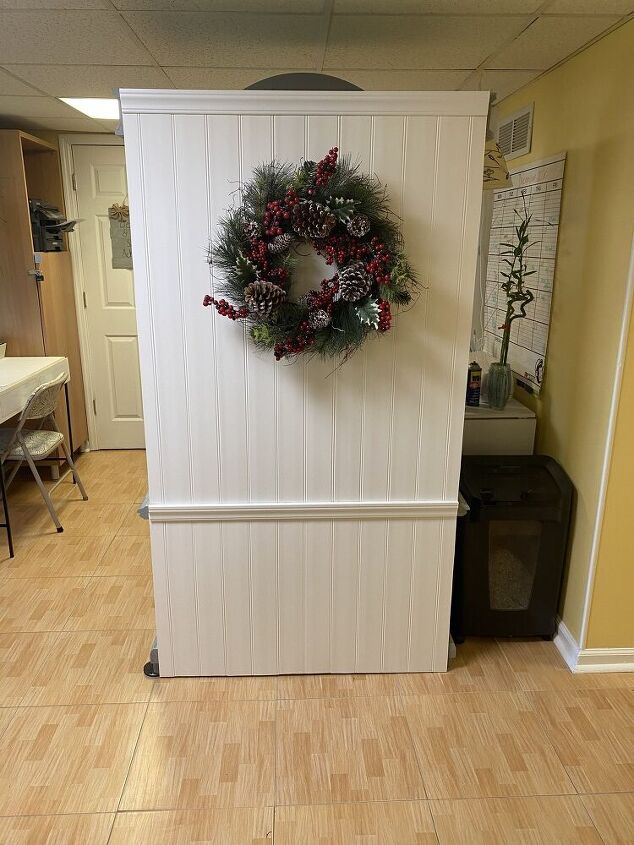
And this is what I did with it during the holidays.
Resources for this project:
See all materials


Comments
Join the conversation
-
I think that’s brilliant and so useful in small spaces particularly.
-
That's a great idea


Frequently asked questions
Have a question about this project?
Do you have a picture of the other side? I would love to see it! Great Job!!
It is very attractive and creative but is it safe? A piece of heavy furniture 6ft tall not affixed to a wall or ceiling could fall over and cause great damage. https://www.consumerreports.org/home-garden/furniture/furniture-anchors-not-an-easy-fix-as-child-tip-over-deaths-persist-a4537497732/