


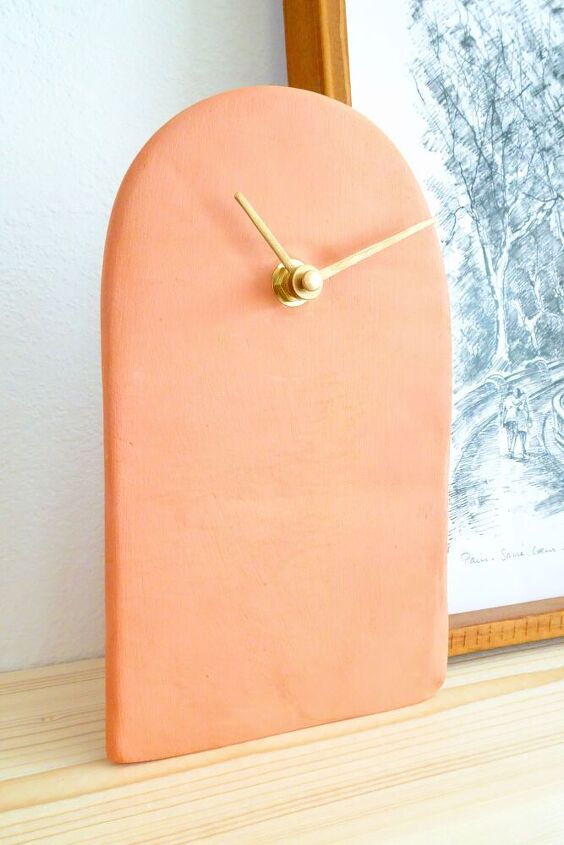
DIY Terracotta Mantel Clock With Air Dry Clay

One might easily feel that clocks belong to a bygone era. Why would you need a clock when you have a smartphone? That’s precisely why I love clocks so much: it’s a rare occurrence of getting information without having to look at your smartphone! If you also love the simple beauty of clocks, try this DIY mantel clock: terracotta and nothing more. Read on to find out how to make this easy mantel clock.
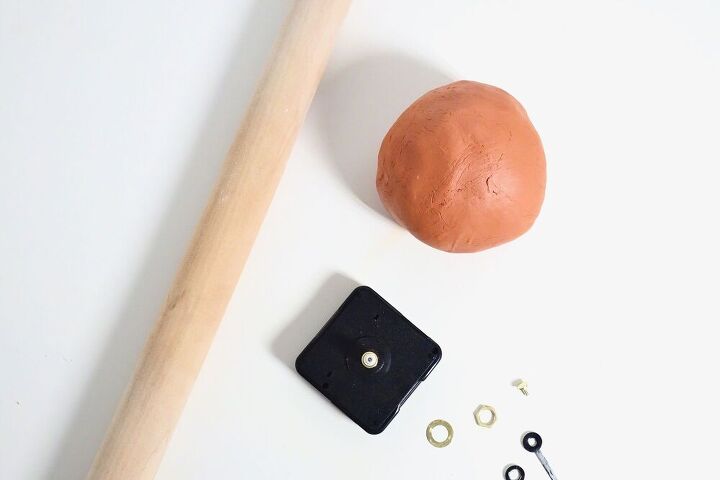
All you need is some natural terracotta air dry clay and a cheap clock mechanism!
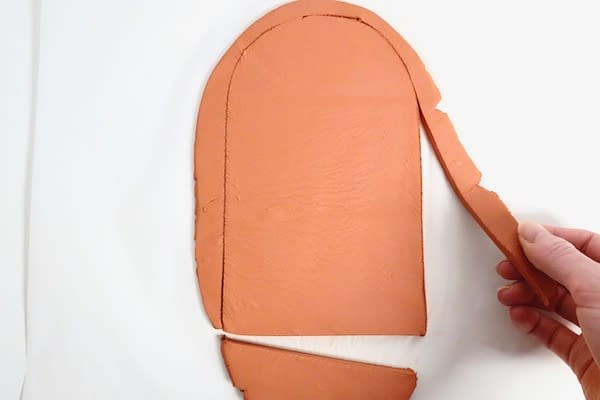
To begin, work the clay to soften it and roll it out on a piece of parchment paper. Cut out the clock shape with a sharp knife. Use a pattern drawn on cardboard to help if needed. You can play around with the shape and make it more of a semi-circle which would also look fantastic!
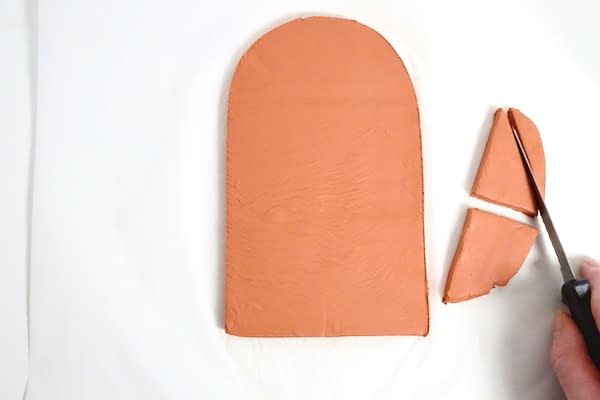
Next, cut out a triangle in the extra clay that you discarded when you cut out the body of the clock. This will be a backing foot which we'll glue on the back of the mantel clock to help stabilize it.
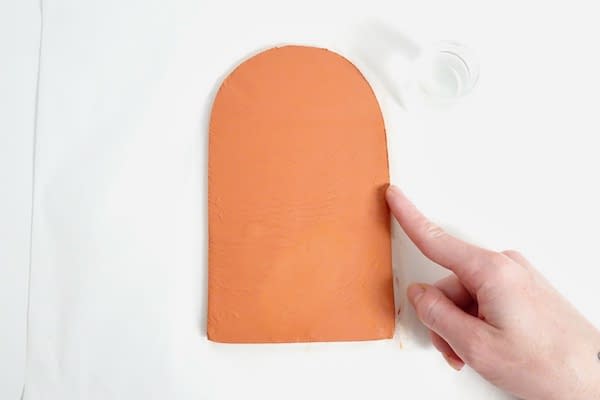
Pour some water into a small glass. Dip your finger in the water and run it along the edge of the clock body. You want to make them as smooth as possible, like the edges of a ceramic bowl.
Now that your pieces are smooth, insert a pencil or a metal drinking straw to make a hole for the clock mechanism.
When you’re done, leave your clay shapes to dry for a day, turning them over every now and then. If needed, you can sand them a little when they’re dry with sanding sponges.
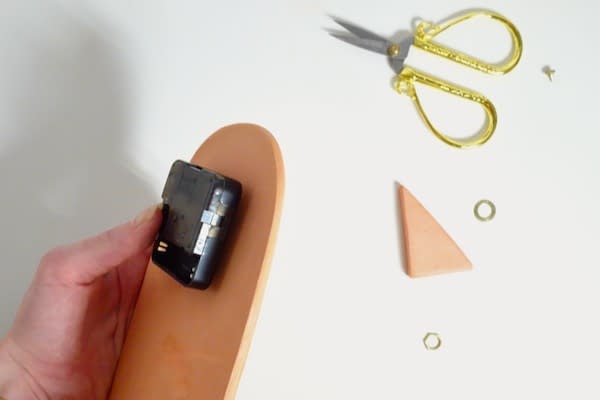
Insert the clock mechanism from the back with the rubber washer that came in your clock kit. If the clay is not thick enough, you can add a few drops of hot glue around the hole at the back of the clock and let it cool down. This will add some depth and your clock mechanism won’t poke out so much at the front.
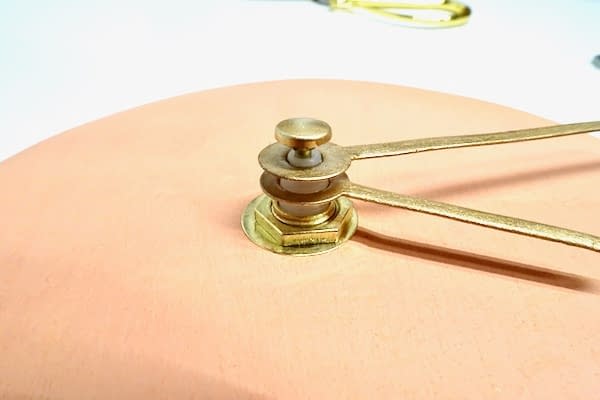
On the other side of the clock, add the washer and bolt. Tighten the bolt well with a spanner. Stack all the clock hands: first the Hour hand then the Minute hand. Add the little cap to finish it off.
If you've never assembled a clock kit, you can find a detailed step-by-step with pictures on my blog, in Step 2!

To finish, take the small triangle piece of clay and apply a line of hot glue. Press it onto the back of the clock and let the glue cool down. You might want to sand the bottom of the clay to flatten it and ensure the clock is stable.
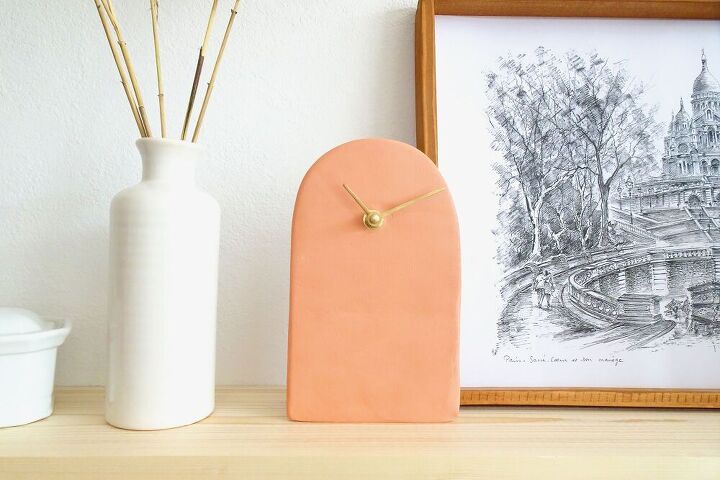
That’s all! Pop in a battery and set the clock to the current time.
Hope you enjoyed this DIY! Check out veryliv.com for more ideas and easy DIY projects 


Comments
Join the conversation
-
Just a word of caution. You should never sand any type of clay. It will leave unseen particles of silica that you will breathe in over time and run your lungs. Before the clay is dry you can use a very very small amount of water and your finger to smooth the edges and any sharp areas you’re concerned about. No silica Happy lungs
-
Ooh, just like wet cement, I don't think I could pass up the opportunity to ... subtly add fingerprints, press in legos, small needlepoint, or hmmm, other small flat objects. You're tickling my brain! Did you consider this?
What a lovely idea!


Frequently asked questions
Have a question about this project?
Can this be painted?