


DIY Topiary Balls, Moss Balls
Do you love the classic look of moss topiary balls and can’t find them anywhere? These traditional decorative moss balls are a wonderful accent for any decor. It is easy and quick to DIY moss balls and topiary trees; furthermore, making your own is budget-friendly. Learn how to make topiary balls in this easy step by step tutorial. See the how-to video HERE.🌳
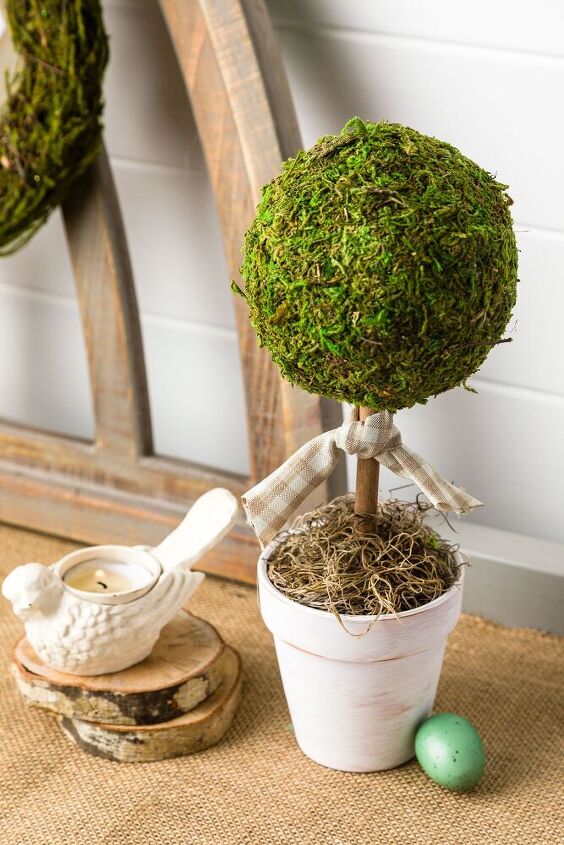
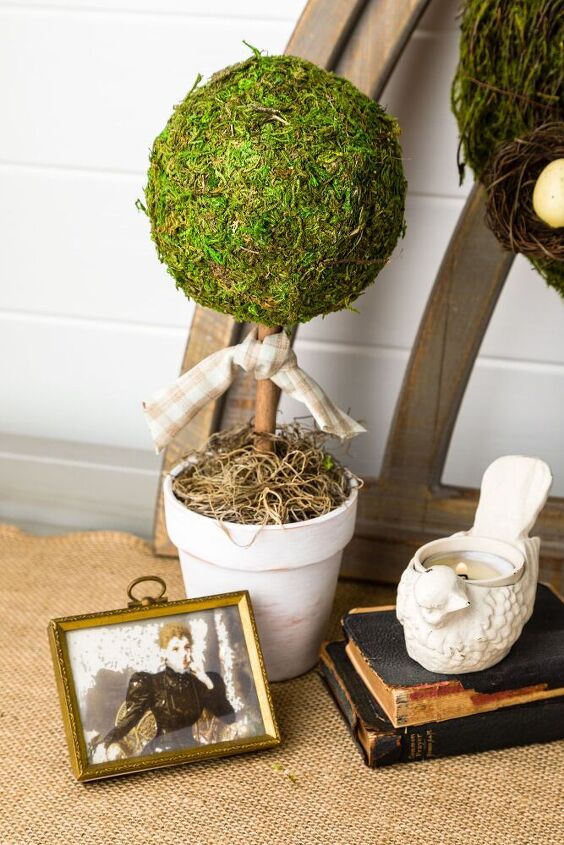
Moss topiary tree with ribbon tie
How to Make Moss Topiary Balls
These topiaries are gorgeous and can be an excellent addition to your spring or Easter decor. They are so flexible you can change the ribbon, vessel, and greenery and use them in farmhouse decor, special occasions, and more.
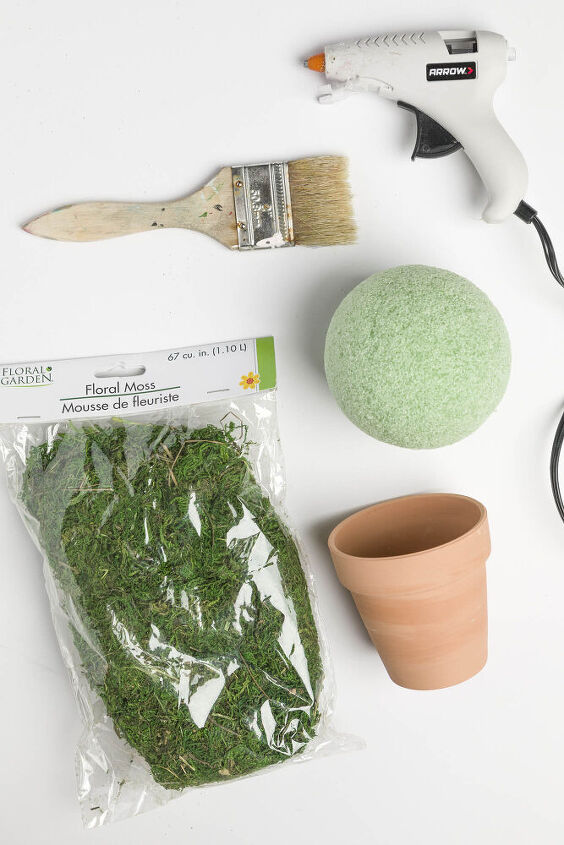
Topiary tree supplies
Supplies and Tools
This post contains affiliate links. That means that if you purchase from one of these links, I will make a small commission, but rest assured, you will not pay more for any products. As an Amazon Associate, I earn from qualifying purchases.
- Ball shape foam or tree shape foam
- Ribbon
- Dowel
- Clay pot
- Foam (for inside the pot)
- Moss roll
- Spanish moss
- Hot glue and gun
- Scissors
- Chip brush
- Chalk paint
- Sandpaper
- Wood stain (water-based)
- Wire cutters
- Step by Step Video (watch it HERE)
Here is how I make them the easiest way.
The first step is to gather all your supplies and tools to DIY these elegant moss balls. Then, cut a square of moss that will fit around your foam ball and start gluing it to fit the form paying attention to the extra moss as much as possible, working from the middle of the moss square to the cut edge. See the how-to video too.
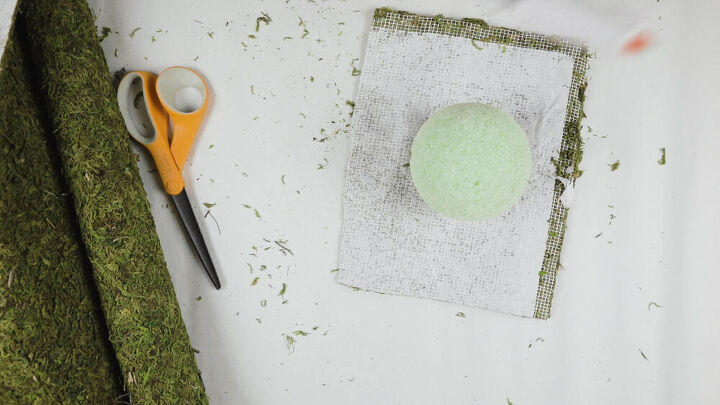
Moss square and round foam ball for topiary
I was working in one area at a time, removing the extra moss at the seams and gluing down the moss at that seam before moving to the next place, forming, gluing, and cutting off the excess to create the moss ball.
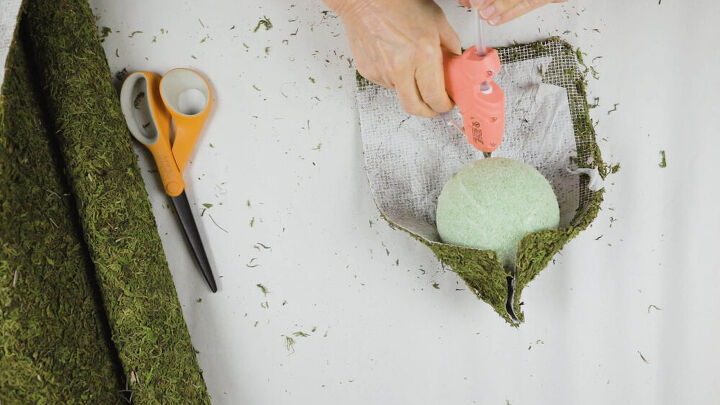
Gluing the moss square to foam starting in the center
After the moss square is completely glued and trimmed, there might be gaps or holes that need to be covered; thus, using your moss trimmings to make patches to cover those areas and glue them down. Furthermore, using some of the moss scraps to cover all the seams. You will be amazed by how forgiving the moss can work with, hence making it my new favorite craft product.
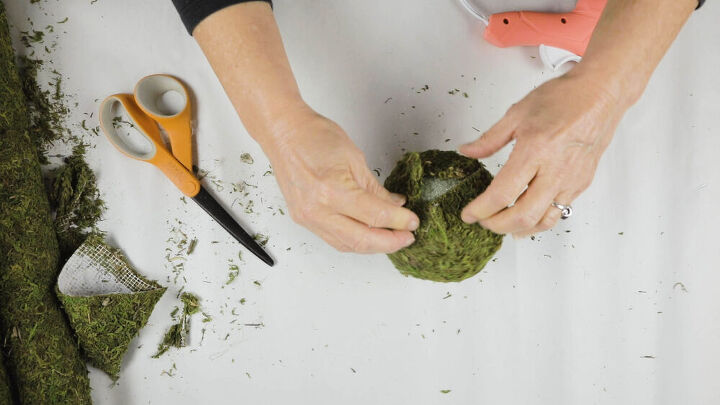
The moss ball bottom before adding patches
Preparing the Clay Pot
If you have been reading my blog, then you know I adore chalk paint. Furthermore, I love anything green and organic. Thus, making this the perfect spring decorating project for a moss challenge.
Topiary supplies, dowel, clay pot, chalk paint, sandpaper, and foam ball
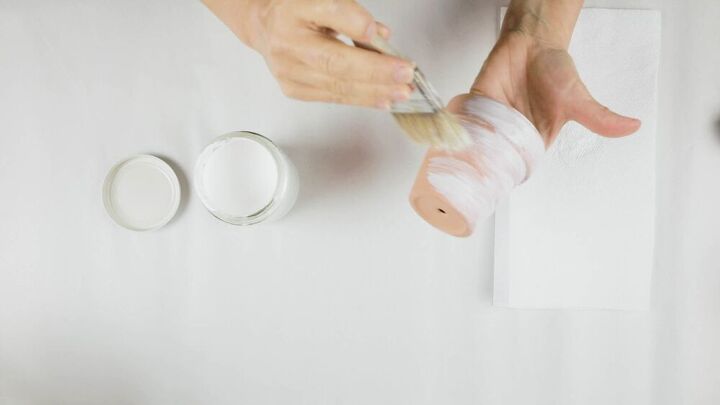
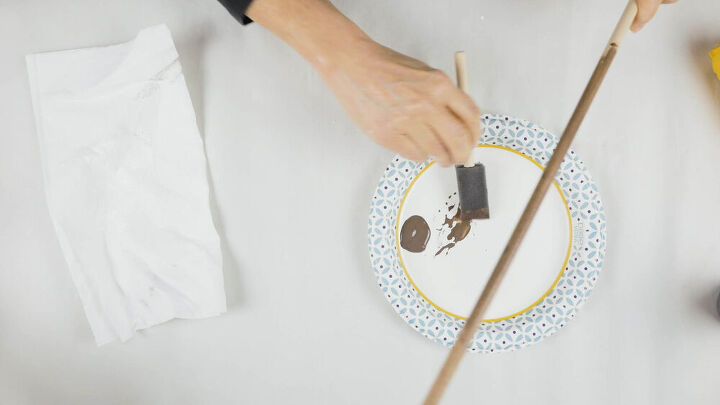
Dry brush painting the clay pot with chalk paint.
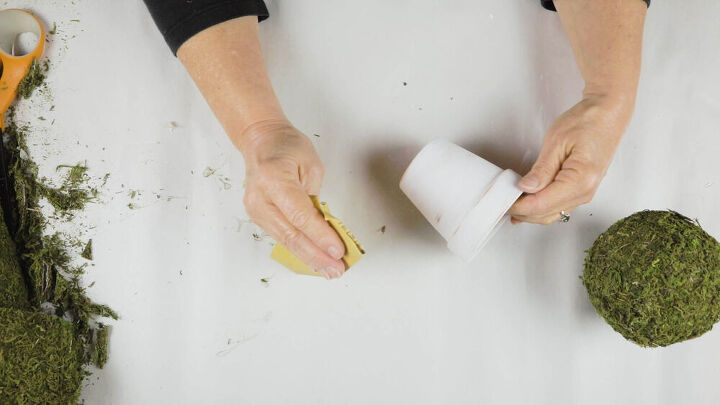
Adding a rustic touch to the clay pot by sanding away a little of the paint
Staining the wood dowel with a water-based stain
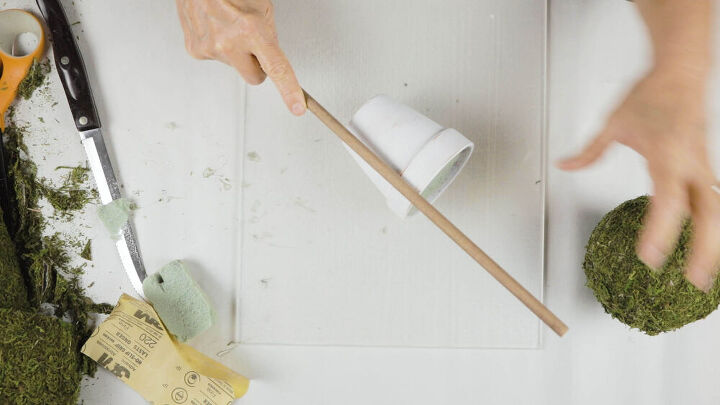
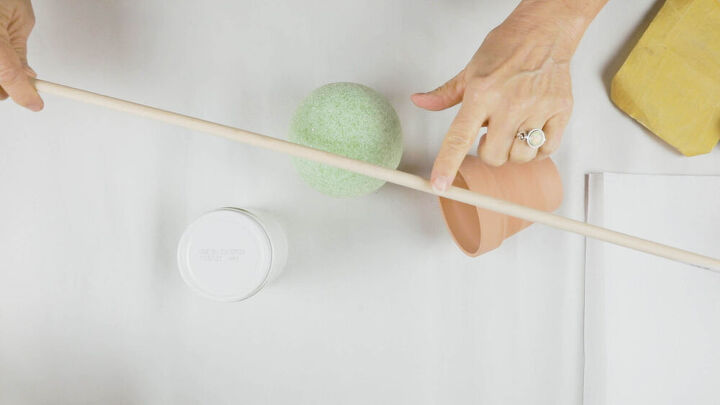
Using the clay pot as a guide to cut the dowel
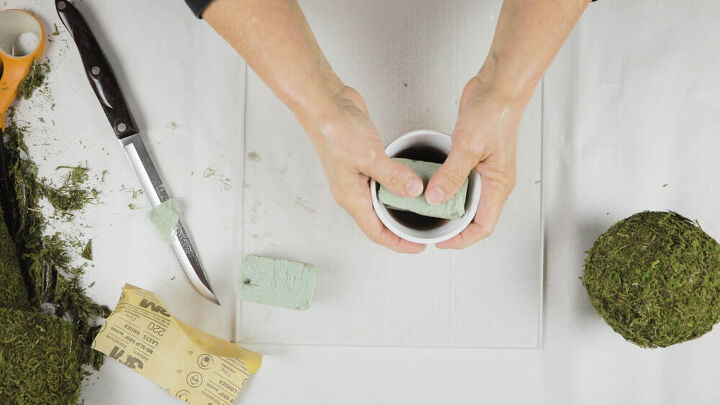
Place foam in the clay pot
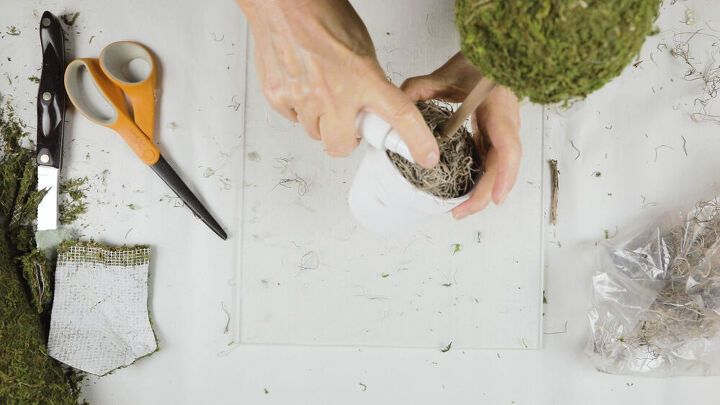
Adding spray adhesive to the Spanish moss
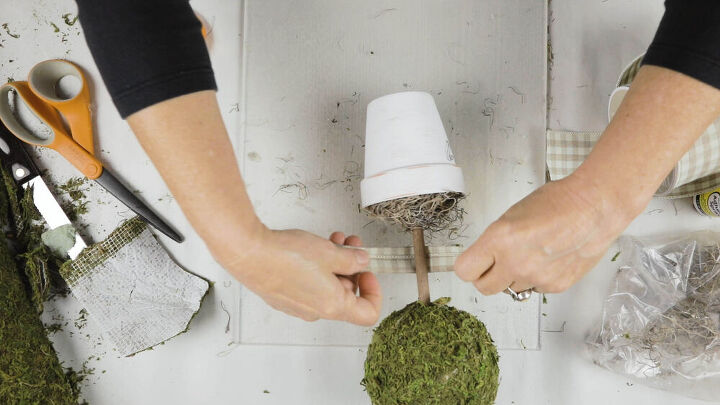
Add a ribbon tie
Please join my crafting VIP list HERE 🤗to guarantee you don’t miss any inspiration or great recipes this spring.
DIY Wreath Bow and Nest
Adding classic touches such as a tan check ribbon bow to the moss wreath further enhances the elegant farmhouse vignette.
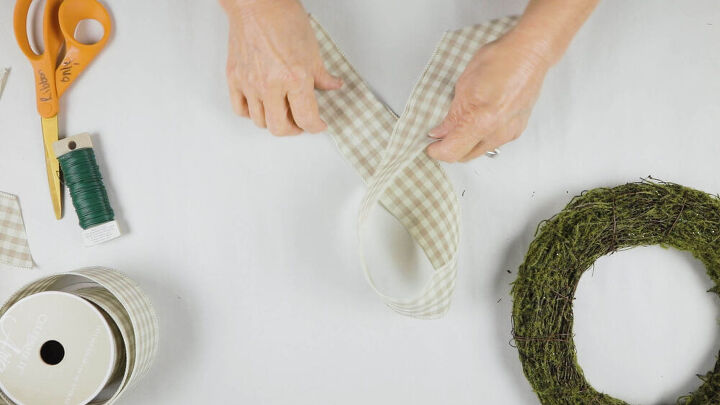
Making a simple bow
The simplest way to make a bow for a wreath is to make it on loop with the ribbon. Then starting in the center of the circle, pinch it together and place it on the spot where the ribbon cross.
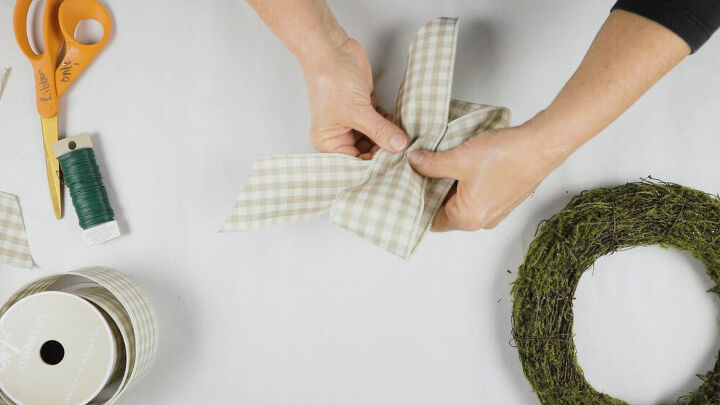
Pinching the center of the ribbon to form a bow.
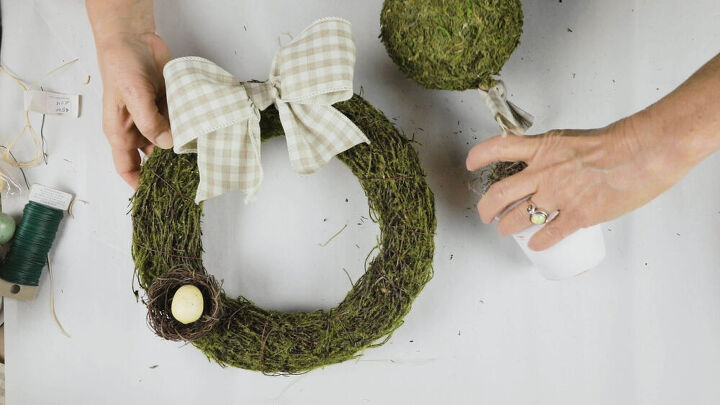
Attach the checked ribbon bow to the moss wreath
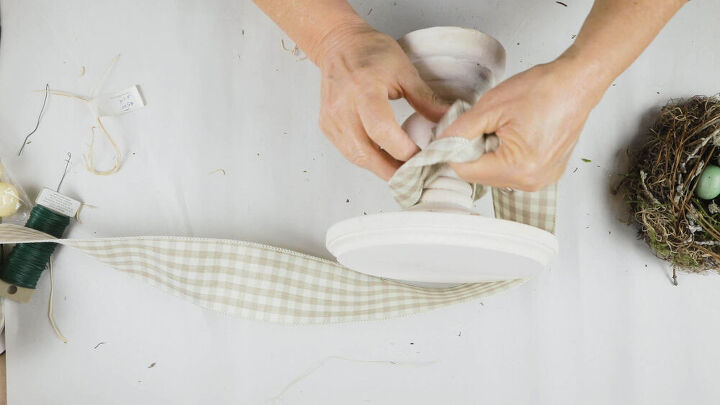
Adding a ribbon tie to my DIY pedestal
Please join my crafting VIP HERE to guarantee you don’t miss any inspiration or great recipes this spring.
Thank you for your visit. I hope you enjoyed this moss ball and topiary DIY; moreover, I hope you found some inspiration to create some fresh spring and Easter decor.
Happy creating!
See you soon,
Kippi


Comments
Join the conversation
-
Feeling inspired to get creative with my spring decor! Thanks for sharing.


Frequently asked questions
Have a question about this project?