


DIY Wood Twig Vase - Thistlewood Farm

This is such an easy project!
All you need is a glass vase, glue and sticks.
Yep.
I created this project by shopping my yard.
Want to make your own?
Here's the step-by-step.
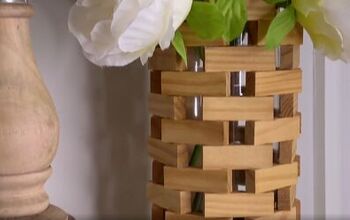
DIY Wood Twig Vase
Step 1: Start a glass vase
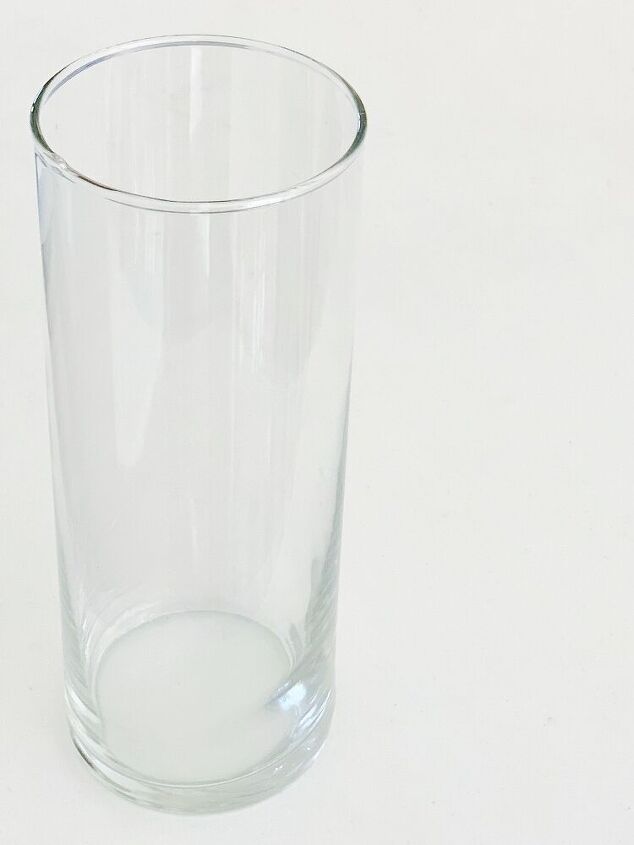
I found this vase at Dollar Tree for a dollar.
For size reference, it’s about 12″ tall.
(total aside: you might want to pick up a couple extra while you’re there because these are the perfect size vases for all the other holidays, too.)
You might already have a vase like this in the depths of one of your cabinets.
Pull it out and dust it off. And now? Your Valentine’s craft is FREE.
Step 2: Shop your yard for twigs
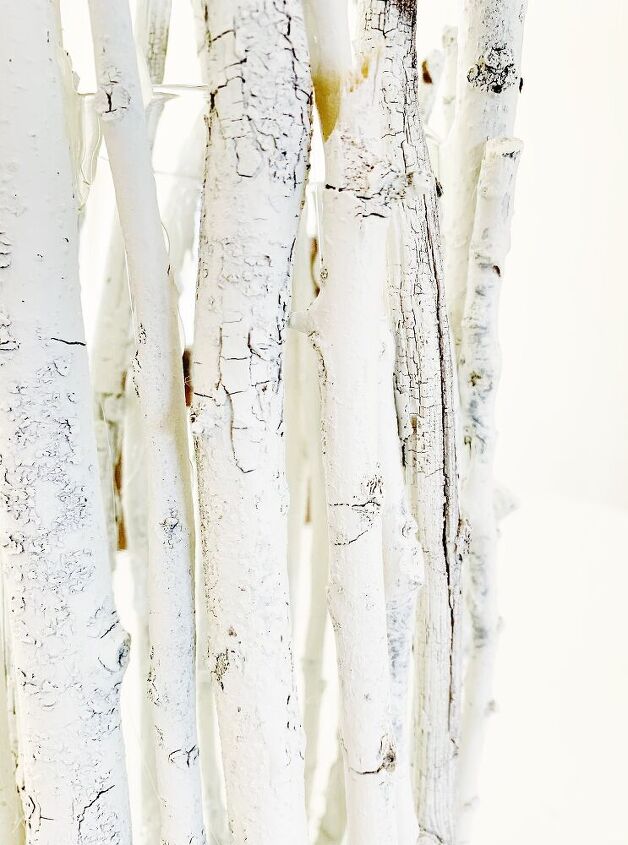
These are twigs that just fell down from our trees and were sitting in the yard collecting grass.
So technically, it’s like doing yard work and Valentine crafts all at the same time.
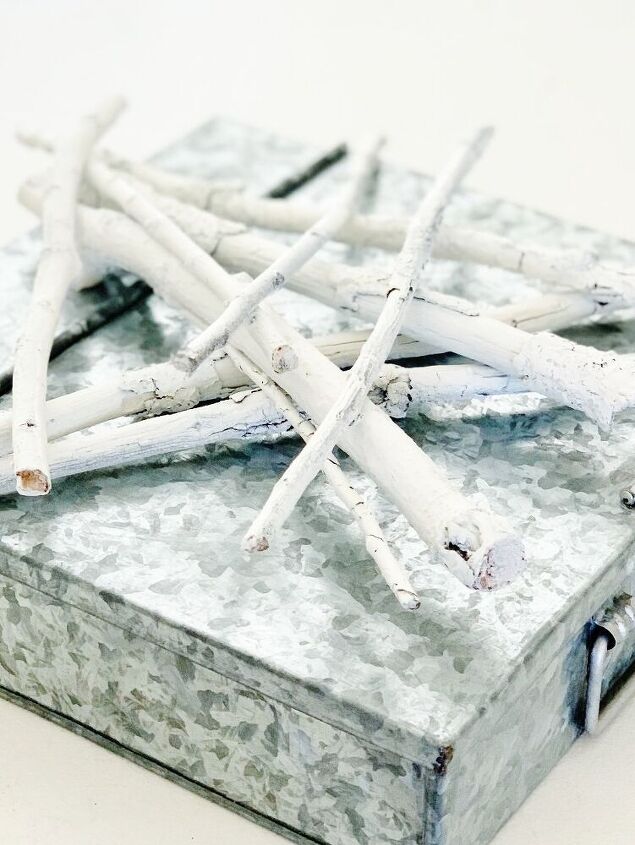
You’ll need about 20 twigs for this vase. You want a variety of smaller and larger twigs for the project.
Spray paint them white.

Step 3: Measure and glue
You want your twigs to be slightly taller than the height of your vase.
I just snapped them to the right height.
Add hot glue to the twigs and glue a base layer of twigs to the vase.
Here are a few tips for gluing:
- Place the twig against the vase so you know where to add the glue. Sticks aren’t straight and the entire stick won’t be against the glass.
- Make sure to leave space when you are gluing the first layer of twigs.
- Make sure to vary larger and smaller twigs around the vase.
- The twigs don’t need to be the same height. A little variation at the top is good.
Step 4: Keep gluing
Keep adding layers of twigs and gluing them to the vase.
After the first layer is finished?
Go back and add in a second layer. Depending on the amount of space between the twigs, you may need to glue the twigs to each other instead of the vase.
Step 5: Add half twigs
After you glue all the twigs, there may still be some places where you can see gaps.
Break the twigs in half and glue them in the gaps.
Adding smaller twigs like this allows you to completely cover the vase.
That's it! You're done.
And now?
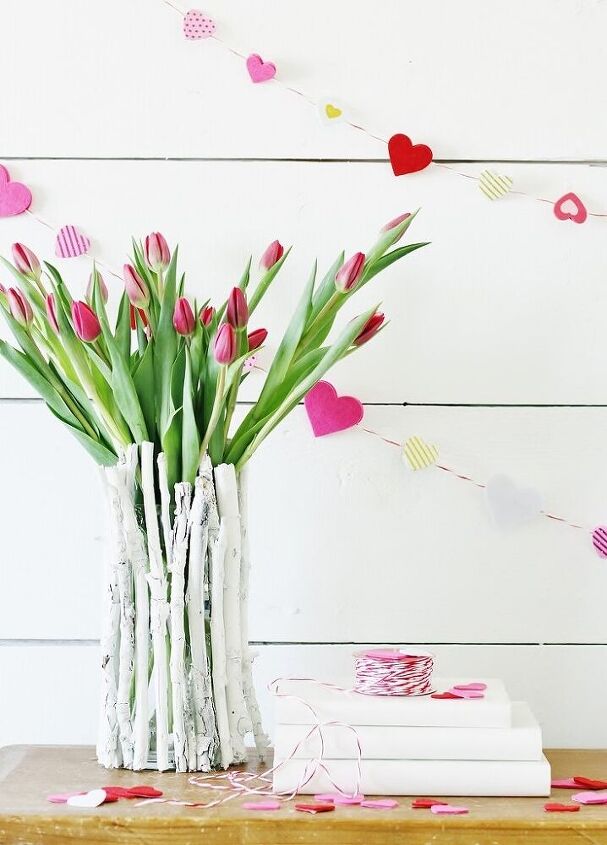
Here's your finished vase ready to go.
Simply add flowers and water and decorate.
Like this project?
Here are a few more projects I made from twigs:


Comments
Join the conversation
-
Love this. It has a rustic look, but fits any decor I think. I live on acreage & have hundreds of twigs to pick from. I will be doing this in the next while.
-
It’s spring and time to clean up all the twigs that have fallen during the winter.Now I can make good use of them.❤️


Frequently asked questions
Have a question about this project?
What kind of glue works best for attaching to glass? Thanks.... pretty and easy = perfect