


5 of the Easiest Ways to Elevate Your Dollar Store Vases

Today I am sharing a few of my favorite ways to elevate all those dollar store vases we accumulate so easily. I ended up with several vases leftover from my daughters' wedding decor and wanted to see how many different looks I could turn them into.
These are quick, inexpensive ways to give your vases a Scandinavian style, a Coastal style, Boho chic, Natural, and a Glam/Chic style.
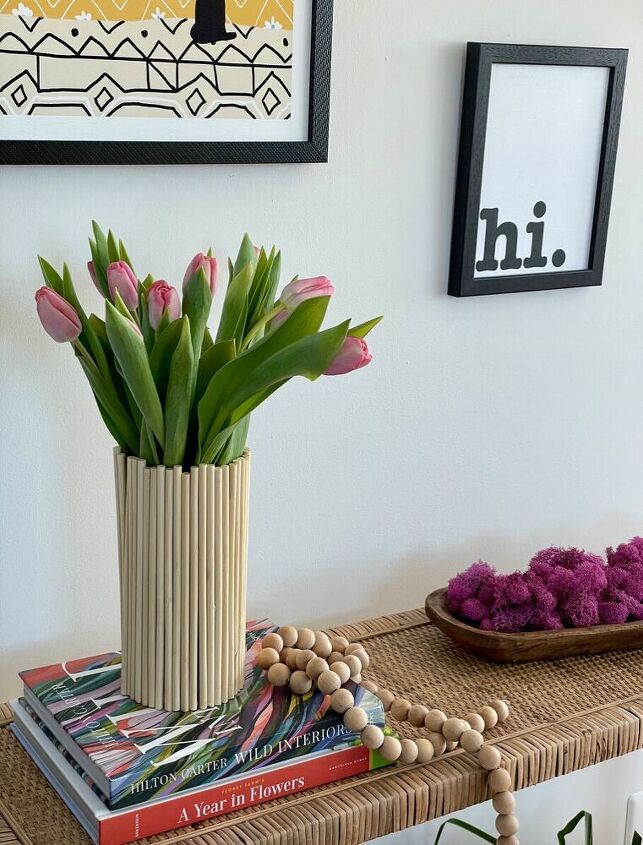
Scandinavian Style Vase
You will need:
1/4 Dowels
Saw to trim dowels to size
Glue Gun -Dual Control
Glass Vase-
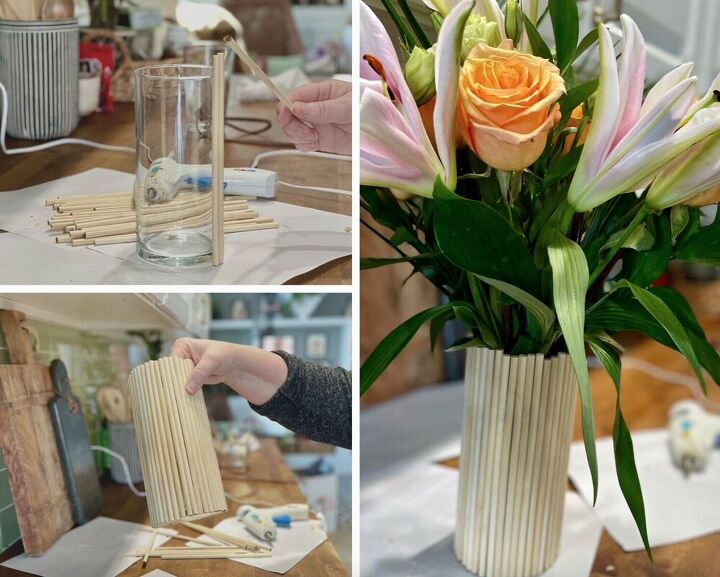
Step 1- Cut your dowels to the length of your vase.
Step 2- Glue dowels all the way around the vase. This is why I like a dual control hot glue gun. I use the lower temp to prevent burning my fingerprints off.
Step 3- Remove any Hot Glue strings that may be hanging.
Step 4- Add flowers, enjoy.
Tip- Keep your dowels as straight as you can as you go, or they will slant, and the last piece won’t fit. All of the options I am showing today will need to be hand-washed, not a big deal for me, just letting you know.
Tip 2- Painting the dowels can be fun too! Check out the shorter version I painted pictured with the polka dot vase below.
Next Up:
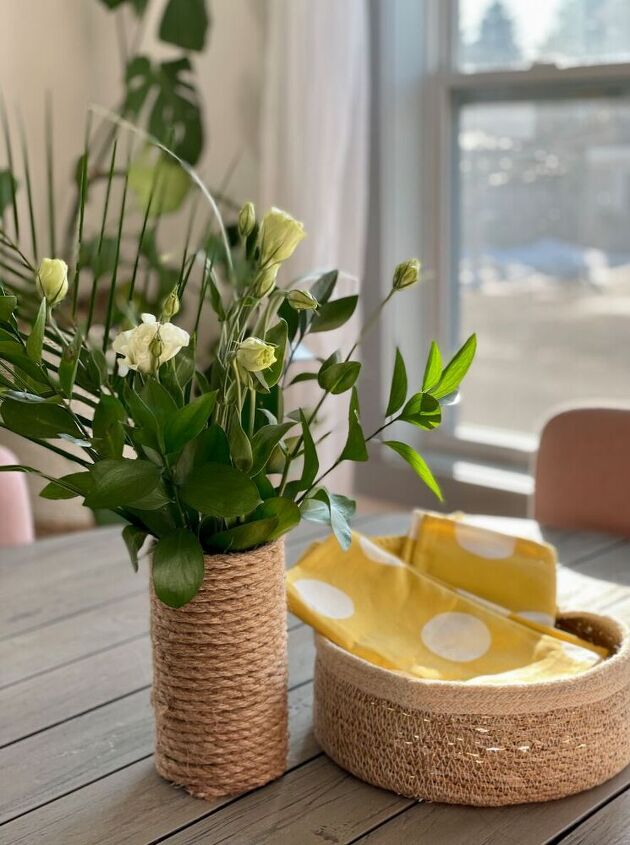
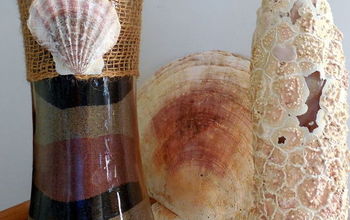
Coastal Style Vase:
You will need:
1/4 Natural Rope
Glue Gun- Dual Control
Scissors
Glass Vase
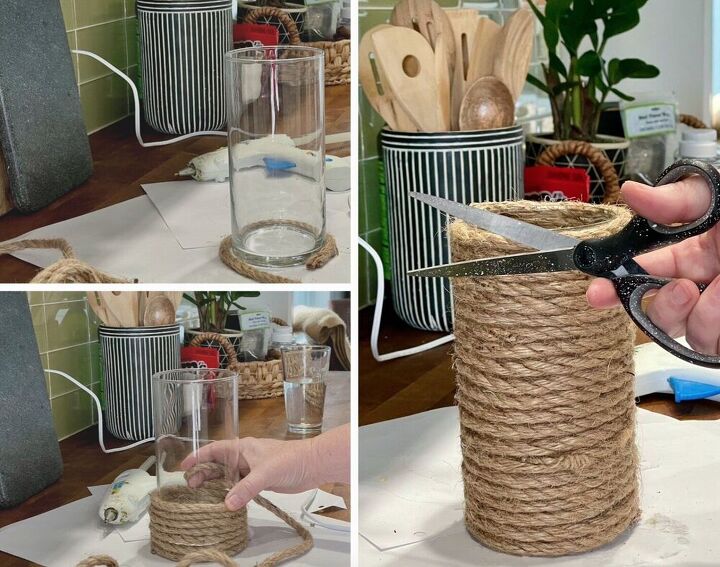
Step 1- Wrap the Vase with rope to determine how much you will need to cover it.
Step 2- Begin at the bottom of the vase, gluing your way around and up. As you go along, make sure the rope is snug without being tight. This will prevent the glass from showing through.
Step 3- Cover both ends of the rope with hot glue, so they do not unravel.
Step 4- Use your scissors to trim off and tidy up any excess rope.
Step 4- Add flowers and stand back and enjoy!
Tip: The vases I am using are from the Dollar Store and cost $1.00 each. They are leftover from my oldest daughter’s wedding we hosted in our backyard. If you’d like, you can see the outdoor wedding decor here.
On to number three:
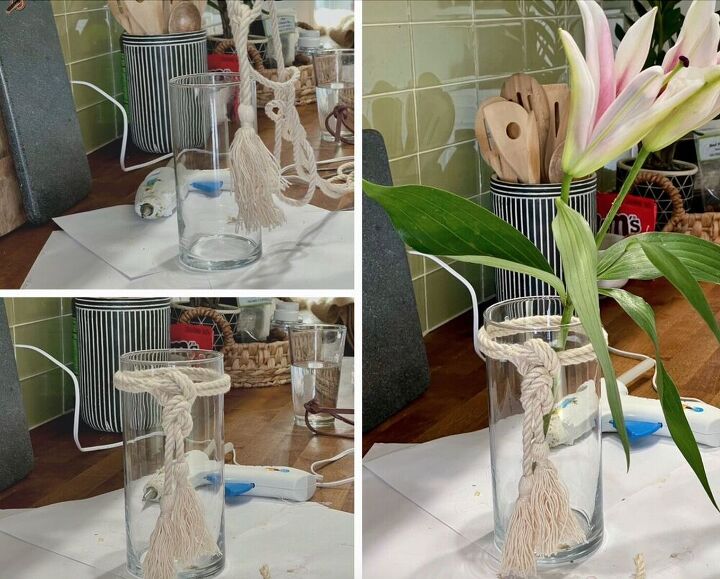
Boho Style Vase:
You will need:
Tassel Cord
Glue Gun-Dual Temp
Scissors
Step I- Wrap the cording around the vase
Step 2- Tie two knots in the cording
Step 3- Glue in place!
Easy right?!?
Tip: I played with the cording to get it right where I wanted it and I glued the knots in place so they won’t come undone.
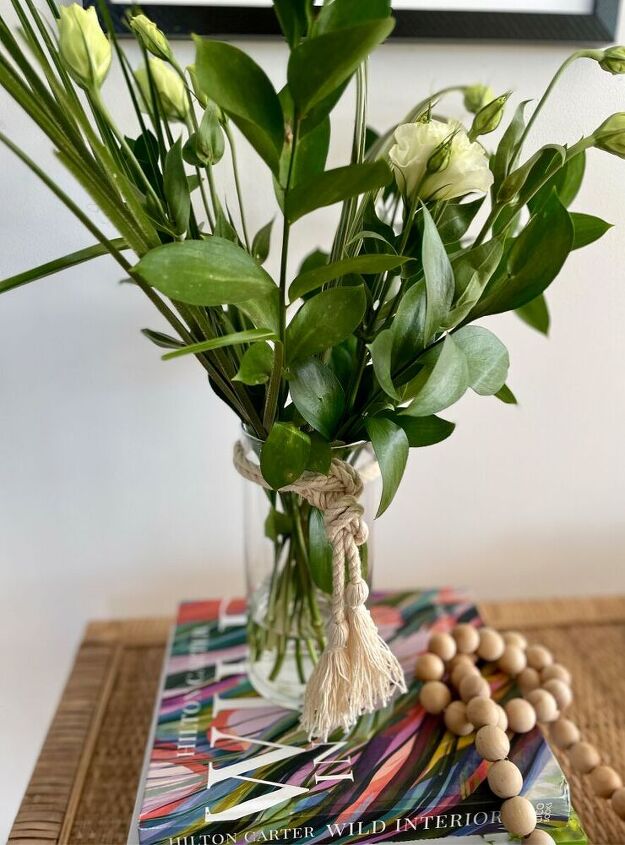
I told you these were easy! But even more importantly, they look high-end.
On to the easiest hack yet. I once did this for bridal shower centerpieces and then gave them as thank you gifts for the guests, and they were a huge hit, plus it was so simple!
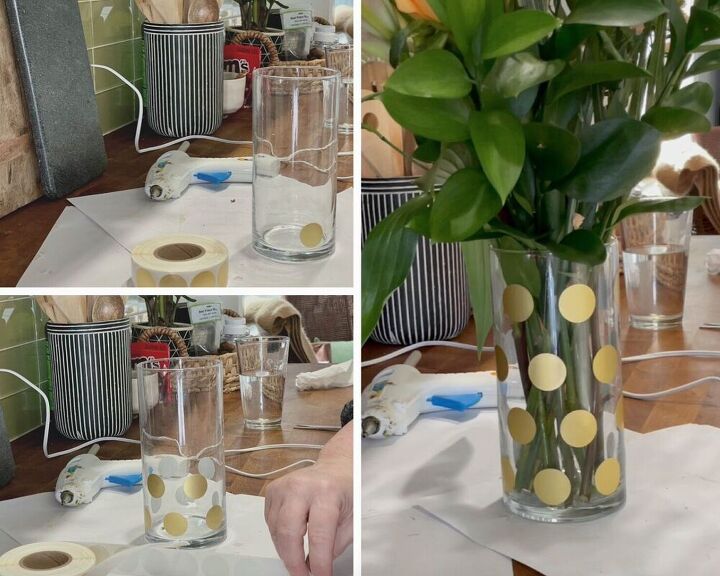
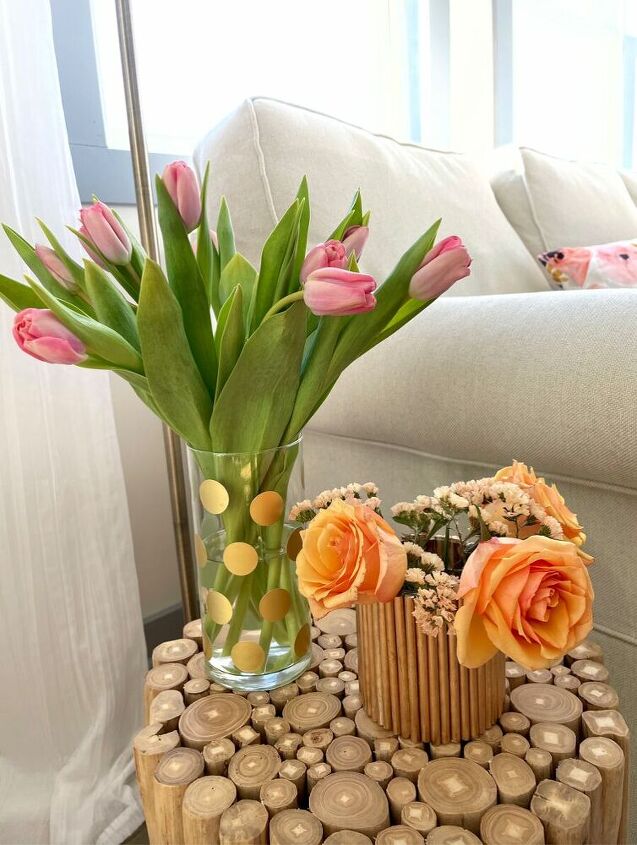
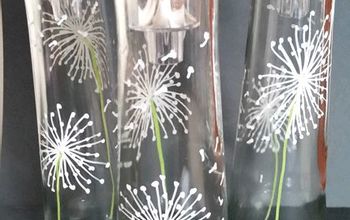
Glam Chic Style Vase
What you need:
Gold Polka Dot Stickers
Glass Vase
Step 1- I just put the stickers on in a pattern. I was not careful to make the perfect.
Step 2- Insert flowers, and admire!
Tip: The stickers I used are very sticky so if you put one where you don’t want it you may have to use glue goo to remove it.
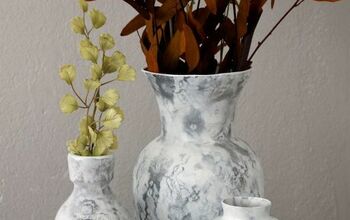
And My Personal Favorite:
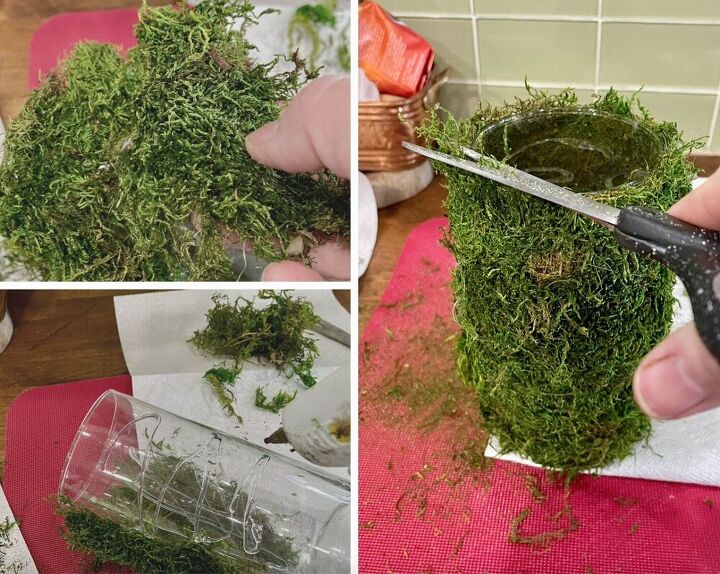
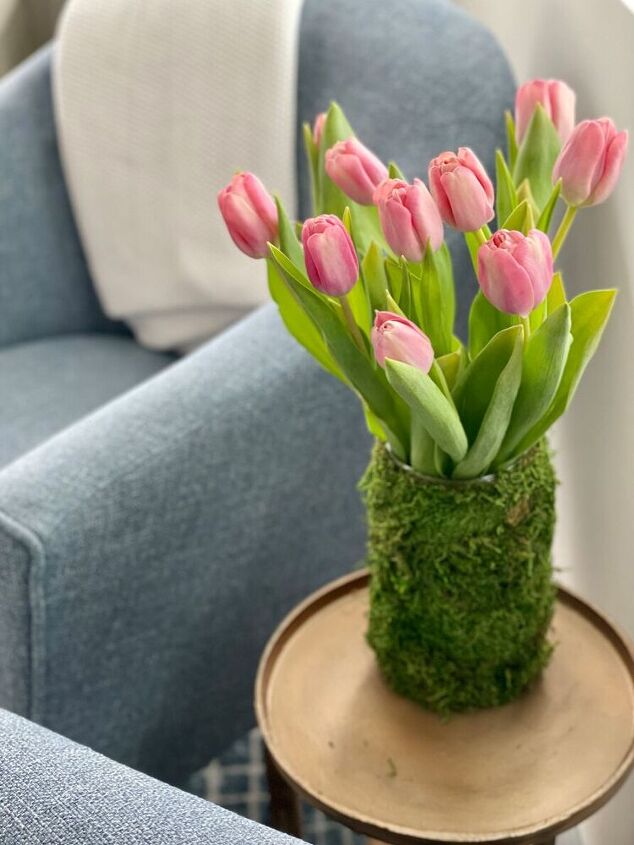
Nature Inspired Moss Vase
What you Need:
Bag of short moss
Glue Gun-Dual Temp
Scissors
Step 1- Pull your moss out and separate it.
Step 2- Start gluing the moss onto the vase.
Step 3- Fill in any spaces.
Step 4- Trim the moss to tidy it up.
Step 5- Add beautiful flowers!
Tip: I rolled the vase to flatten it a bit when the glue was dry.
I hope I’ve inspired you to do something with all those glass vases you have been collecting!
Until next time,
-Libbie
If you like the Moss Vase wait until you see the checkerboard I made!
Resources for this project:
See all materials


Comments
Join the conversation
-
Love these creative ways to change an old vase
-
I love the glass vases. Easy to clean. Multi purpose. Don't steal the
show--the arrangement. Natural.
Floral Designer


Frequently asked questions
Have a question about this project?
Hi...
I LOVE your branch/stick end table!! Did you make it..? If yes...is there a post about it..? I'd like to make one.
what size are the gold stickers? thanks