


How to Repurpose An Enamel (Lid)
Hey Friends, Happy Saturday!
I sure hope the sun is shining where you’re at!!
Today’s project is super simple, took years to think of what to do with it, and ended up so cute and fun!
Want to see?
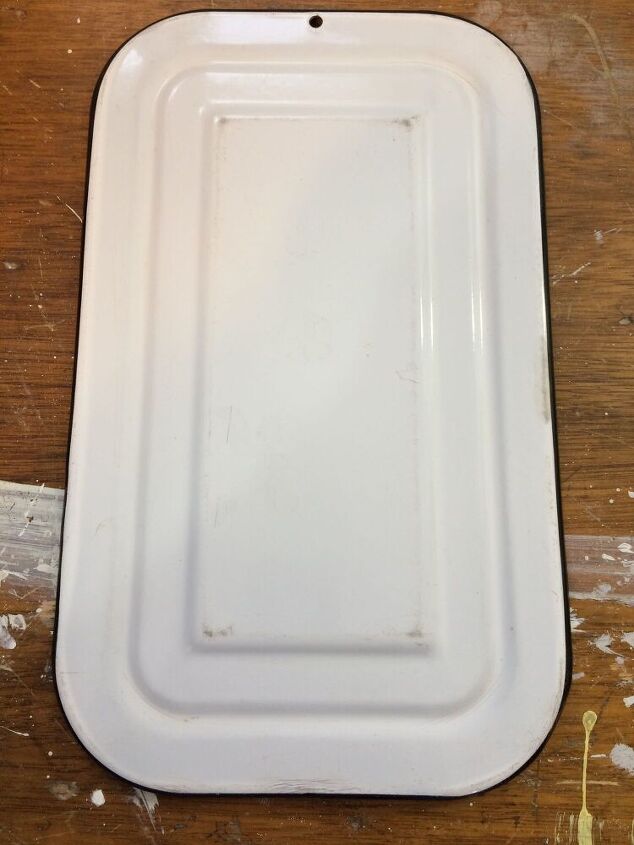
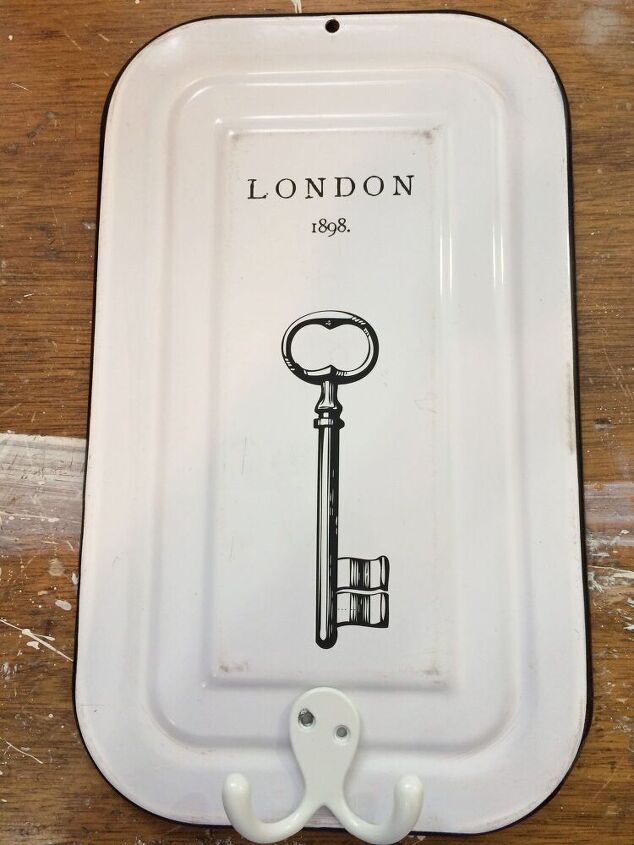
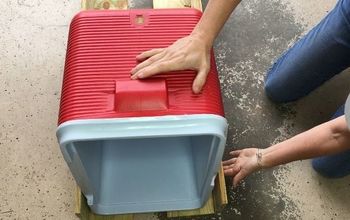
I’m calling this a lid. I don’t know what it was originally since it has a hole on one side but for now, I am calling it a lid. I bought this at a yard sale or Goodwill or? It was years ago. I don’t remember what I paid for it either. I loved it and could envision some kind of picture on it!
Fast forward to today and I finally have it done.
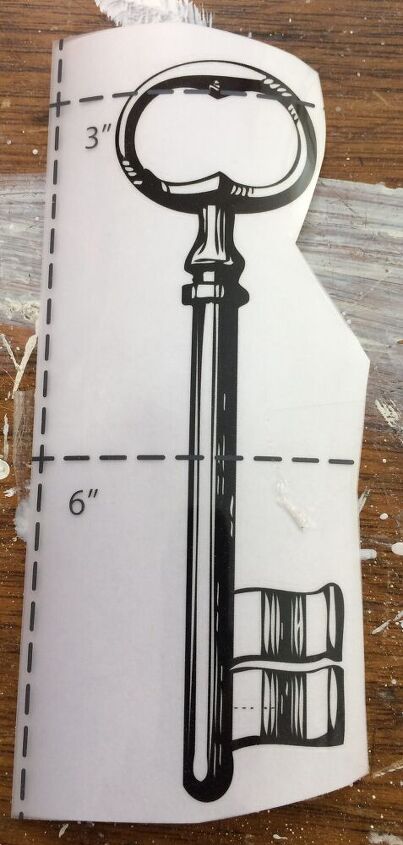
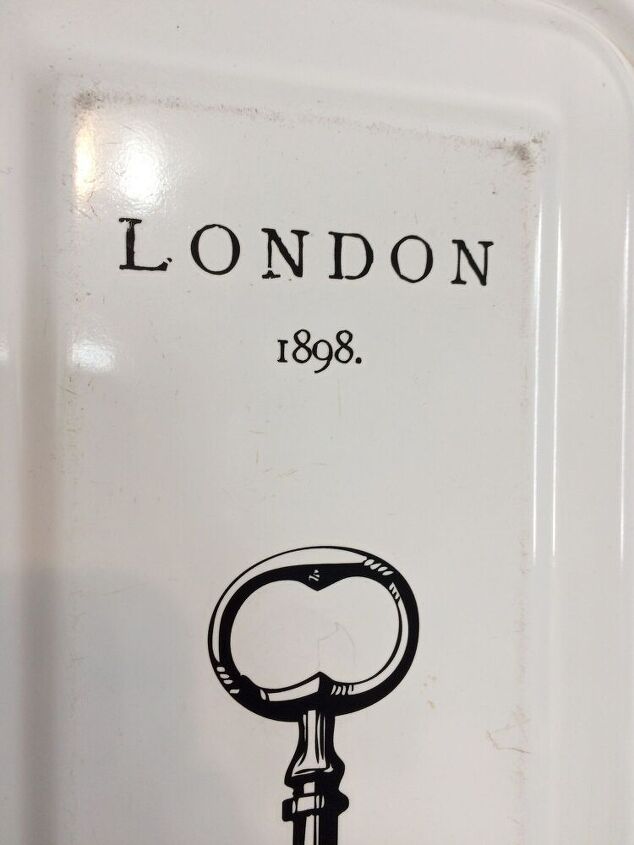
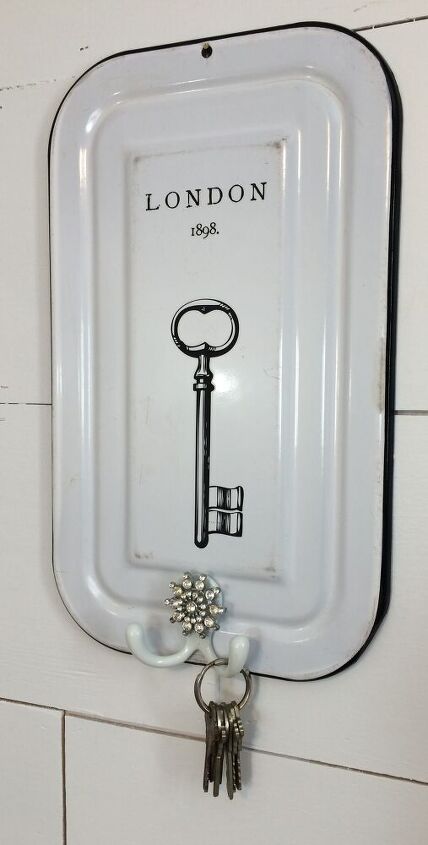
The first thing I did was get my stash of transfers out and look at all the different pieces I had. I chose a key and London 1898. These transfers were just parts and pieces leftover from bigger transfers.
I have many projects with transfers on them. If you would like to take a look at them, here is a list below of some of my most popular ones.
Toy Chest
Old Window
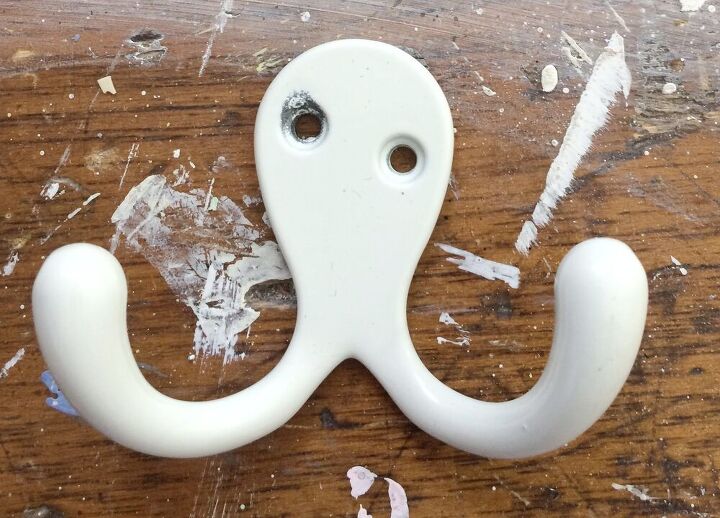
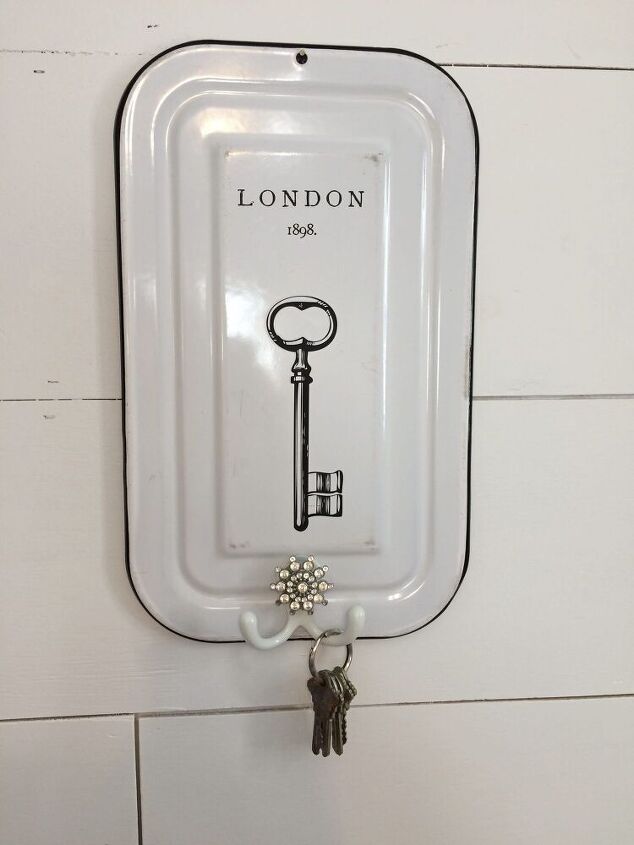
Next, I had a hook that I thought would work for the bottom, in white. I just hot glued it onto the enamel.
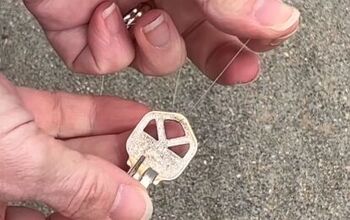
Then the last piece is from some jewelry I have collected over the years. I thought this was a very pretty piece to add to the top of the hook and give it that needed bling!
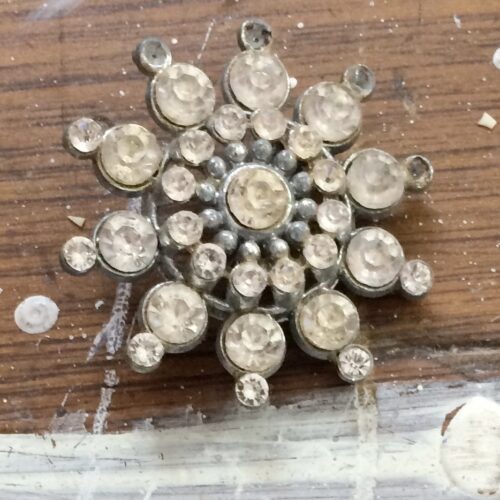
I just cut the backing off the pin (realizing if I had left it on, I would have had more support for the glue.) Added gorilla glue to the back, propping it up until it was dry, and then adding hot glue to the sides to hold it.
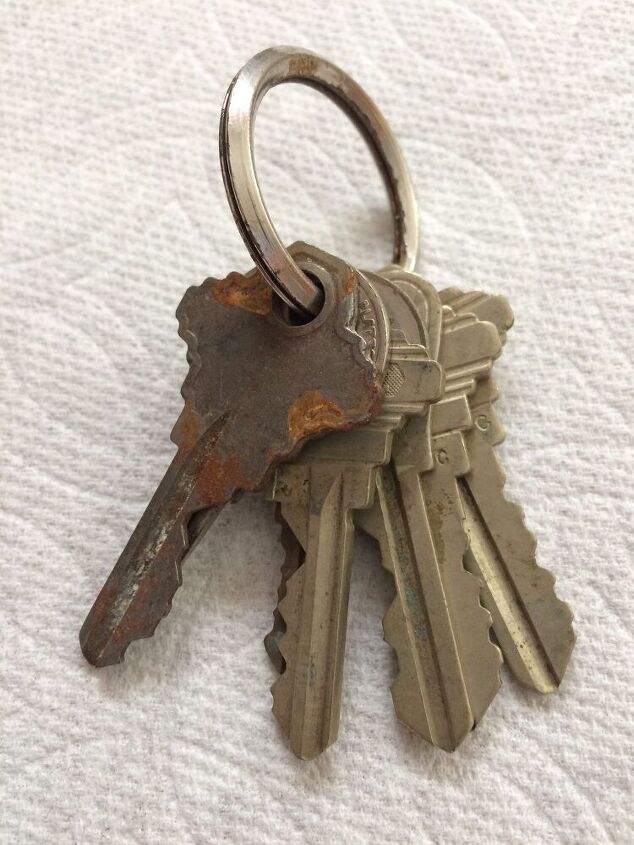
Overall, I am so happy with it! I have keys that I have added to this for decoration. They are modern and don’t fit the 1898 London transfer but I’m fine with that. I love how the key and the enamel are starting to rust.
What do you think? Taking things I just had lying around my craft room and putting a pretty decorative piece together?
Let me know in the comments!!
We will see you next Tuesday for another recipe!
Have a great weekend friends and don’t forget to pin this. It helps support my blog!


Comments
Join the conversation
-
Kathy, what an excellent idea! I love it!!
-
This is definitely one of the better, more creative, and polished creations I’ve seen here, especially made from things culled from craft stash! It’s really cute! It’s got this hip vintage glam thing happening, refined in its simplicity. So many things get fussy so quickly and this is so refreshing! Thank you for sharing!


Frequently asked questions
Have a question about this project?
What type of transfer is it ??? Plastic removable? It’s super cute well done