


Simple DIY Crate Coffee Table

A neighbor asked me if I could make her a simple outdoor table from some crates she had purchased. Always up to the task I said yes. She brought them over and I immediately got to work.
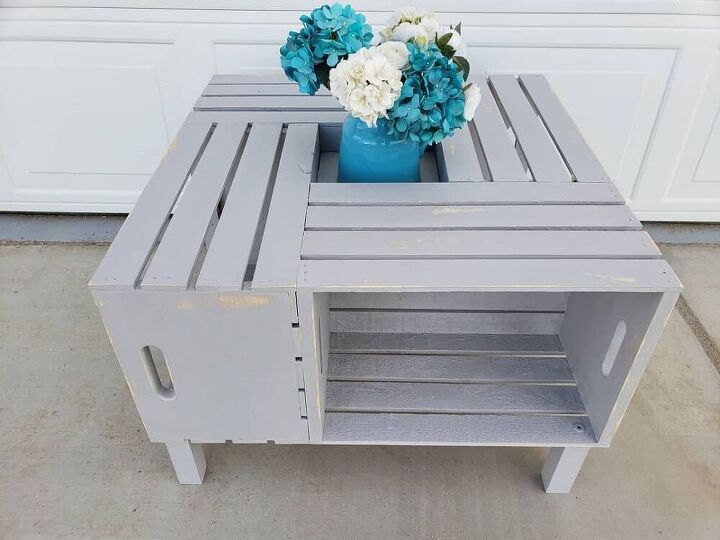
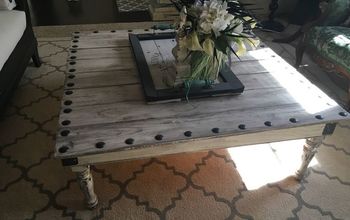
Here is the final project. I like to post the end result first so that you will have a idea of what I'm doing along the way. It is so simple to make so please don't hesitate to try it yourself.

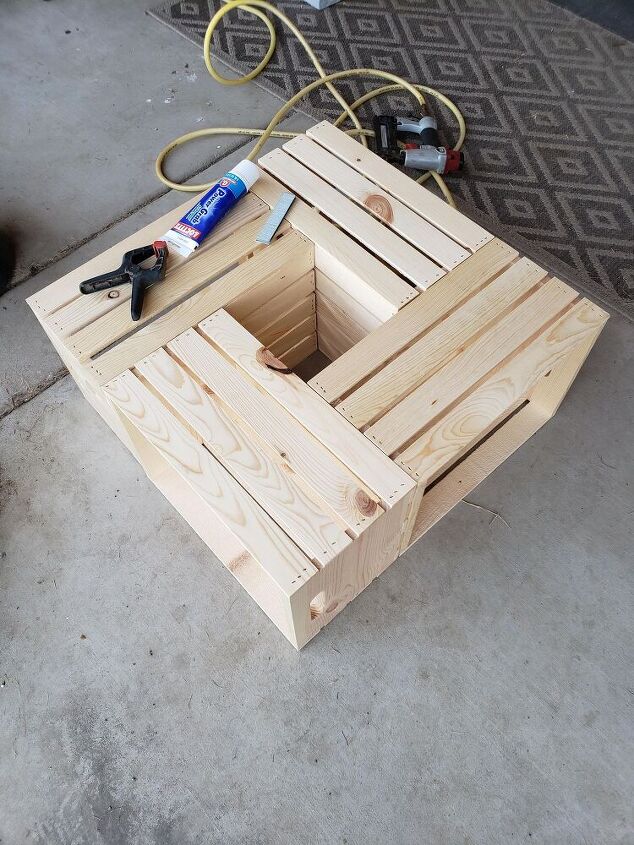
First thing was I started with four (4) crates. These can be any size as long as they are rectangular. They are nice and strong and pretty smooth for the most part. I believe she got them at a hobby shop.
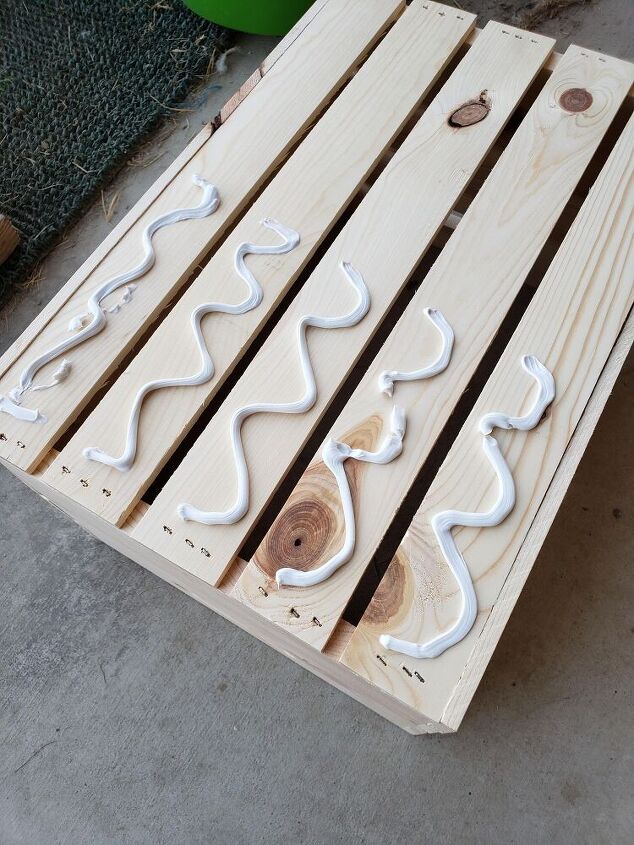
This is one of the first times that I stepped away from using wood glue and used a good construction adhesive. I wanted this table to be really strong. I put the glue on one crate at a time, half way down the sides. Go back up to the original picture and you'll get a good idea of what I mean by half way.
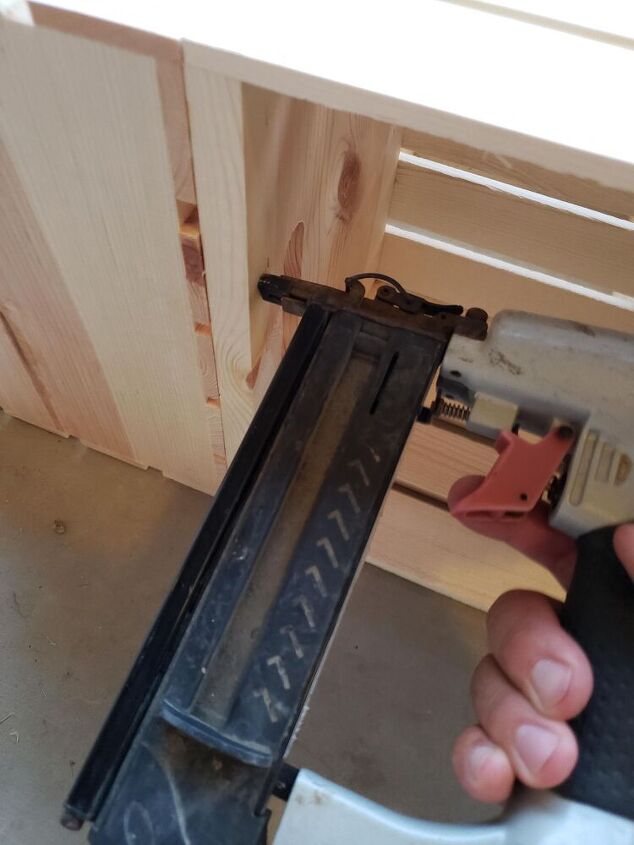
Once I put the glue on and put the crates together I used my small brad nailer to hold the pieces together. You can use clamps to hold the pieces together but by using a few small brad nails I was able to work with the project before the glue was dry. I get kind of impatient like that. It's a negative trait I have.
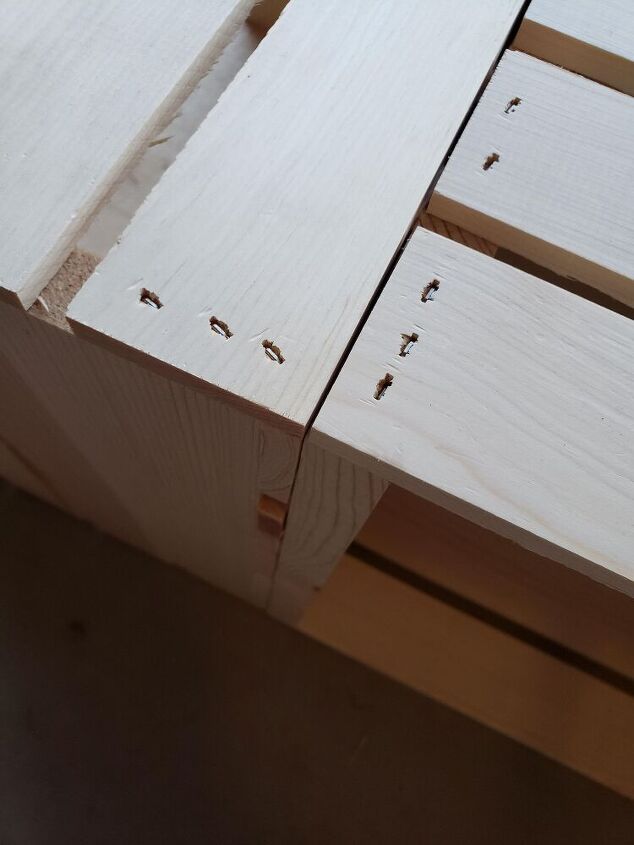
Here you can see the top of the crates (table) lined up and flush. The glue will be cured within a few hours. Again, since I used some brad nails I was able to work right away after assembling them.
Now you can see how the crates are lined up. With the open end of the crates facing out you can store books and magazines or some décor on the outside.
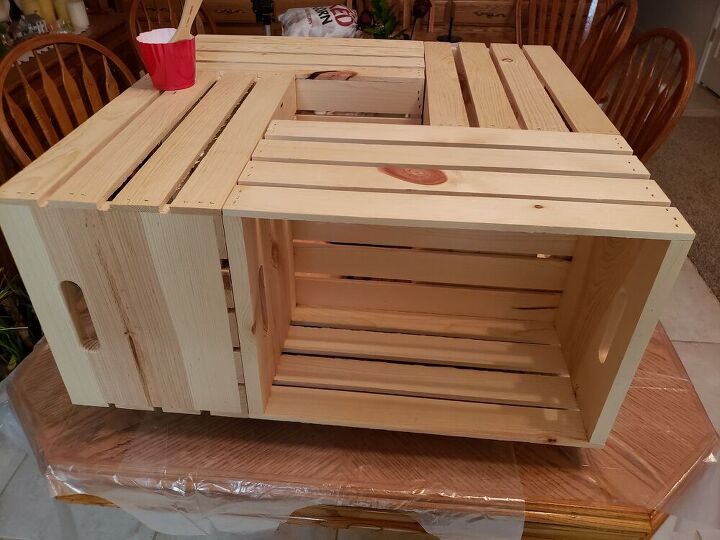
Here is a better look at how I placed them together. Now it was time to paint. My friend wanted me to use a chalk paint so I got a table covered with plastic and got painting on it.
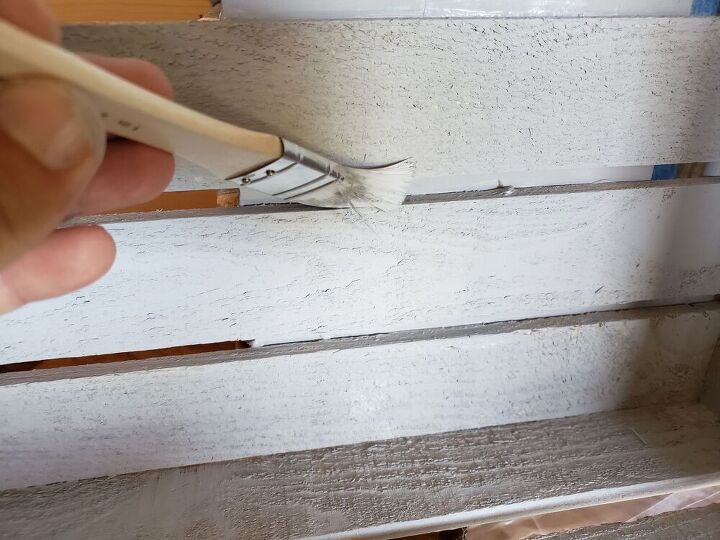
I used a brush to get all of the inside of the grooves. The wood was a little rough so I used a chip brush since it was really eating at the bristles. Now, you can paint the crates before putting them together. For some of you that might be easier. I get too excited when I start a project so I just start putting them together.
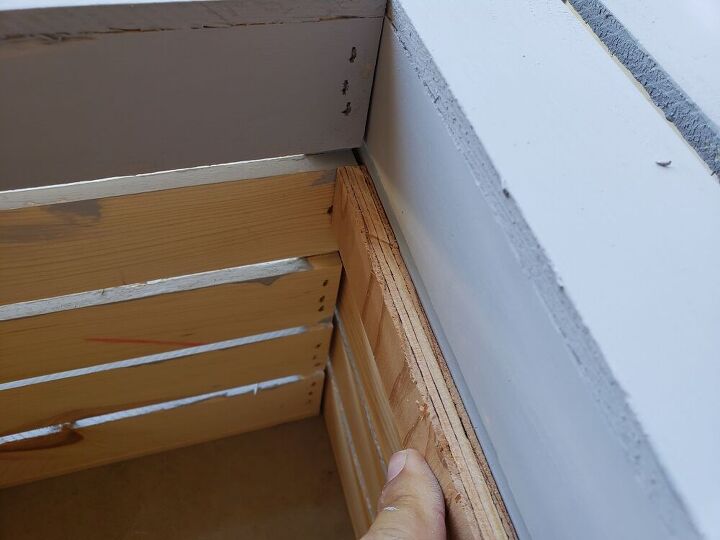
After I got it all painted it was time to put in a small brace to hold the small wood insert in the middle. I placed a small piece of scrap plywood inside the middle of the table and nailed it to the side. If you want your table to be flush on top you won't drop your wood brace down as much as I did. The square piece of wood
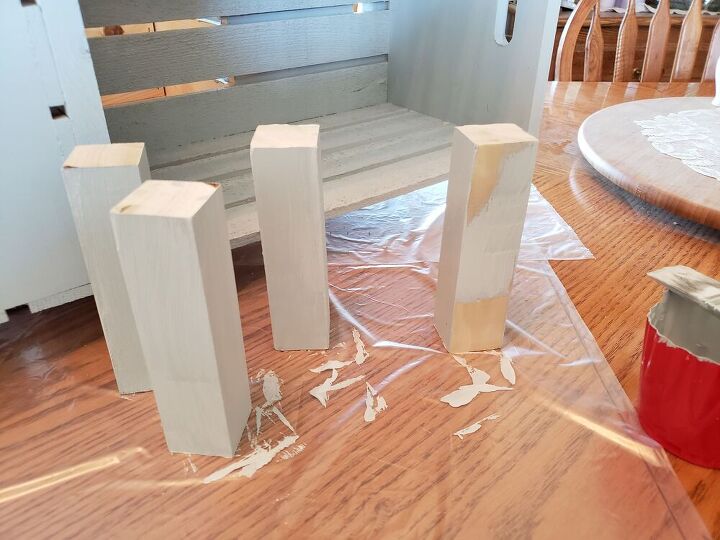
As the paint was drying I got started on the legs. I cut a few 2x2 scrap pieces of wood from my shop and got them painted. I believe I cut them at around 6 to 8 inches. The height is really up to you. After cutting the legs I painted them so they can be ready to install.
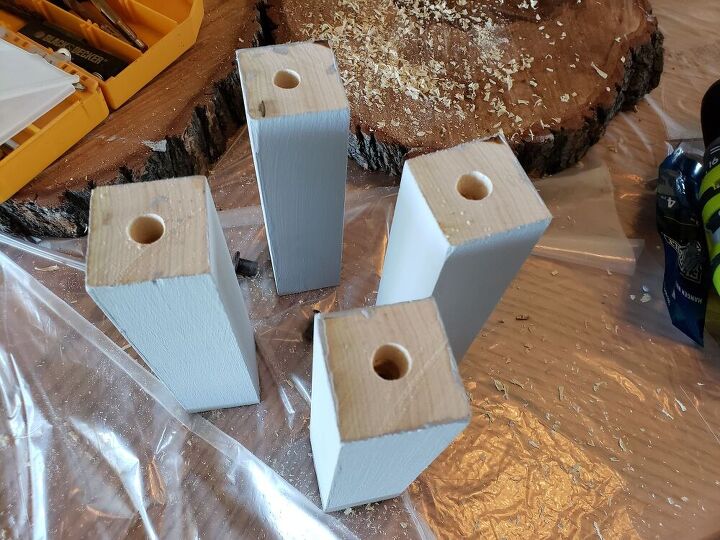
Now, when installing the legs I used a few inserts. I predrilled the tops right in the center. The next picture shows what the inserts look like. You can buy them at almost any hardware store. Once you put the inserts in you then use a bolt that comes with them package to screw them in from the top. They were really strong once I got them mounted.
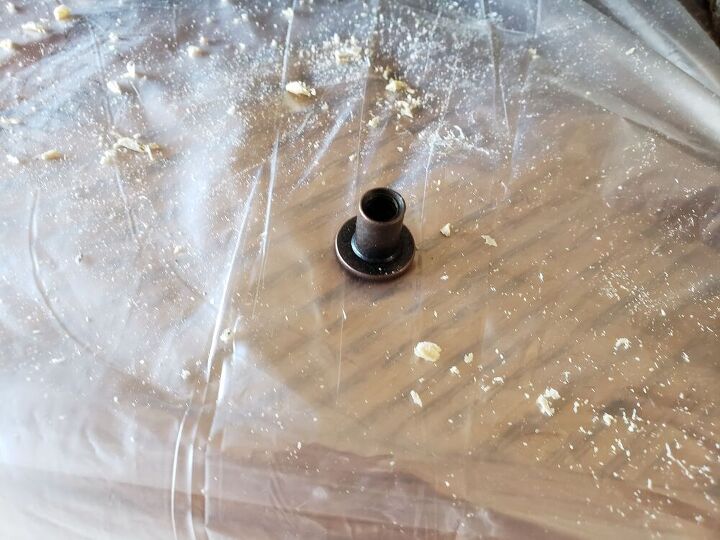
Here is what the insert looks like. I wish I got a picture of the packaging. Trust me, easy to find. Just ask any employee at your local hardware store and they can show you come different types you can use.
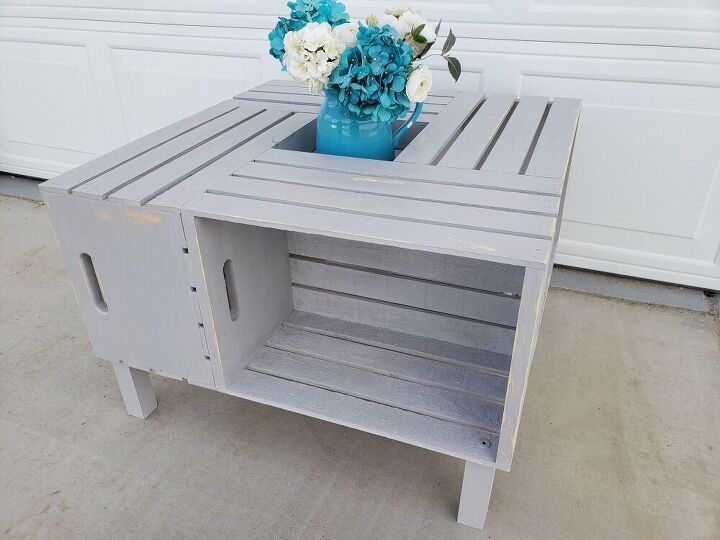
And again, here is the final project. As for the paint, I did a little sanding along the edges for a distressed look. It turned out great and my neighbor loved it.
Resources for this project:
See all materials


Comments
Join the conversation
-
HI, Mitchell
I love this table and could probably handle making one but have a few questions. I don't have a Brad gun and like you get impatient to keep going on a project, are clamps the only other alternative to glue drying time? It seems like clamps would get in the way of painting. Also, and I think a hardware store person could tell me but how do the little 'leg' inserts work? They look like hole caps as opposed to a way to join the legs to the table. I also appreciate your posting the finished project picture first, it lets me know right away if it is a project I am interested in so I pay more attention as I read the post. I do often look at posts I know I do not want to make because it is fun to see what others are doing and how creative people are, but finished pics first is very helpful.
-
Thanks, Mitchell
I guess my crate table will be built "slow but steady" I want it for my outdoor seating area so will add several coats of Polycrylic inside and out, I know it won't last forever outdoors but a few years of such a nice table that was inexpensive and more time than hard labor is well worth it to me. Thanks again for posting your wonderful table and for taking the time to get back to me.


Frequently asked questions
Have a question about this project?
And where do you reside neighbor?
love this project! I am wondering if you could make this bigger and use it for tv stand?