


How to Make a Faux Succulent Garden With Pine Cones

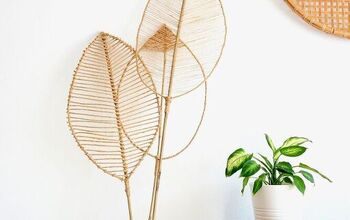
I'm always, yes always on the prowl for picture frames and I've never been stumped yet on what to recreate with them! They are so much fun to work with and the ideas are endless but this might be a "new" idea?? I was inspired by the obsession everyone has to have greenery in their homes nowadays either real or faux. The cactus craze has been one of them leading me to creating a faux succulent garden, Hens and Chicks in a picture frame!!
The picture frames were missing the glass portion and since they were thrifted there was no big investment there, nor were the other needed supplies! The biggest investment for this project is time, so if you are up for the creative challenge let's get started shall we?
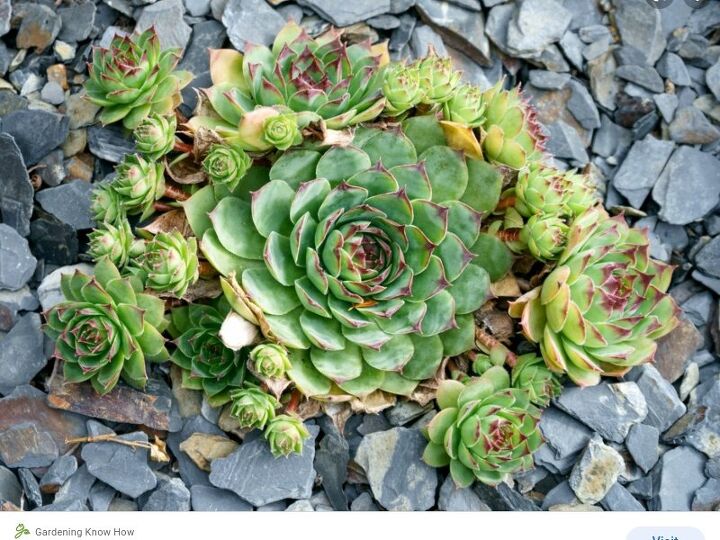
This is the real succulent plant as you'd see it in a garden usually a cluster of plants surrounded by rock particles and larger rocks for interest.
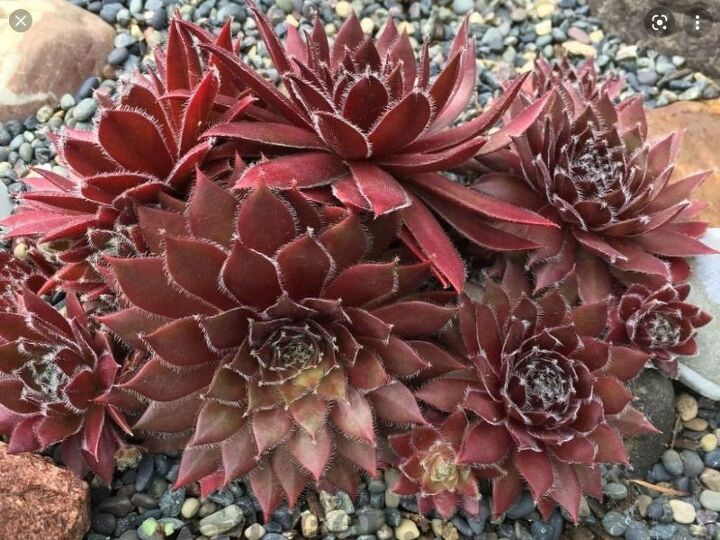
This is another color alternative which again is planted in the same setting, plants amidst crushed stones or pebbles and larger accent stones.
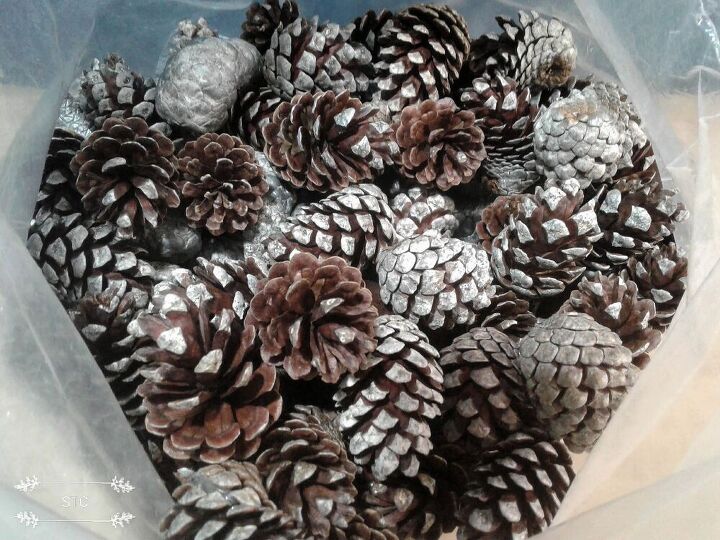
First up, creating the flower portion of the garden with pine cones seen here are Jack Pine cones that I previously collected from my son's property.
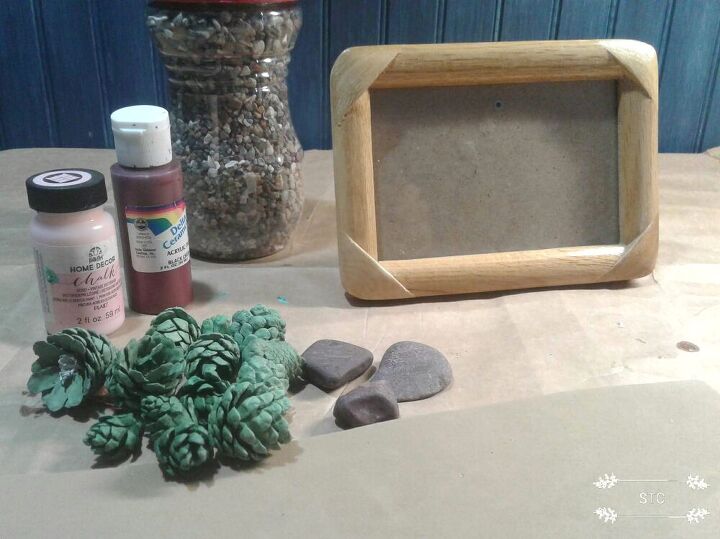
These are the items I gathered to begin, pine cones which were base coated as seen here, beach or river rocks that are worn smooth, craft paints, gravel or Decorative stones and a 4 x 6 picture frame and a sheet of fun foam.
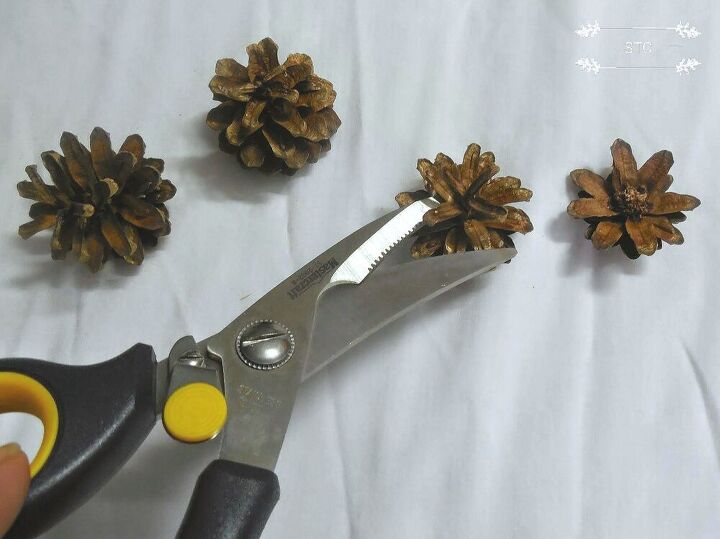
Let the fun begin, cutting the cone tops off to get mid way and reveal a floral type shape. I used utility scissors and cutting pliers in the process, use what you have and whatever works I always say.
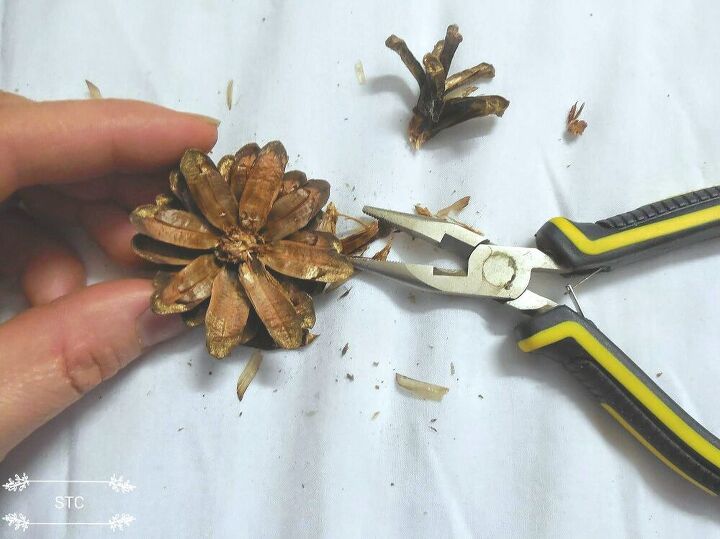
Once the top is cleared off you'll see a cute floret as the one above, those bigger parts will become the hen portion of the planting. Some of the more closed tops I substitued for the smaller chicks part of the plant.

In creating imitations I've learned to use reference photos of the true item to create the close copies so in line with that I chose paints that were like the real plants. In retrospect now I see I could of added some yellow to the darker green to create a more chartreuse- green color to match the real plant.
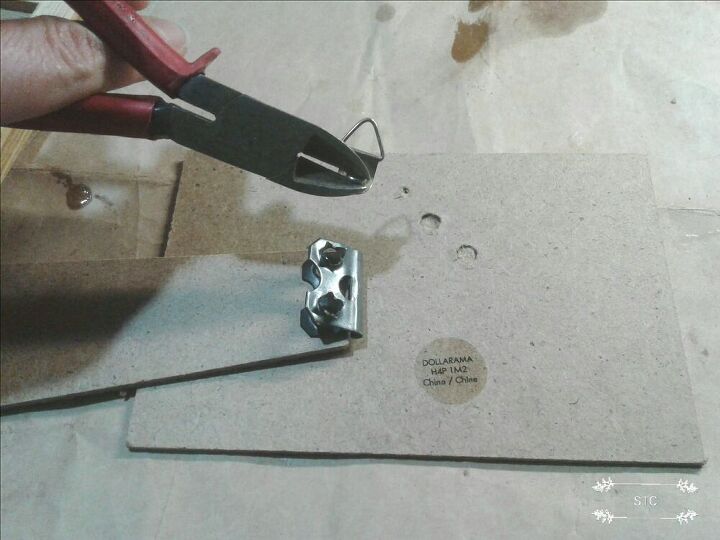
For the frame prep I removed the hardware at the back because it won't be hung or propped up for this look but laid flat. The glass was missing from these thrift finds but that's fine because its not needed.
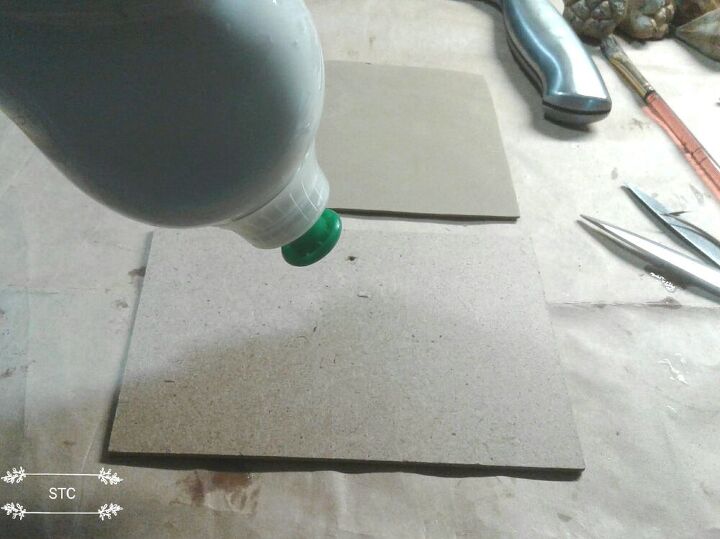
I cut out a piece of fun foam the same size as the backing and glued the two together to create a soft cushion for it to rest upon.
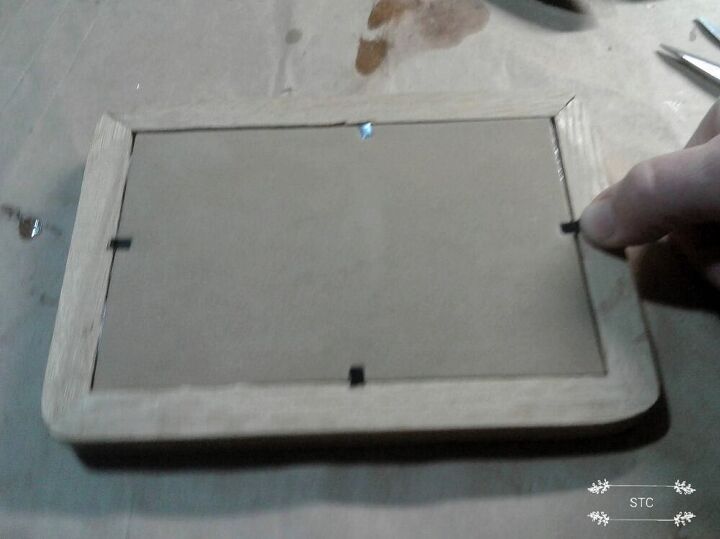
I just popped the two glued parts into the back and secured with the original frame hardware. Note: In retrospect I should of secured in the backing and then glued the fun foam over the most of the base to protect any surface it will be placed upon. You could also add small felt, rubber or silicone pads to serve the same purpose.
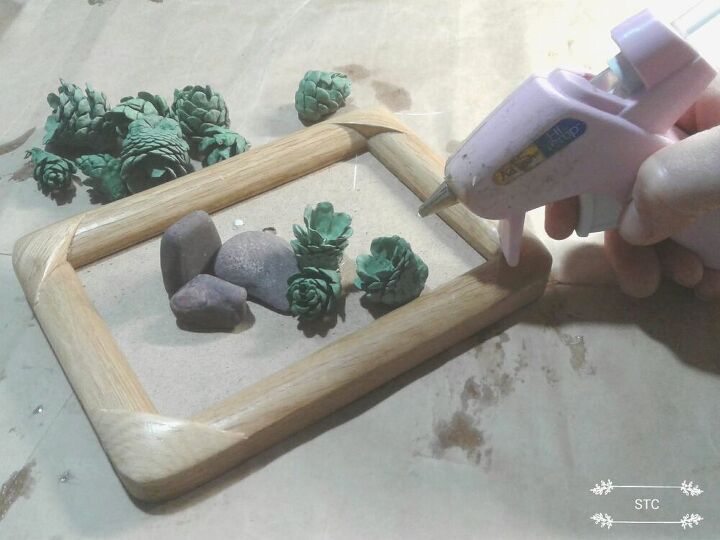
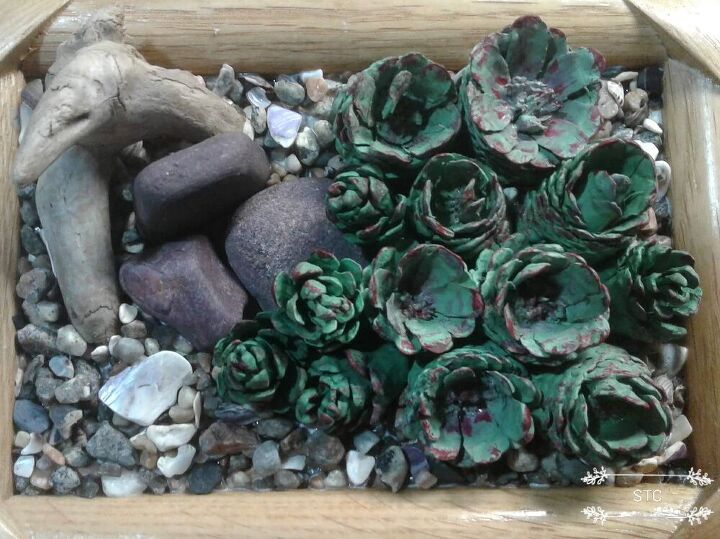
The blank top will become the garden bed, I chose smooth stones in a wine shade and decided upon green hens and chicks for the accompanying plants. I hot glued the items in place, not aiming to completely cover the base because empty spots are good in this case.

The largest more opened cones(hens) are skirted with the smaller cone tips(chicks) as they appear in a natural setting.
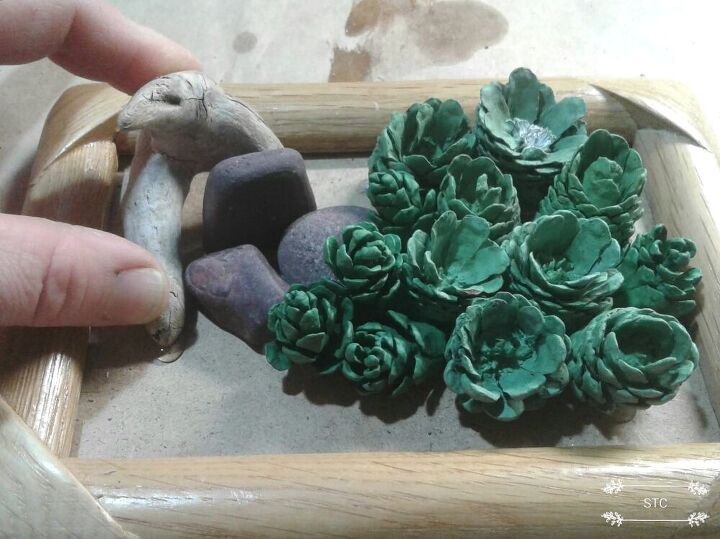
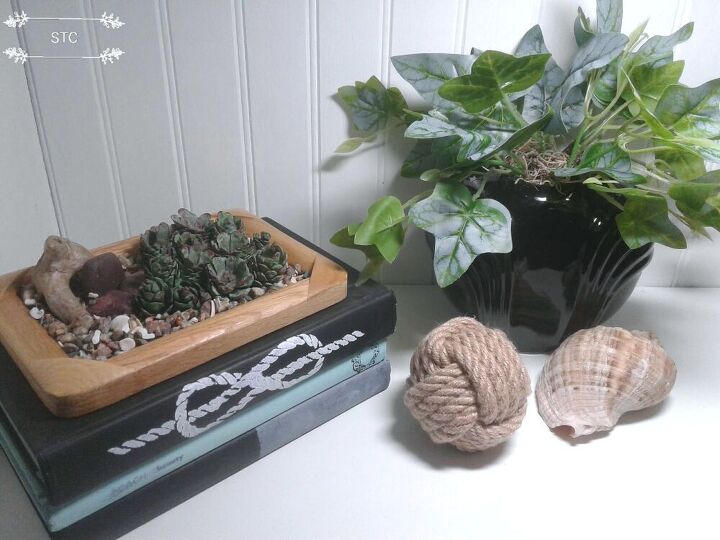
As an added feature I used a tiny piece of driftwood in the artificial garden. Since I live in a beach town I like to incorporate local items often collected from the shorelines.

Those bare spots got a good layer of school glue poured into them which I then spread around with an artist's brush.
Pour the decorative gravel onto the glue layer making sure to get it into all of the little blank areas, extra glue may be needed but no worries because it dries clear.
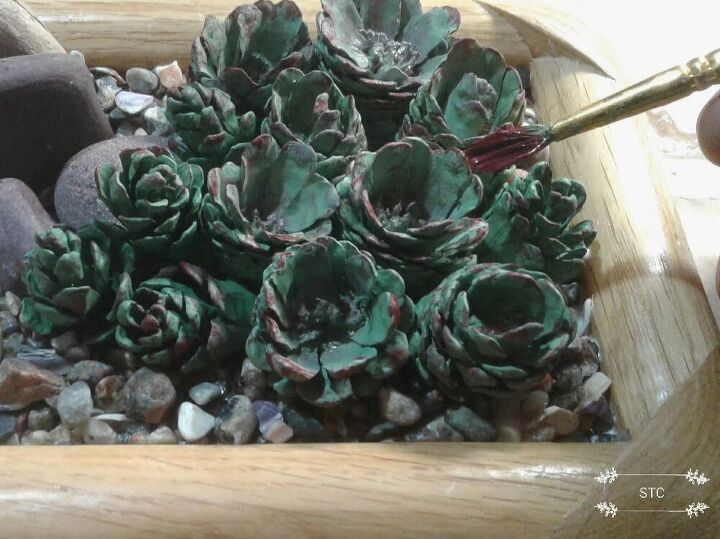
To further enhance the realistic look onto the pine cones I painted highlights along the edges, you can refer to previous photos to check on how the real ones look.
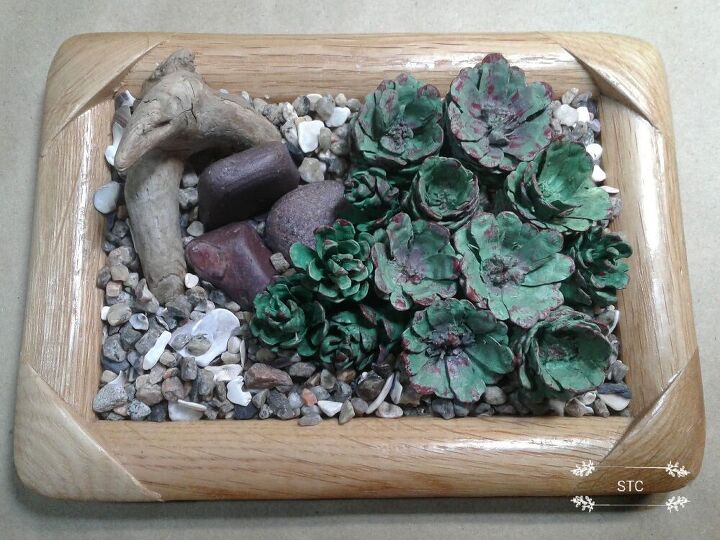
The last step that I did was to apply a quick spray coat of varathane over the entire frame to seal and protect it. It was fun so I created more of these...why not? It makes for a great souviner of home with the beach items!
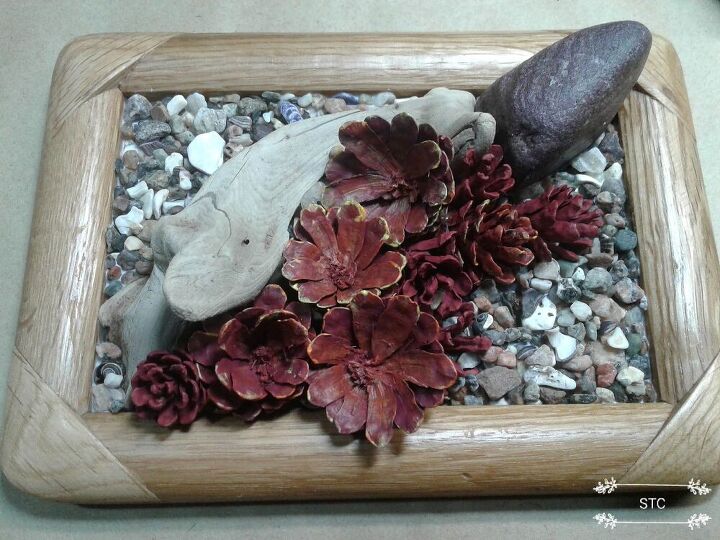
Here I created the burgundy hens and chicks and a different layout, no two have to be alike!
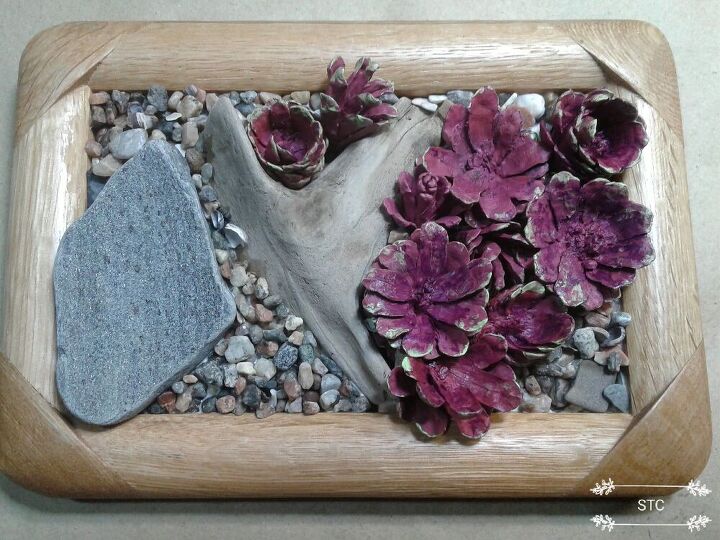
The fun is in creating the different looks, I chose a flat, gray rock here and more of a wine shade of faux plants with the pine cones.
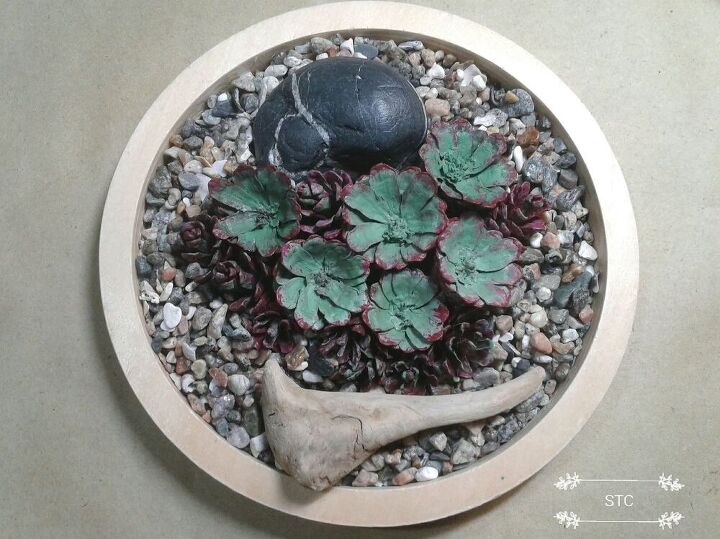
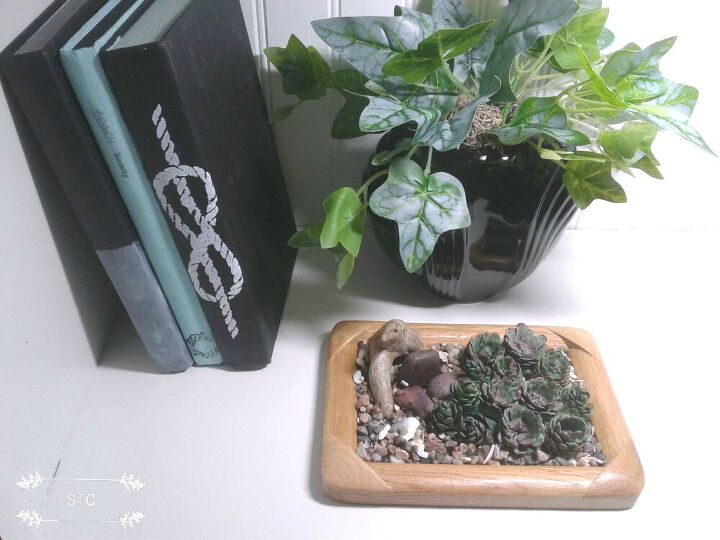
This was a wooden base from a childs recycled toy and it too made a great garden bed for the faux succulents.
I hope this little project instilled a little hint of creativity and imagination within your mind, it did for me! Crafting and creating are great therapy to occupy our minds instead of the sometimes overwhelming anxieties. Wishing you health, happiness and craft healing from these past months of fear and isolation during the pandemic. Hugs.
Resources for this project:
See all materials


Comments
Join the conversation
-
You are so clever. I love it!
-
Cute. I can see using large pine cones and putting them in a planter container.


Frequently asked questions
Have a question about this project?