


Craft Room - Sawhorse Desk
To make the desk we built sawhorses and then painted them. We built the desk top from plywood and added trim. After the desk was sanded down I applied a coat of stain and polycrylic.
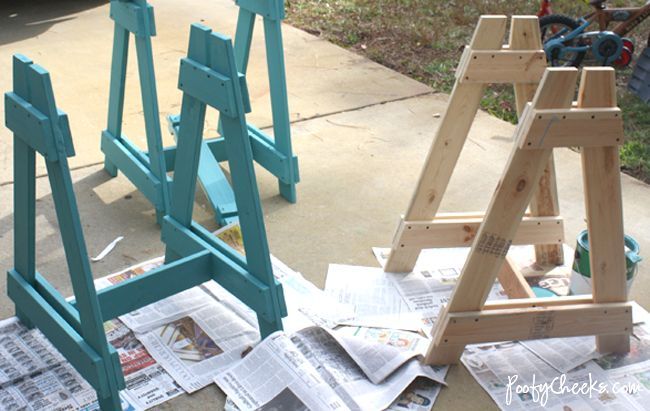
Sawhorses.
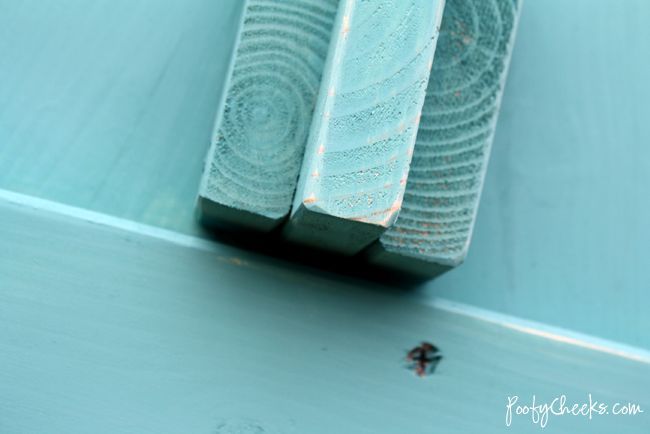
After I painted the sawhorses I sanded them around the edges to give them a worn look.
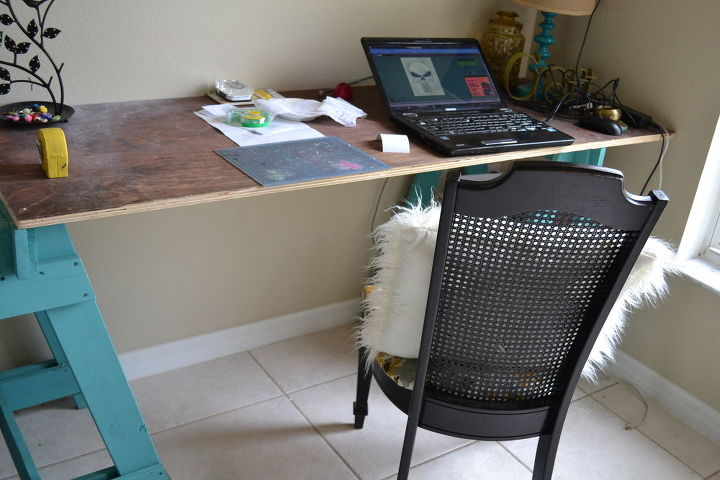
This is the plywood top before the trim was added.
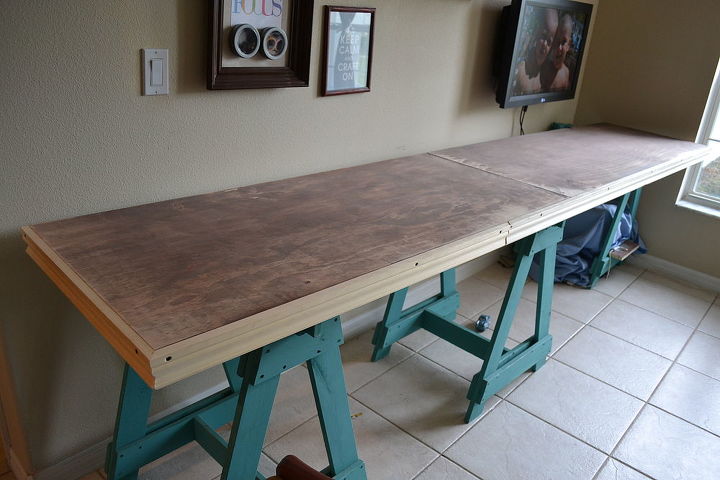
Trim was added to the desk and the entire thing was sanded down before staining the top.
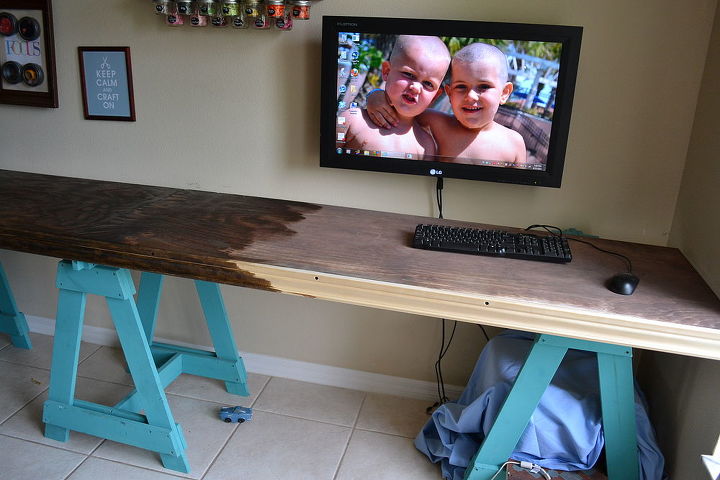
I applied a coat of stain and after that dried a coat of polycrylic to protect the desk.
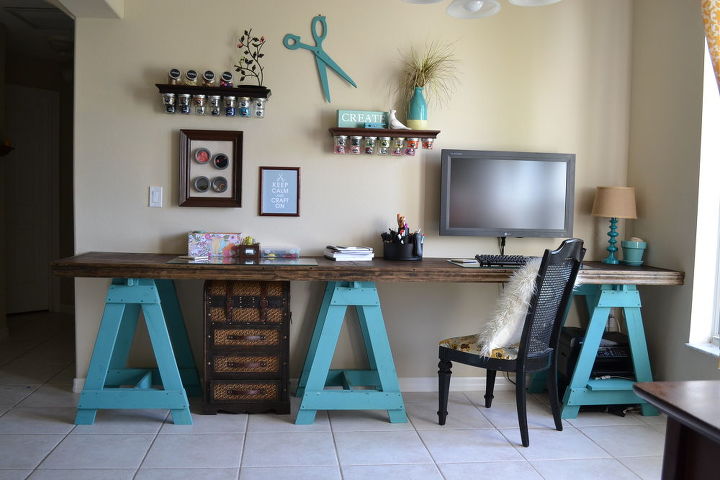
This is the finished desk which is long and perfect for big projects, cutting fabric and taking blog photos.

I used small containers and wall organization to organize a lot of the supplies. The rest of them ended up in a closet.

Want more details about this and other DIY projects? Check out my blog post!
Comments
Join the conversation
2 of 6 comments
-
Love it! Do you have a shopping and cut list for the legs?
-
Beautiful! I want to do this for my daughter - shes always drawing or painting something. :) All that space would be perfect for her.


Frequently asked questions
Have a question about this project?