


Craft Room Labels
A Great way to organize any space is by labeling what you put in a drawer, tin, box or any other type of container. This is a brief description of a quick way to do this with a printer and a Silhouette Cameo cutting machine.
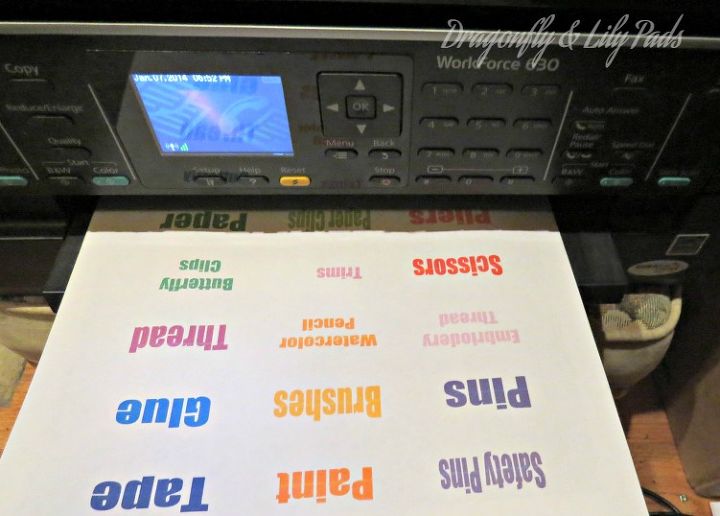
Using your cameo set up your labels in color and size that you want. Make sure you turn on the registration marks and send to your printer. This is what your paper or card stock will look like after printing.
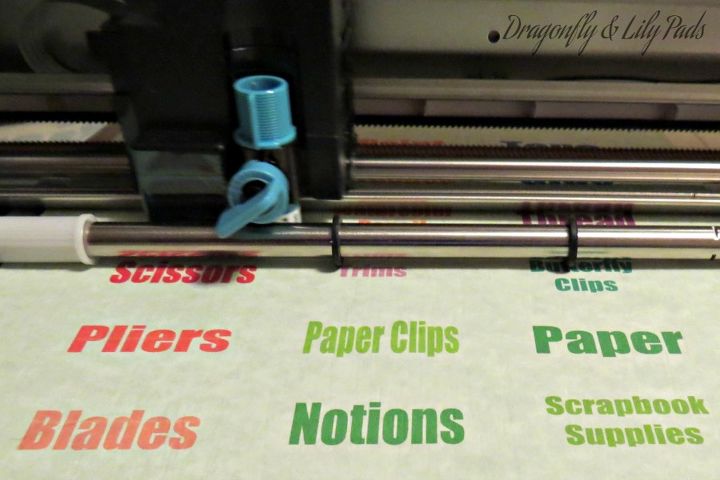
There will be Black marks on all four corners of your printed sheet. This is what the machine uses to find where it should cut. (Registration Marks)
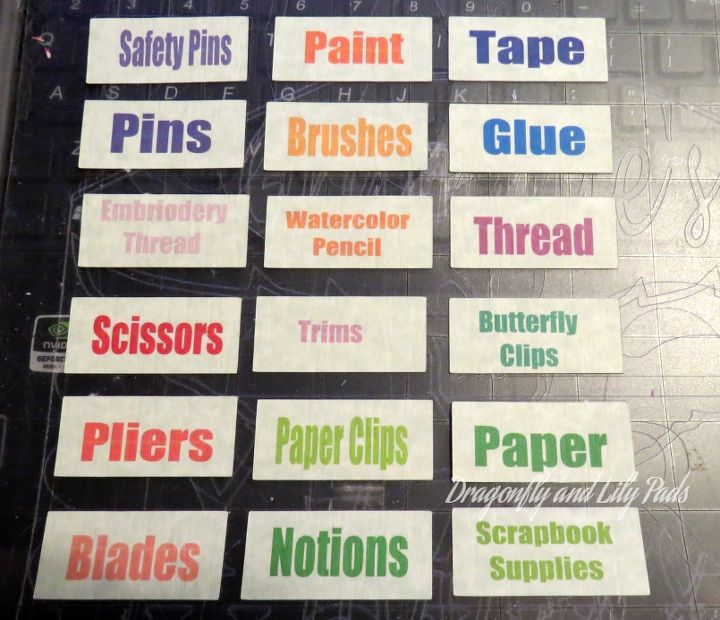
This is all the labels cut and ready to be removed from the cutting mat to be placed on your containers.
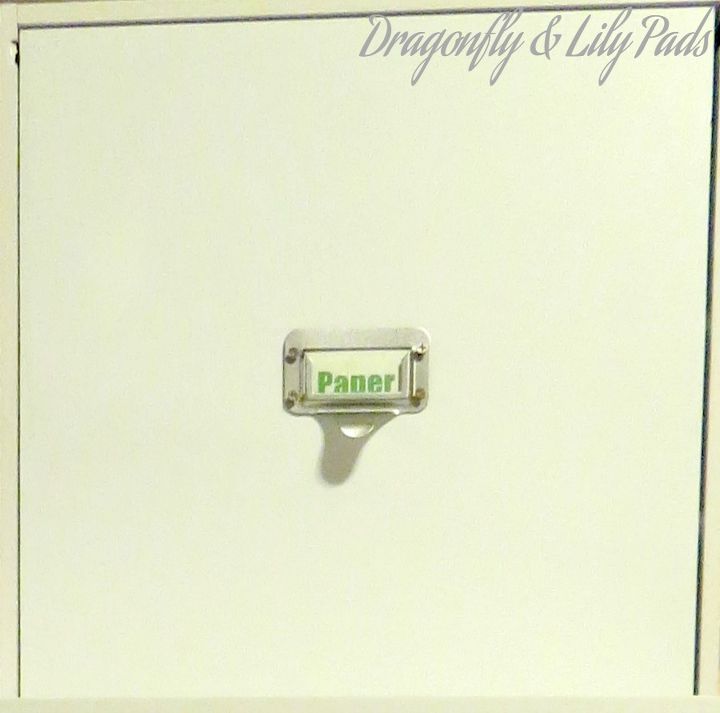
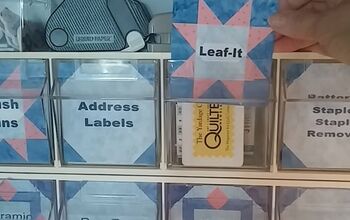
Now you are all organized and can find right where you put your paper for your next project. For more detailed instructions go to the link below where you will find a tutorial on how easy it is to make labels. Since I had a place to attach my label I used card stock. I would advise using adhesive card stock, adhesive label materials, or if you change your containers a lot use Chalk labels or Wipe off Labels. Most of all get organized so you can spend time creating in your craft room and not looking for things in your craft room.

Want more details about this and other DIY projects? Check out my blog post!
Comments
Join the conversation
4 of 14 comments
-
I made these labels with blocks from EQ for my tilt out bins. It looks neater than seeing all of the "stuff" in the bins and I know just what is in each one. Well mostly what's in them, LOL!
-
Just what I need. "LABLES'' Thank you.


Frequently asked questions
Have a question about this project?