


Thrifted Mirror Makeover
Well, it is time to share my first Trashtastic Tuesday Project of 2015. After I took down my Christmas mantle, I was longing for a mirror to hang there with a little bling, but right now it is not in the budget to purchase one. So I transformed a thrift store mirror to use for the time being. I am excited to share my thrifted mirror makeover, that I made look brand new with a little Rub’ N Buff!
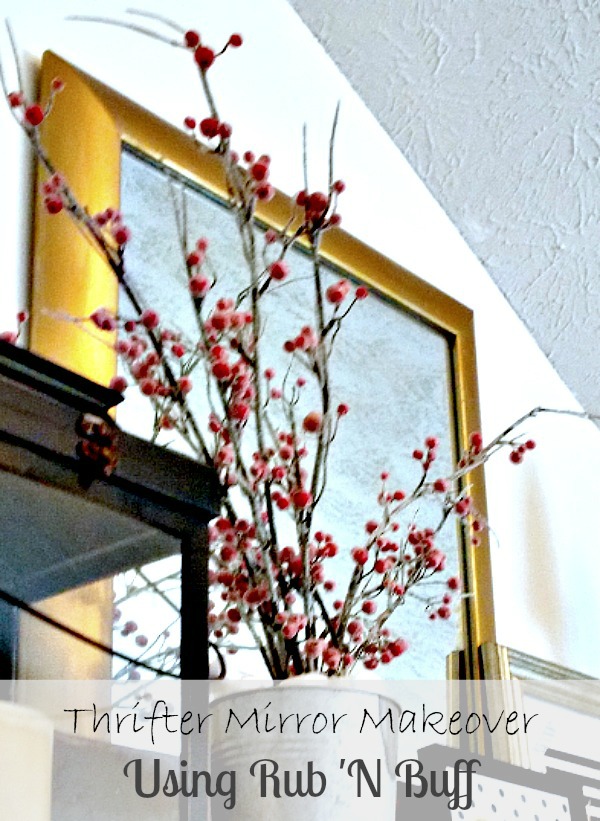
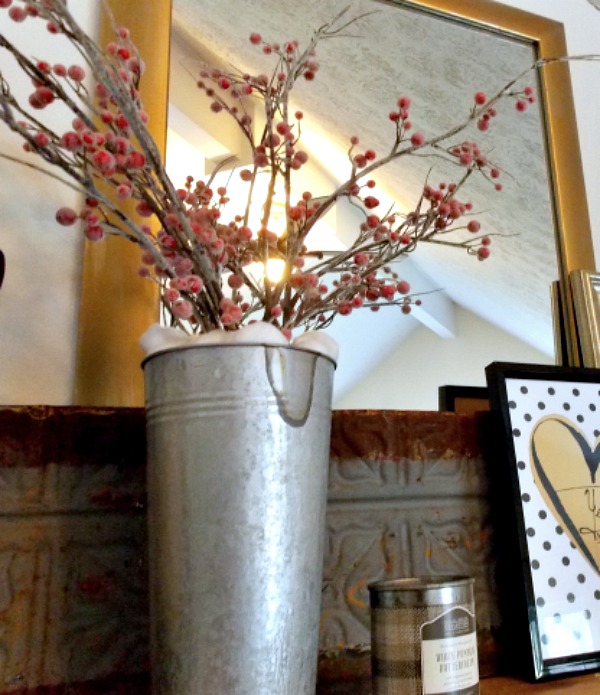
You can also see just a little sneak peak of my after Christmas winter mantle. I love the way it turned out!
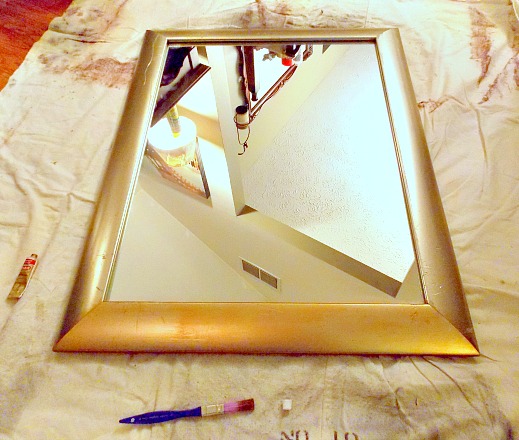
Here is a of before shots of the mirror in its original state. Well, almost- I had already started my first coat on the one side before I remembered to take a picture (the side closest to the paint brush)
This took three light coats using a brush. And I found with this mirror that I had to be careful of overlap, because it looked really obvious. It dries very quickly, so I let each coat dry for a few minutes, and then buffed it with a soft cloth. And then for the 4th coat, I did use my finger to just touch up in places that I thought it was needed. Again, buffing that when dry. And that was all it took!

Want more details about this and other DIY projects? Check out my blog post!
Comments
Join the conversation
3 comments
-
Can't tell what it looked like before, but this is a beaut. By the way, shiny brass is back so this will fit right in.
-
It was still metallic before, but it was kind of in between gold and silver. And it was all scratched up. Thank you!


Frequently asked questions
Have a question about this project?