


1950's Farmhouse Table Facelift
I inherited a lovely, old 1950 Ethan Allen farmhouse table from my grandparents last Summer. It was broken in places, and chunked out in others, smattered with paint and scars that told the story of its age. For New Years, I decided to restore this beauty to her former grandeur.
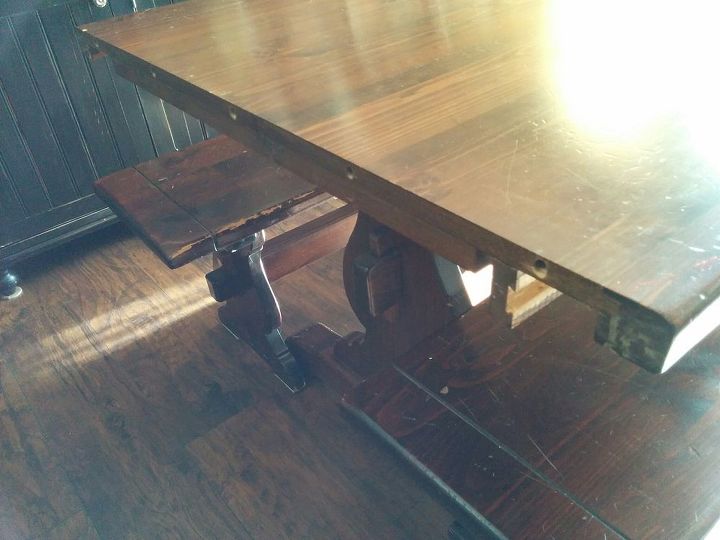
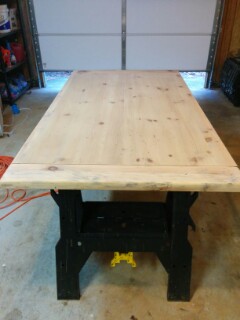
72 inches of solid awesome; that's what this table was to me when my grandparents decided to move to an active senior community where they could no longer house this treasure. This is the table my mother grew up with since her single-digit years along with seven siblings. I couldn't just let it go to waste despite having a broken leaf, and decades of wear and tear. So I decided to fix her myself. My carpentry skills beginning this project? Zero, but I wasn't going to let that stop me.
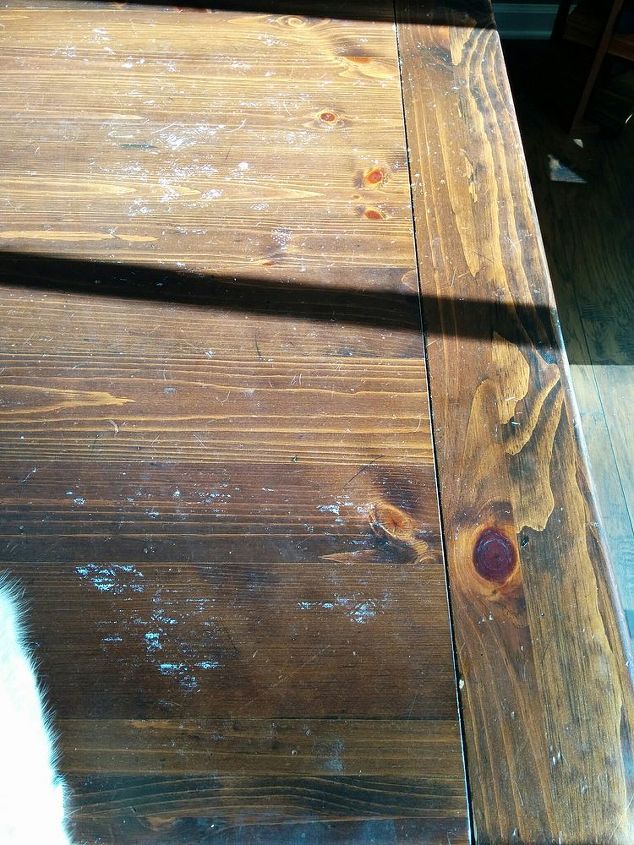
These were the water and paint stains my grandmother always covered up with a tablecloth, but I decided the grain of this wood had too much character to be covered in cloth all the time.
One leaf is still hanging on.

The legs are all kicked and battered.
I poured Kleen Strip premium on each piece and scraped them down bit by bit. Did you know that stuff will eat through nitrile gloves? Neither did I till I had to ask myself why my fingertips were tingling.
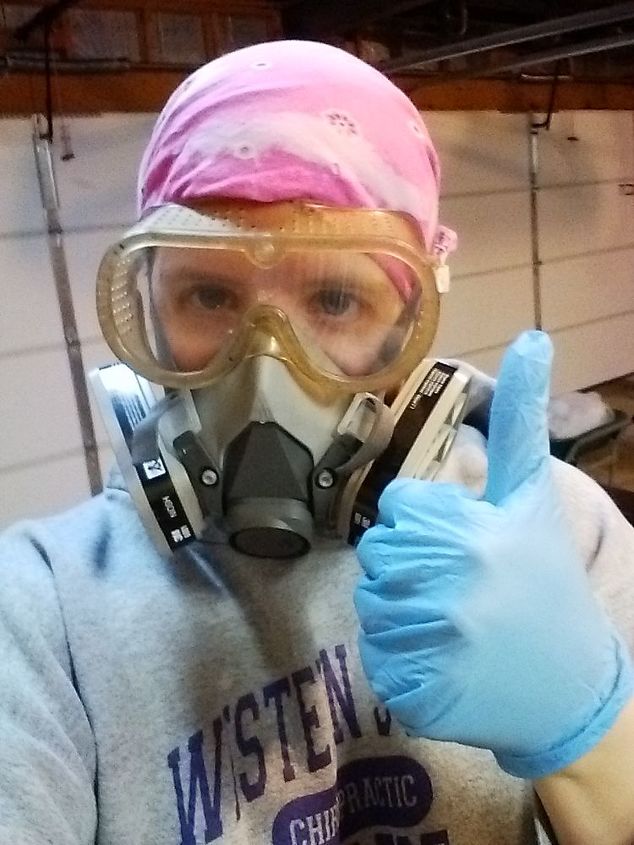
Safety first!

Sand everything! I started with an 80 grid pad on my tiny Mouse sander. I wasn't terribly concerned with getting every bit of the old stain out of the legs and supports since I knew I was going to take them back to a darker ebony in the end.
Sorry for the potato quality
The table and bench tops, I was a little more careful with. I planned to two-tone these top pieces by staining them a golden amber color to contrast the ebony legs. Every piece got another layer of sanding with 120 grit, followed by a 220 grit. All the sanding!
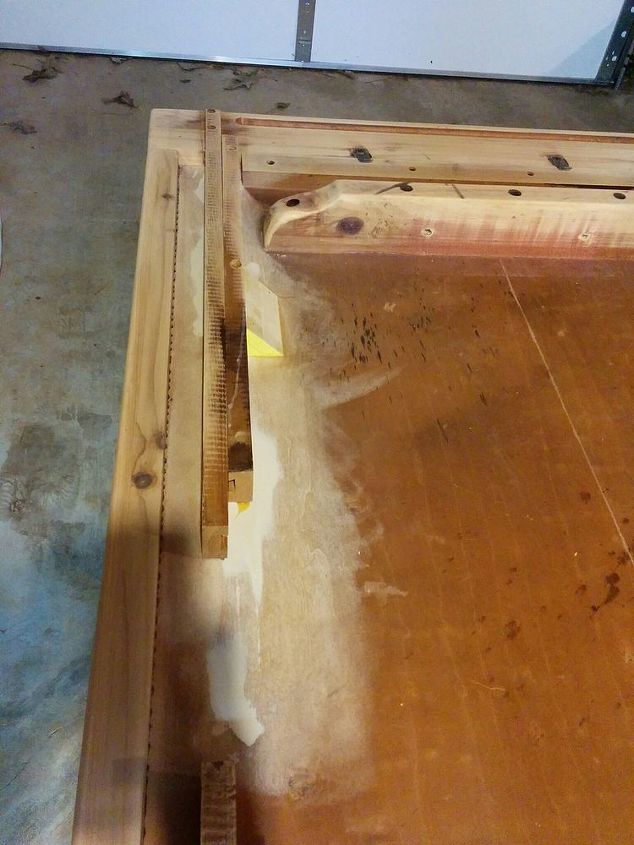
One of the leaves had been ripped off from a relative leaning on it over the years, and the underside was horribly shredded and full of old wood glue remnants from where half-hearted attempts to reattach it had been made. I took a fine wood chisel and gutted the old glue out, then filled it with a hardy wood filler/epoxy mix. After sanding that down smooth again, I cut a new 90 degree support for the leaf from a 1.5" x 1.5" stair dowel using a band saw with a rotating platform. Then, I glued the leaf rails back onto the table (taking care not to glue to the sliding conjoined piece), and used Walldog anchor screws to sink it back into the underside. With the support piece bradnailed and glued in place as well, I was ready to get to the fun part; staining.
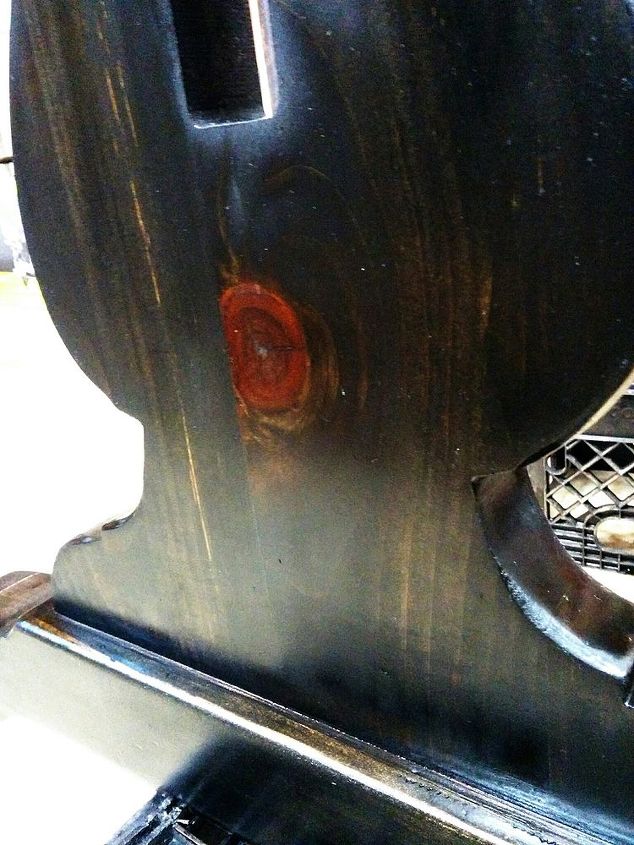
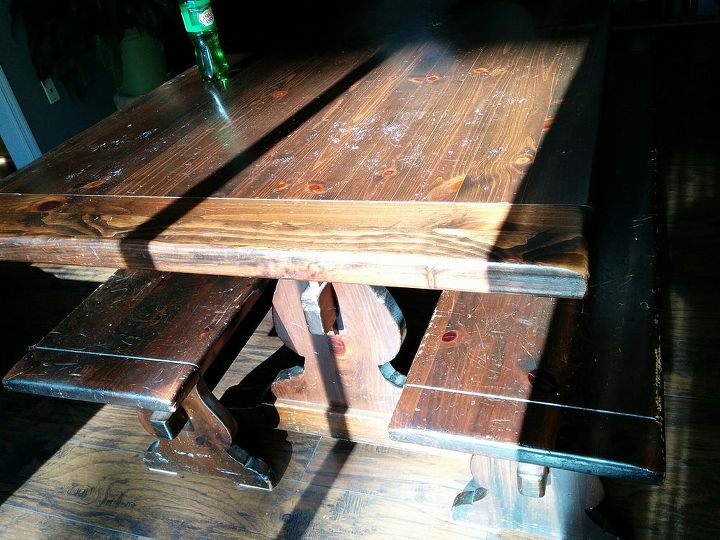
The ebony stain went on beautifully, and with each layer of tung oil, the grain of the wood bled through and created these wonderful shades of amber and gold in the black. I gave it 24 hours between each coat of sealant, just to be extra cautious with this family heirloom.
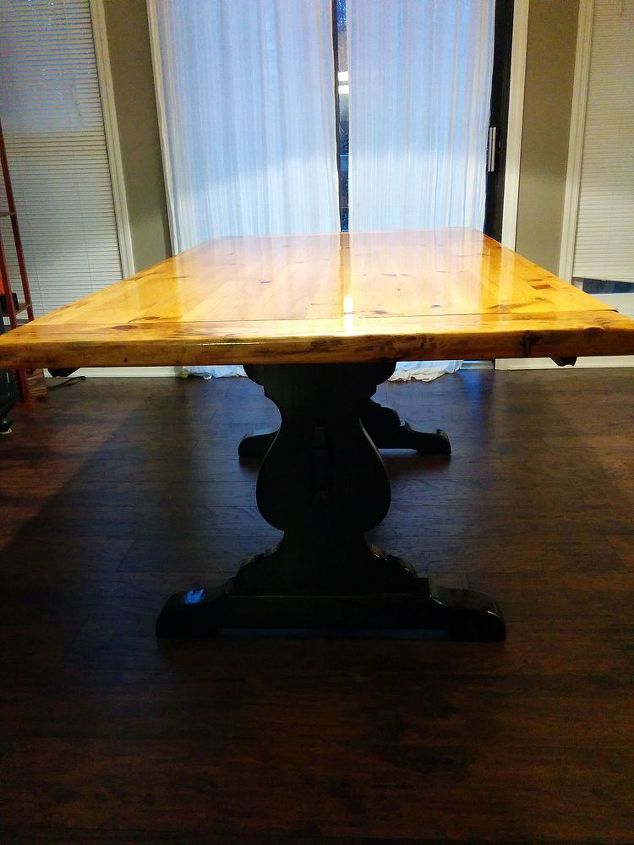
Putting her back together after five layers of tung oil.
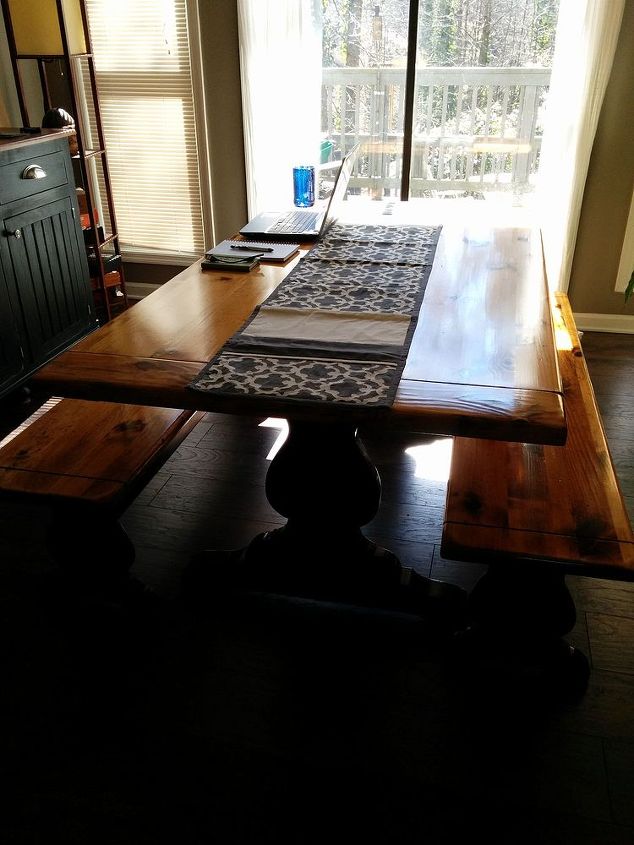
All finished!

Beautiful, no? I've shared the journey of restoring this table with my mother's family as I've been making it. When it was done, and my grandparents saw the finished product, my grandmother actually cried and said she had no idea that table could be made to look so lovely again. It was a great moment, and I'm glad I got to share this with them... and you.

Want more details about this and other DIY projects? Check out my blog post!
Comments
Join the conversation
4 comments
-
..you did an amazing job on this, I am sure your grandparents love seeing the care and time you took to make this look so beautiful.
-
Beautiful table!


Frequently asked questions
Have a question about this project?