


How to Tuft a Headboard
Medium
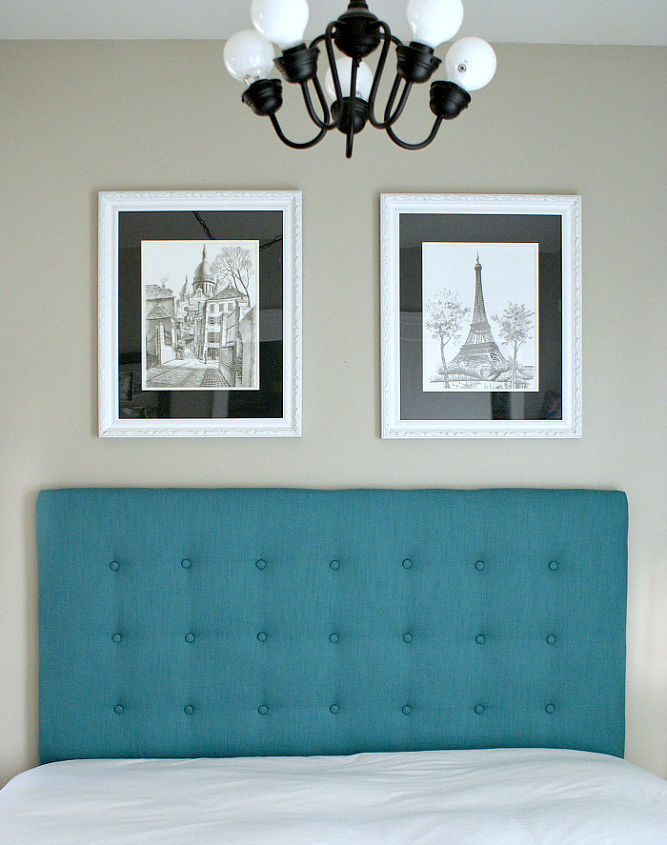
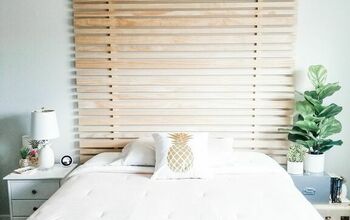
A couple years ago, my husband made a wall mounted plywood headboard for our bedroom. Originally, I covered the headboard with a yellow and white damask, which looked lovely. But, of course, I got the itch to swap the color and I also wanted to give it a more finished look using tufts.
The plywood headboard mounts to the wall using a french cleat, which means angled strips of wood attached to the headboard and wall fit together kinda like puzzle pieces. Unfortunately, I don't have photos of the process, so this post is mainly about how to tuft a completed headboard.
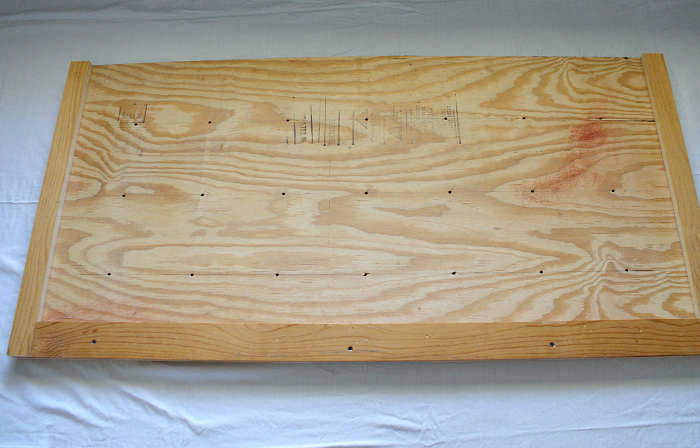
After we removed the old uphostery, we measured and marked out three rows of tufting holes. All of them are 6 and 7/8ths inches apart, drilled with a 1/8th inch drill bit.
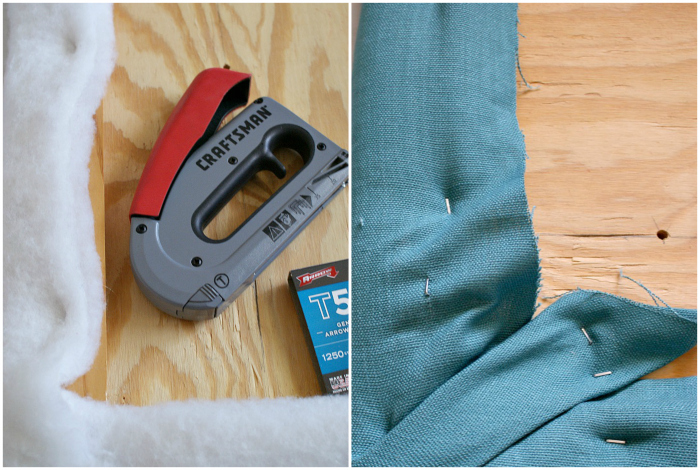
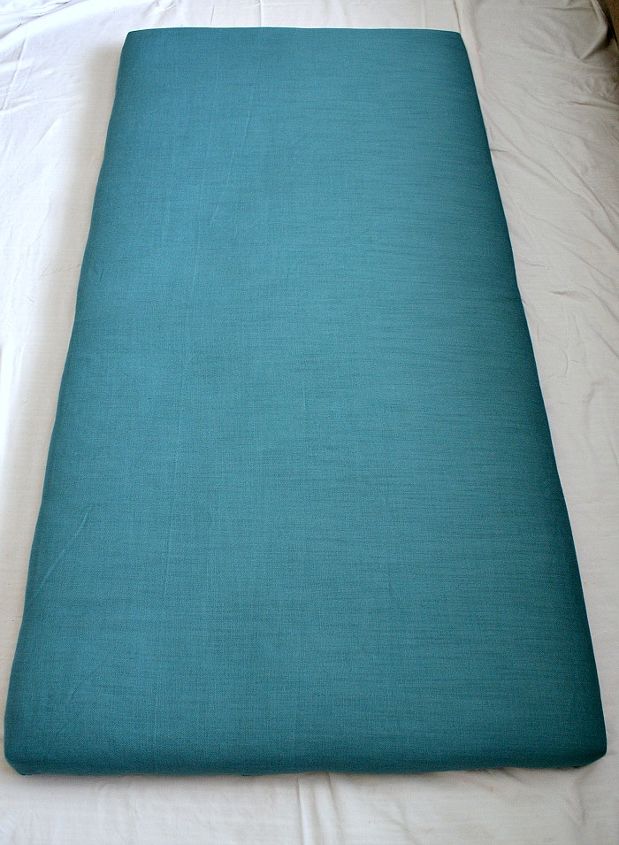
Then I stapled on a double layer of quilt batting, followed by a curtain panel from Target. I pulled the fabric snug, but not super tight. Then I flipped over the headboard and used a hot iron with steam to smooth out the fabric.
Now the fun part, making the tufts! I started by threading a sewing needle with waxed thread and poking it through the button shaft. Then I pulled the thread almost all the way through the other side, leaving a tail which I double knotted. The wax on the thread is really grippy, so it made the knot nice and tight.
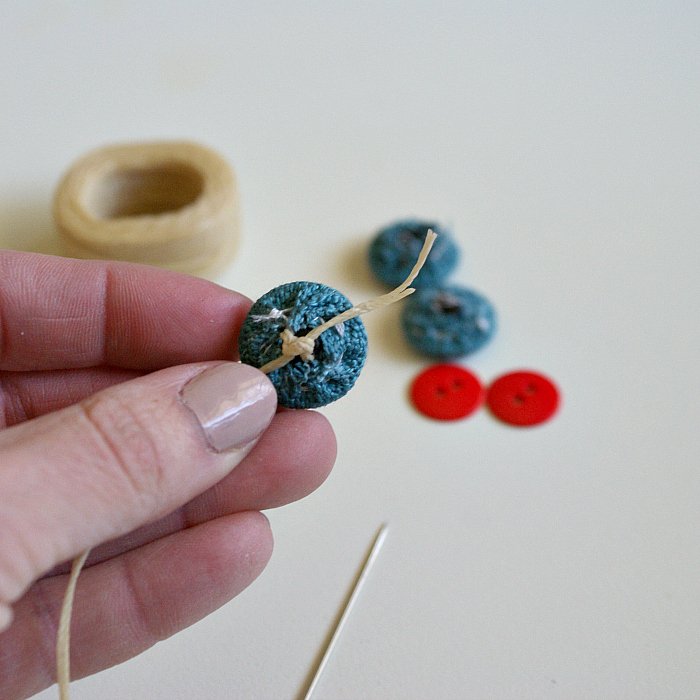
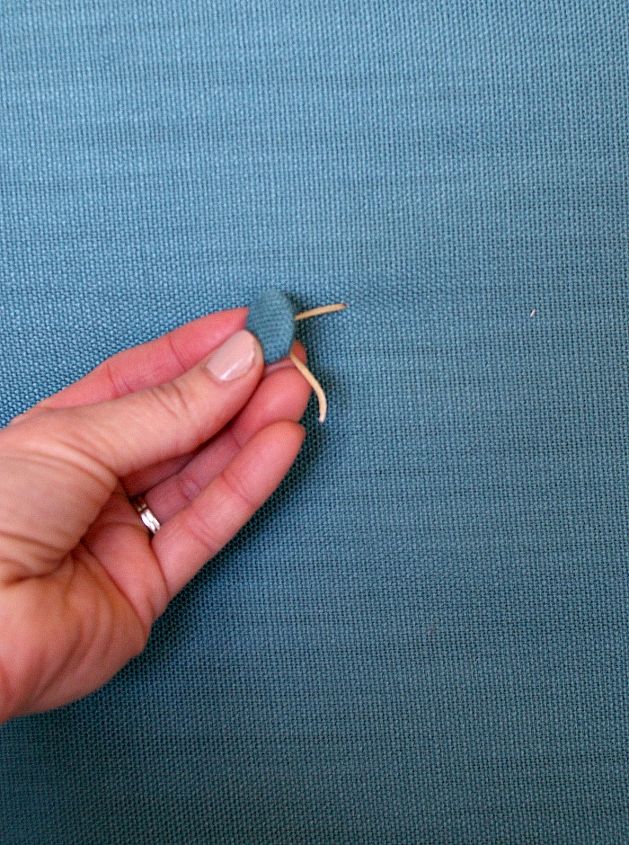
Next, I poked the threaded needle through one of the tuft holes and pulled it through on the other side, drawing the upholstered button close to the headboard.
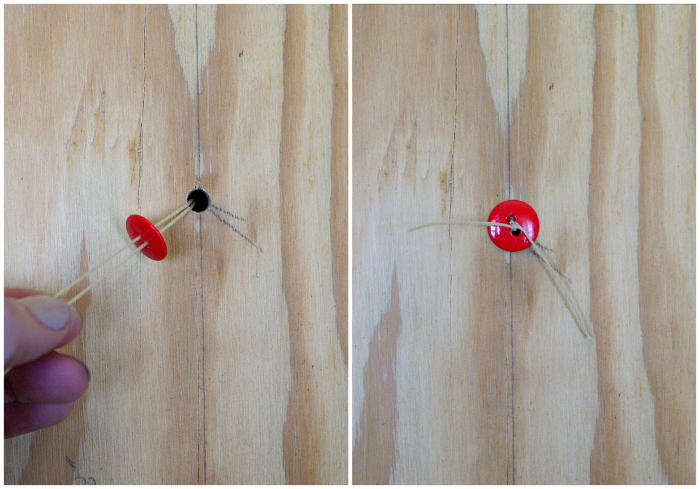
On the back side, I snipped the threads so I could add a backer button. Then I pulled the threads tight and double knotted them.
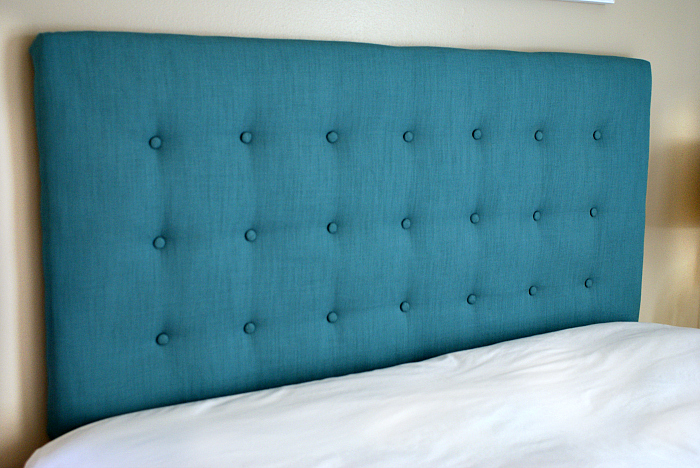
Overall, the project took a couple hours over several days to complete, mainly because I was figuring it out as I went. Since I know how to do it now, I think it would go much faster. But, it was an inexpensive project and is the exact shade of turquoise that I love so I'm pretty dang happy with it!
For more additional photos and a plans sketch of the headboard frame, stop on by my blog!

Want more details about this and other DIY projects? Check out my blog post!
Comments
Join the conversation
4 comments
-
Wow gorgeous!! I also love that you used a button on the opposite side instead of a maze of staples -- it seems like a really great alternative! Amazing work :)
-
Fabulous! That color is amazing. I love all things tufted!


Frequently asked questions
Have a question about this project?