


Walls Republic Wallpaper Challenge
When I received an email from Hometalk inviting me to participate in a new "Share-a-thon" involving Walls Republic Wallpaper products I jumped at the opportunity. I love to hang wallpaper (yep, I'm weird that way) and the new products with updated patterns are simply fabulous.
I had over a dozen patterns to choose from with a variety of color selections. Decisions, decisions! I finally narrowed it down to two, and the winner is Tia (pattern # 97461) in the color Dove.
Now, what am I going to do with it?
I had over a dozen patterns to choose from with a variety of color selections. Decisions, decisions! I finally narrowed it down to two, and the winner is Tia (pattern # 97461) in the color Dove.
Now, what am I going to do with it?
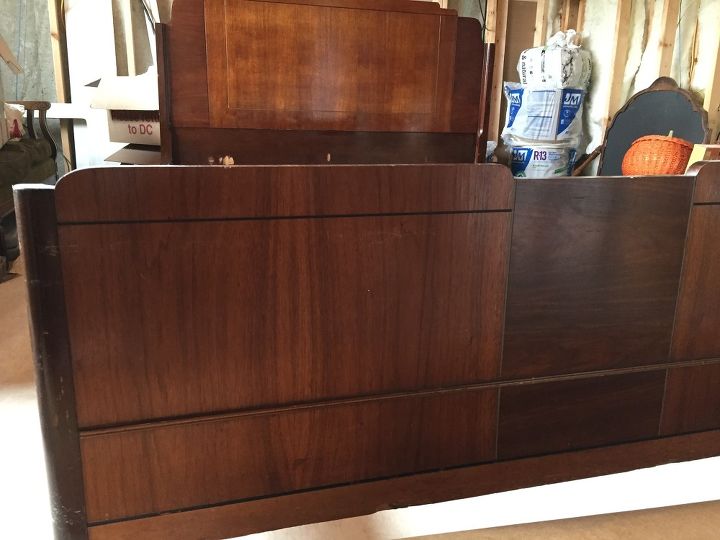
I opted to give this old bed I've had in my stash for a while a much needed make-over. Now I'm just waiting for the paper.
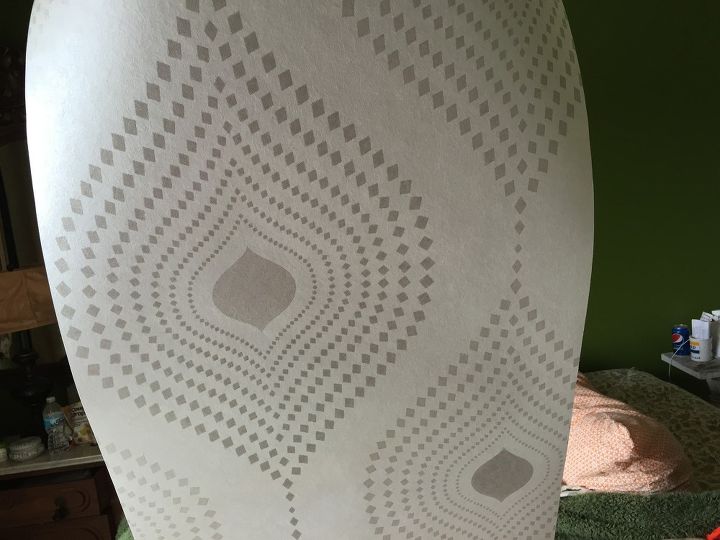
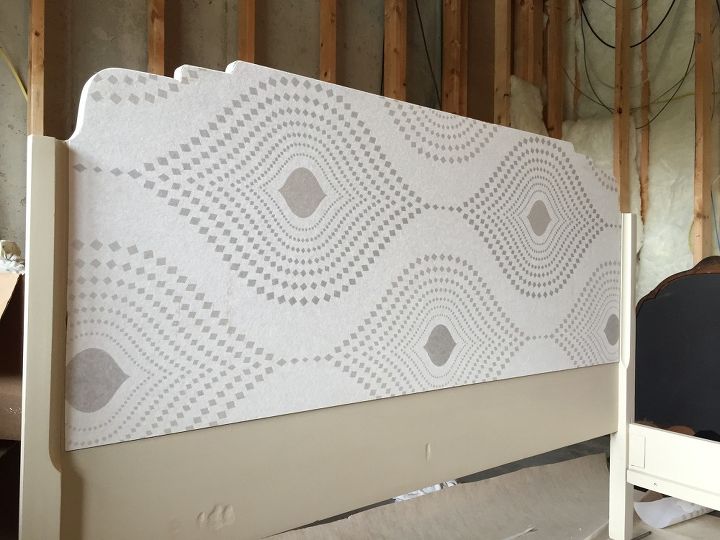
Here it is and I think I'm in love! Its gorgeous with a bit of a woven appearance, extremely thick (I've hung lots of paper and never had one this thick) and sparkly. Just enough sparkle, not over the top. Can't wait to get started!
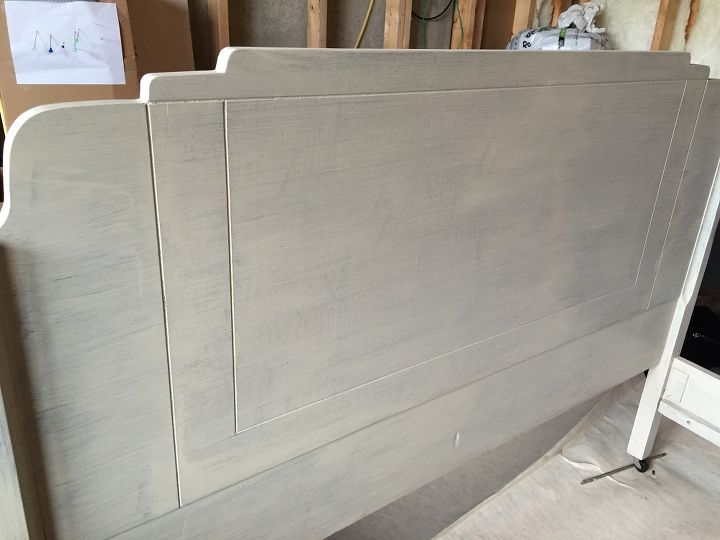
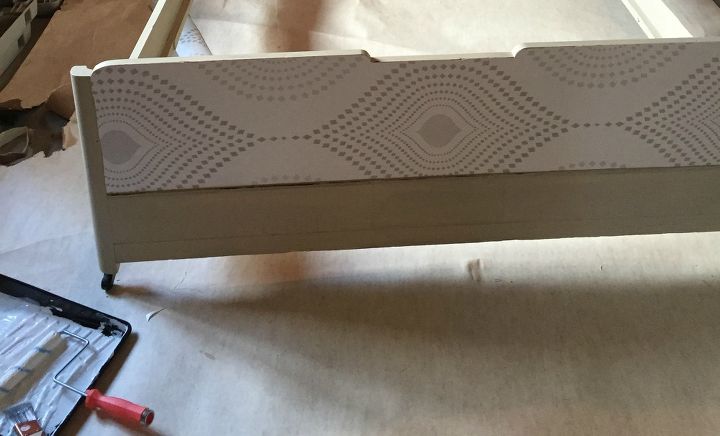
First, I gave the entire bed a coat of paint then, measured and marked the center. I unrolled the paper enough to play with it and make some decisions about how I wanted the design to look. I opted to run the pattern horizontally instead of vertical, thought it worked better and gave a better view of the overall pattern (especially when the bed is made with pillows, you won't see much of the bottom pattern but the top two will be perfect).

I hung this the way I would a wall, leaving inches on either end and cutting off excess once I had it up (FYI, with thicker paper its easier to cut it down to exact size first). I found the center of the pattern and cut it to length, marking the center to match up with the mark I'd already made on the center of the bed.
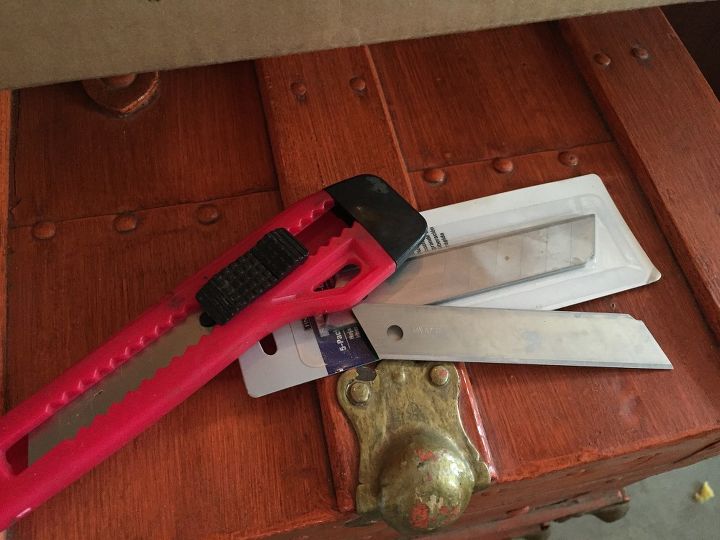
Whenever I hang paper I use a knife such as this one and have plenty of extra blades on hand. A sharp knife is a must to cut paper after its up. You'll make a mess of it and shred the edges otherwise.
I use a roller and also keep a paintbrush on hand when applying glue to the wall or in this case, head/footboard. I noticed with "paste the wall" I wasn't getting enough glue around the edges and had to come back in with the paintbrush and add some, careful to keep it off the front.
Once the paper dried I came back in and added another coat of paint.
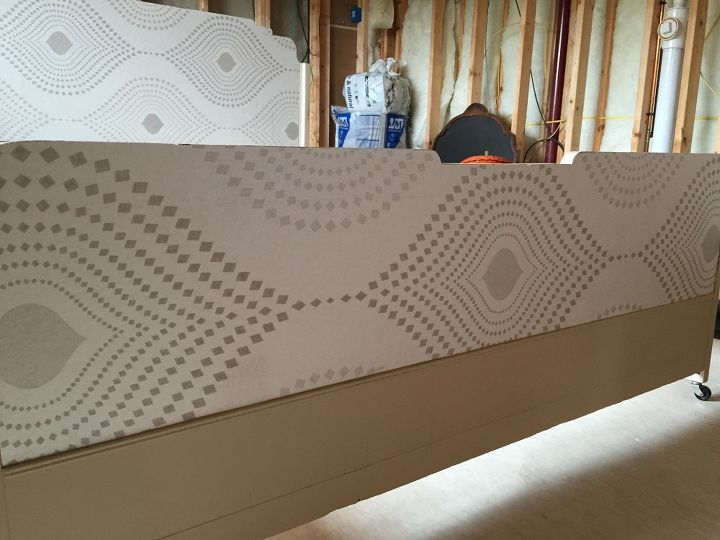
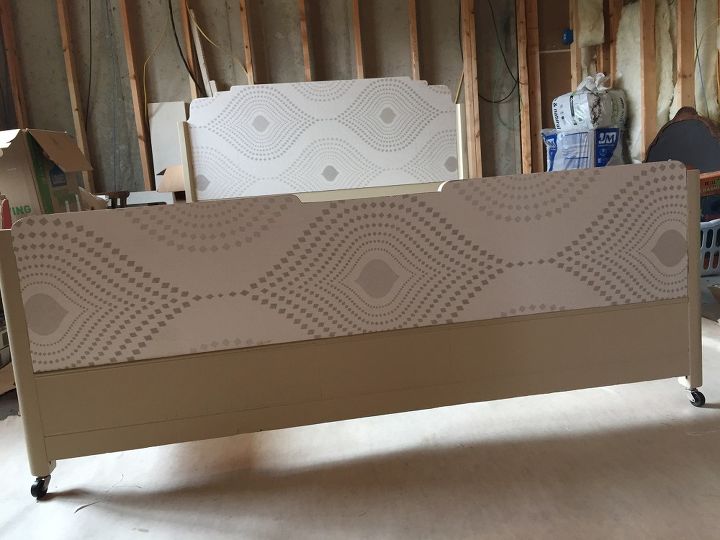
I really love how the bed turned out and can't wait to put it to use. Thanks Hometalk and Walls Republic for the opportunity and the lovely paper.
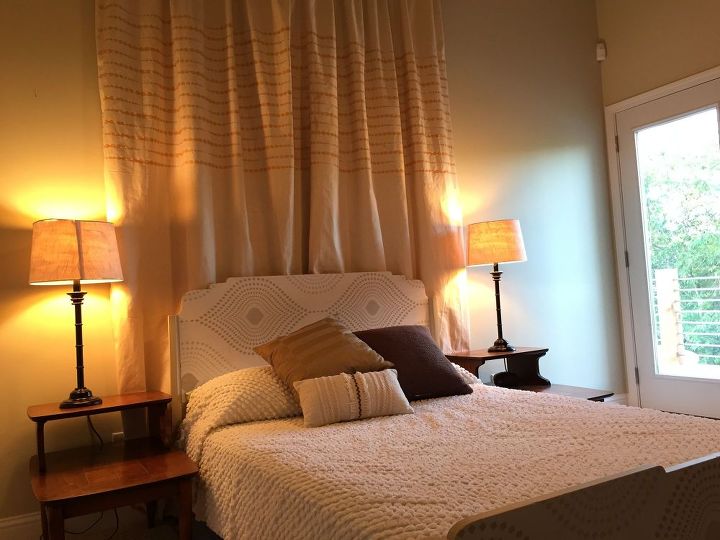
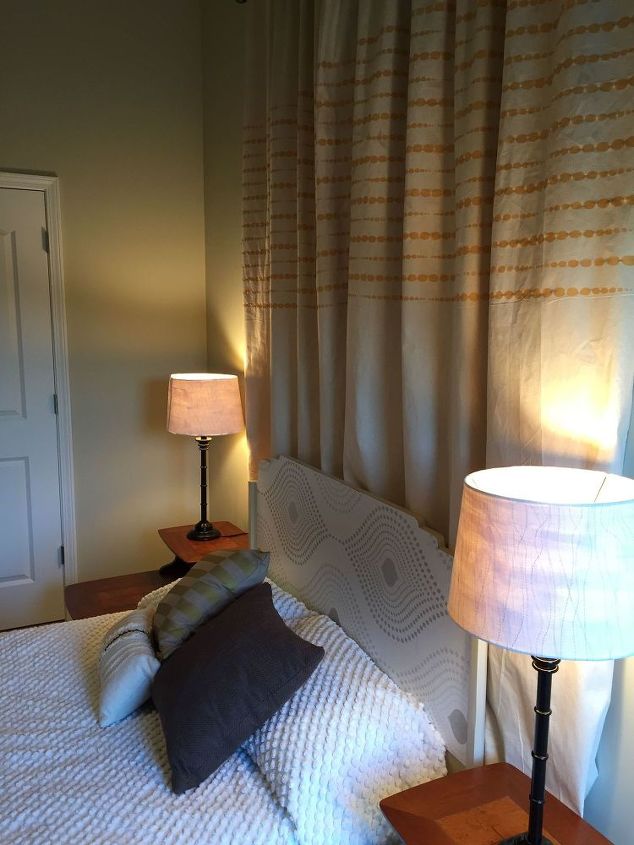
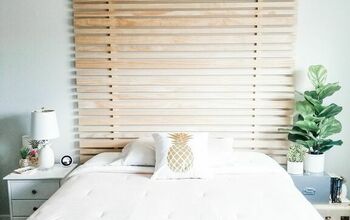
This is now months later and I've had the chance to get a room put together using the bed. I am still completely in love with it and how the project turned out. The fabric backdrop is a dropcloth that I stenciled for a stencil challenge. I love to play with pattern and thought these two worked pretty well together.

Want more details about this and other DIY projects? Check out my blog post!
Comments
Join the conversation
2 of 73 comments
-
would like to see a pic of it all finished and made up with bedding, pillows, etc. in the room it will be moved to. i can picture it in my head and would love to see how it really looks. post an update please :)
-
For those of you looking for a finished picture, here's one for ya.


Frequently asked questions
Have a question about this project?