


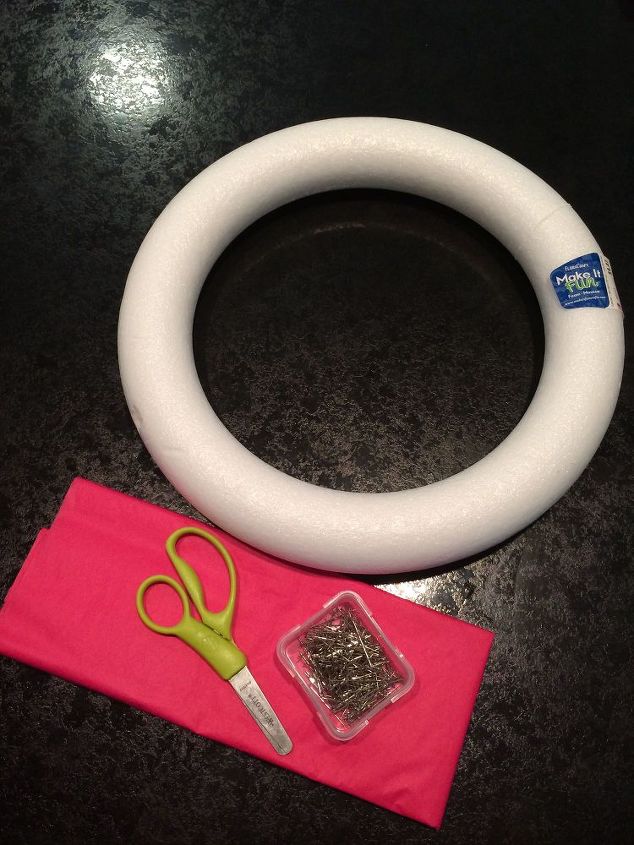
Easy DIY Tissue Paper Wreath
$10.00
1 Hour
Easy
I made this wreath for my little girl’s room before she was born…and since then, I have had numerous people ask me how I did it. I thought this would be a great time to do a tutorial!

There is really nothing to it at all! SUPER EASY!
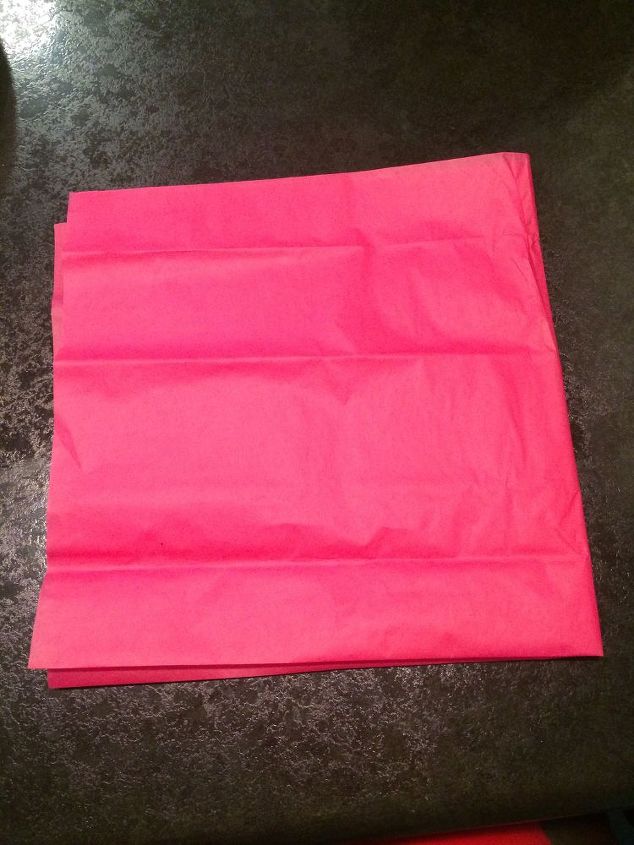
To get started, simply take 1 piece of tissue paper and fold it twice to make a square.
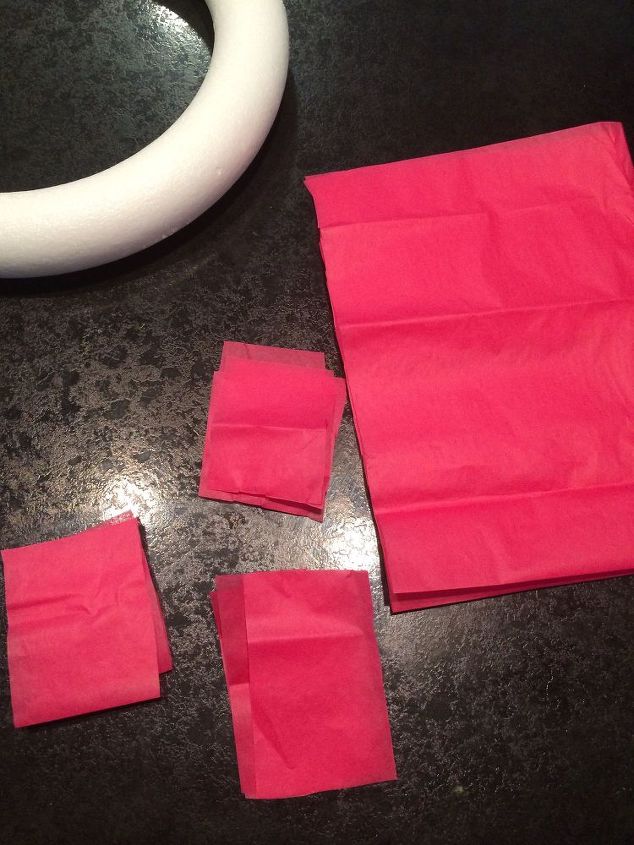
Then you will take your scissors and cut a thick strip. After you have that strip, cut that into 3 large squares.
When that is complete, take the tissue paper and “scrunch” it up and place it on your foam wreath where you want it…then stick a pin through!
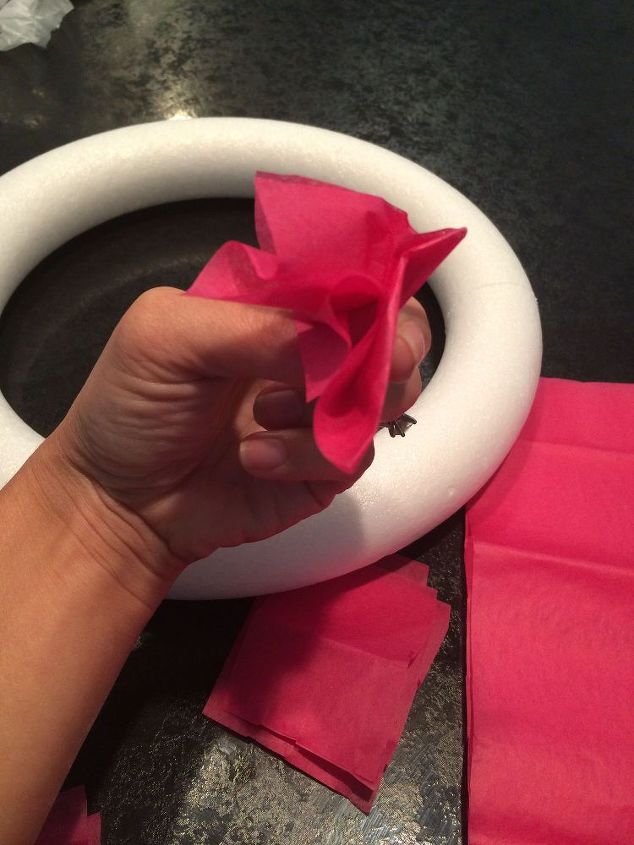
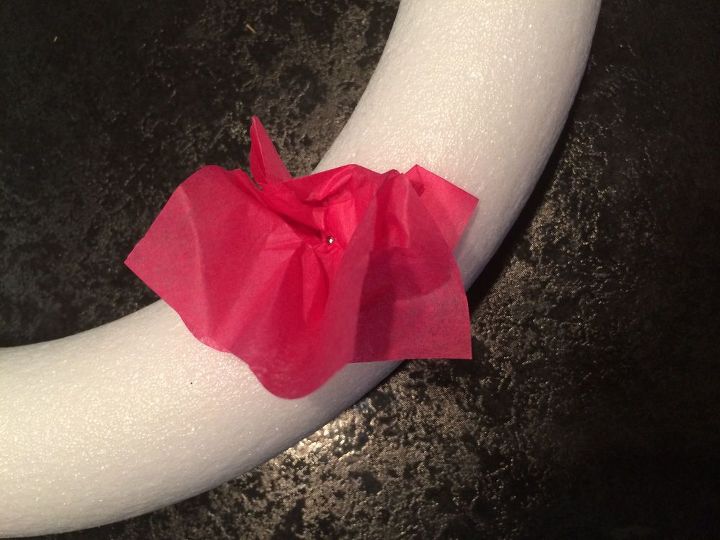
You will do this around the entire wreath! (It is kind of time consuming…but SO cute in the end!!)
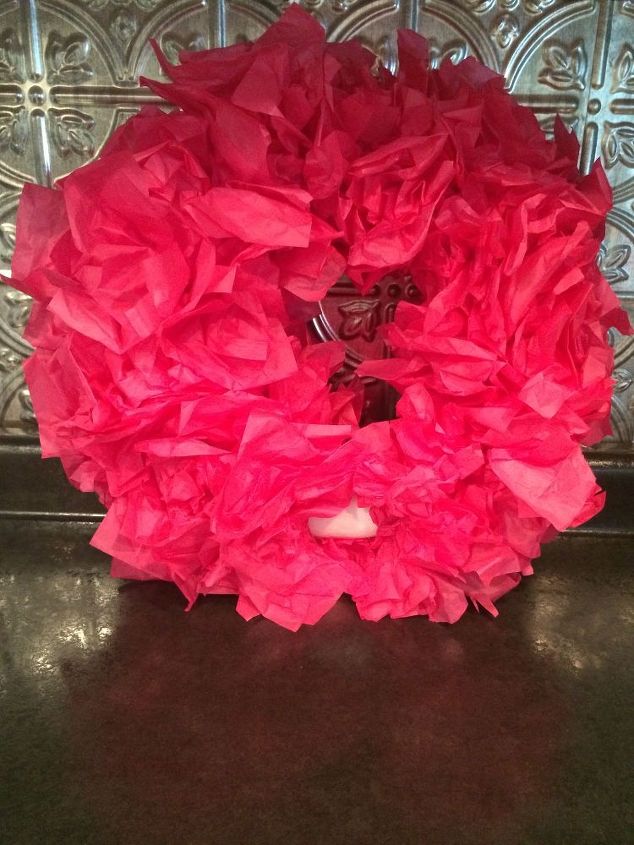
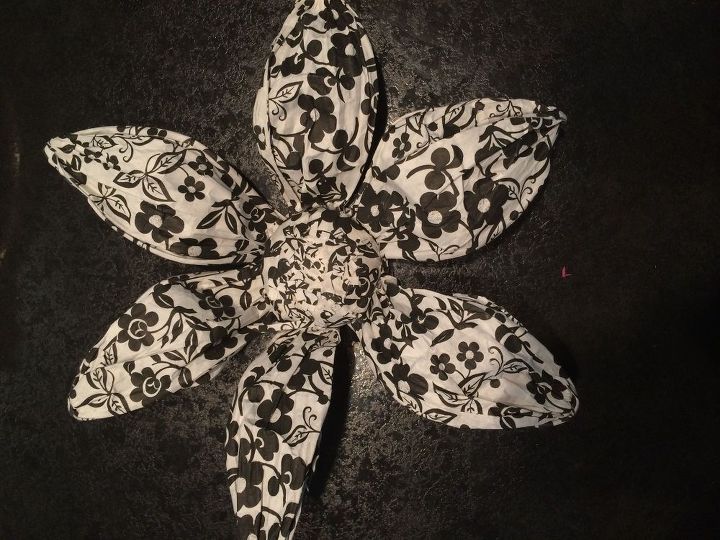
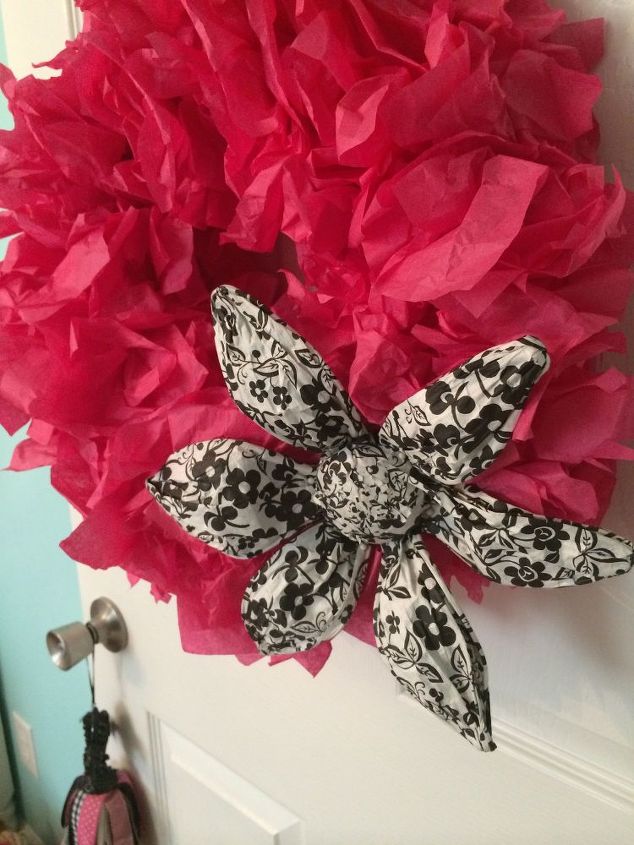
I left a tiny portion of my wreath undone so that I could attach my flower a little easier, but this is not a must. Also, it is cute with no embellishments! I just found this paper flower at Hobby Lobby for $2 and knew it would be perfect for Eden’s room :)
I then attached my flower with straight pins!
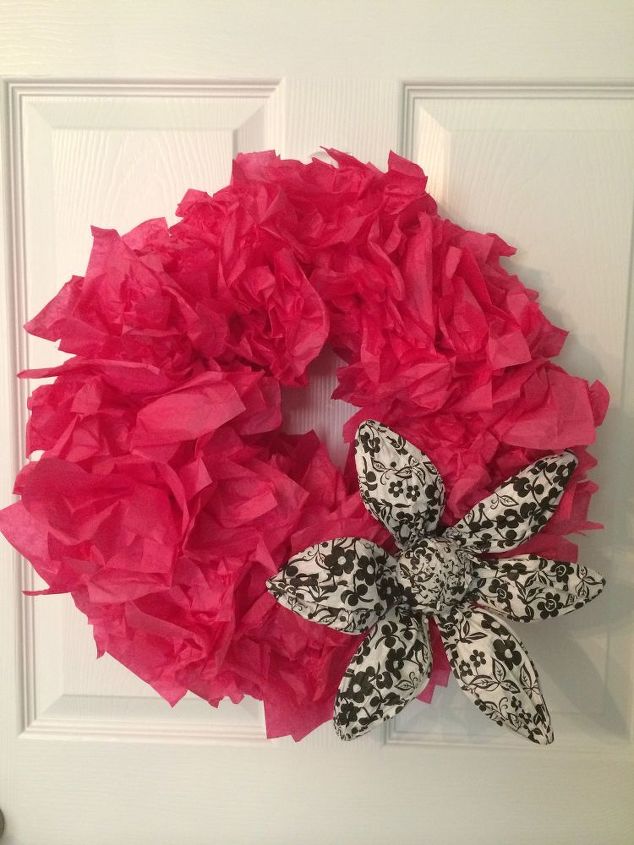
After this, the wreath is DONE! You just need to attach a ribbon or something of that nature to hang it on your door!
SUPER EASY and SO cute! You can make this wreath for any occasion with any color combinations. The possibilities are endless!

Want more details about this and other DIY projects? Check out my blog post!
Comments
Join the conversation
3 comments
-
So fun!
-
Great idea.... and beautiful!!


Frequently asked questions
Have a question about this project?