


DIY Deep Picture Ledge Inspired by West Elm
I'm always inspired by West Elm products, and love their picture ledges, but not crazy about the price, so I made my own.
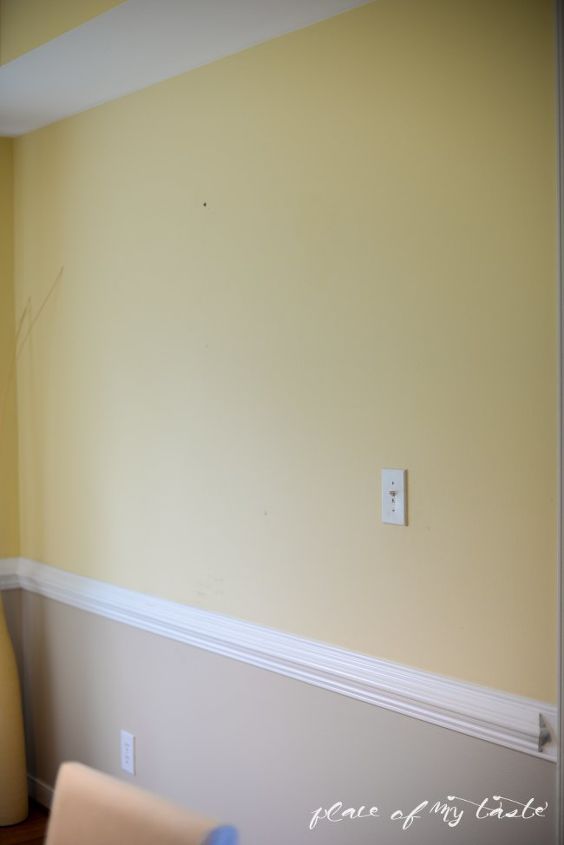
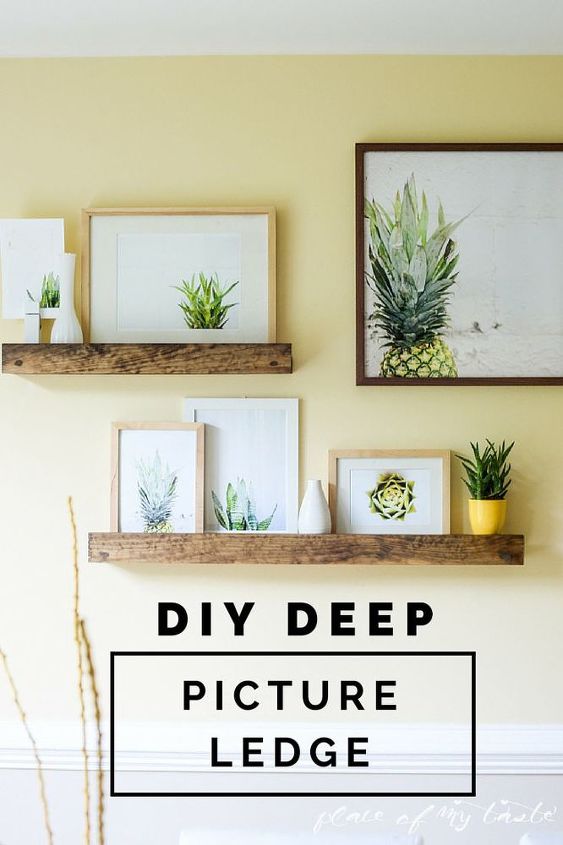
I had a bare wall in my dining room and I knew I wanted something there that would make a statment. Rather than just hanging art, I made Deep Picture Ledges!
Using a 2x4, a piece of treated wood, screws and a drill, we created our ledges. I used my circular saw to cut the pieces to size - one shelf is 24" long and the other is 36" long. I drilled 2 holes in each piece, then gave it a nice stained finish.
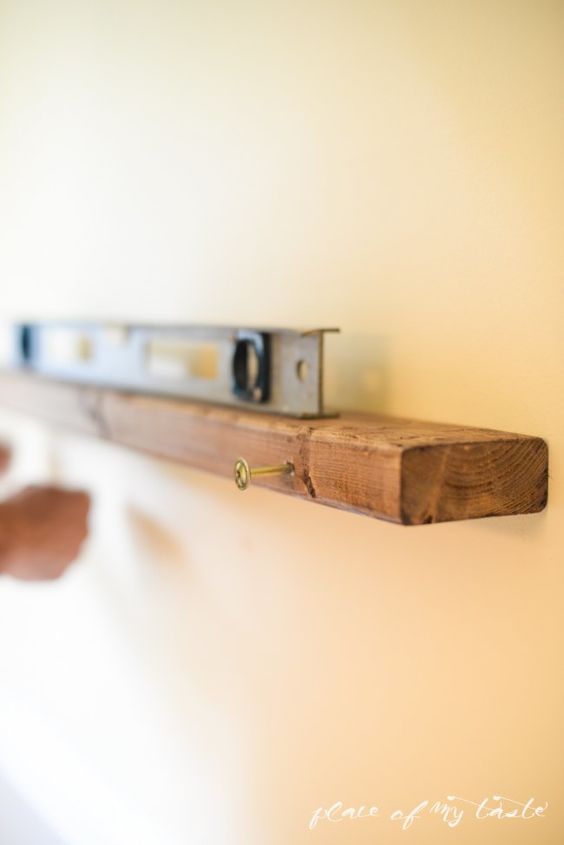
I then screwed 2 big screws into the holes we pre-drilled and, after leveling, screwed them into the wall.
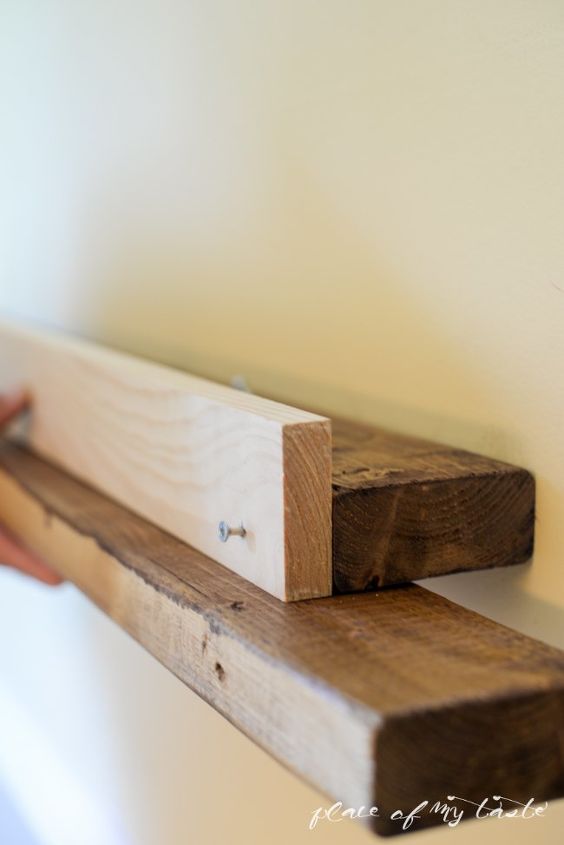
Then, we attached the front piece for the shelf with two screws on each side. We used wood filler to smooth out the head of the screw, and stained that piece as well.
All that was left to do was place my art on my ledges!
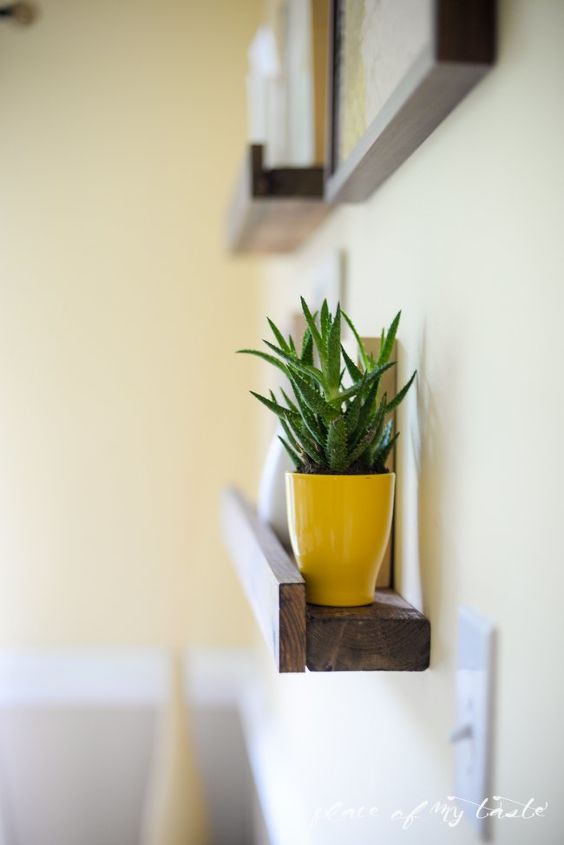
These shelvs can hold smaller objects like potted plants and vases, too.
By the way, all of those plant prints are available in my shop! See the blog for more details and full tutorial!
Resources for this project:
See all materials


Comments
Join the conversation
-
I love this idea for two shelves I want in the kitchen, one above the radiator and one high up above the cooker. Going to himself to make these for me. Thanks for sharing 😊👏👏👏👏👏👏
-
I have a similar thing in my living room and it means that i can keep changing out the pieces and creating something new to look at.


Frequently asked questions
Have a question about this project?
Why use treated wood? It's treated with arsenic. Preserving wood used inside only takes stain or paint.
Great job. I love it. What size screws did you use to drill into the wall? Did you have to use anchors? Thanks 😊
Why did you use treated wood instead of regular? Seems like regular wood would be much safer for the family indoors.