


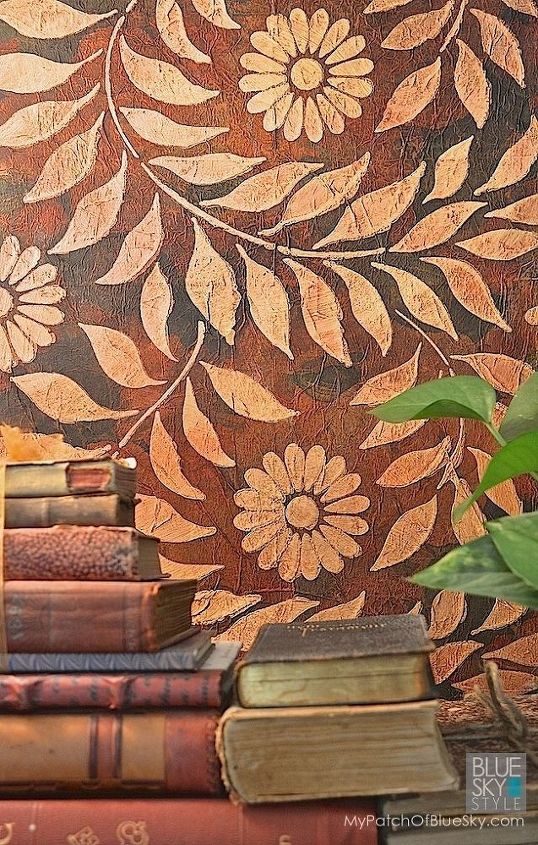
A Plain Painted Wall Goes Fall And Leather-Like Gorgeous!

Medium
Fall is on the way! Are you thinking of new projects for walls, artwork, old books and even cabinet door panels?
I love adding color and pattern to a focus wall for an easy update. This finish is simple, with a big WOW factor.
You may have already discovered that using pretty, patterned, dinner napkins as a background can become lovely and aged after decoupage and glazing. But have you ever gone one more step by adding an overall raised stencil with Wood Icing®? (Find Wood Icing® products and your local retailer of Wood Icing at woodicing.com)
I just experimented with this process as a new idea for walls, cabinet door inserts, book covers and canvas art. Use different napkin patterns and stencils for ever-changing effects. To see more of the background pattern, use less glaze or a smaller stencil design.
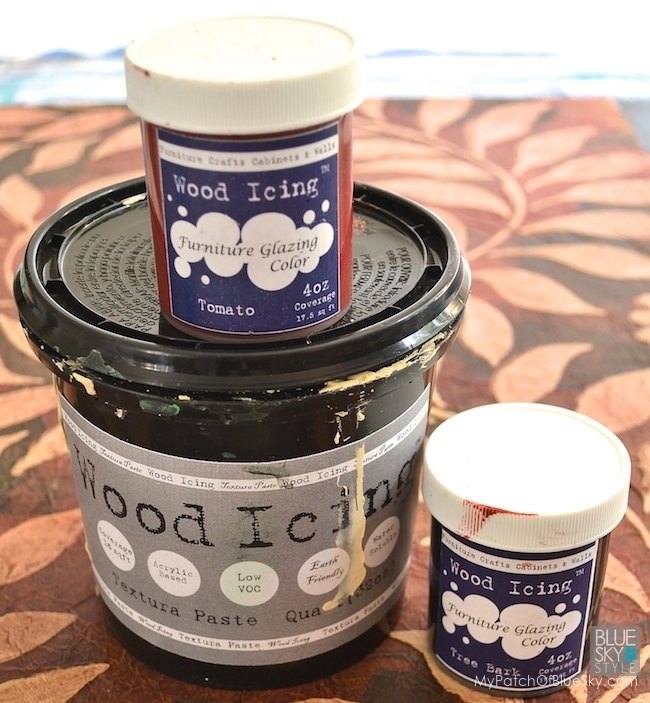
SUPPLIES
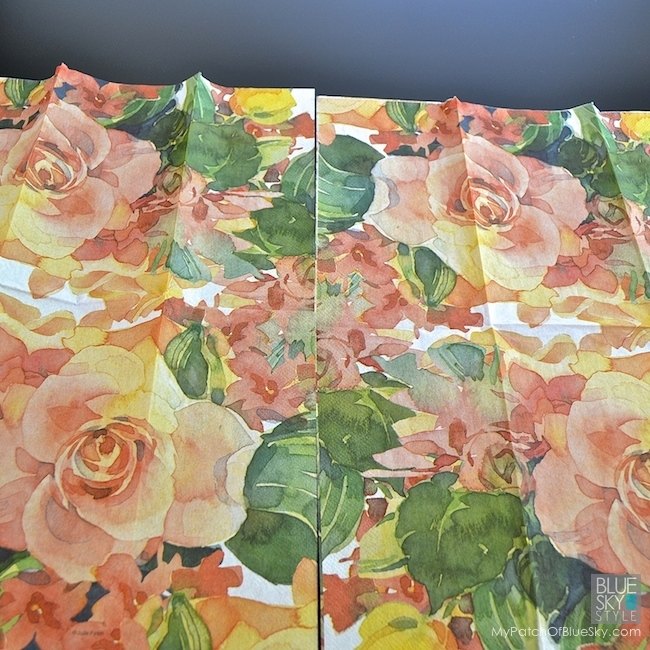
Open up as many napkins as you need for your project.
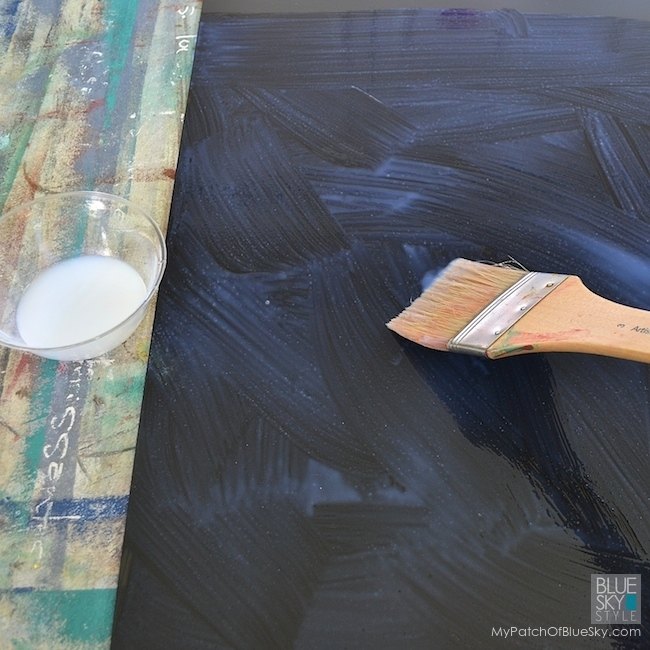
If you use a white glue, water it down about 20 to 30%. Use a wide brush to coat the surface with a generous amount of glue.
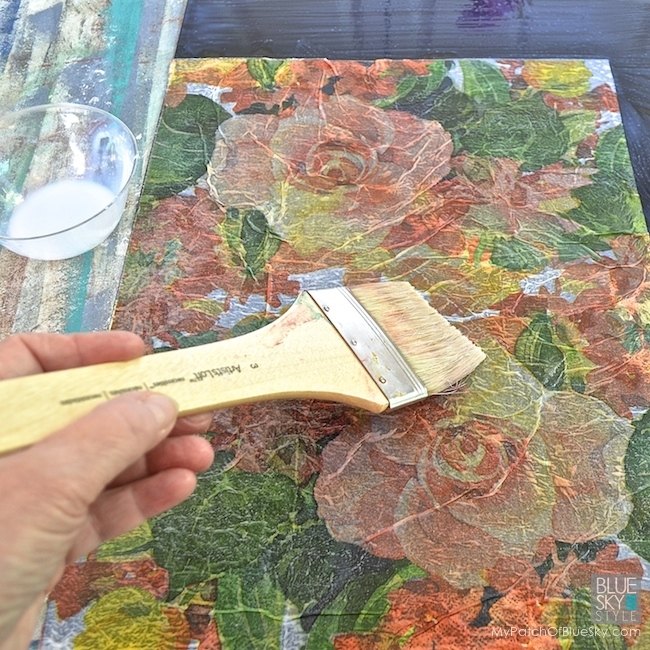
Crunch up the napkins, then lay one down into the glue, beginning at one end. Press gently to marry the paper to the glued surface. Brush a coat of glue on top. Let dry.
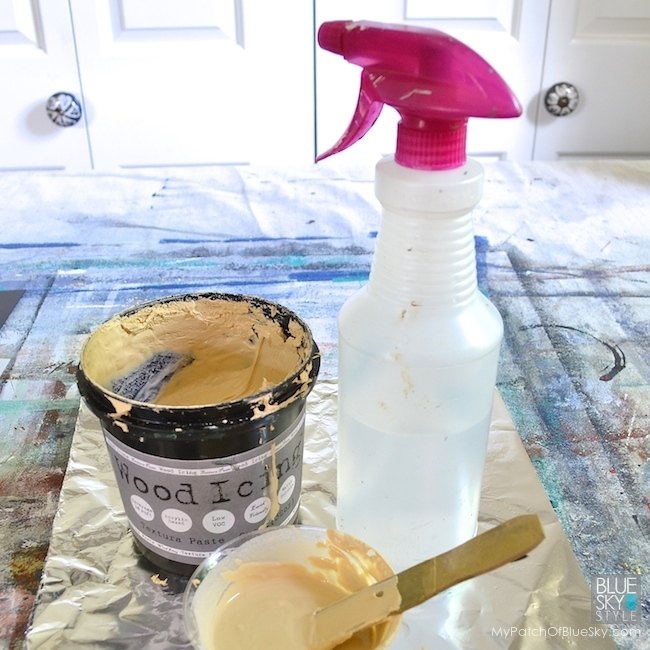
Mix some Textura Paste with about 30% water to thin it some. But don't let it become soupy. You don't want it to run under the stencil.

Position the stencil on top of the surface. Put some of the mixture on tin foil. Load some up on the color shaper and gently pull it across the stencil. Try not to push it underneath. Mine ran under a bit, but I liked the way it looked. Let dry.
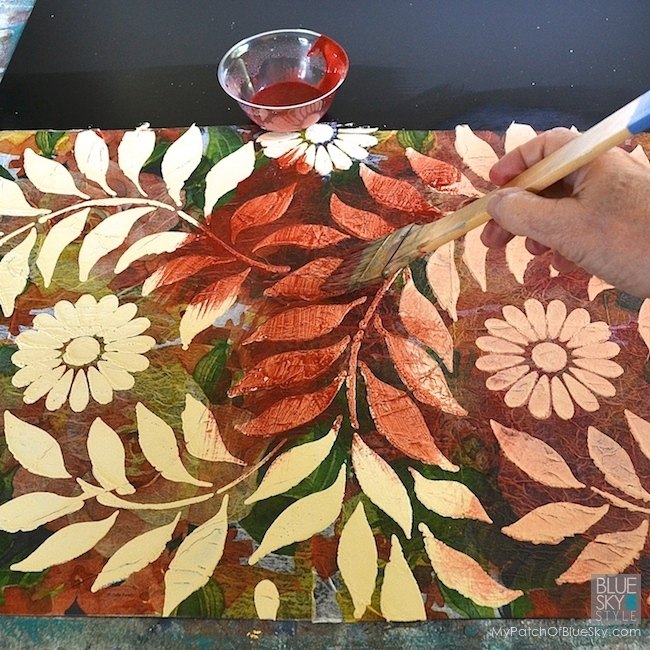
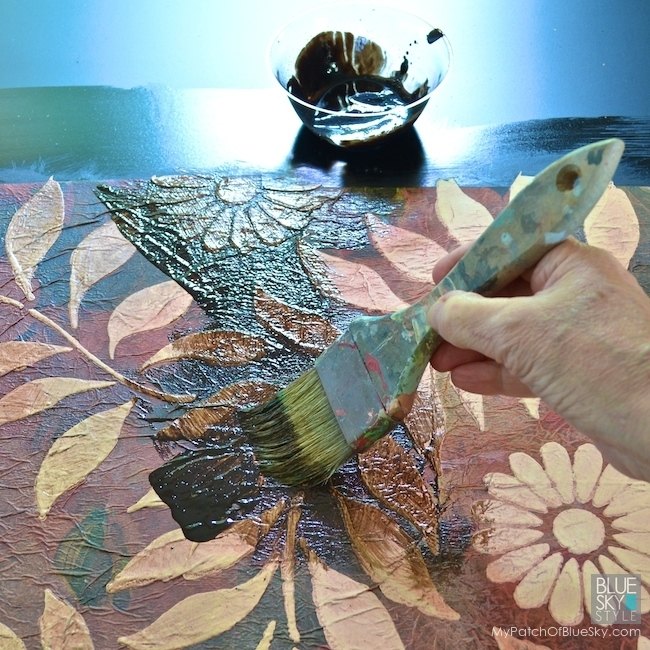
Pour some Tomato Furniture Glazing Color into a container and add about 20% water, then mix well. Using a large brush, cover the surface with the glaze.
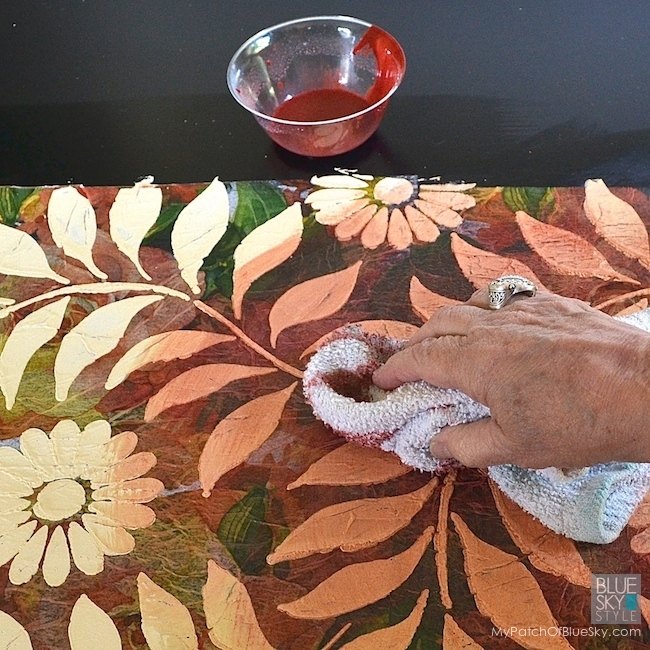
Wipe with a damp cloth to soften. Let dry.
Repeat using Tree Bark.
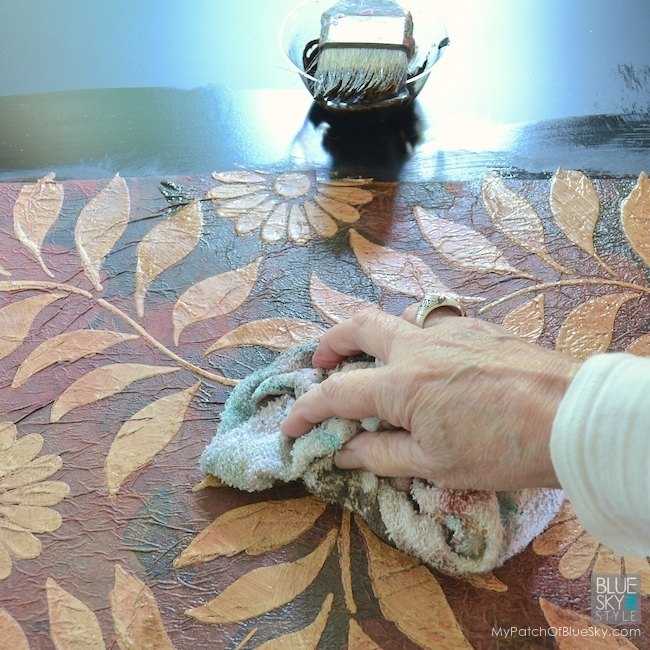
Soften with a damp towel. Let dry.
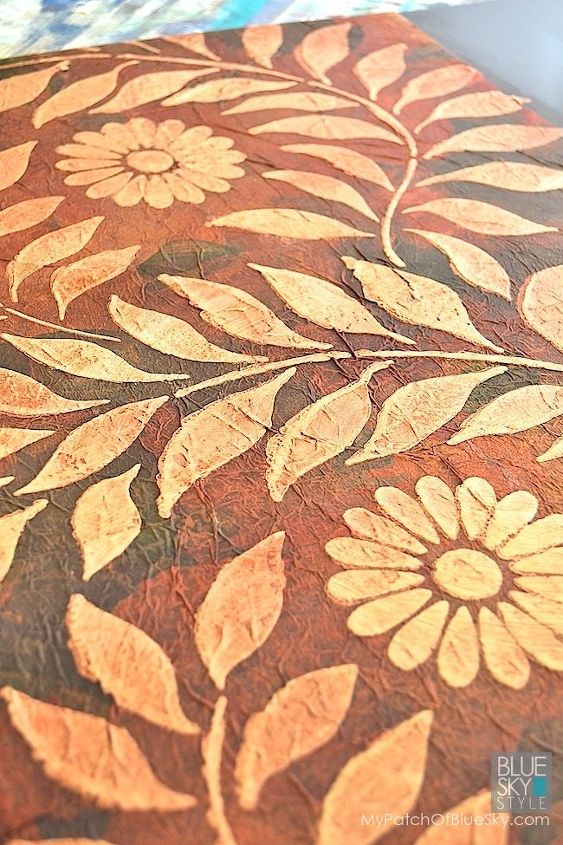
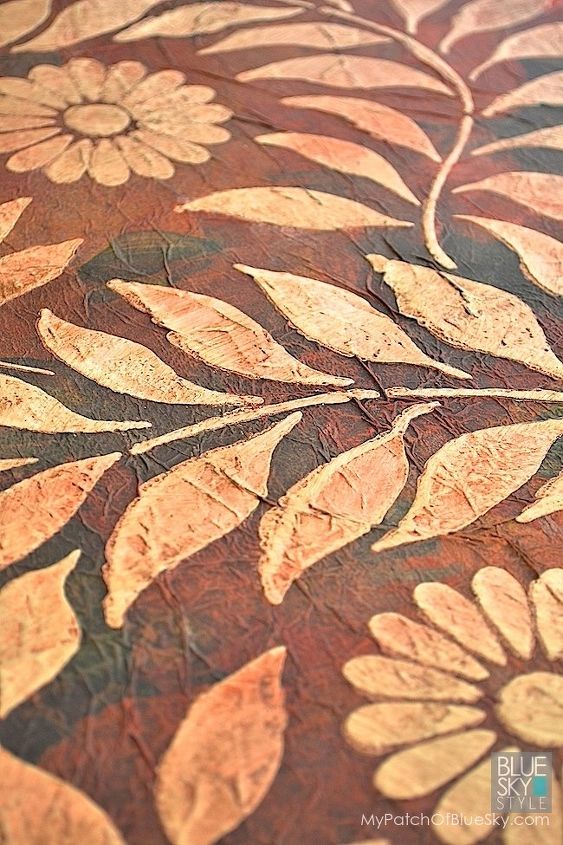
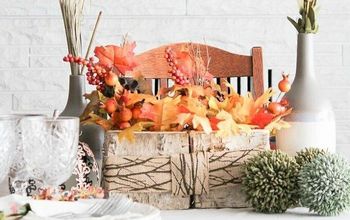
What you get is a soft, aged, expensive-looking finish. Sort of contemporary antique. I added piles of old family and found books to my vignette. It feels like fall, don't you think?
Do you need to protect the finish? It depends upon traffic and use. As artwork, no topcoat is necessary unless you want to add some sheen. For protection, you could add Wood Icing(R) Poly Acrylic Top Coat in Dull, Satin, or Gloss.
Comments
Join the conversation
2 of 3 comments
-
i love what you've done. so creative!
-
....exceptional work!!!


Frequently asked questions
Have a question about this project?