


Game Table Revamp With Chalk Paint

The kids had a games table that played various games like snooker, air hockey, target shooting etc. It is great fun and the kids love it. It did bother me though that the colours didn’t match the toy room. I know that is a bit pathetic but I had chalk paint and I was bored, so I thought why not! So I made a start and I am so glad that I did
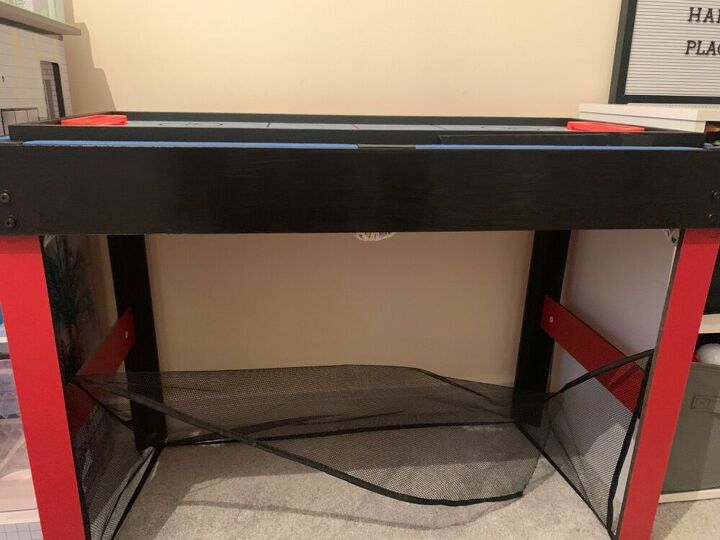
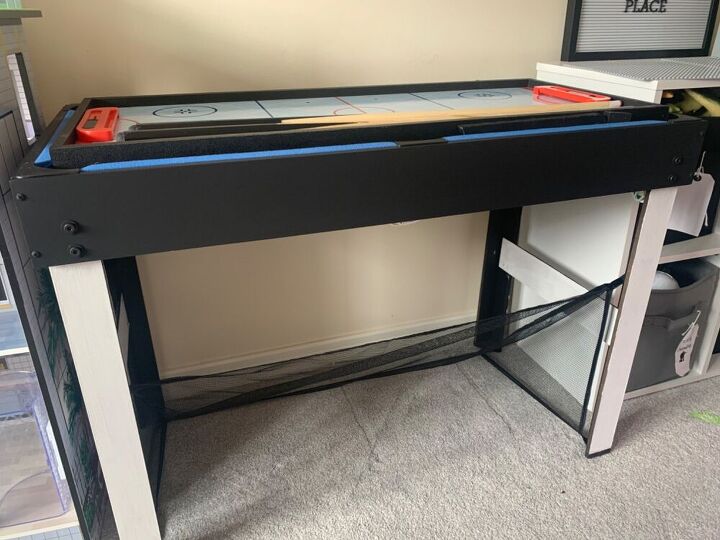
This was the finished product and I’m so happy that it matches their monochrome coloured playroom now as it kind of stood out like a sore thumb when the rest of the room was black, white and grey. It’s also great that I used chalk paint so the kids can keep score when they play each other
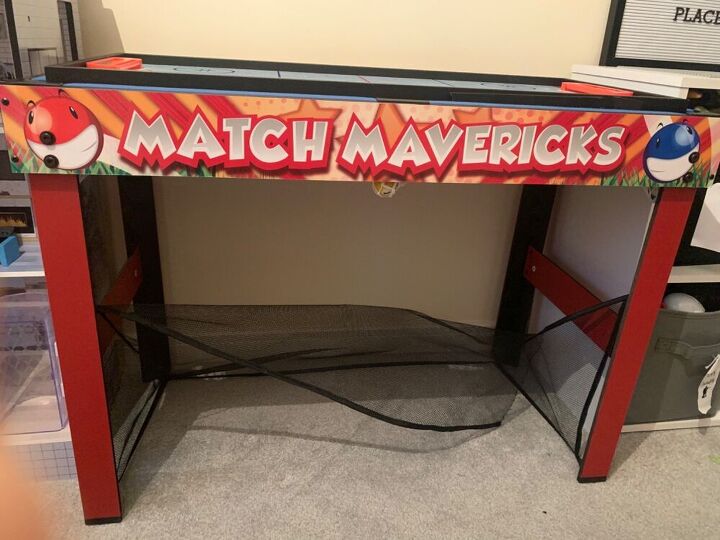
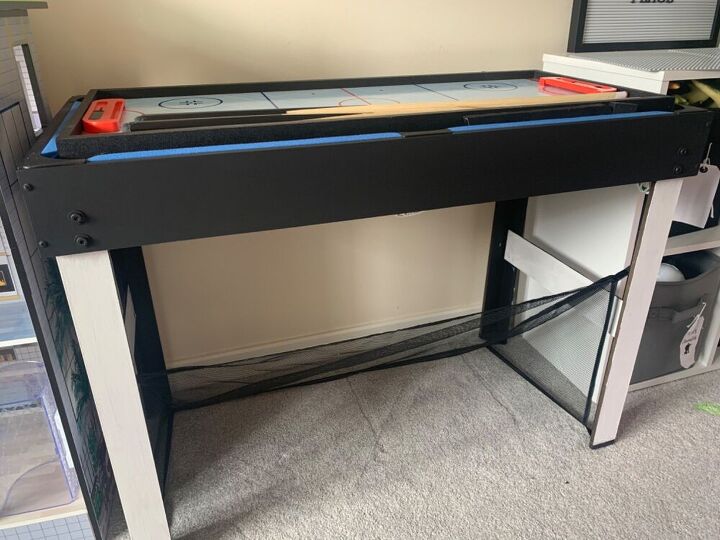
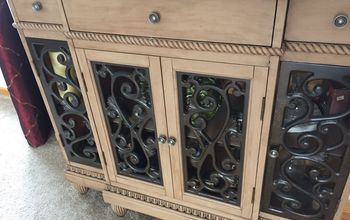
This was the game table before. It was bright red and had all the logos of the games you can play on it. And while this is really fun and does look good, I really did want it to match the play room. Why can’t you have functional and practical all at once?
Also, the football net at the bottom had ripped when the children were playing so that needed to be sorted too So they could play football again
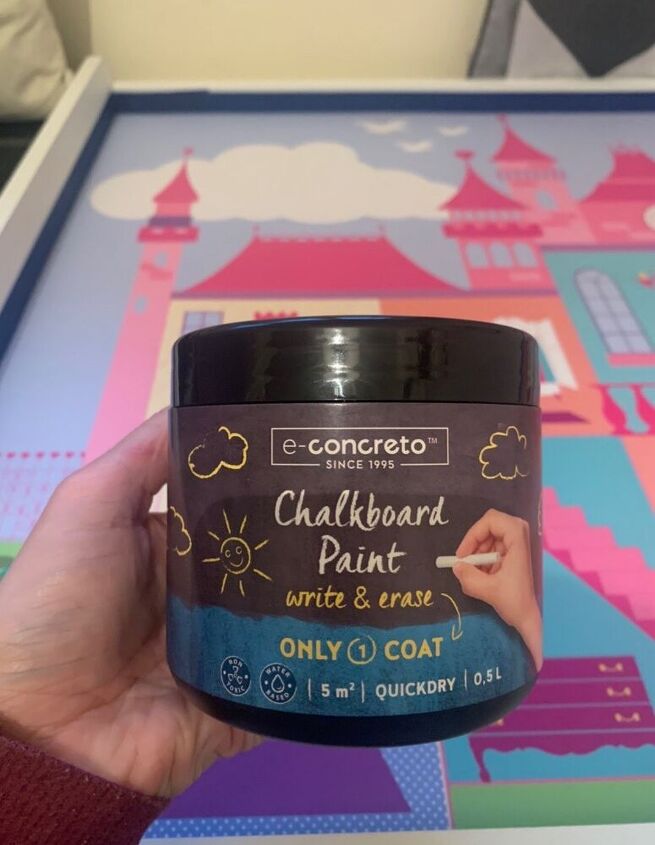
This was the chalk paint that I used. I got it from amazon. I chose this one because I liked that it said it only requires one coat. Before I started painting I made sure that I washed down the area I wanted to paint to make sure it was a smooth surface free of dust or any sticky marks which would make sure that the paint would glide on easily.
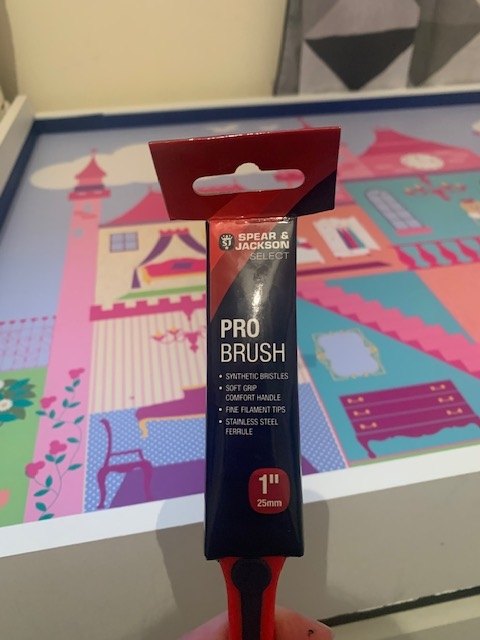
I used a 1inch paint brush to put on the paint. You can get these from any diy store. I gave the paint a little stir before application but I don’t actually think you would need to with this paint as it is so smooth with no clumps at all
I painted across the front first. Then the sides and then the back.
I chose not to use masking tape since the trim around the games unit is black so of I went slightly over it didn’t really matter. The paint glides on really smoothly though so it was easy to keep a straight line. But I would use masking tape if you were using it in an awkward space.

It’s dry to touch in just 5minutes which is brilliant and the coverage is great! I just love how dark it is and that the kids can also write their scores on the side with chalk whenever they play each other. They love friendly competition. Ha ha
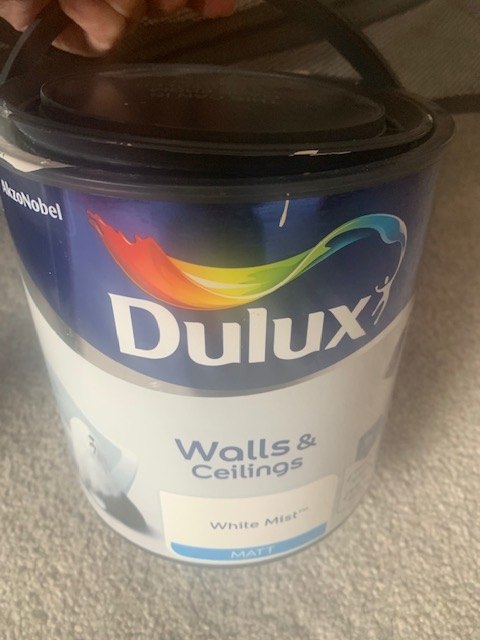
For the legs of the table I used some left over paint that I had in the house. The colour was white mist from dulux. I used a similar sized brush as I used with the chalk paint. Again, I washed the area to make sure it was clean. You should probably use a primer before putting on the paint since the colour is so bright that I was painting over. But I decided to just put it straight on and then just do an extra coat once the first coat dried
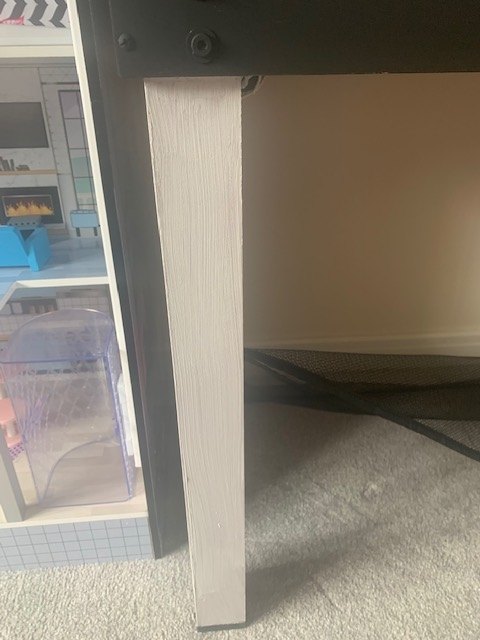
I painted the legs first. I chose not to use masking tape again (I wish I did now though) It wasn’t too bad without it though, but it would just have been a little neater If I had used it. But since it was just for a kids game that I knew would get ruined eventually anyway I wasn’t too bothered how neat it was and it was just a quick diy project
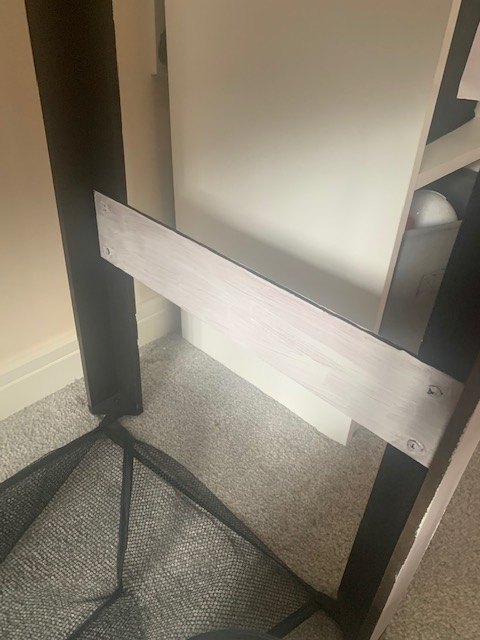
I then painted the inside panels. This was just one/first coat. If I wanted a better finish I could have unscrewed these panels and took them off but, to be honest, I was being a little lazy. I would definitely recommend unscrewing them though for a neater look. That was you can get into the sides easier and around the screws better
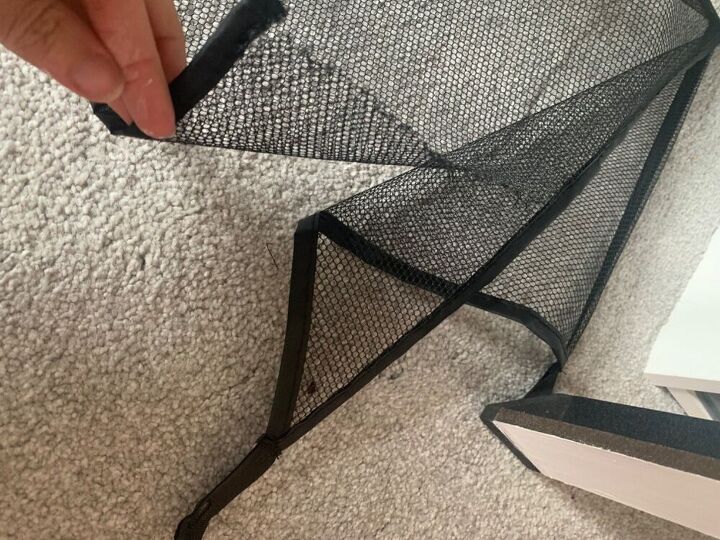
The next thing to sort was the broken football net. The kids had managed to rip this when playing underneath it. So they couldn’t play football anymore as the ball kept going out the sides
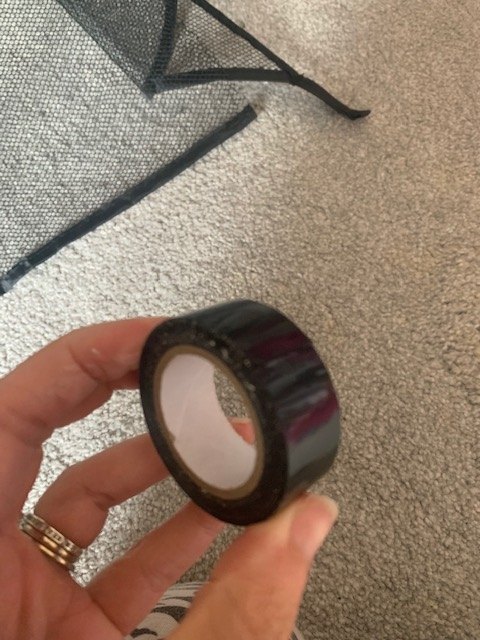
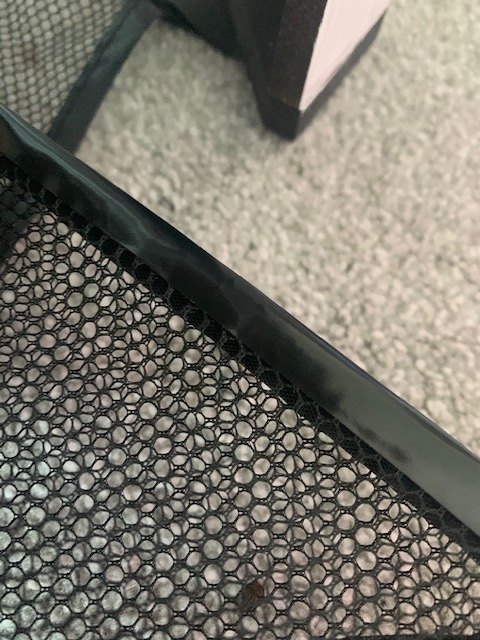
I chose to use some black insulation tape that I had in the house to fix it together.
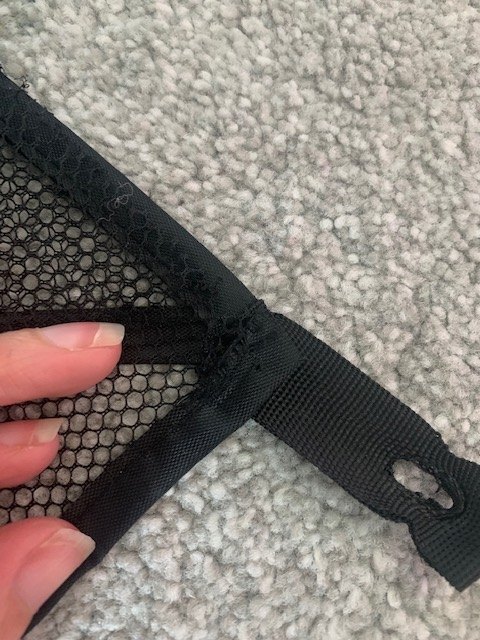
I lined up the sides that had burst to make sure they were in place and there was enough space for the tape to cover
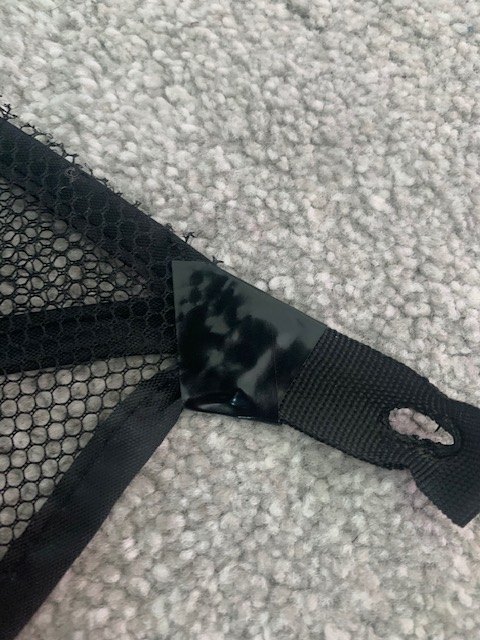
I wrapped the insulation tape around and across the top section first to hold it in place. I went over this a few times to make sure it was stuck tight
next, I then ran the insulation tape right up the side to hold this section in place. I used a few layers to make sure it was tightly stuck together
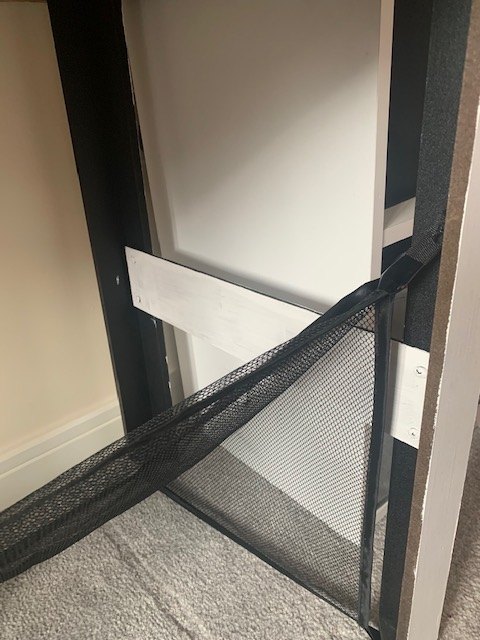
This seems to have done the trick for now. But I think if it comes apart again I will use black thread and stitch it back together with a needle as I do think that needle and thread would be more secure than the tape.
The chalk paint only needed one coat which was great. The coverage was fantastic. I would definitely recommend this. The white paint needed 2 coats though. So I left it to dry for a couple of hours and then I did a second coat which looked much better.
Resources for this project:
See all materials


Comments
Join the conversation
-
wow cool! It's Really Cool. But I like computer games more than board games.


Frequently asked questions
Have a question about this project?