


48 Hour Flip: A Modern and Affordable DIY Bathroom Makeover
This project is sponsored by DAP
Changing up your bathroom doesn’t have to be expensive or time-consuming. Check out how I gave mine a new look for under $130.
This post was transcribed by a member of the Hometalk editorial team from the original HometalkTV episode.
With some careful planning and a few key tips and tricks, you'll be amazed at what you can accomplish with your own two hands in just 48 hours!
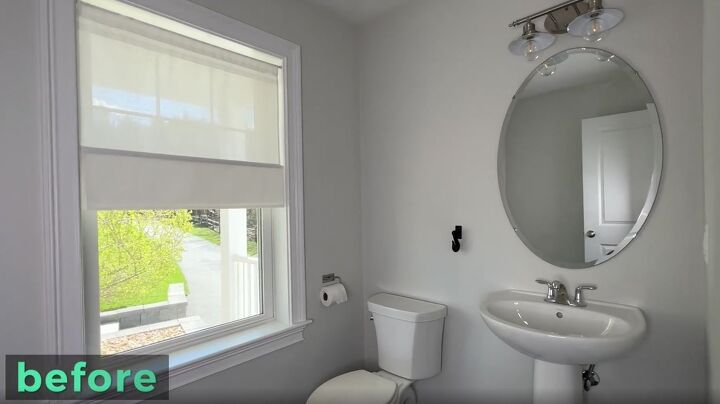
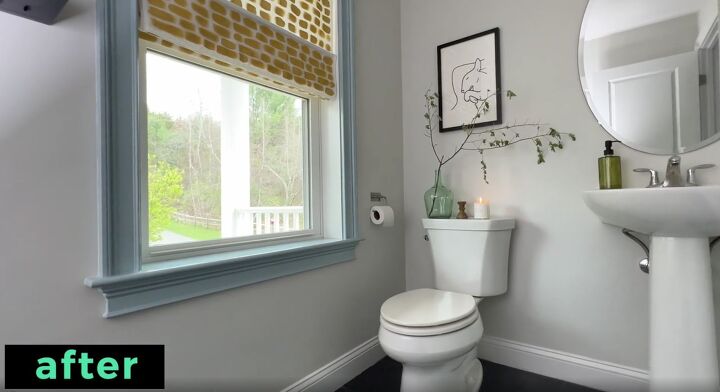
Before I started my weekend project, this bathroom was plain and white. We hadn't really touched it since we bought this house.
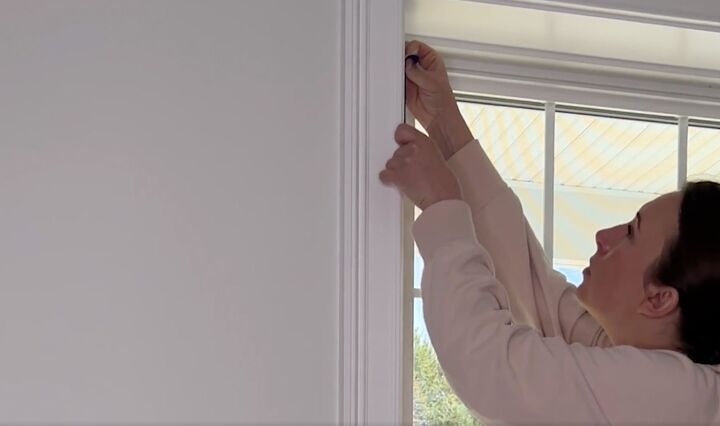
1. Paint the Window Trim
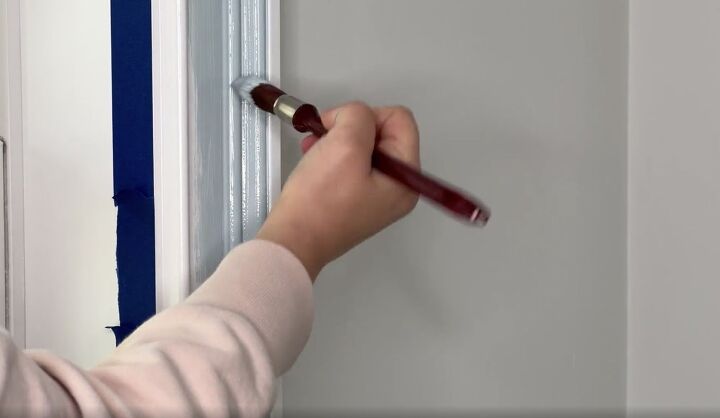
First, I wanted to add some color to the window so I decided to paint the window trim only. I really wanted to get this project done in 48 hours, so doing the window trim added the most impact for the least amount of time.
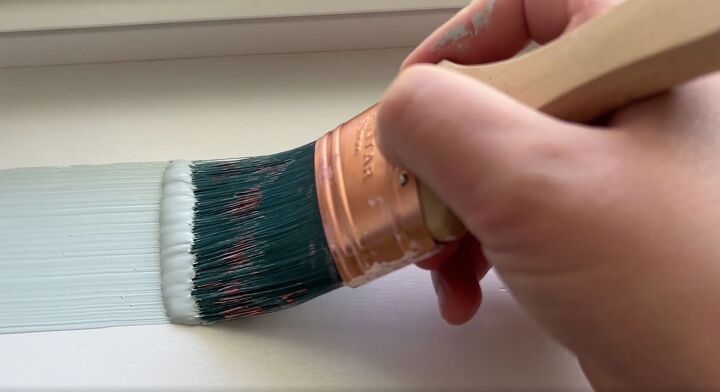
I had some leftover blue paint, so I decided to use that. It's perfect with the wall color that's already there.
I have a few specialty brushes that I like to use in order to get into all of those little cracks and crevices in the trim and after only two coats, it was done.
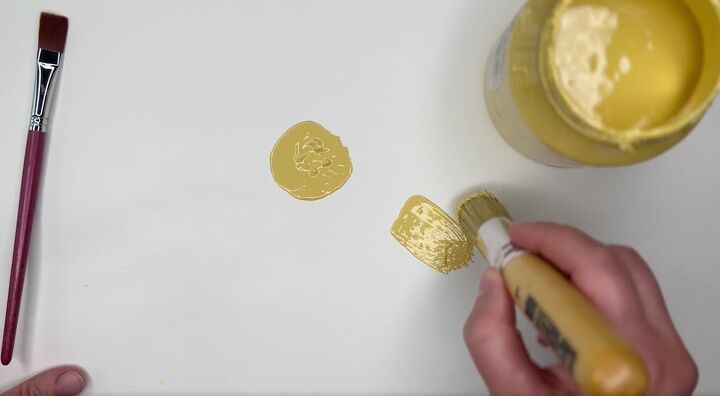
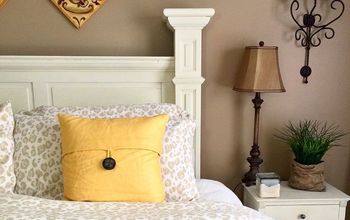
2. Personalize a Plain Shade
Next, I took some yellow paint that I had left over and decided to paint a plain white shade that I already had on hand.
I tested out the different patterns I could possibly do ahead of time on a piece of paper just so I didn't ruin the actual shade when I started.
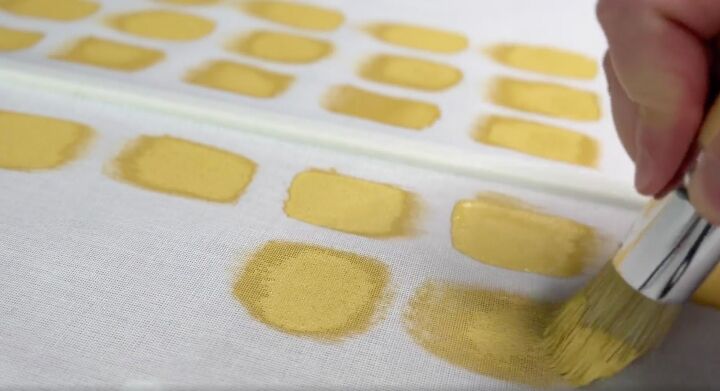
I ended up going with some organic dash shapes. I really wanted them to vary a lot so it didn't look like one regular pattern, which makes it really easy. If I messed up, it looks like I did it on purpose.
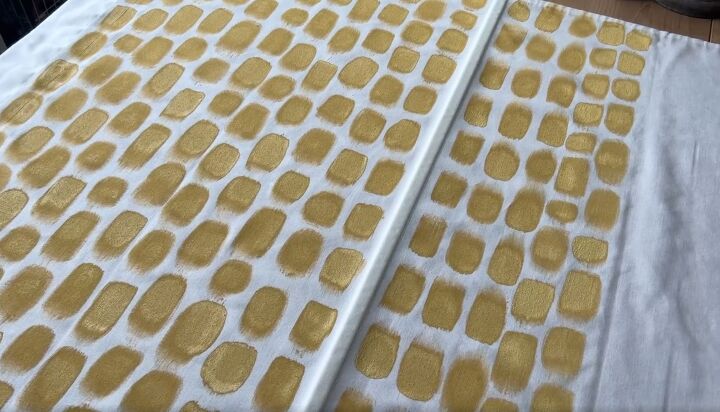
I started in a spot that I knew would most of the time be closed when I flipped this shade up and it only took about 20 minutes.
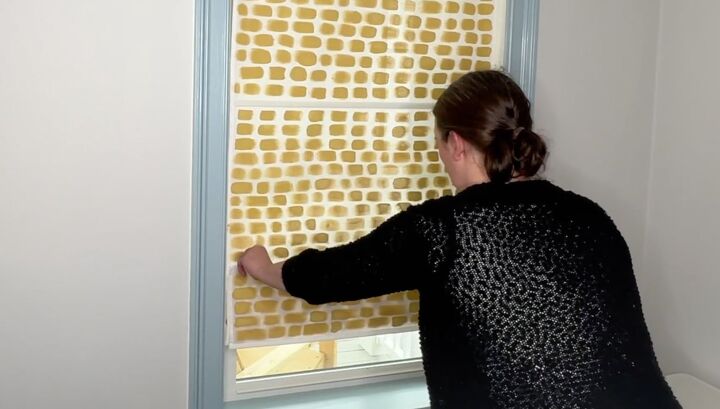
I loved the yellow against the blue.
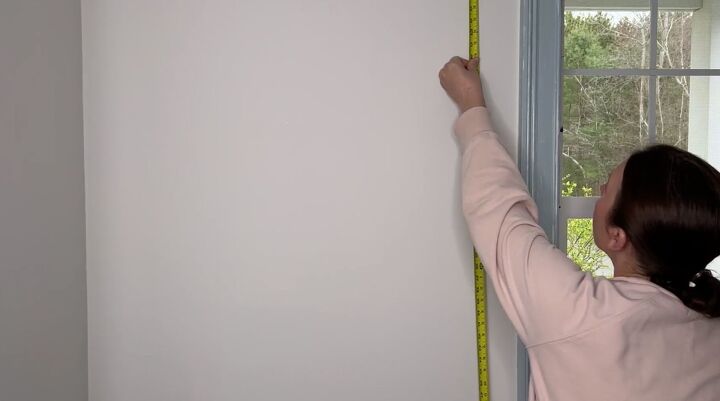
3. Add Shelves
Next, I measured the wall where I wanted to build two sets of shelves.
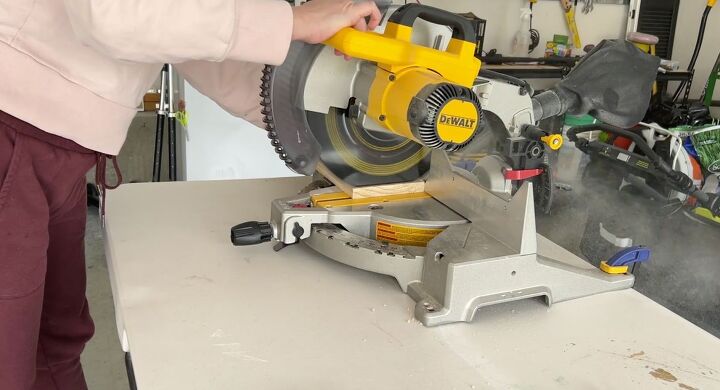
I measured and cut, being very careful to be accurate. I wanted to add a back and a front ledge, so everything needed to be as accurate as possible.
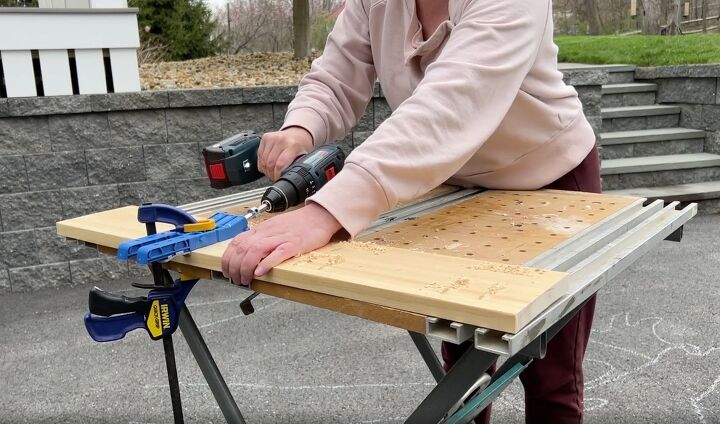
Next, I added some pocket holes. This is a really easy way to join two boards.
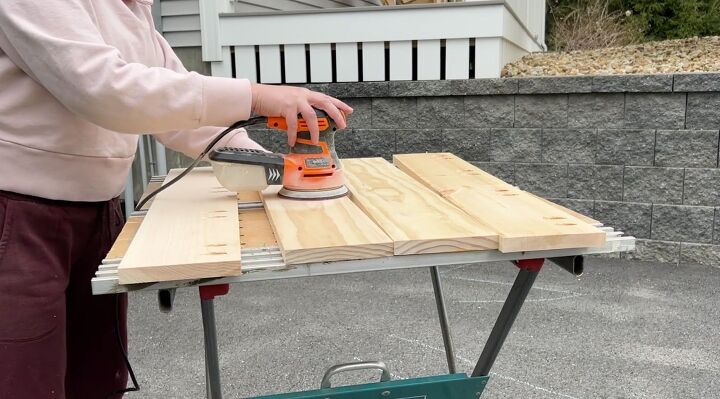
I decided to sand the boards before I started assembling the shelves. It’s much easier to sand the flat sides rather than trying to sand around corners once things are assembled.
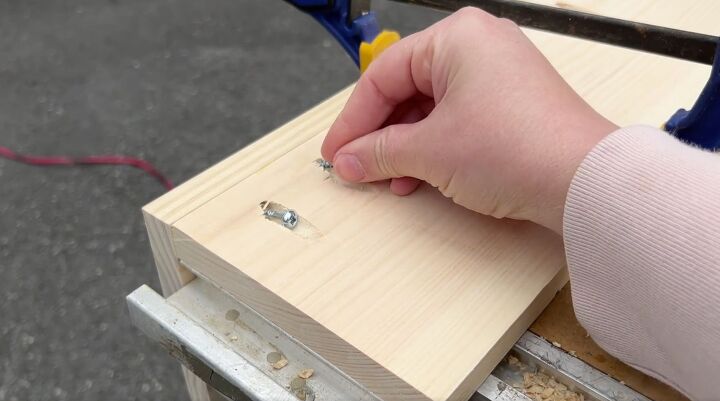
Then, I clamped the boards so that I could add the pocket screws.
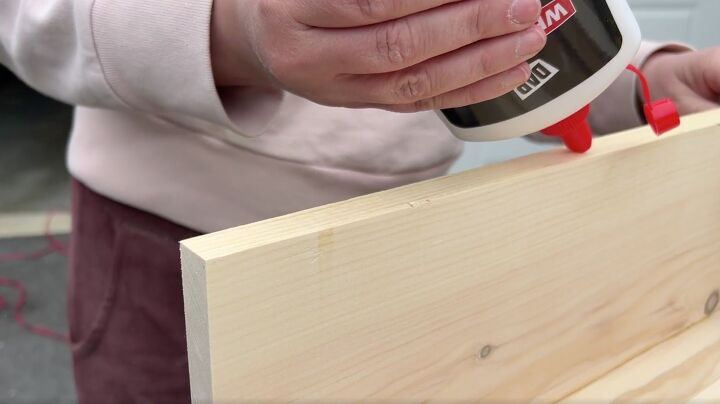
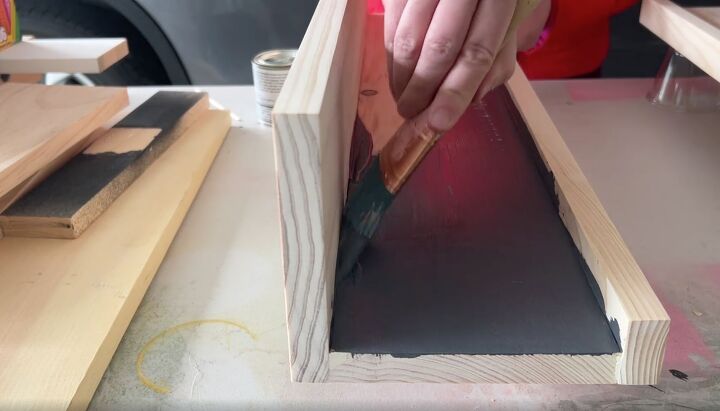
To attach the front lip of the shelf, I applied some DAP Weld Wood original wood glue. The recommended application for this product is with a glove or silicone brush.
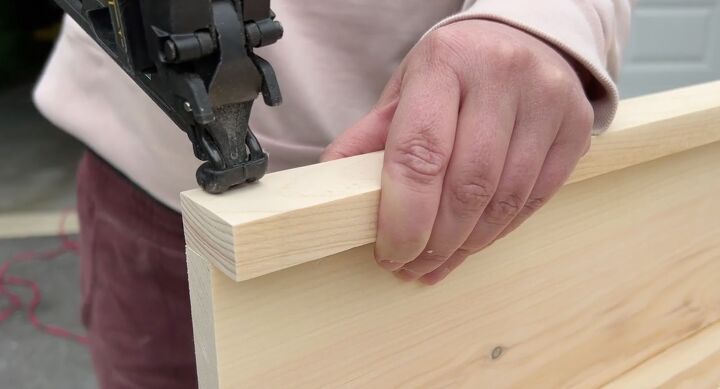
I added a couple of pin nails to hold the lip in place as the glue dried. This glue is great for woodworking projects like this because it creates a really strong bond. It also sets fast and sands easily once dry. Plus, it's heat, water, and solvent resistant, non-toxic, and has low VOCs.
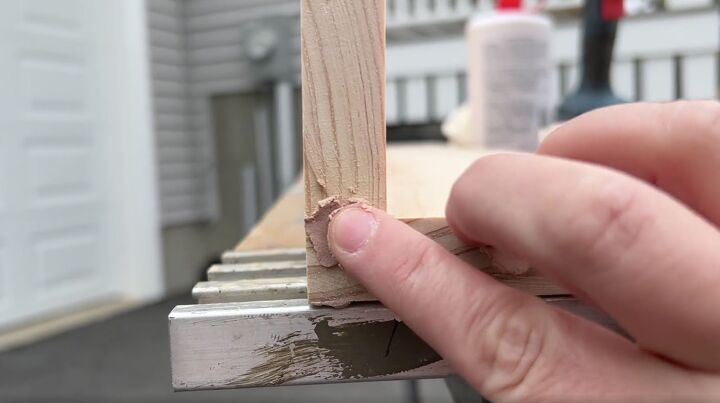
To cover the nail holes and smooth out any unevenness, I applied DAP plastic wood-x, an all-purpose wood filler. I love this stuff because it goes on pink and dries white, so I know it's dry and ready for sanding.
My patching will look completely seamless because it's stainable or paint-able and doesn't shrink or crack. The shelf will hold up well because the wood filler is super hard.
Once everything was ready, I used a navy paint that I had leftover to paint the shelves. I gave the shelves several coats. I think the color will add a really nice modern edge to the wall next to that softer blue and yellow.
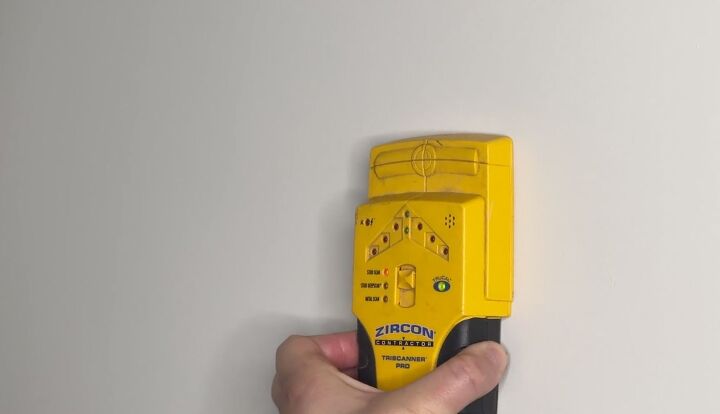
To hang the shelves, I started by finding the studs and marking them.
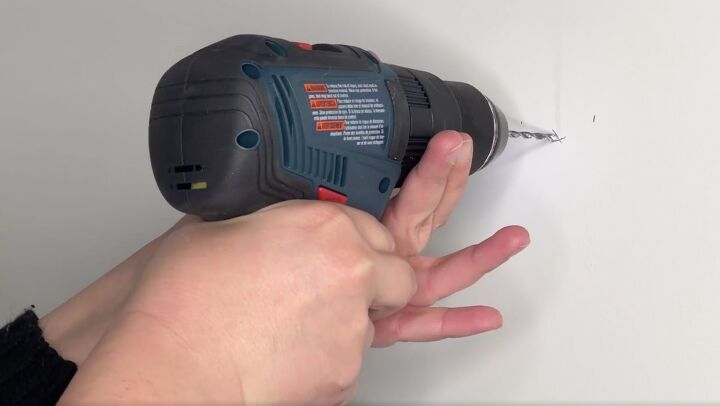
Drilling pilot holes into the studs helped a whole lot.
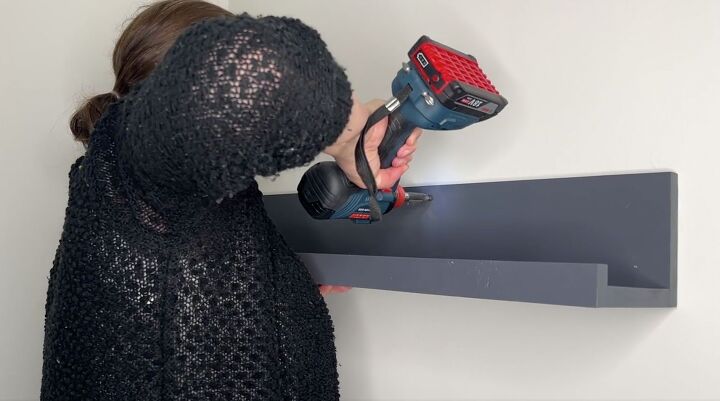
I made sure that I had two screws driving straight into the studs to keep this shelf secure.
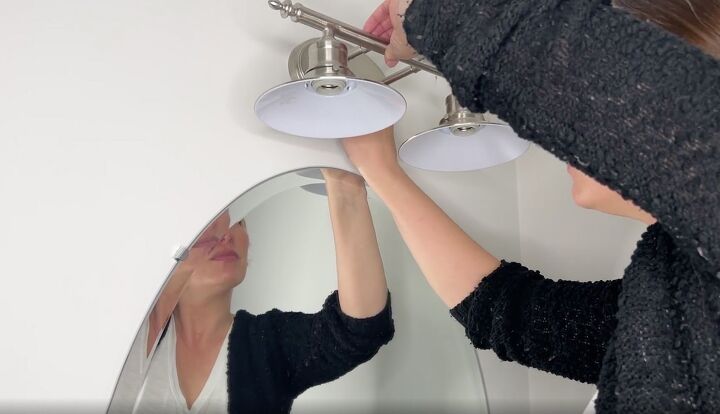
5. Hang a New Light Fixture
Next, I removed the light fixture. I made sure to turn off the electricity first. This was a pretty easy swap.
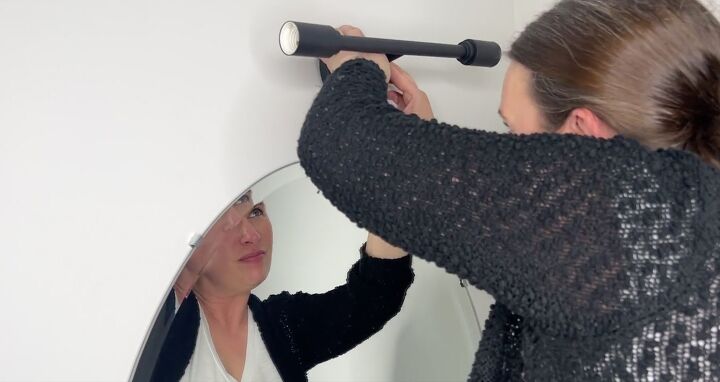
I replaced it with a really modern black fixture instead of the nickel farmhouse style that was there.
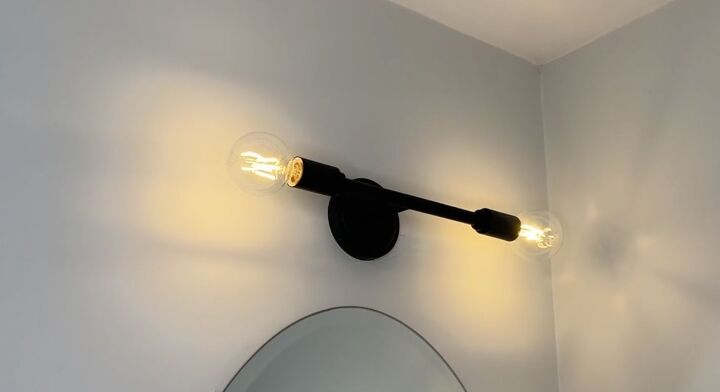
I love the look of Edison bulbs, so I decided to use those because the bulbs are exposed.
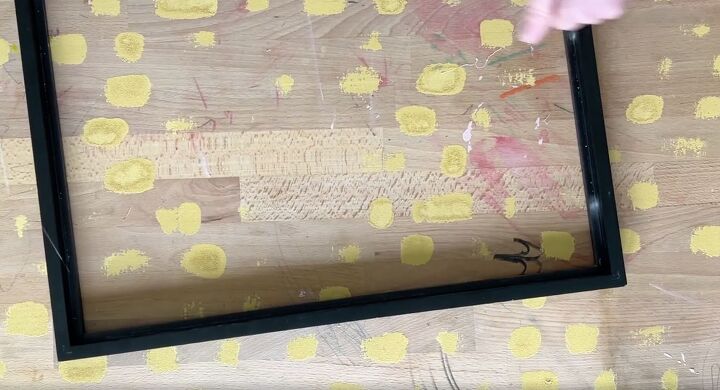
6. Incorporate Art
Lastly, I wanted to make some art for the room. I grabbed an inexpensive frame at Target, and I printed out a photo of my dog.
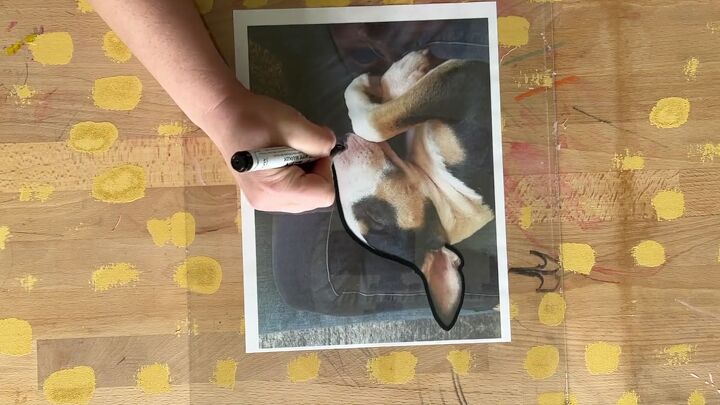
I laid the photo under the glass and used a glass pen to trace the outline of my dog. You just want to keep the lines super simple, smooth, and broad, just the general outlines. It creates a really cool, modern piece of line art.
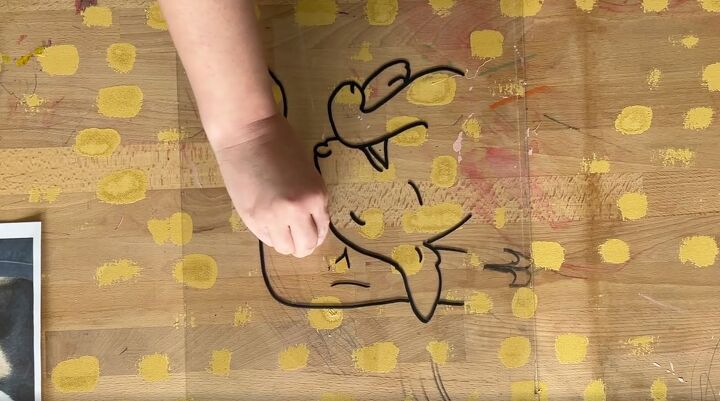
I decided I didn't like some of the details, so they were really easy to wipe away with a Kleenex.
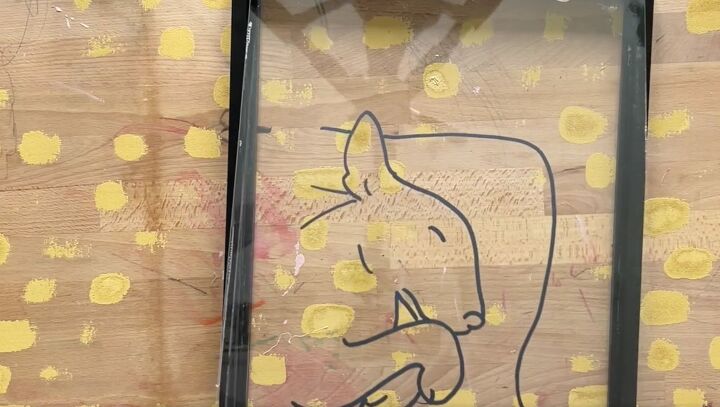
Once it was dry, I put everything back together making sure the marker was facing in so that it doesn't smudge.
7. Style
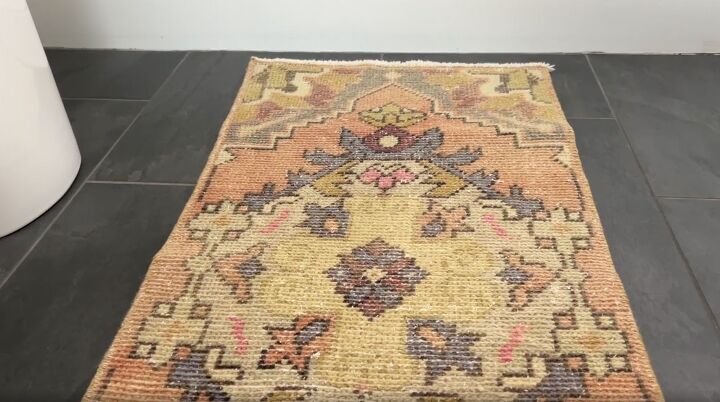
Now was the fun part. I got to style it up with a vintage rug, another piece of art I made, and some really cool décor pieces that I had hanging around the house.
I absolutely love how this bathroom came out. Before, it was really boring and white and blah, which is not me at all. Now it just feels really fresh and modern with that color.
I'm so happy and it was so inexpensive. I had a lot of these materials on hand, and they're pretty common materials. If you don't happen to have those on hand, this bathroom still would only cost you $198 to do.
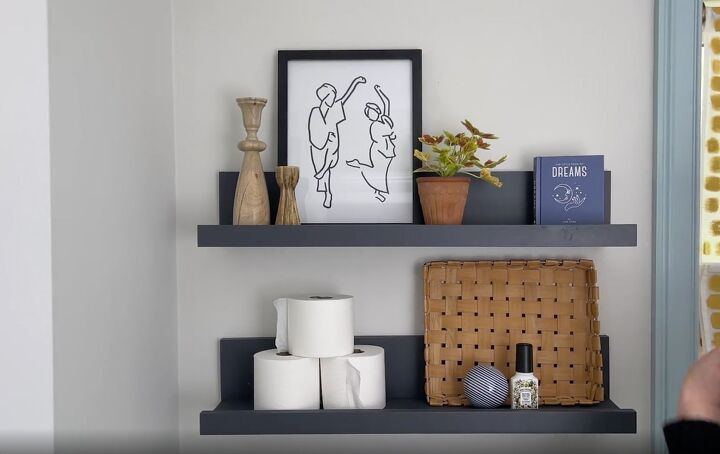
The shelves are really helpful because I can hold some more functional items like extra toilet paper. I like the opportunity that they give this small bathroom for some styling and personality.
More Quick Room Updates
DIY Bathroom Makeover Tutorial
The blue trim also makes such a big difference without having to paint a whole wall.
This inexpensive shade looks really cool painted. I'm so happy with how that came out.
This just feels so much more like us and since really this is the bathroom that we use the most and our guests use the most because it's on the main floor, it was really important to me that it be reflective of our personal style.
It just goes to show that some small little details and a weekend of effort can yield amazing results.
Let me know what you thought of this project in the comment section below!
Resources for this project:
See all materials


Comments
Join the conversation
-
Great job on the rug! So pretty.
-
The window trim and the shelves added so much interest. Where can I find more on how you did the art? And I love the shade!


Frequently asked questions
Have a question about this project?
Love your ideas. Looks lovely and a big change with not too much effort.
ihave tiles topto bottom in my bathroom with a border in the centre. The border I hate. Any ideas how I can change this without removing all the tiles?