


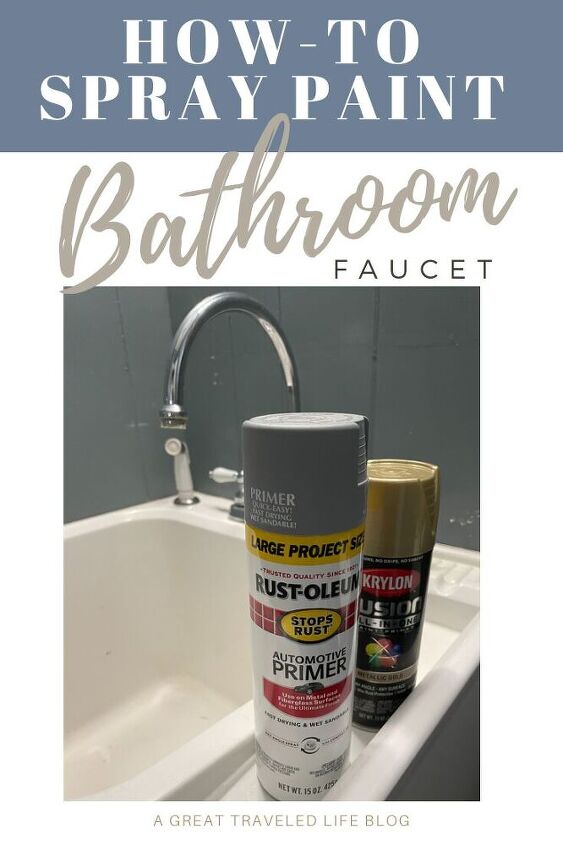
How-To Spray Paint a Bathroom Faucet

How many outdated shinny chrome fixtures do you have in bathrooms and sinks that are just begging to be changed? I have way too many and it would be a fortune to fix them all so decided to try a more economical approach, Spray Paint.
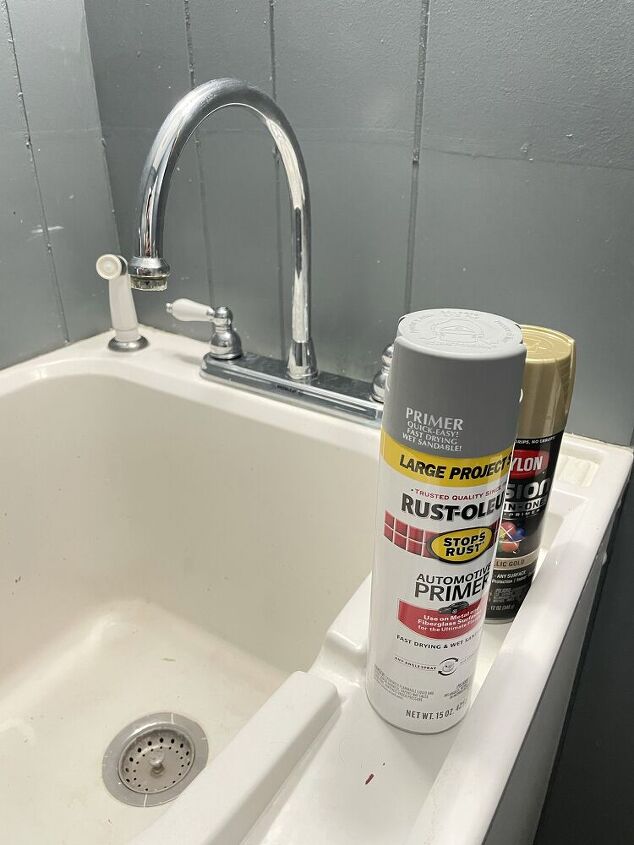
I’m not going to lie, I was a bit skeptical, and so I tried this technique on our utility sink in the powder room. This technique is so incredibly easy and it only requires a few simple steps.
What You’ll Need:
- Automotive Primer- This will help stop any rust and will help mattify the shiny metallic finish so that the next layer can adhere to it better. I used Rust-oleum Automotive Primer.
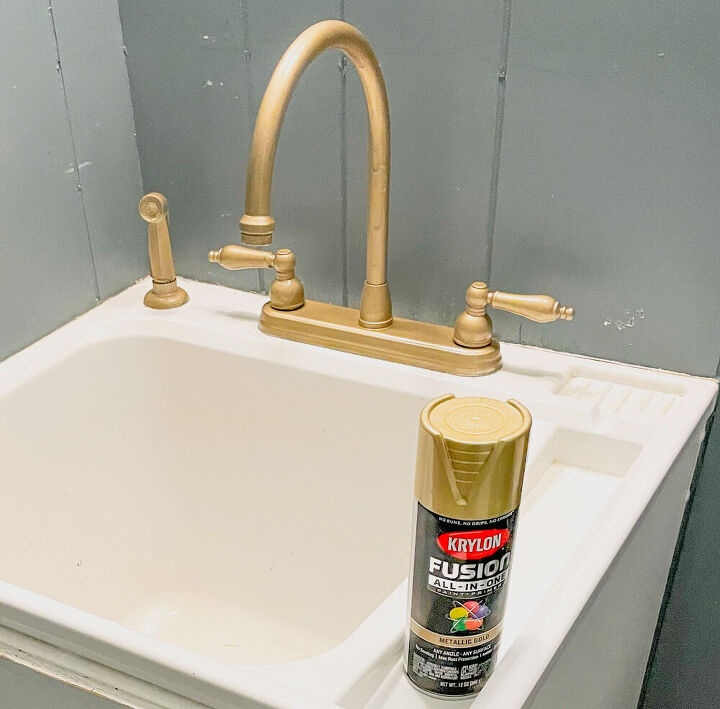
- Metallic Spray Paint– I chose to use Krylon Metalic Gold
- Plastic Tarp– A few plastic trash bags will do the trick.
- Painter Tape
Let’s Get Prepy
This process does not require you to undo the fixture or to mess with the plumbing but you are welcome to if it’s easier.
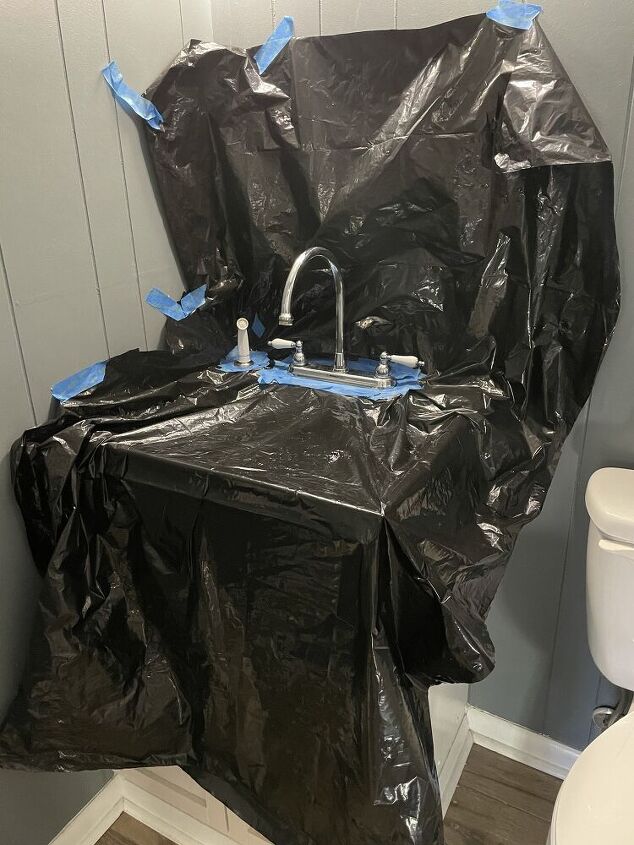
The first step would be to prep the surrounding space. I took a few trash bags and draped them over the vanity and taped it up the wall to protect from overspray. Use painters to tape to tape around the faucet to protect the vanity.
Tip:
Make sure your space is really clean. Wipe down your faucet and the surrounding area.
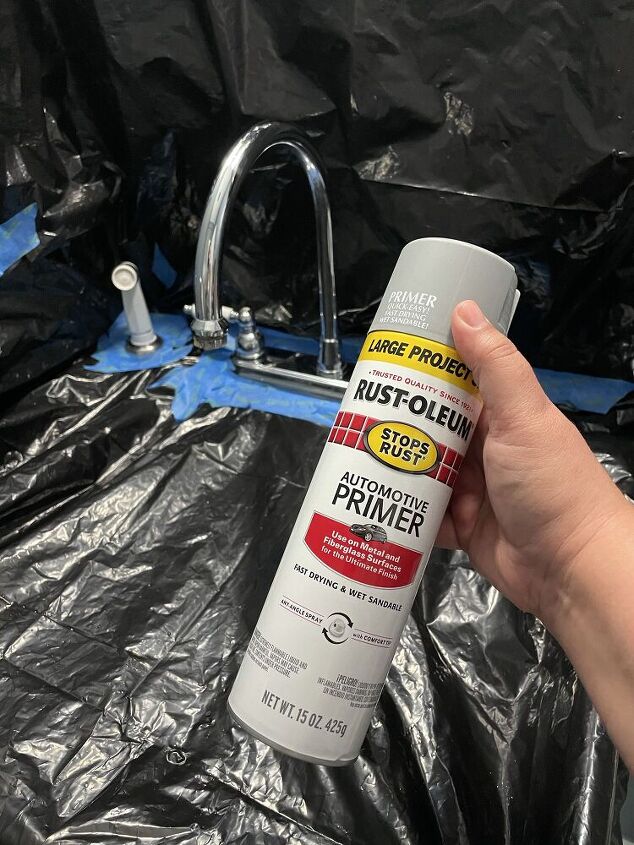
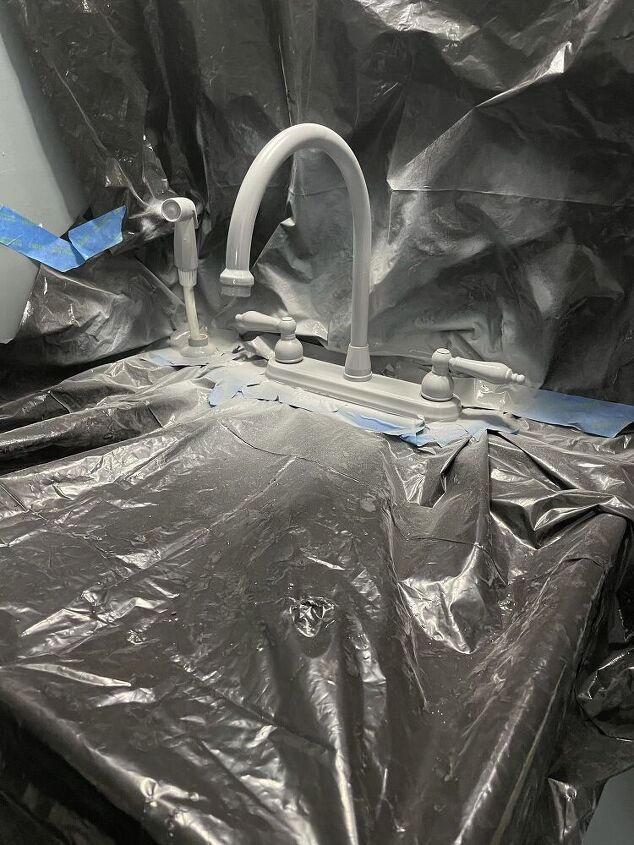
Now we’ll give the faucet a good coat of the Automotive Primer. Follow the manufacturer’s recommendations. Let it dry.
Everything is Better Gold
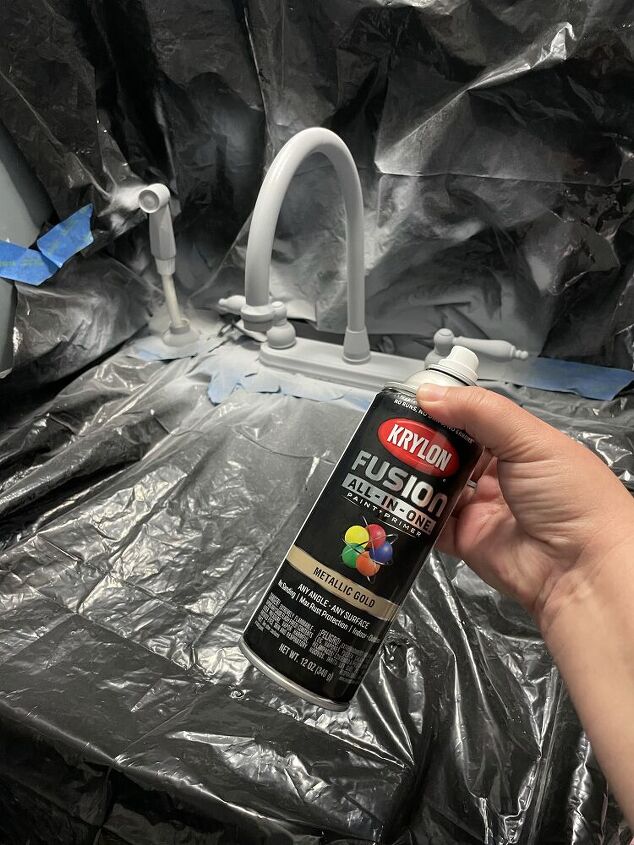
This step will bring the fixture back to life. Once the first coat has dried, spray the first coat of the Metallic Gold. This may require a few layers. Use the manufacturers recommendations.
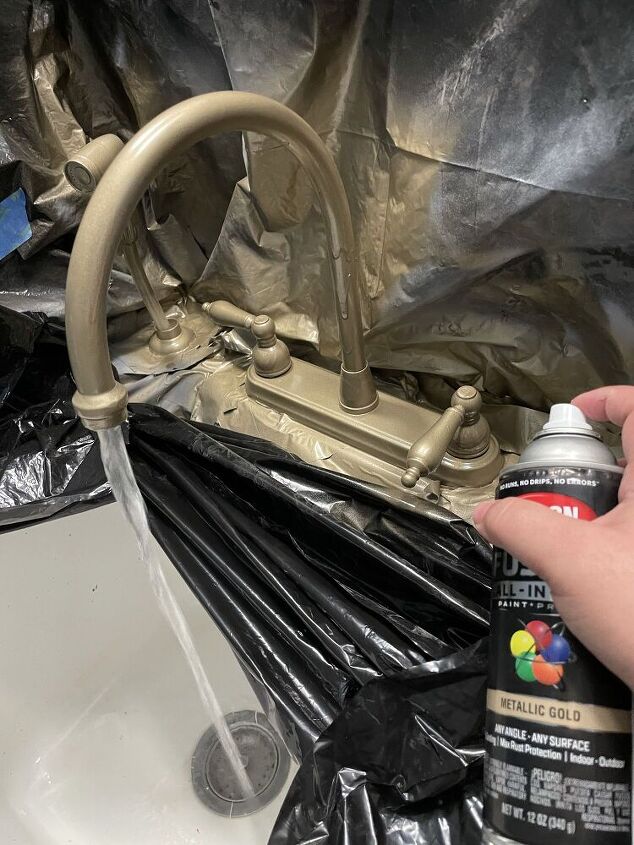
Make sure to spray in all the nooks and crannies and to get the underside of the fixture. Rotate the handles (while remembering that your WATER IS STILL ON) a few degrees to insure a full 360 spray. Also, don’t forget any accessories such as sprayers.
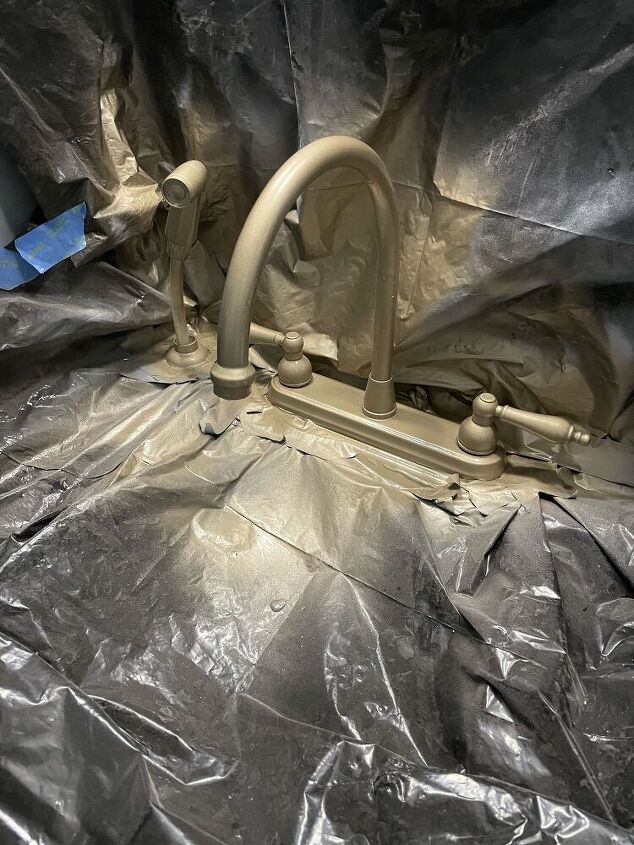
At this step, I have read that you can seal everything with a sealant or you could end the process here. For this project, I chose to end the project here. This particular faucet is in a minimally used 1/2 bath that doesn’t get much use.
Please follow along for all of my Powder Room Renovations!
Affordable Ways to Update Your Home


Comments
Join the conversation
-
Looks nice for your purpose!! And considering that you had the materials on hand - very good use of them. But, if you are planning on a redo in a heavy use area- consider looking for a discounted purchase- or doing it as the plumber advised in earlier posting!! There are many places you can search for beautiful supplies that can be gotten at fairly good prices- salvage, sales, - search them out! But this did turn out lovely 🥰
-
Thank you for this DIY! I am painting my bathroom walls and doors and was wondering if I could do the doorknobs. You gave me the answer I needed.👍️


Frequently asked questions
Have a question about this project?
My powder room faucet is covered in white plastic coding, should I take that off before sanding or sand the coding, then primer?
Has the paint flaked? I would be shocked if you said not at all. You need to sand the surface- well. I used medium grit sandpaper. When I did mine I missed sanding a spot, that spot peeled. So had to strip entire faucet and start over. I now sand 3x to be sure I got ever nook and cranny. Then self etching auto primer (2 thin coats) then paint (3 thin coats) then I always do 2 coats clear. Mine has held up well- 2 yrs on first one I did. Not sure you could reach all areas to sand with it in place. If doing a sprayer, I would cut a paper or thin cardboard circle and push it over area with holes. Remove after painting.
You didn’t mention the sink drain stopper. Did you also paint it or leave it the original color?