


Farmhouse Inspired Bathroom Makeover - The Vanity
Updating our bathroom vanity with paint.

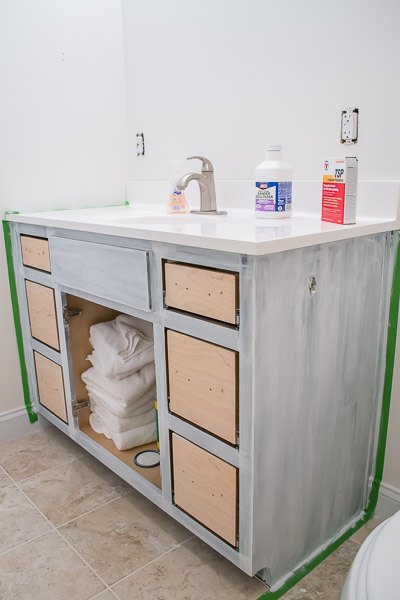
For the past 2 weeks I have been working on painting the bathroom vanity. I love how this vanity was transformed with paint. I would like to tell you that this process was easy and that it went smoothly. Some parts of the project were but other parts were challenging.
I purchased the paint and primer from Benjamin Moore and TSP from Lowes Home Improvement. I used Stix primer and Benjamin Moore Advance Self Leveling Paint in Gray. The cost of the paint and primer was around $25 per quart, $50 total. This may seem expensive for a quart of paint and primer but I wanted to use products that were good quality and suited for this project.
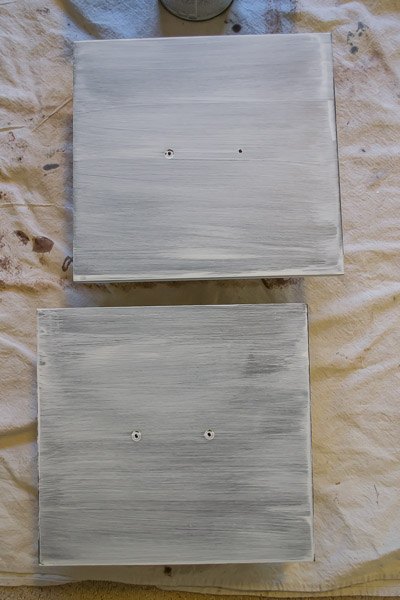
The same process was applied to the doors and drawers. I applied 2 coats of primer, sanding in between coats.
I rolled the first coat of the gray Benjamin Moore Advance paint on the cabinet. The paint is self leveling and dried to a smooth finish. There were some spots that needed to be sanded as seen below. Again, I did a light sanding in between coats with a 320 grit sandpaper. I removed any particles with the vacuum and wiped down with a damp cloth. I allowed the vanity to dry overnight before applying the second coat of paint.
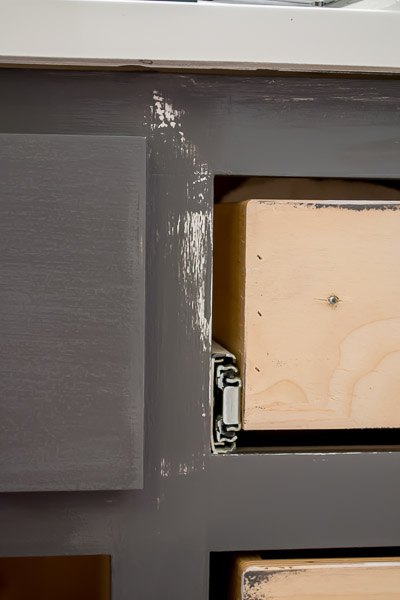
Here is where I started having some issues. I prepped the doors the same way as the drawers and vanity base. I used the de-glosser, primed the doors with 2 coats of primer, sanded and cleaned in between coats. I applied the first coat of paint and it looked awful. I reused one of the mohair rollers that I had cleaned after painting the drawers and base. Well, that didn't work out very well. This resulted in an uneven and inconsistent finish. I ended up sanding the doors to remove the paint and achieve a smooth paintable surface once again.
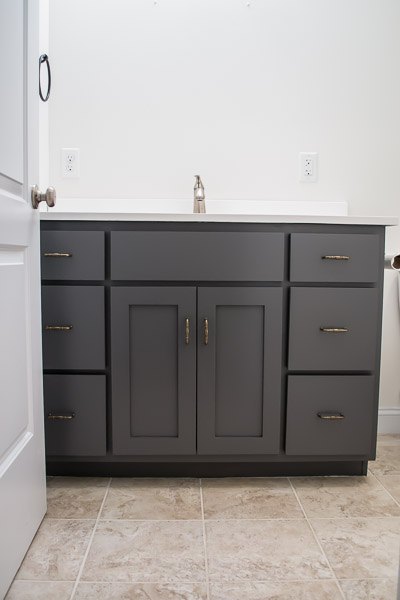
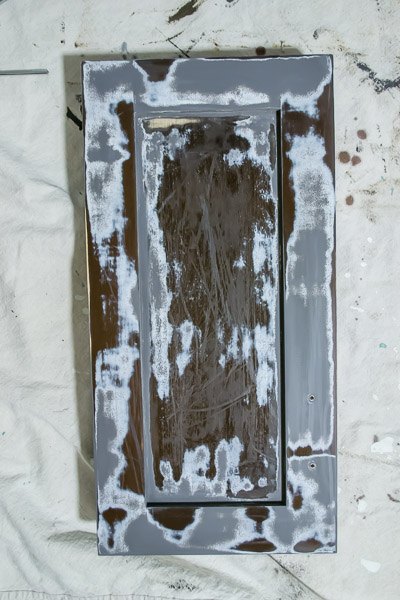
This is finished doors after they had been re-sanded twice, 2 coats of primer, and a total of 6 coats of paint. There are still some imperfections but they are small. Small enough for me to live with. I definitely didn't want to repeat the above process all over again.
Here is the before and after of the walls and vanity after they have been updated with paint. So far, I love the transformation. For more information about painting our vanity, visit our blog.

Want more details about this and other DIY projects? Check out my blog post!
Comments
Join the conversation
4 comments
-
Gorgeous!
-
It turned out beautiful!! I did my kitchen cabinets and also my counter to look like granite with paint. I used the deglosser well but sanded then used a paint made for cabinets then sealed with a clear coat. Not sure what went wrong with yours. Do you think it was the type of wood or sanding after applying the primer? It looks beautiful regardless!!


Frequently asked questions
Have a question about this project?