


How to Create a 5 Stain Ombre Dresser

Back when we first started flipping furniture, creating an ombre effect was one of the first looks we experimented with! We had seen a variation of it done on Pinterest and decided to give it a try - and it was alot easier than we thought! We have now done about half a dozen dressers in this style and have found there are a number of ways to achieve this look, but using multiple stains is the easier method for sure. Here is how you can achieve the same(:
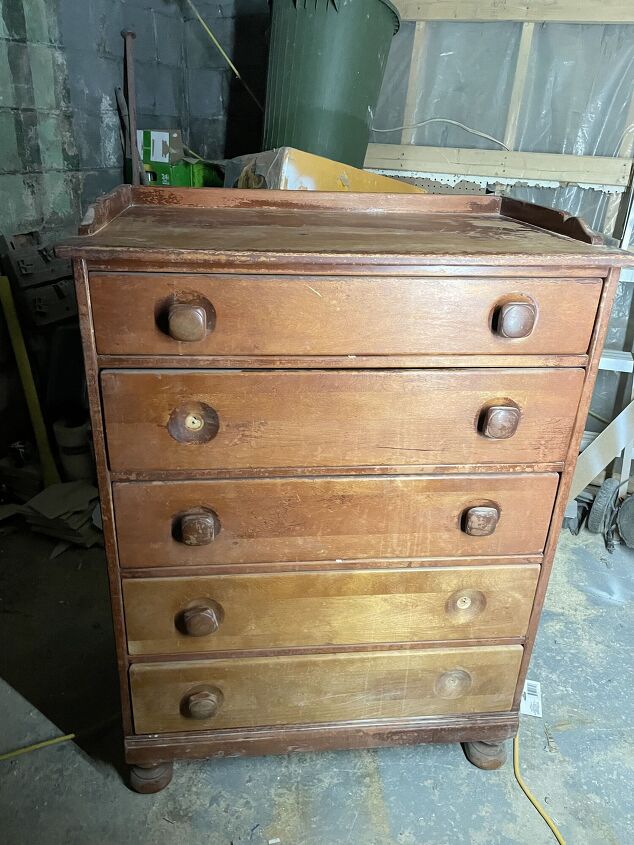
When we got this 5 drawer tallboy we thought it would be perfect as an ombre dresser! To achieve the ombre look, we try to create a gradient of wood tone on the drawers from lightest to darkest (starting at the top and working down). This gives a much more unique look compared to just one stain colour!
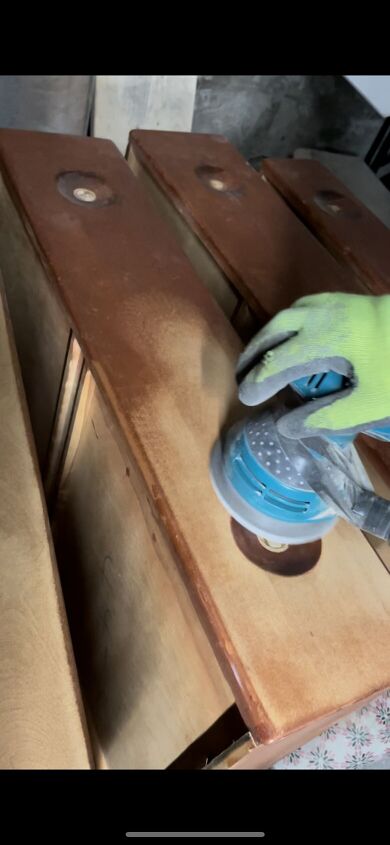
To prepare for stain, we sanded down all the drawers to get rid of any finish that was previously on them. We used a 120 grit to remove the finish and then a 220 to smooth the surface. Typically, when picking a piece to try this look on, it is best to use a lighter wood as your base. In order to achieve multiple wood tones, the lighter the better - it is easier to make light wood darker than it is to make dark wood lighter. Once the drawers were fully sanded we vacuumed and cleaned them all and lined them up in order in preparation for staining. It is important to ensure you have your drawers numbered or in order of how they fit in to the dresser before staining, because with an ombre effect the drawers will need to go in a specific order.
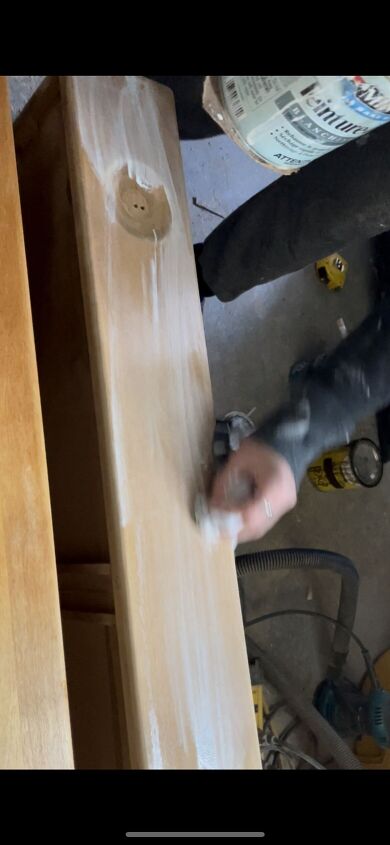
The order you stain in is up to you, but starting from the top we did a white wash to create the lightest drawer. The white wash we used was White Wash Pickling by Minwax but any white wash will work! Depending on the white wash you use, it may need 2 coats to ensure it is light enough because the most important thing is having a strong enough contrast between drawers so that they look different. You want it to be obvious that this is an ombre dresser(:
For the second to lightest drawer, we used a poly top coat to darken the light wood slightly. This is the most "natural" looking drawer. We used Minwax's water based poly in satin, but any poly will do the trick!
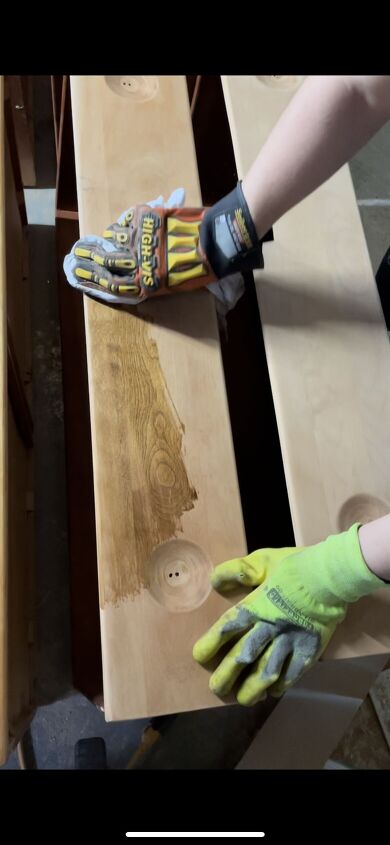
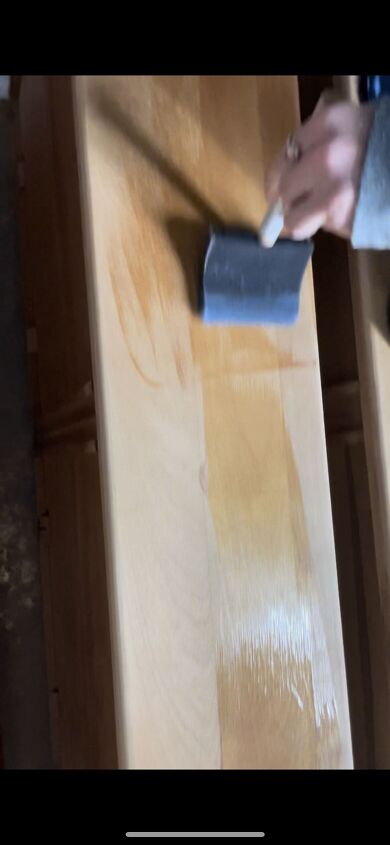
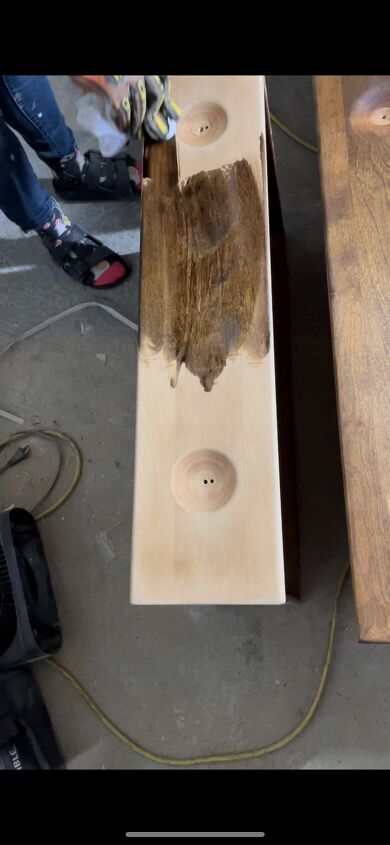
For the third drawer, we used a lighter more golden stain to ensure it was darker than the second drawer. Any lighter brown stain will work but the stain we used was Early American by Minwax. Ensure that when you are staining to rub it on evenly with a dry clean cloth because using a foam applicator and letting it sit might make it darker than the desired tone.
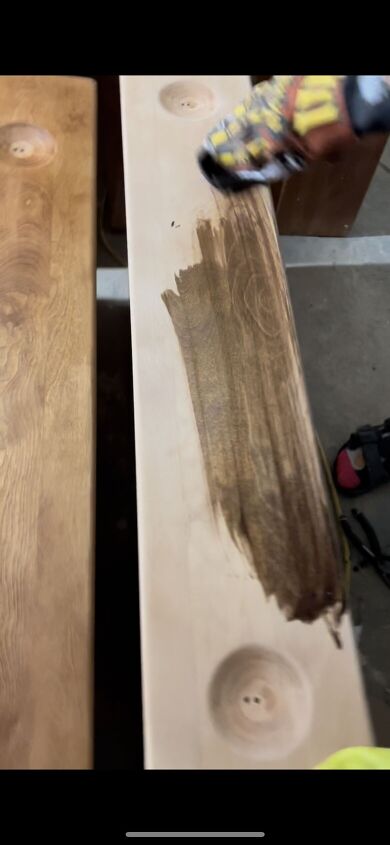
We stained the fourth drawer in Provincial by Minwax, a darker brown stain than the third drawer. Simply rubbing this stain on with a cloth created a darker look then the third drawer because the stain itself is a darker tone. When choosing stains for a multiple stain ombre, the easiest way to ensure all the drawers will look different is by choosing stains that are quite different looking from each other to begin with. That way, you can freely apply the stains in the same way for each drawer and the contrast should be there automatically. If this fails, applying a second coat will make it darker so there is always room for improvement if you don't get the desired look with the first coat.
For the fifth and bottom drawer, we used the darkest stain we had which was Dark Walnut by Minwax. This drawer turned out to be not as dark as we would have liked in comparison to the fourth drawer so we let it dry and did a second coat to darken it even more. After the second coat, there was enough of a contrast and we were happy with the lineup of drawers(:
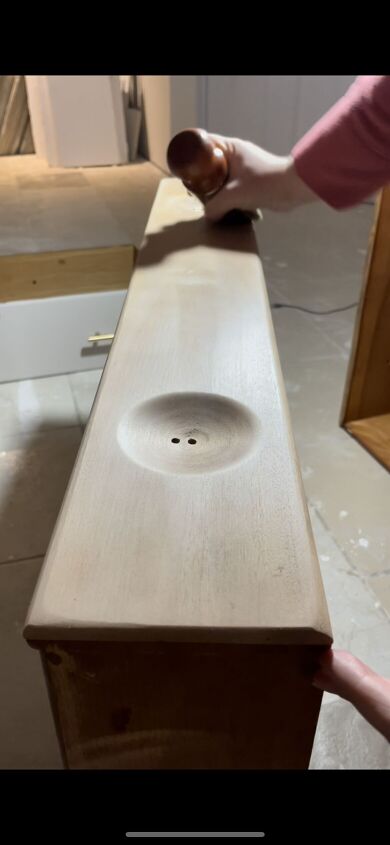
The last step in creating our ombre drawers was protecting and sealing them all. About 24 hours after staining, we applied a homemade wood balm to all of the drawer fronts, but you could use any wood wax/balm. This allows the wood to be protected and nourished and because of the stains we had applied, it didn't alter the tone of the wood at all.
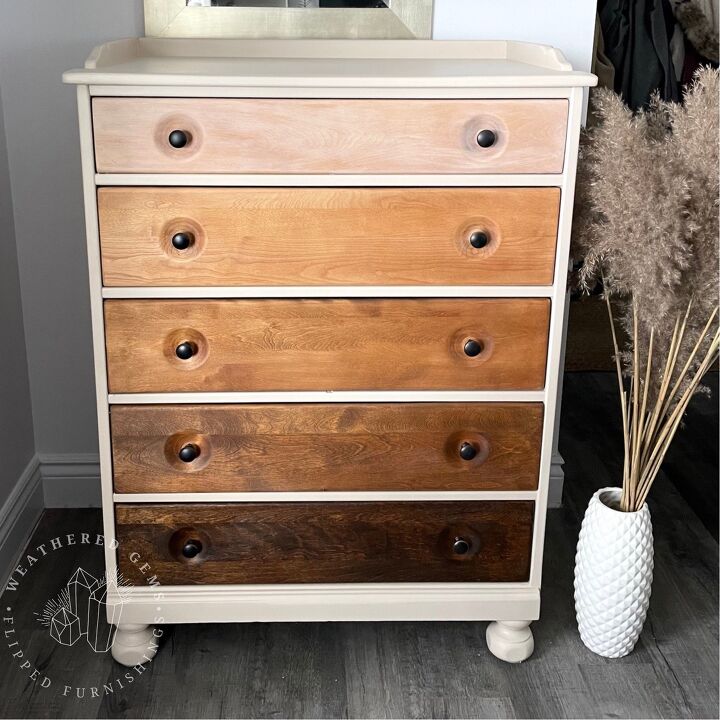
This is how it looked in the end! In the past we had only done 4 tones so we were SO happy with how our first 5 stain ombre turned out(:
Comments
Join the conversation
-
A very nice compromise on the paint vs. wood debate. It looks great! Thanks for sharing. :-)
-
I don’t usually like painting good wood but in this case you did the right thing as it frames the stains. I don’t think staining it all would have looked right.


Frequently asked questions
Have a question about this project?
Love the drawers. What did you use on the body of the dresser?