


How To Paint Polka Dots On Furniture
I have had this small old dresser since I was a student. My aunt gave it to me to help furnish my first digs. She'd had it for many years herself. Even though it was very old, the dresser was certainly no antique. It wasn't a particularly great looking piece of furniture either. However, it has been very handy, and has served as a dresser, nightstand and coffee table over the years. Now it sits in the empty fireplace in the den storing all the family board games.
I thought it was about time that I gave the dresser a funky makeover with Polka dots. Polka dots are on trend in interiors at the moment.
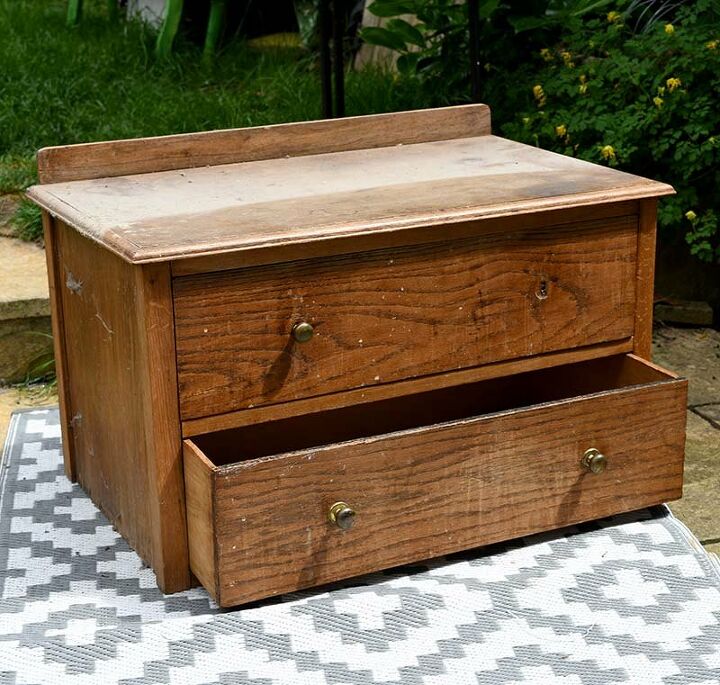
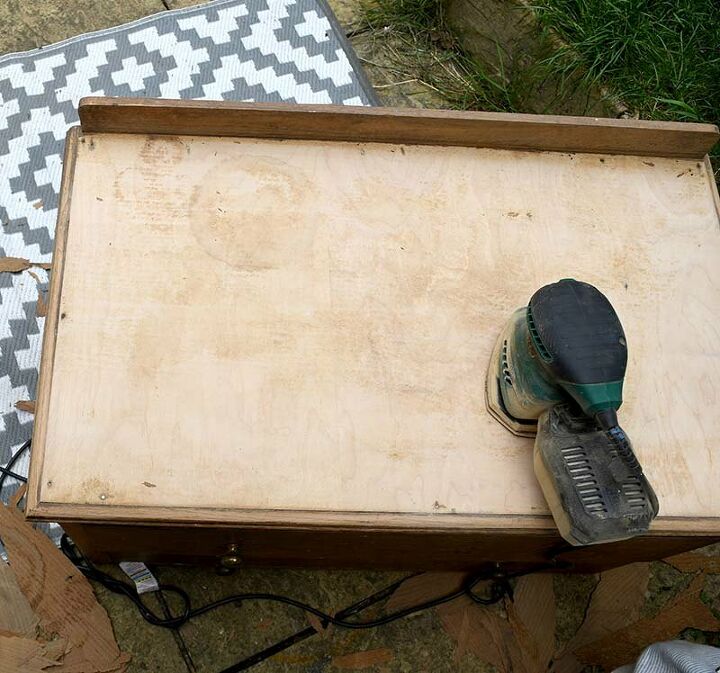
The first thing I did was to remove the handles (it was missing one anyway), and then to sand the whole piece of furniture.
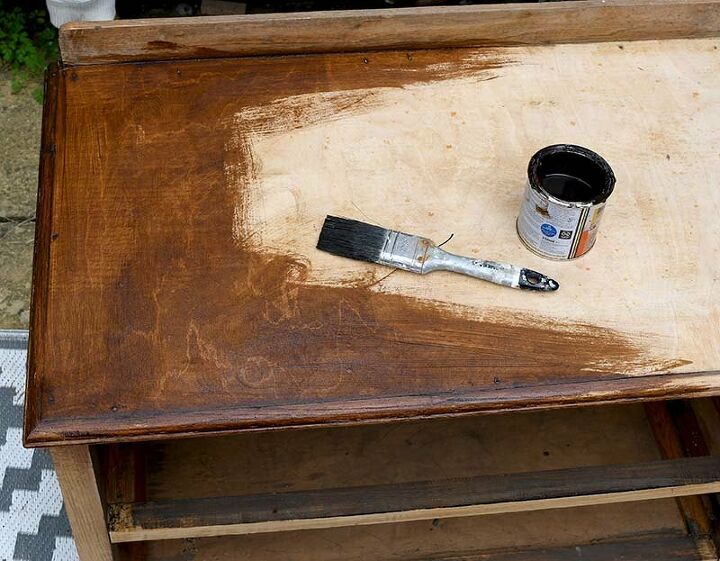
The next thing I did was to use a dark wood stain and wax to stain the dresser carcass. I left the drawers as I was going to paint them.
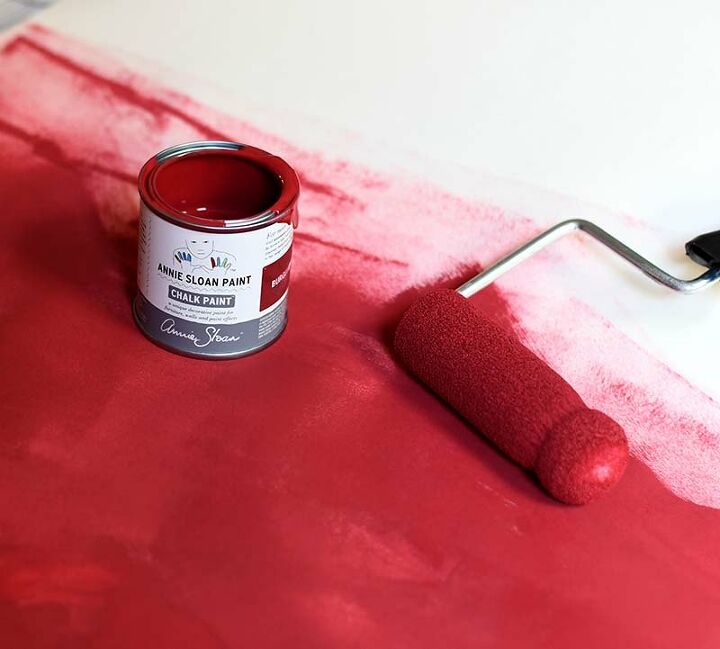
I decided to paint the drawers with chalk paint. As I had great success with this in the past, with my fabulously popular curiosity cupboard upcycle (see it here).
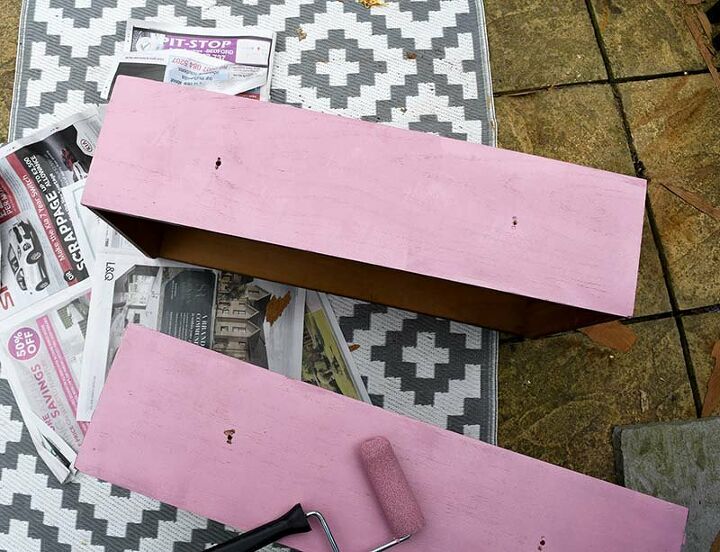
I painted the drawers with a small roller to get a smooth finish and to avoid brush marks. As I was only painting the drawers a tester pot of chalk paint was sufficient.
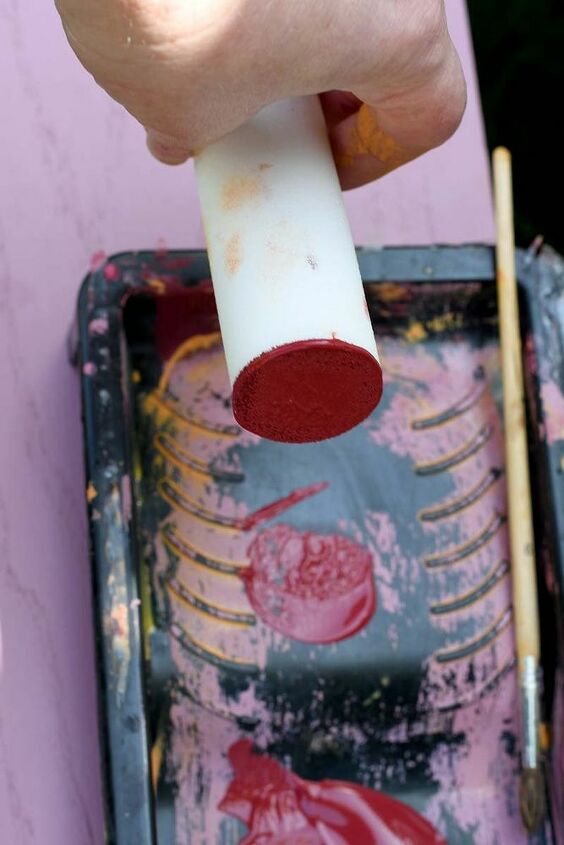
For the Polka dots, I used a second tester pot of chalk paint. This time in a contrasting colour. I used the end of a small foam roller to stamp the polka dots onto the drawer fronts.
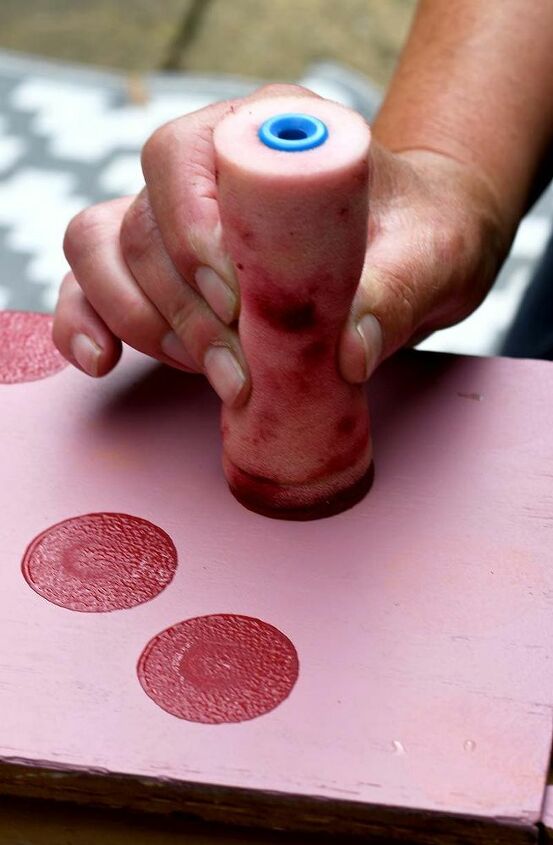
After dipping the end of the foam roller in the paint, stamp it onto the drawer front. Press down firmly before releasing.
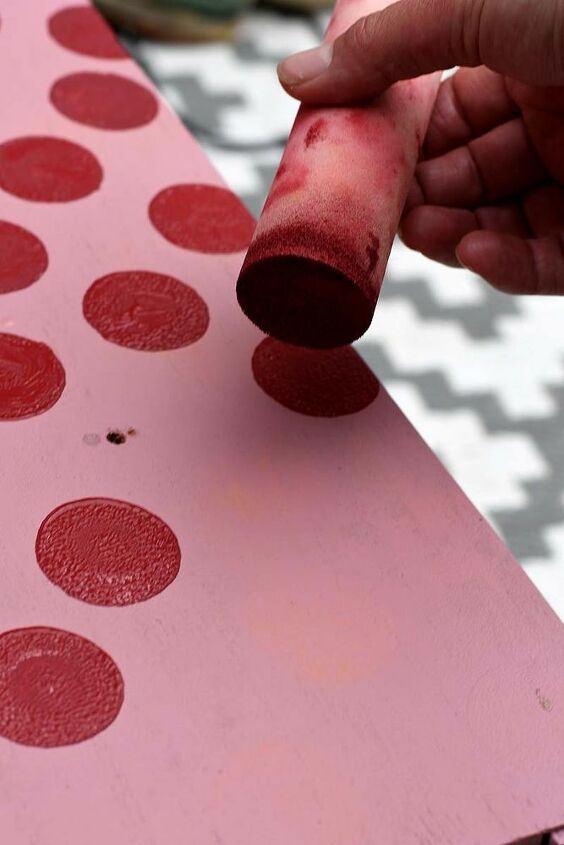
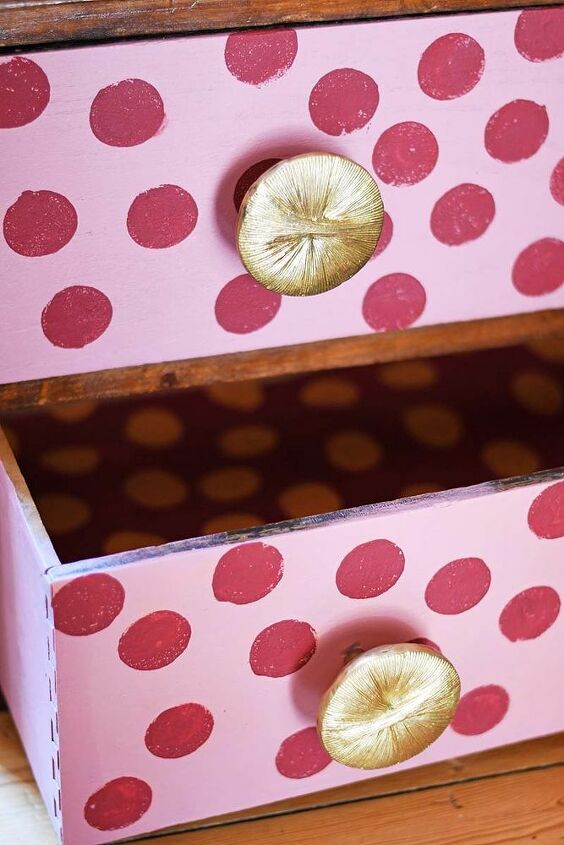
I covered the front of both drawers in polka dots.
To make paper liners for the drawers, I painted some lining wallpaper and also stamped this with polka dots.
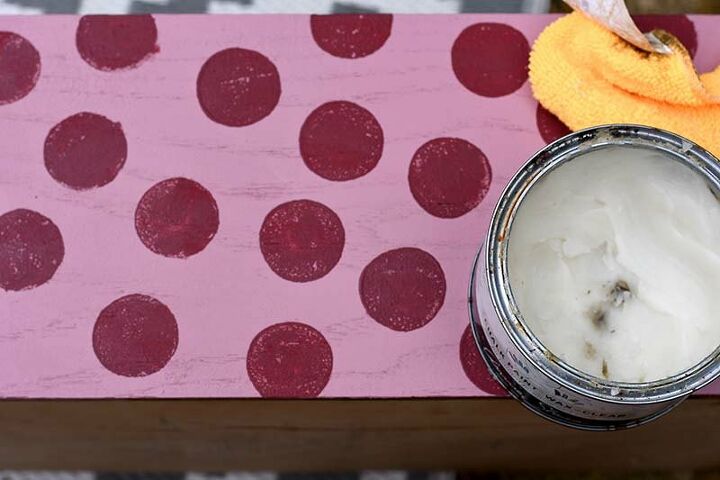
Once the paint had dried, I waxed the chalk paint with a clear wax.
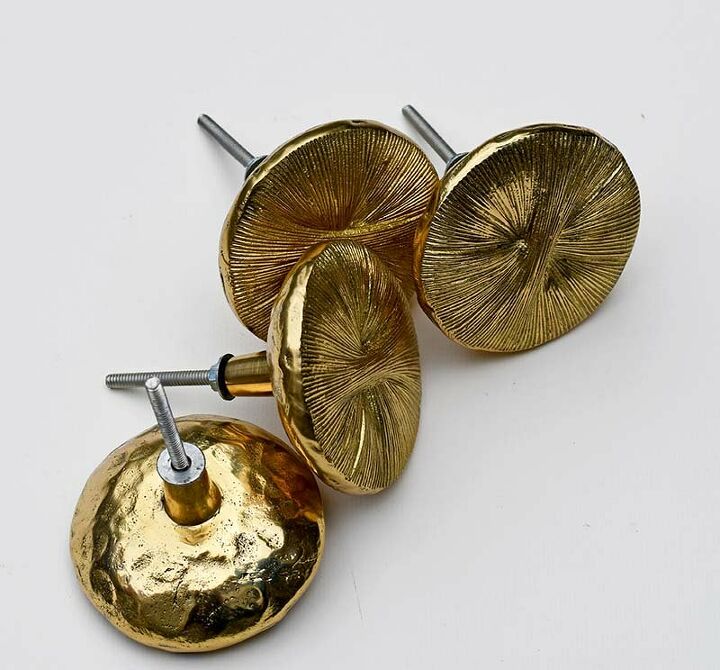
I replaced the knobs on the drawers with some fabulous large round ones I had bought in the Anthropologie sale.
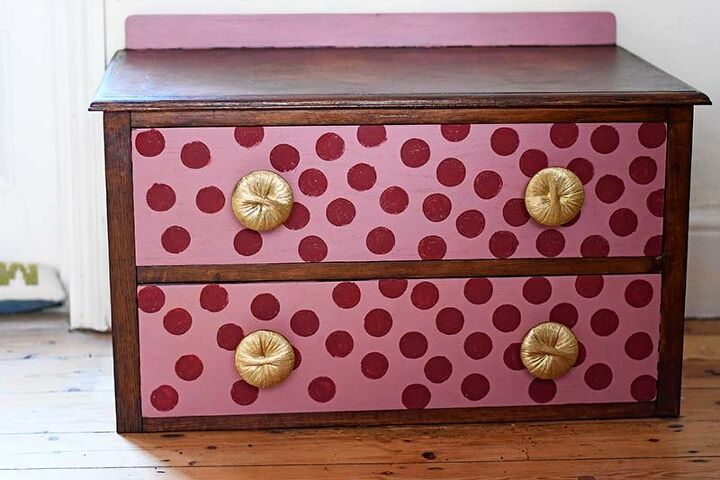
I loved my updated dresser. I now think it's too good for the study fireplace and has now been moved back into the master bedroom.
This isn't the only bold piece of furniture upcycle I have done, you should check out my cocktail craft cupboard combination here.
For more photos and details go to the blog post at the end.
Resources for this project:
See all materials


Frequently asked questions
Have a question about this project?