


How to Upcycle an Old Wooden Chest With Chalk Paint

Do you have old furniture in need of a makeover? Here’s how to upcycle an old wooden chest with chalk paint.
This chest would have taken a lot of time to restore. So, I chose to have some fun with this makeover. Instead of using wood filler to smooth out the dents, I covered them up with texture.
It’s a very different result in the end. It’s not to everyone’s taste (wouldn’t that be boring?) but it’s no longer shabby and unloved.
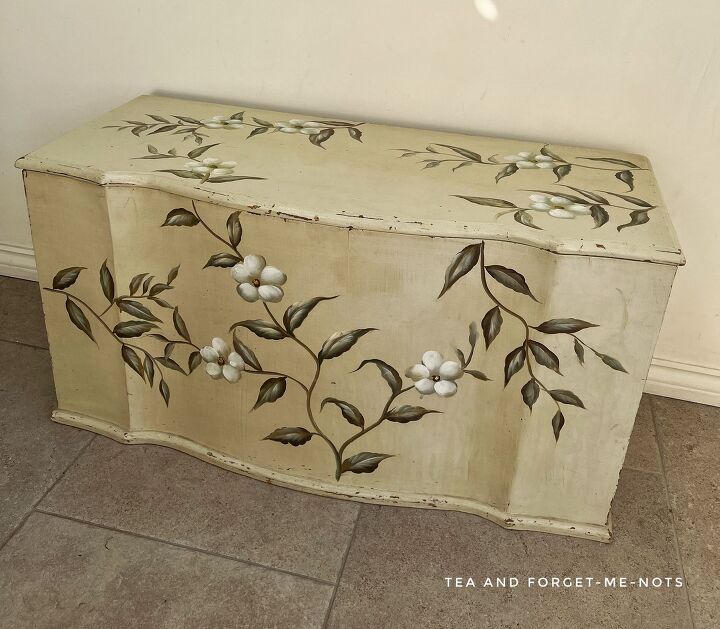
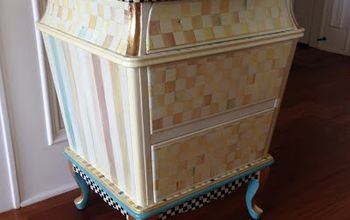
I got this chest for free from Facebook Marketplace.
It was in reasonable condition. It had a few dings and dents around the edges, one split in the veneer and a broken hinge. But the actual piece was structurally solid and had a lot of life left in it.
To start, I cleaned the chest with White Lightning. Which you use by dissolving the granules in warm water. Then to finish, I went over it again with clean water to get rid of any leftover soap.
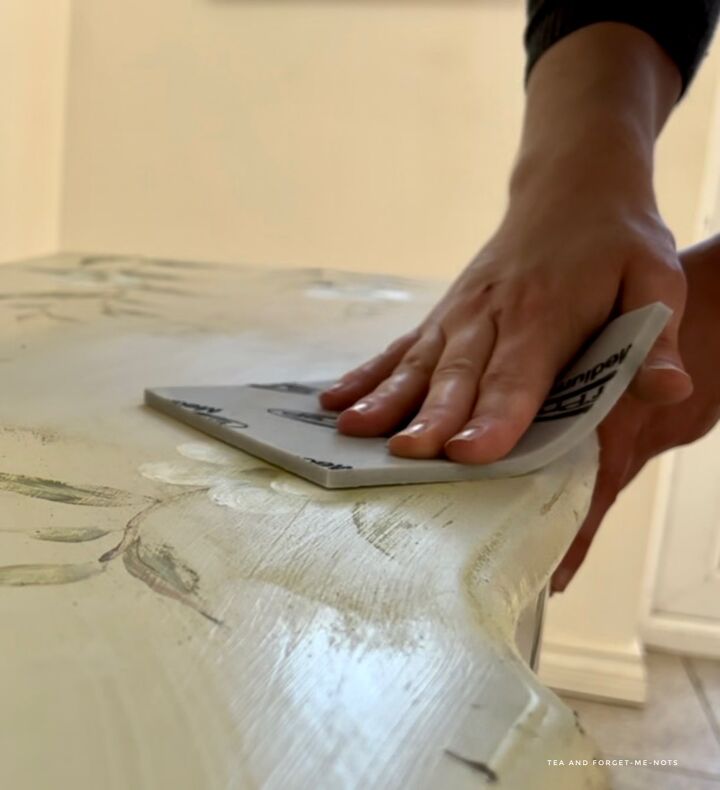
As most of the chest was curved, I was careful with how much I sanded it. Using an orbital sander is effective but I didn’t want to risk causing indentations on the curves. So I used the orbital sander on the top of the chest and lightly on the sides.
I wasn’t trying to sand out the dents so a rough sand was good enough. I used medium grit sandpaper on the edges to make sure that the chipped paint was smooth.
Fair warning. I used a lot of products on this piece and wanted to go all-in on its transformation!
Because I only lightly sanded the piece, I did one coat of Slick Stick all over to help create a matte texture for the chalk paint to stick to. Slick Stick is white, so it also helped cover a bit of the original colour underneath.
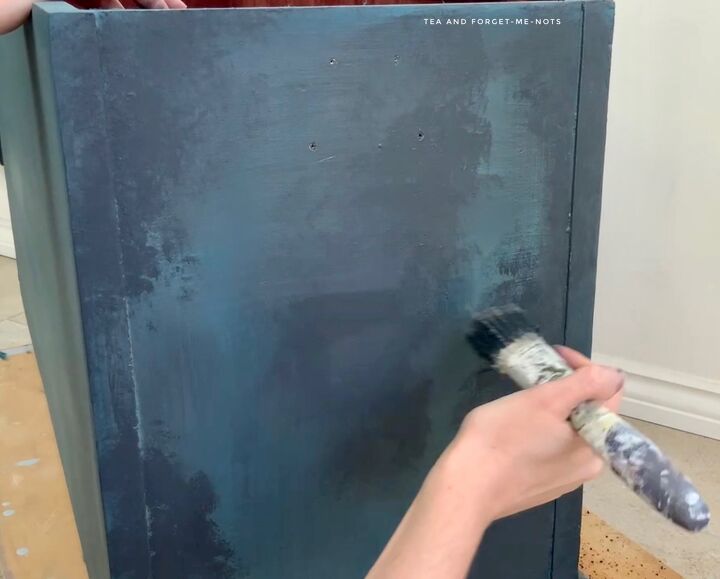
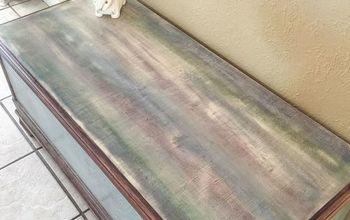
I started by using this beautiful teal-like colour, Antebellum Blue. I chose blue because I wanted a nautical-themed chest. Two coats were enough to get good coverage, although it was mostly hidden by the paint in later steps.
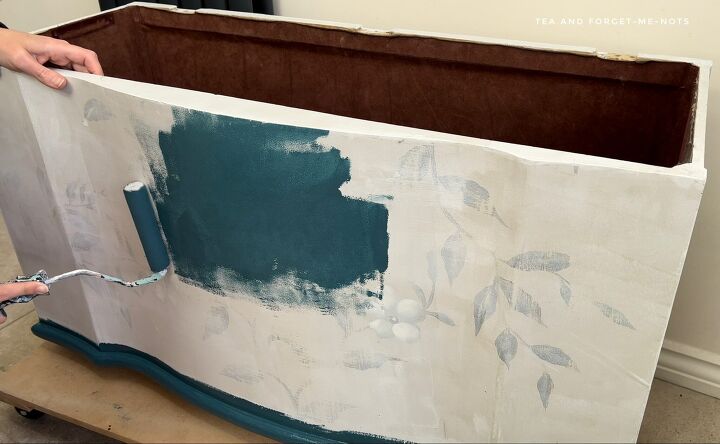
Next, I used the grey, Stormy Seas. I added it to the edges and ridges to create some dimension within the paint. So that it would look aged and worn, the layers of paint show glimpses of the various colours beneath.
I used a bottle that sprays a fine mist of water over the chalk paint to help blend it out and move it around. I wasn’t worried about it looking beautiful at this stage because there was going to be more to come.
Adding texture to the chest
Now for the fun bit! While I was happy to have some dings visible to show its age, I also wanted to add more texture to roughen up the surface. This was my first time using the product Sea Spray. It’s a chalky substance that you mix into chalk paint to create texture and thickness.
I mixed it with the black paint, Anchor. And this is the stage where doubt crept in!
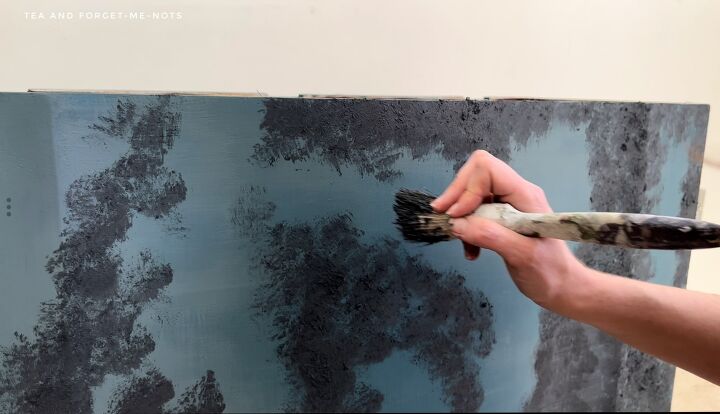
Whilst I was having fun, which is one of the main things when upcycling, I was also starting to question my choices. But I decided to trust the process. There’s no point going back before you’ve finished as sometimes these things do still turn out well.
With my trusty spray bottle in hand, I got it back on track by blending the black in more.
The Sea Spray was good fun to use. After it had mostly dried I dabbed at it with a stiff brush and it took off some of the texture and black paint to reveal the colours underneath.
As I was going for a nautical look, I decided to add some metallics. I chose Autentico’s Sparkling Copper Furniture Wax. This had the benefit of both sealing the piece and adding the metallic shine I was hoping for.
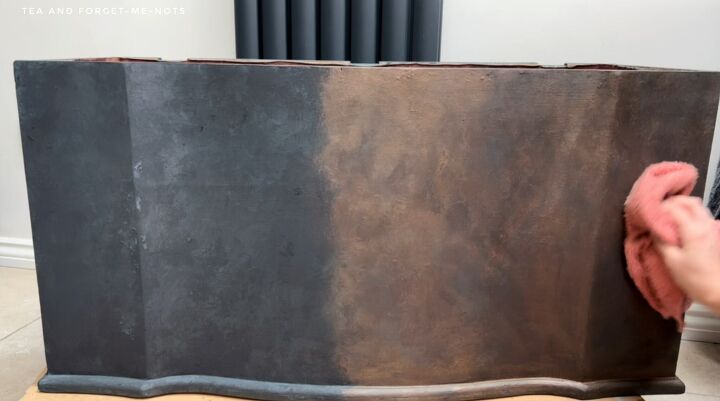
I covered the whole piece with the copper and dabbed it off with a flannel to break it up a little. I did half of the chest first just to see how it compared to the side without the copper. Between the texture and the copper, it looks rusty and edgy.
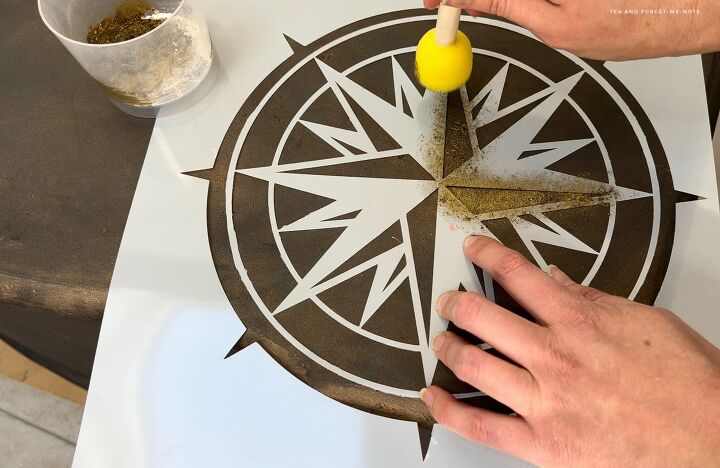
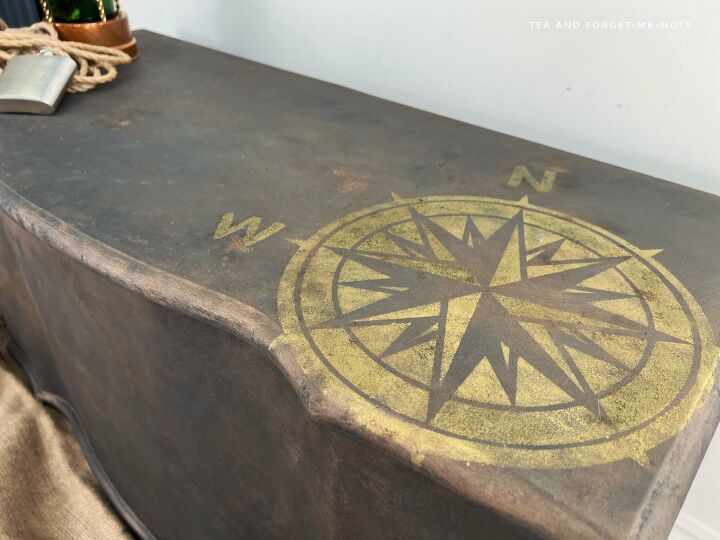
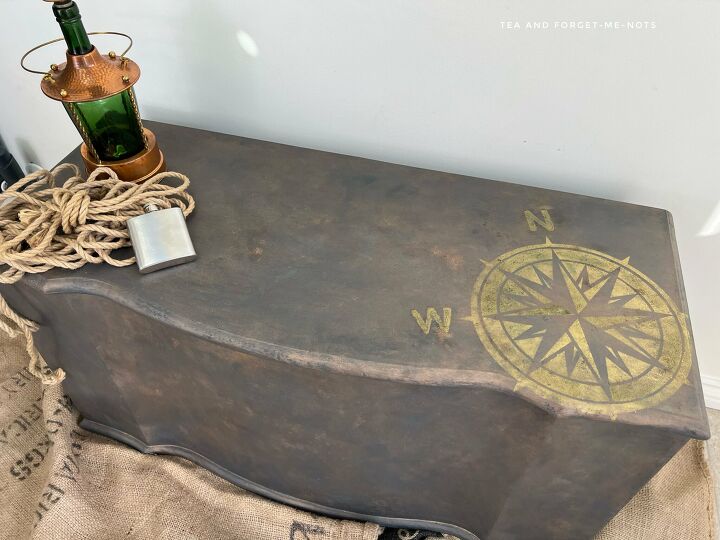
I decided to go all-in on the theme and create a compass stencil for the top. I used my Cricut to cut out the design and added the N and W points separately.
To fill in the stencil, I used Gemstone Mousse in gold and added some Sea Spray to it.
As the final step, I used a little Best Dang Wax in brown on the top, to add to the aged look.
The colour of the fabric on the inside showed that it used to have a lid hinge but it didn’t come to me with one. I thought using a rope would work well with the theme and it attached easily and securely with a staple gun.
So, this old chest has been through quite a transformation. Using Slick Stick, Antebellum Blue, Stormy Seas, Anchor and Sea Spray, Sparkling Copper, Gemstone Mousse and Best Dang Wax in brown. Phew. It’s a wonder that I ever have any clean brushes in the house.
I didn’t know exactly how this chest would turn out but it captured what I was going for. I love the combination of chalk paint colours with the metallics.
The original chest was pretty but no longer in good condition. This one now has a new lease of life.
Want to watch the transformation take place, including seeing the inside of the chest? Check out the YouTube video.
Want to know the 5 tools under £15/$20 that will make your life easier?
Resources for this project:
See all materials


Comments
Join the conversation
-
I really think it’s beautiful.
-
KUDOS!!! From "pig's ear to Silk purse!!!" Creative wins!!! franki


Frequently asked questions
Have a question about this project?
What caught my eye was how that black smudge looked with that room… I like that and I have a blue room I want to smudge up with some black- your project looks awesome!