


How To Build A Rustic Wooden Headboard With Lights

I was looking for a little bit of farmhouse flair in my bedroom and decided that a rustic wooden headboard was the way to go. It completely transformed the look of my entire room, plus it added some much needed function to the space, since I placed lights on the headboard. It’s an easy DIY project that anyone can handle. Trust me, if I could tackle this job, so can you!
Supplies:
- Pine Boards - their lengths will be determined by your bed size:
- 2 - 4” wide boards for legs
- 2 - 12” wide boards for the sides
- 4 - 6” wide boards for horizontal slats
- 2 Lights
- Hammer
- Screwdriver
- Sander
- Drill
- Screws
- Wood Stain
- Rags
- Gloves
- Plastic Drop Cloth
- Safety Goggles
- Measuring Tape
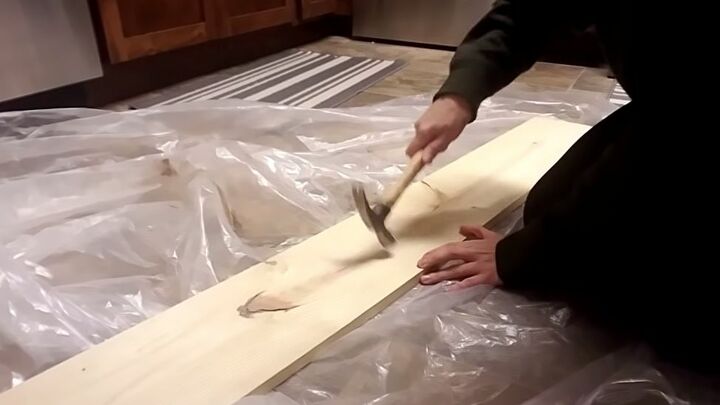
Step 1: Rough Up The Wood
Since I was going for a rustic, farmhouse style headboard, I didn’t want my wood to look too new, so I roughed it up a bit. I laid my drop cloth down, took both sides of my hammer and scraped, dented and gouged the wood all over to give it a little more character.
When I had hit every board, I went back over each one with a screwdriver, but you can use whatever tool you have around and don’t stress about the placement of the marks. The goal is simply to give it a well-worn appearance.
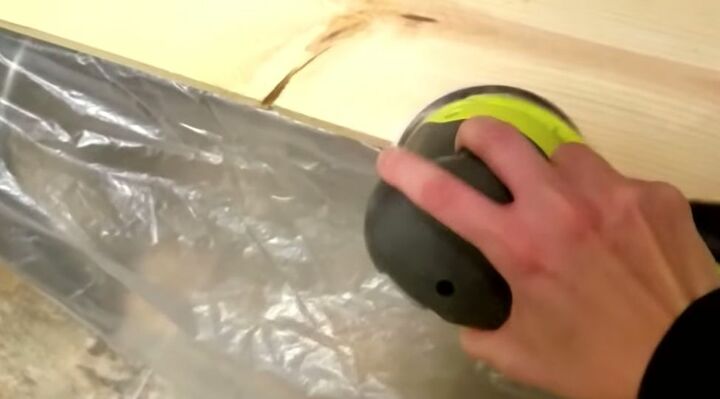
Step 2: Sand The Edges
Next, I put on my safety goggles and ran a hand sander over each piece of wood. This was done to smooth out the edges, making them rounder and softer, again, so they didn’t look brand new. If you don’t have a power sander, you can use a sanding block. It may take a little longer, but it will get the job done.
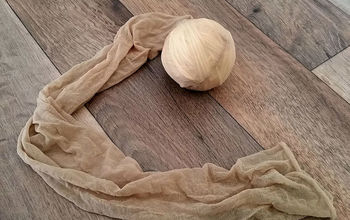
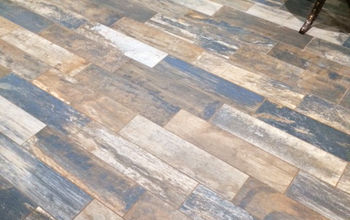
Step 3 : Stain The Wooden Boards
I wiped the boards down with a rag to remove any dust or debris, then, using a clean rag, in a well ventilated area, I rubbed on the stain. I like to use a few different colors on each board to give them some variation and added texture. I didn’t wait for each color to dry in between coats, however I added them one at a time, until I was happy with the way they looked.

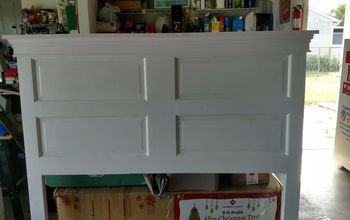
Step 4: Build The Headboard Frame
Once the boards were completely dry, it was time to put the frame together. To start, I placed my 12” boards with their outside edges 72” apart from one another. I did this so the lights would be mounted just outside the edge of the bed. So for my queen size mattress, this headboard was 6” inches wider than the mattress on each side, leaving plenty of room for the fixtures. If the lights had been hung directly over the mattress, I would’ve run the risk of hitting my head on them and that wouldn’t make for a restful sleep!
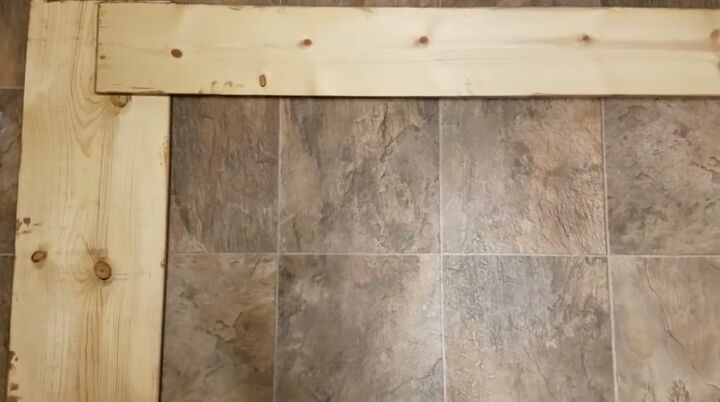
Step 5: Add The Slats
Next, it was time to add the horizontal slats. With the stained sides facing down, I placed each of the four boards on top of the side boards, overlapping each end by about 3.5”. The top of the side boards, where I would mount the lights, and the top of the first slat were even, creating a perfectly straight line.
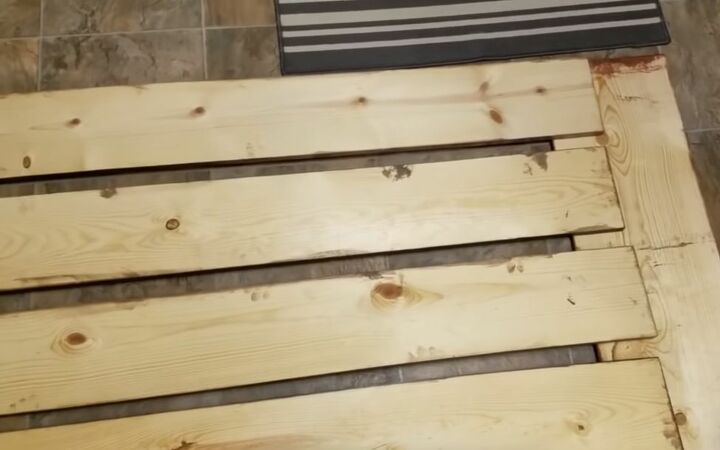
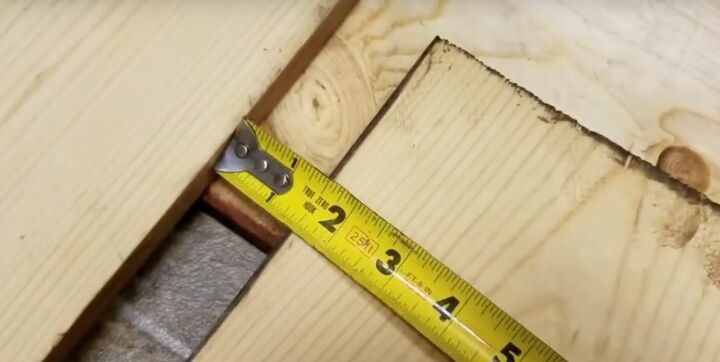
Step 6: Measure The Spaces
I measured to make sure that all the boards were all spaced out evenly. I left a 1.5” opening between each slat and measured left, right and middle to make sure everything was uniform. You can increase or decrease the space between boards to suit your personal style.
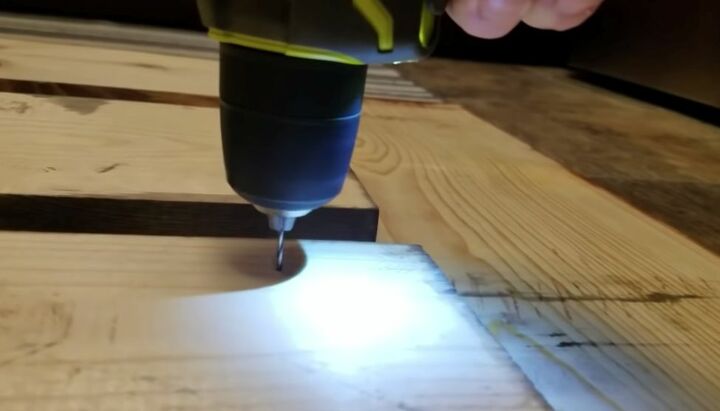
Step 7: Drill Pilot Holes
When I was happy with the design and sure the measurements and spaces were correct, I grabbed my drill. At first, I used a narrow bit to drill small pilot holes in the wood. The pilot holes marked my spots and prevented the wood from cracking when I added my screws.
Step 8: Screw the Boards Together
Using the drill, I screwed the boards together where the wood overlapped. I used two screws for each board, but if your boards are larger you may need more for it to feel secure. Also, it’s important to choose the proper size screw. You don’t want ones that are too long for your wood’s thickness or they’ll pop out the other side.

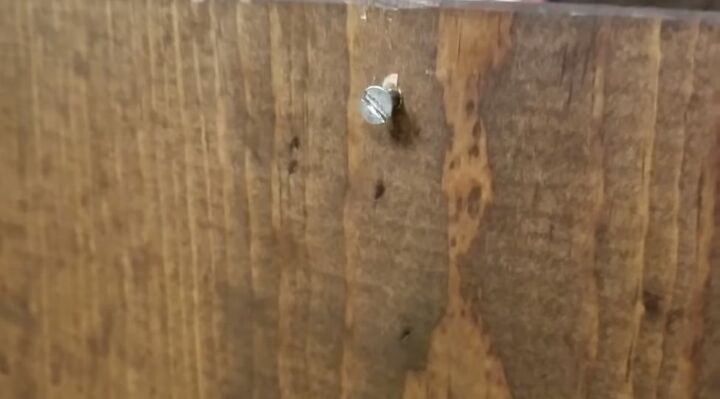
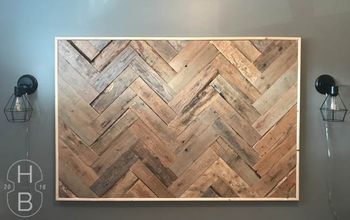
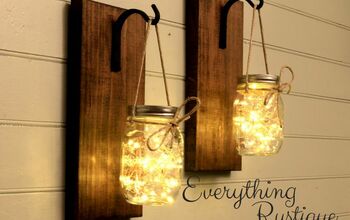
Step 9: Hang The Lights
Hanging the lights was a simple task. I sunk a screw about halfway into each side board and then I hooked the lights on, slipping the screw head into the keyhole cut outs on the back of the lamps. I centered the lights in the middle of the side boards of the frame, however you can place them where they work best for you.
Step 10: Add Legs and Attach Headboard To Frame
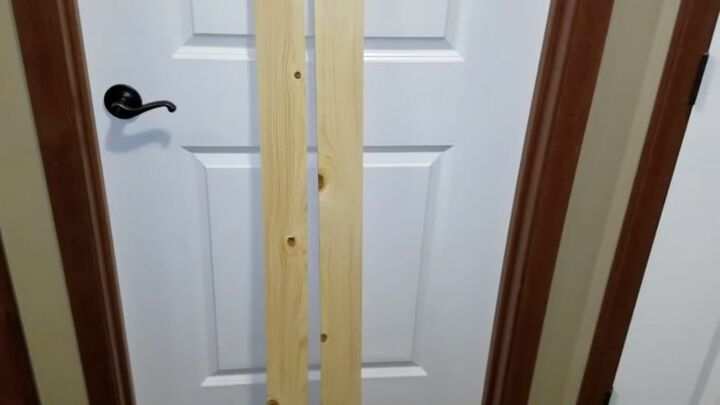
For the final step, I held the frame up behind the bed to determine a comfortable height. Next, I measured the width of the bed frame so I knew how far apart the wooden legs of my headboard needed to be. I marked the back of my headboard with those height and width measurements and screwed the legs into the side boards. Lastly, I screwed the legs into the mattress frame itself.
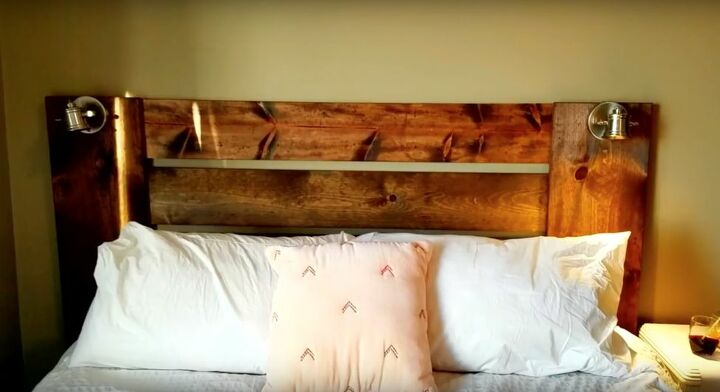
There you have it, a beautiful handcrafted rustic wooden headboard with lights. It’s a space saving DIY that allows you to ditch the bedside lamp and add a ton of charm without breaking the bank. Plus, since you can customize it to fit your mattress, it’s the perfect addition to any bedroom from dorm room to master suite. Where will you put yours?


Frequently asked questions
Have a question about this project?
What type of lights did you use, how did you turn them on, are they electric?